

- No public IPs required on virtual machines.
- Browser-based RDP/SSH sessions over TLS (443).
- Centralized, auditable access to VMs from the Azure portal.
Azure Bastion must be deployed into a dedicated subnet named exactly
AzureBastionSubnet. If the subnet name differs, Bastion cannot be deployed there—this name is mandatory.- An administrator signs into the Azure portal over the internet (TLS on port 443).
- Azure Bastion is deployed inside the virtual network in the
AzureBastionSubnet. - Bastion connects to target VMs using RDP or SSH over their private IP addresses.
- Because only private IPs are used, VMs do not expose public IPs.
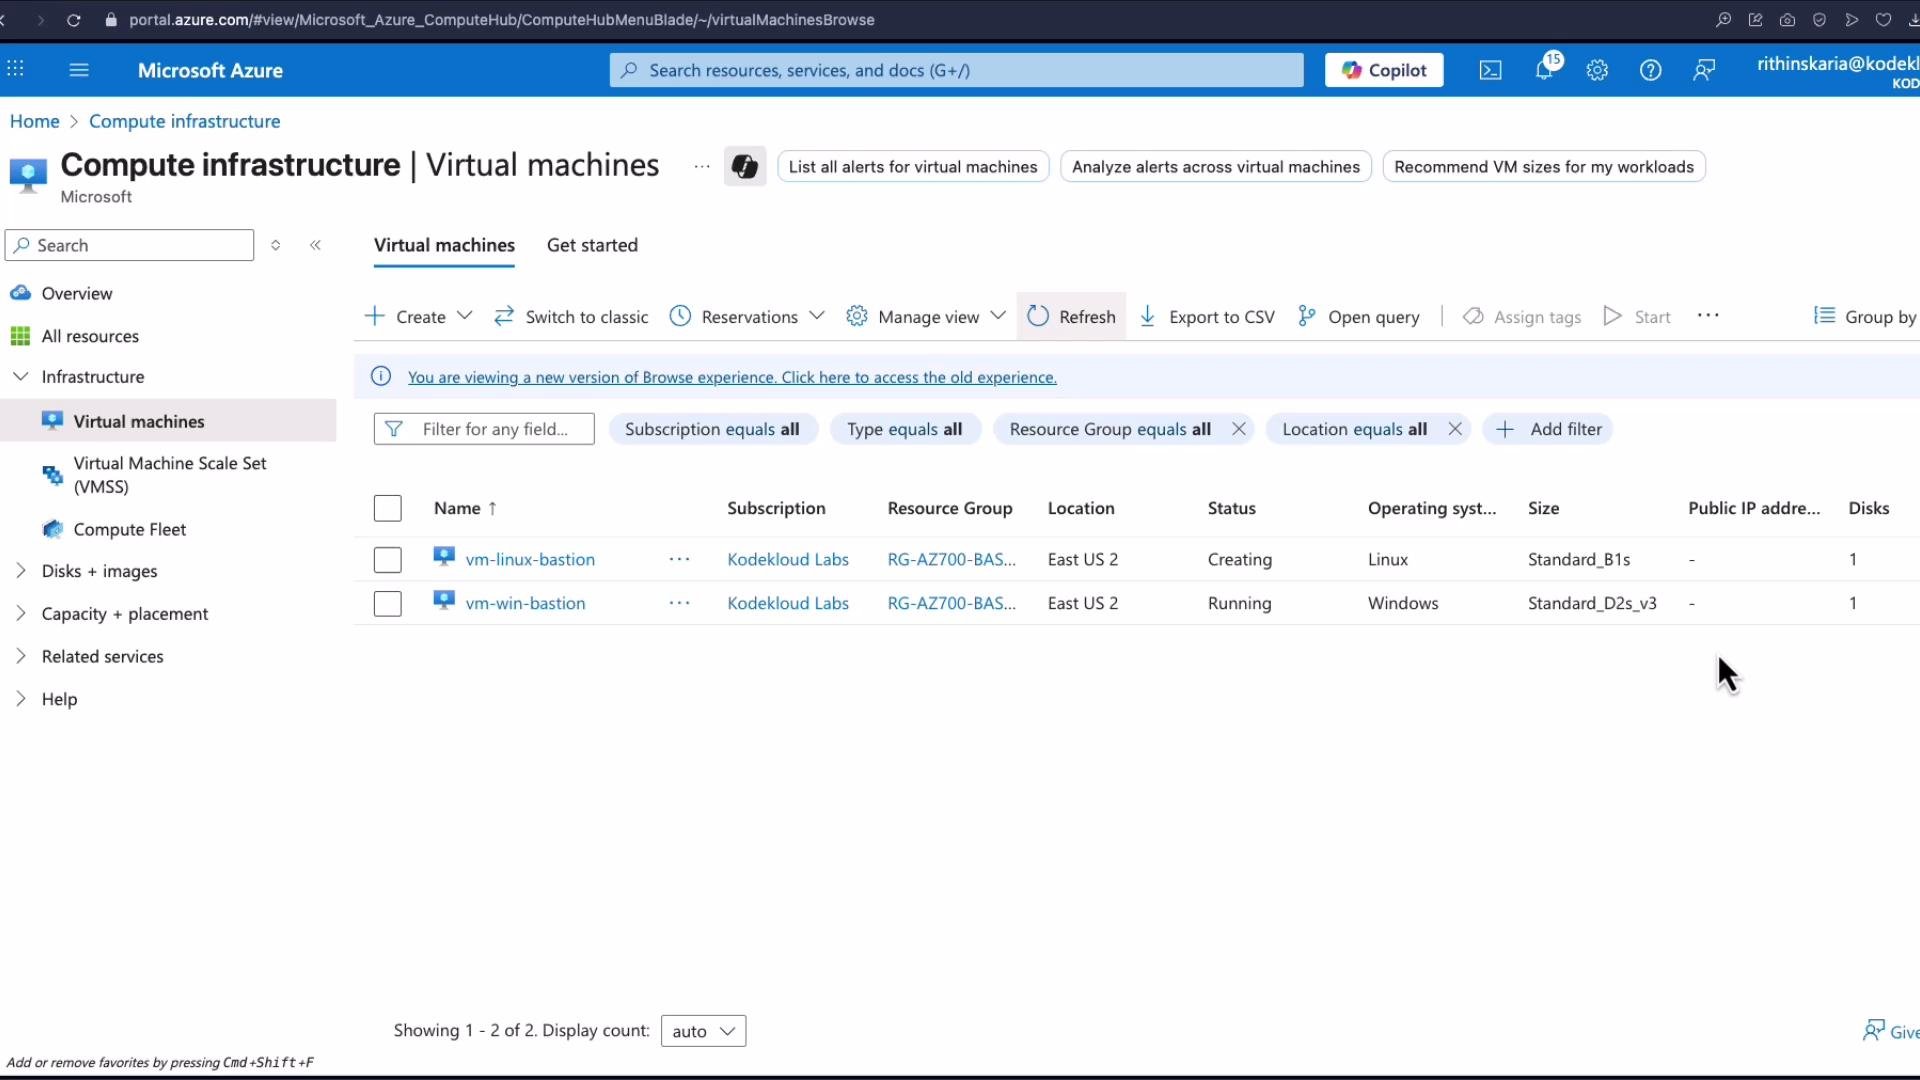
Deploy Azure Bastion from the Azure portal
Follow these steps to create a Bastion host:- In the Azure portal, search for and open the Bastion service, then click Create.
- Select (or create) a resource group and provide a name for the Bastion instance (for example:
Bastion-EastUS2). - Choose the target virtual network that contains the VMs and ensure the
AzureBastionSubnetexists and uses the correct name. - Select the SKU:
- Developer (for testing; limited features and concurrency)
- Standard (production)
- Premium (advanced features)
- Under Advanced settings, review optional features: clipboard support (copy/paste), IP-based connections, and Kerberos authentication—feature availability depends on the selected SKU.
- Add tags if required, then Review + create → Create.
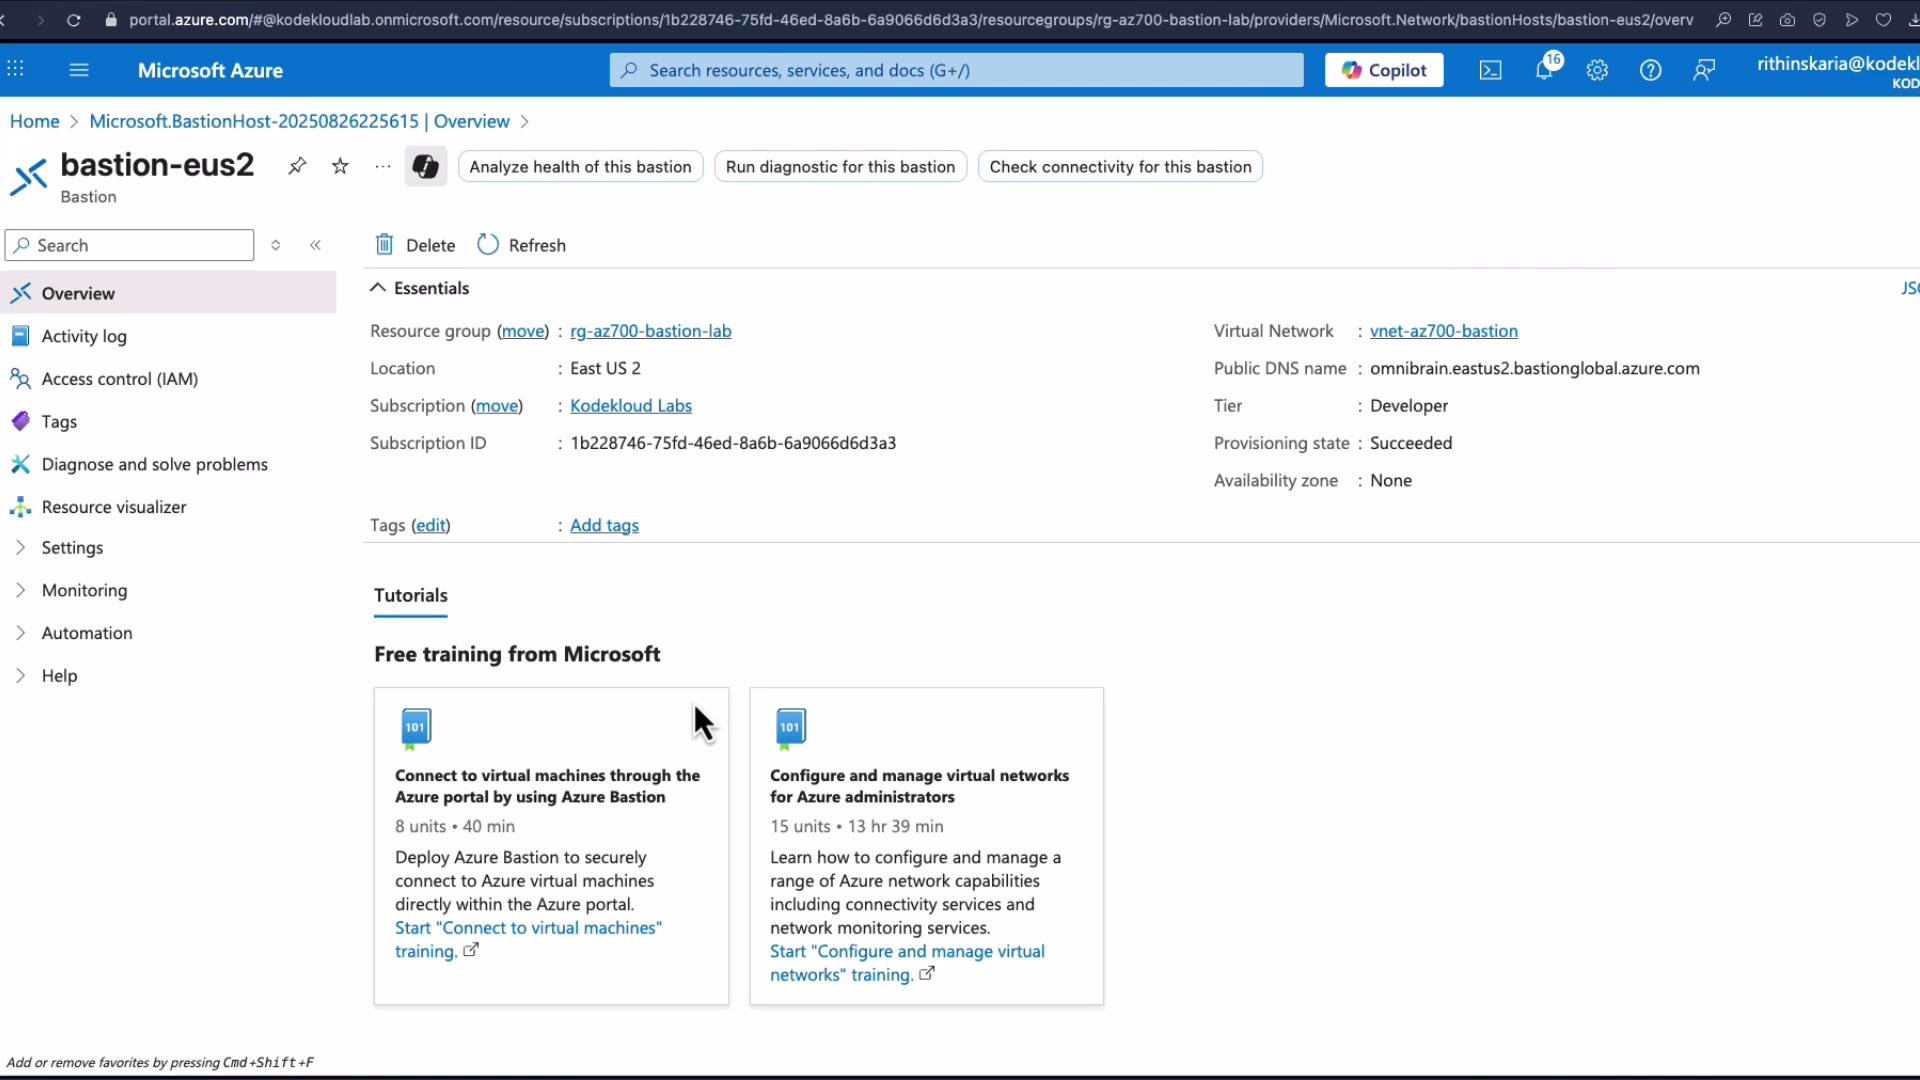
Bastion SKU and feature comparison
For full, up-to-date SKU capabilities and pricing, see the official Azure Bastion documentation linked at the end.
Connect to a VM via Bastion (Portal)
To open a Bastion session from the portal:- Go to Virtual Machines and open the VM you want to access.
- Click Connect → Connect via Bastion.
- Provide the VM credentials (username/password or select SSH private key for Linux).
- Click Connect — the session opens in a new browser tab. If a pop-up is blocked, allow pop-ups for the portal.
The Developer SKU supports only one active Bastion session at a time. For multiple concurrent sessions or advanced features (IP-based connections, Kerberos authentication, etc.), upgrade to the Standard or Premium SKU.
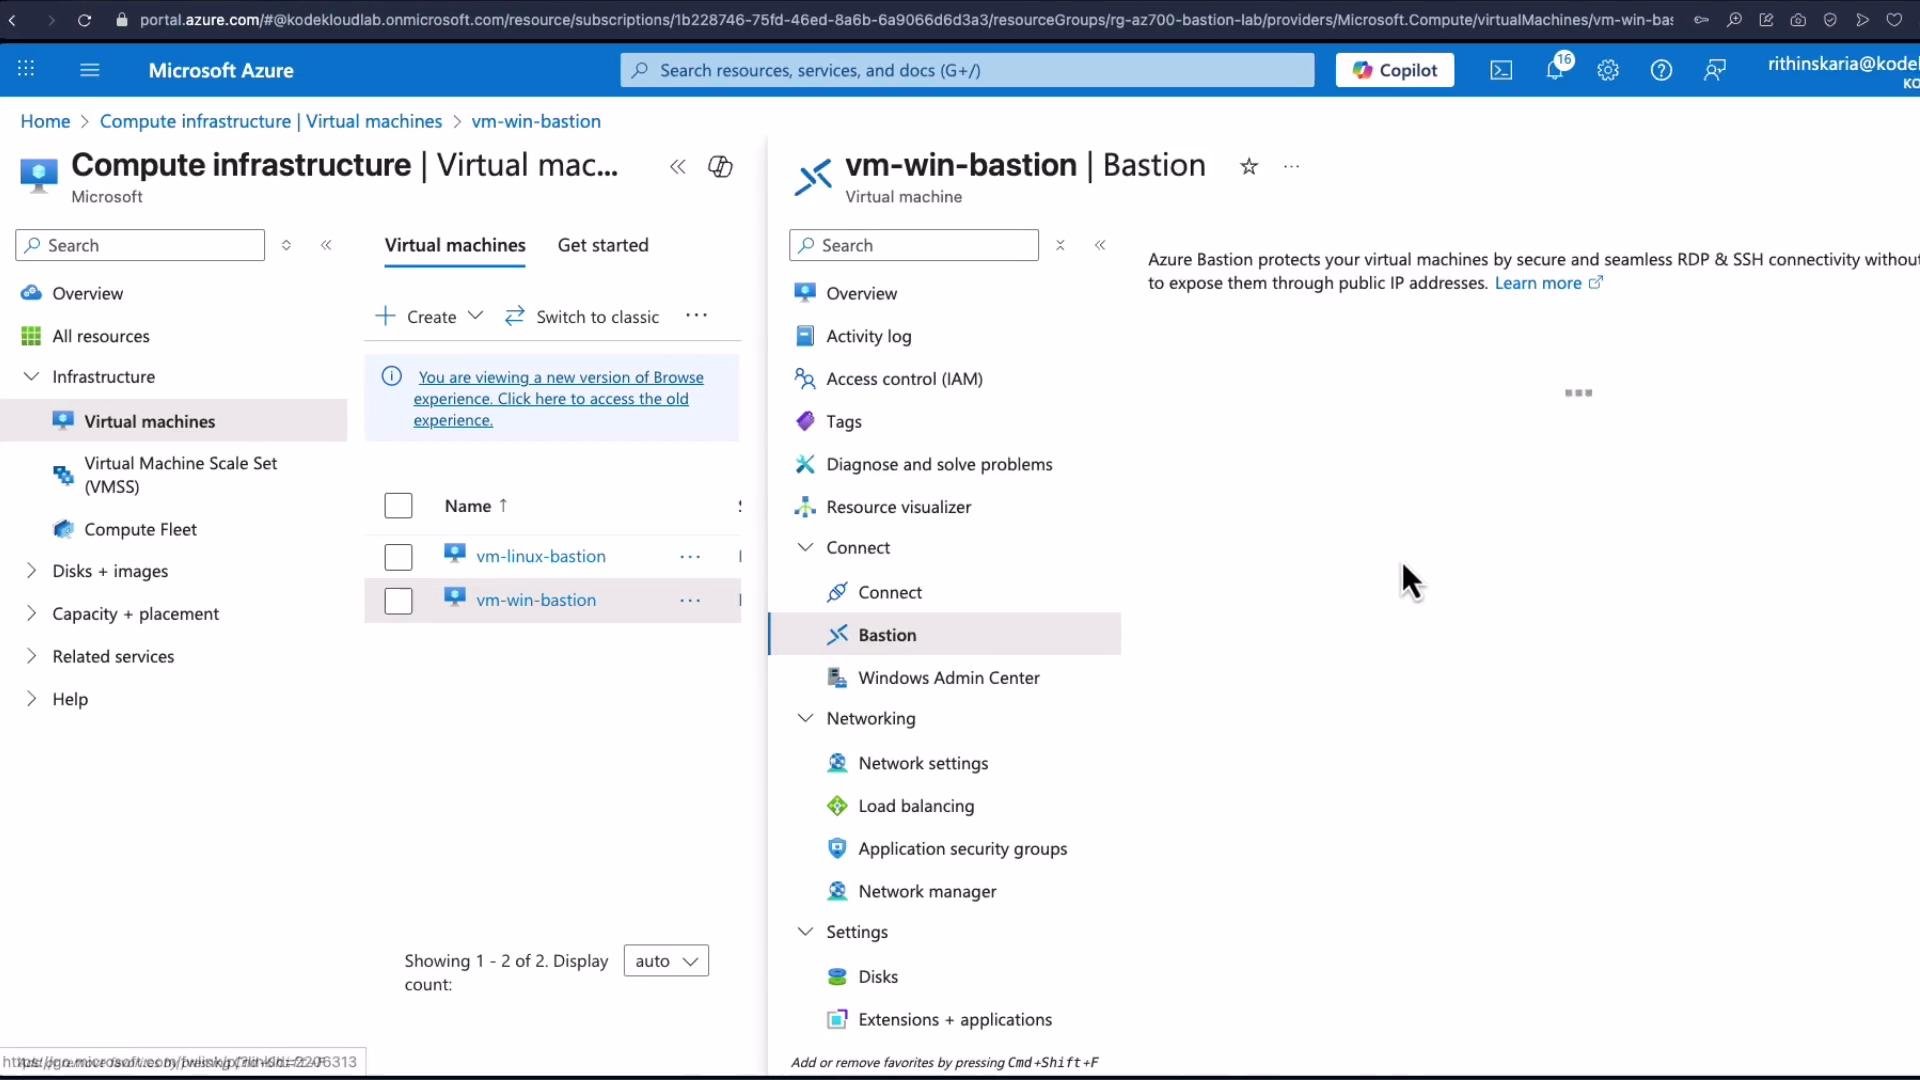
Connect to a Windows VM using Bastion
- In the portal, select the Windows VM, click Connect → Bastion.
- Enter the username (for example,
KodeKloud) and password, then click Connect. - The Bastion session launches an RDP desktop session in a browser tab—no public IP is required on the VM.
Links and references
- Azure Bastion documentation: https://learn.microsoft.com/azure/bastion
- Azure virtual network overview: https://learn.microsoft.com/azure/virtual-network/virtual-networks-overview