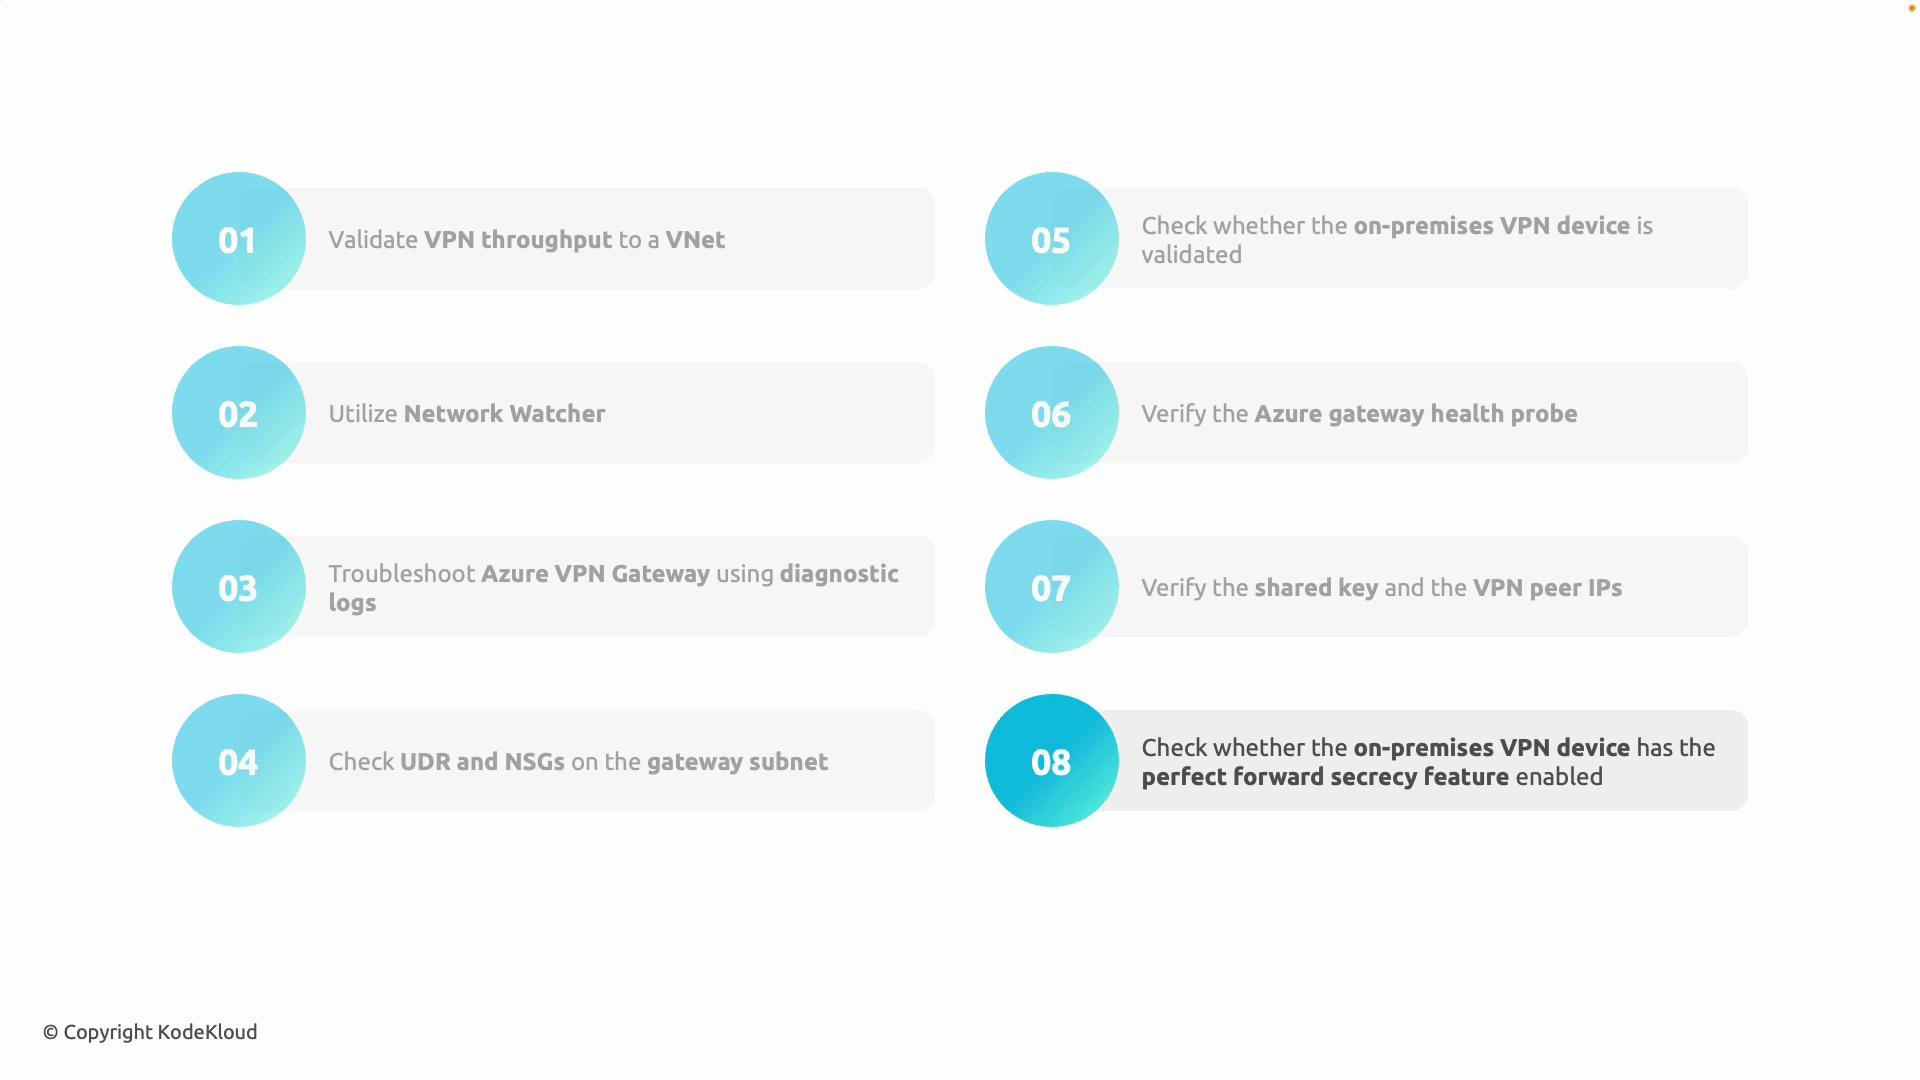
Quick summary
- Start with throughput and connectivity measurements.
- Collect diagnostics (Network Watcher, packet capture, gateway logs).
- Validate configuration: GatewaySubnet, UDRs, NSGs, PSKs, peer IPs, and IKE/IPsec parameters.
- Check gateway health, metrics, and SKU limits.
Validation checklist (step-by-step)
-
Validate VPN throughput
- Compare observed throughput against the published limits for your VPN Gateway SKU. If the measured bandwidth is substantially lower than the SKU limit, the gateway SKU may be the bottleneck.
- Measure throughput using a performance tool such as iperf3 across the tunnel (from an on-prem host to an Azure VM) or use Azure Network Watcher diagnostics.
- Example iperf3 commands:
- When comparing results, allow for encryption overhead (IPsec) and any intermediate NAT or link constraints.
-
Use Azure Network Watcher for diagnostics
- Network Watcher can test connectivity, run path and connection troubleshooting, and capture packets for deeper analysis.
- Useful commands:
- Use packet captures to identify where traffic is dropped or malformed (local VM NIC, gateway, or transit).
-
Enable and analyze VPN gateway diagnostic logs
- Turn on VPN Gateway diagnostics and route logs to a Log Analytics workspace, Storage account, or Event Hub to retain connection negotiation, tunnel activity, and error messages.
- Example (enable diagnostics via Azure CLI):
- Search logs for repeated retries, PSK mismatches, IKE negotiation failures, or specific error codes that indicate parameter mismatches.
-
Check GatewaySubnet, UDRs, and NSGs
- Ensure the VNet contains a correctly named and sized
GatewaySubnet. The recommended size is at least/27for most gateway deployments; follow current Azure guidance for your gateway type. - Avoid attaching restrictive NSGs or non-default UDRs to the
GatewaySubnetunless you understand the exact impact. Custom routes or overly restrictive security rules can block IKE/IPsec traffic. - Required traffic typically includes:
- UDP 500 (IKE)
- UDP 4500 (NAT-T for IPsec)
- ESP (IP protocol 50) where applicable
- Verify that none of these are being blocked by on-prem or Azure-side firewalls or routes.
- Ensure the VNet contains a correctly named and sized
Do not apply restrictive NSGs or non-default UDRs to the GatewaySubnet unless absolutely required—this is a common source of VPN failures.
-
Verify on-premises VPN device compatibility
- Confirm your on-premises device and firmware are on Microsoft’s list of validated VPN devices, or that the device supports the IKE/IPsec parameters you plan to use.
- Use vendor sample configurations as a baseline and apply Azure-specific samples where available.
-
Check gateway health and metrics
- In the Azure portal, review the VPN gateway resource for health status, active tunnels, public IP bindings, and per-tunnel throughput. Azure shows gateway health and any internal probe failures.
- Use metrics to identify trends (CPU, throughput, packet drops) and time windows for failures.
- Example CLI to get gateway details:
-
Verify shared keys and peer IP configuration
- A mismatch in the pre-shared key (PSK) or an incorrect peer IP address will prevent the tunnel from establishing.
- Confirm the Connection resource in Azure and the on-prem device use the identical PSK and peer IP.
- If dynamic IPs are used on-prem, verify the Azure side expects that configuration (e.g., use Azure VPN Client for point-to-site scenarios, or use a dynamic VPN device configuration that supports changing peer IPs).
-
Match IKE / IPsec parameters, including PFS
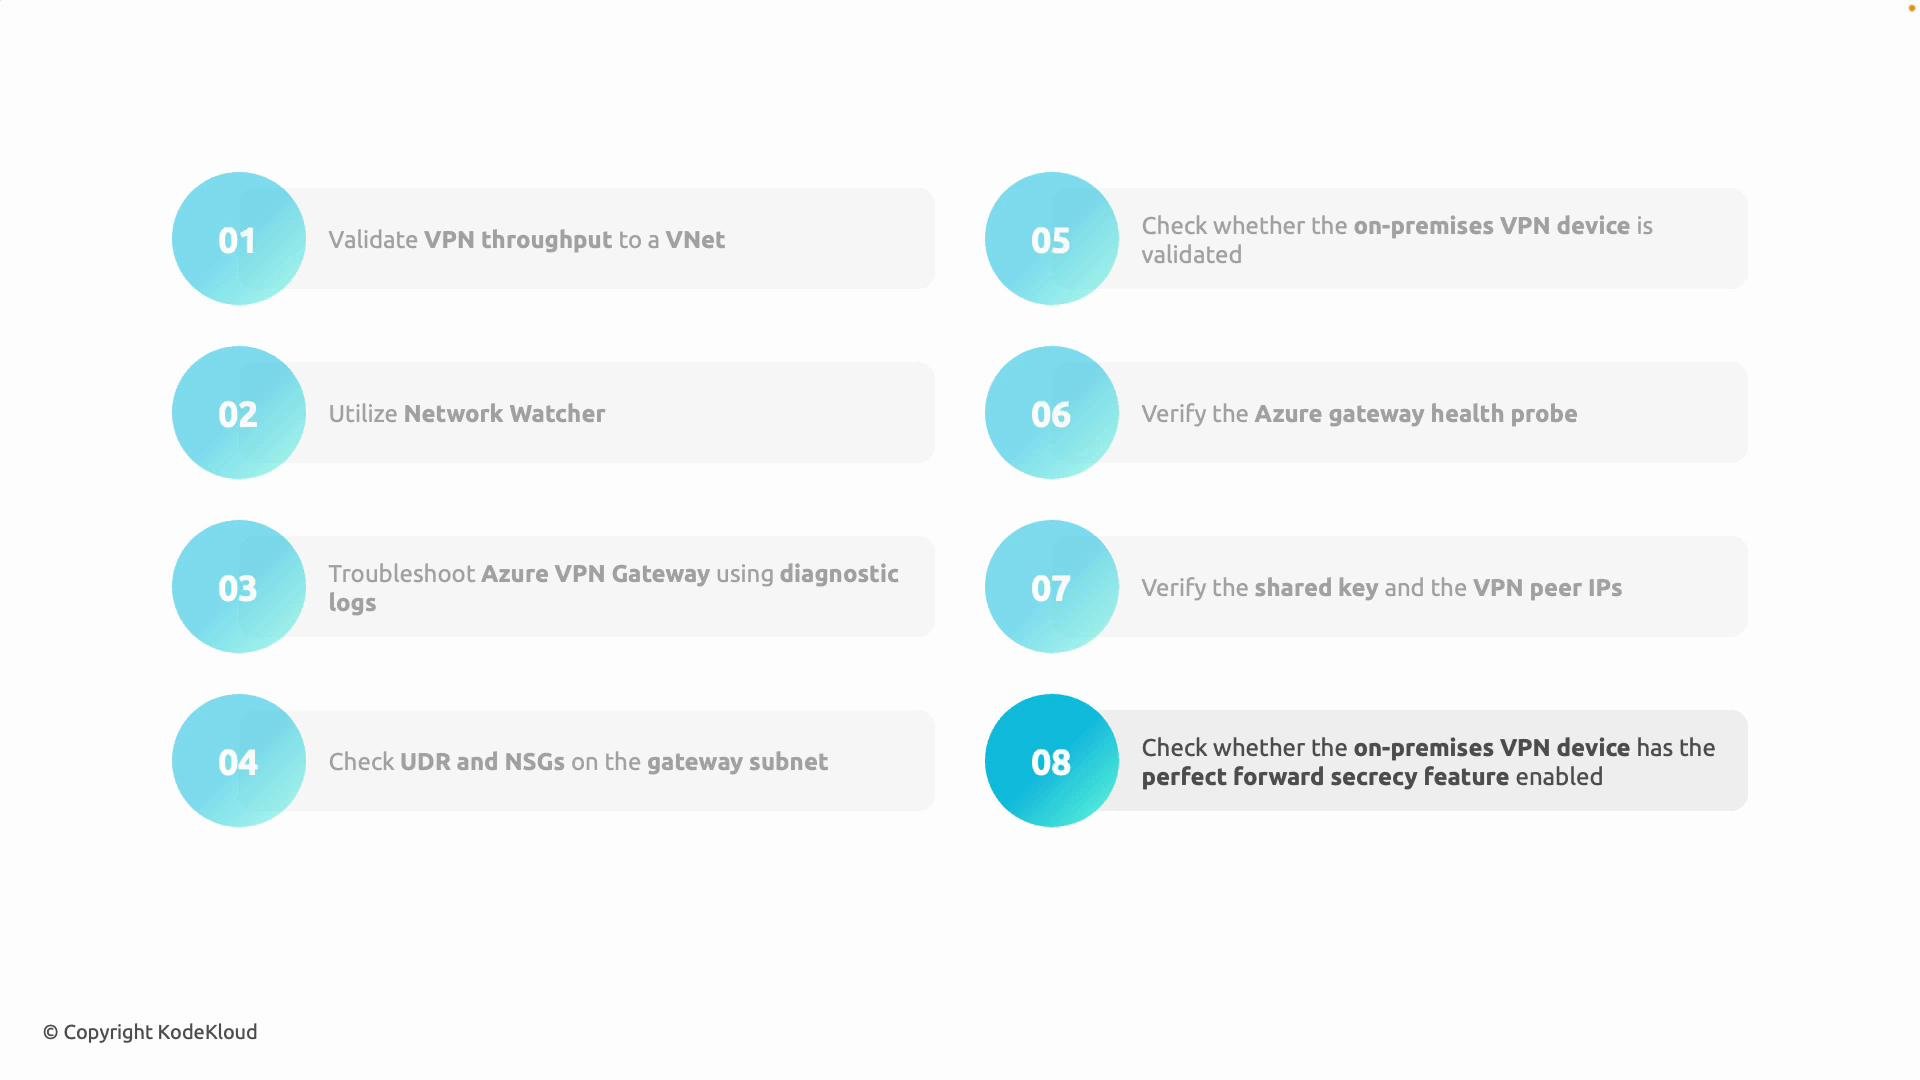
- IKE version (IKEv1 vs IKEv2), encryption algorithms, hashing algorithms, DH groups, lifetimes, and Perfect Forward Secrecy (PFS) settings must be compatible on both sides.
- If one side enforces PFS or requires a specific DH group and the other side does not, the tunnel negotiation will fail. Confirm both sides use the same proposals and lifetimes or use compatible profiles.
- Enable gateway diagnostics and send logs to a Log Analytics workspace.
- Check gateway health and metrics once the gateway is up and tunnels are negotiated.
- Confirm where to configure the PSK (the Azure Connection resource) and validate negotiated parameters during tunnel establishment (logs and packet captures will show IKE negotiation and proposal details).
- Multi-tunnel redundancy
- Higher aggregate throughput (consult SKU limits and supported configurations)
- Resilience to single-instance failure
Links and references
- Azure VPN Gateway documentation
- Network Watcher documentation
- Azure Monitor / Diagnostic settings
- Validated VPN devices and sample configurations