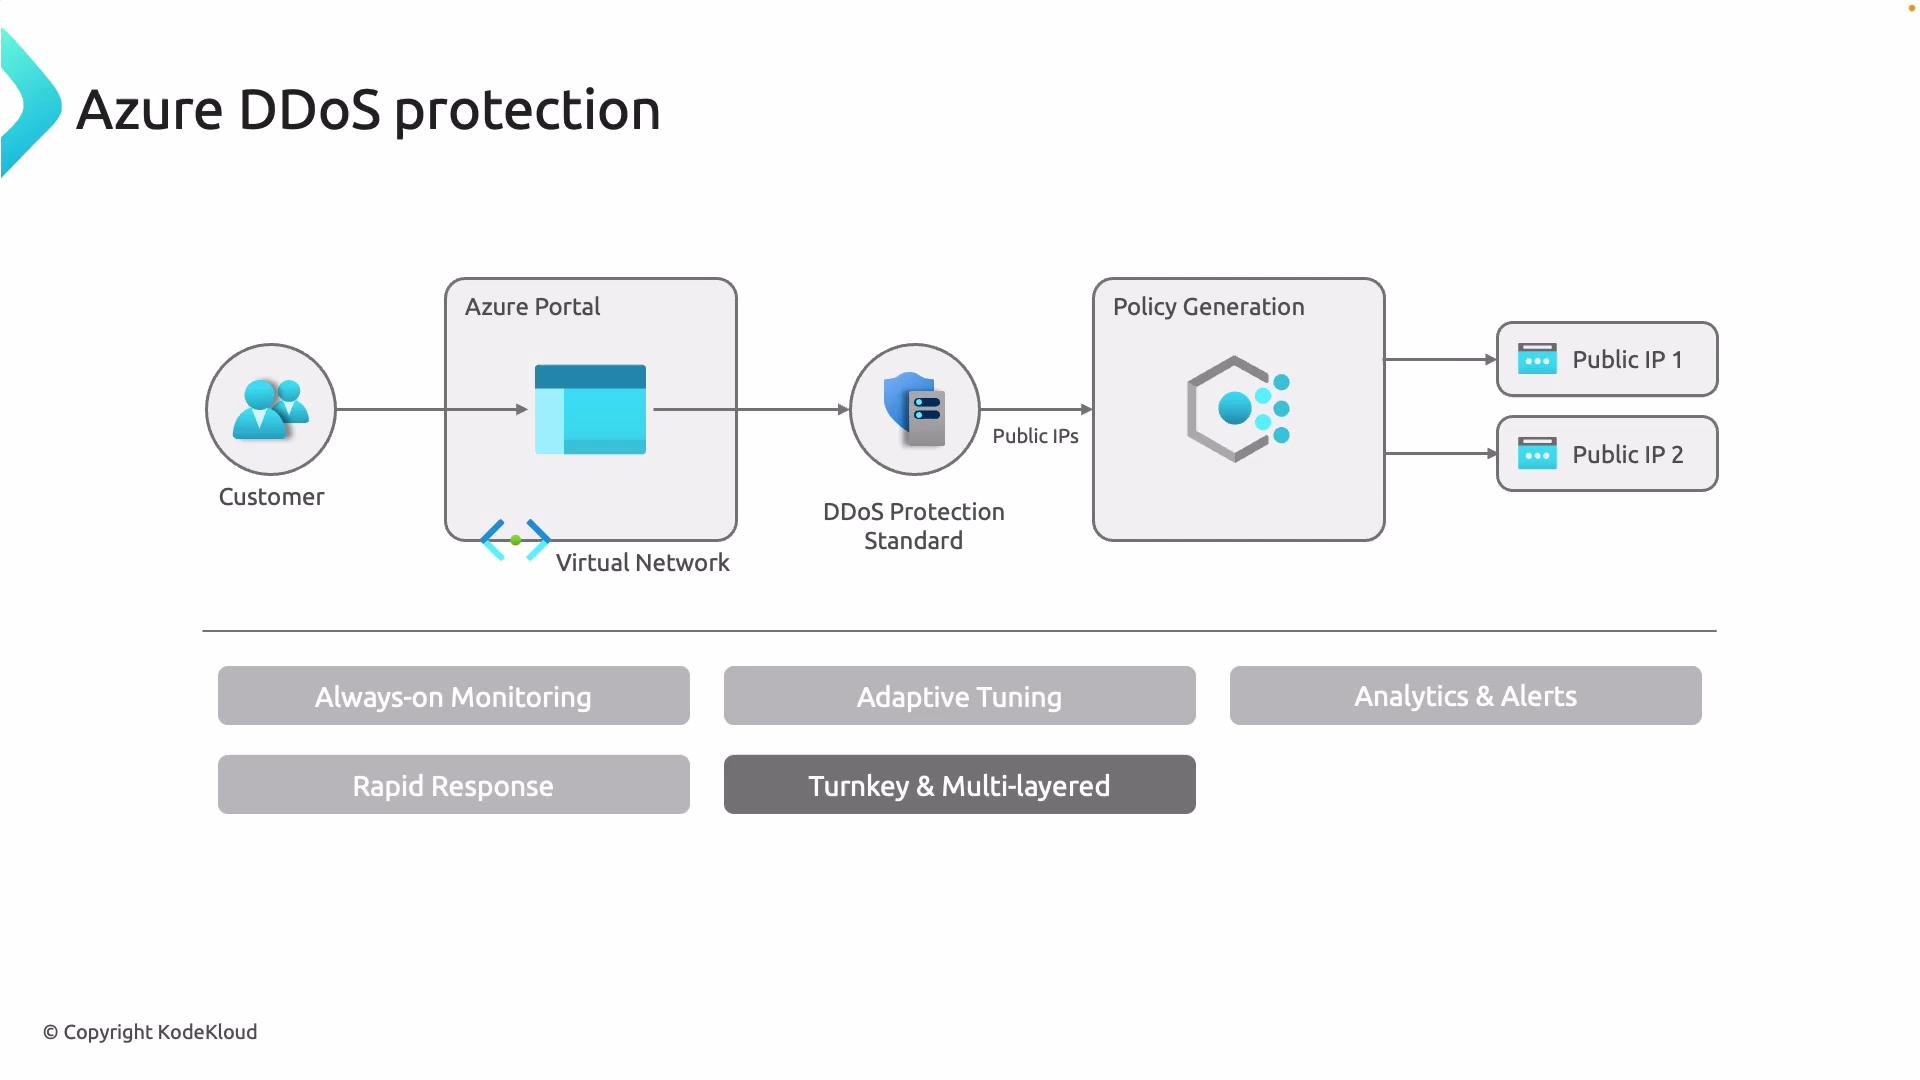
- Always-on monitoring and automatic mitigation using Azure’s global network capacity.
- Adaptive tuning to reduce false positives by matching detection thresholds to normal application traffic.
- Built-in analytics, telemetry, and alerting to surface attack indicators and support incident response.
- Optional access to Microsoft’s Rapid Response team during large or complex events.
- Integration with Azure Firewall, Application Gateway, Network Security Groups (NSGs), and Defender for Cloud for layered protection.
Protection plans and tiers
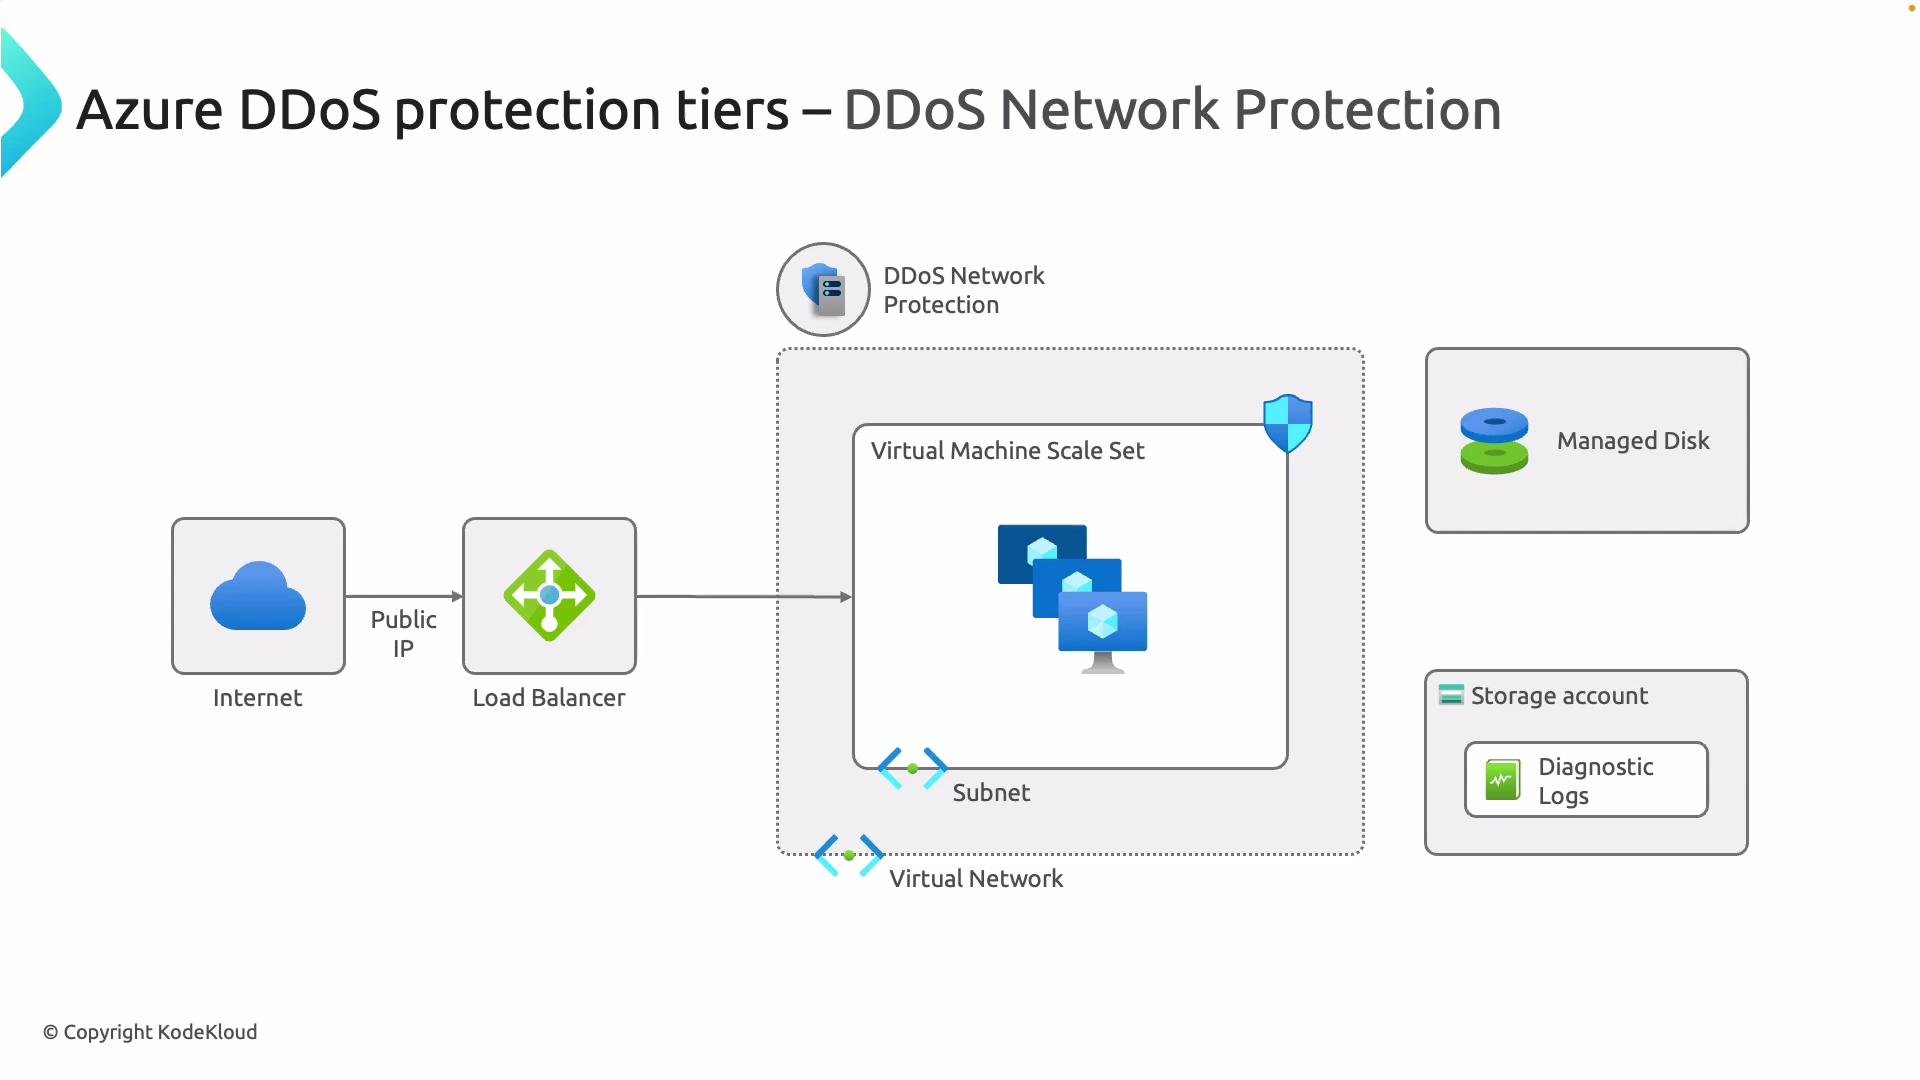
Azure offers two main DDoS Protection approaches to fit different scopes and billing models:- DDoS Network Protection (plan-level): create a DDoS Protection plan and associate it with one or more virtual networks. This protects many resources—Virtual Machines (VMs), Virtual Machine Scale Sets (VMSS), Application Gateway, Azure Firewall, Bastion, Load Balancers, and NICs—at the network boundary.
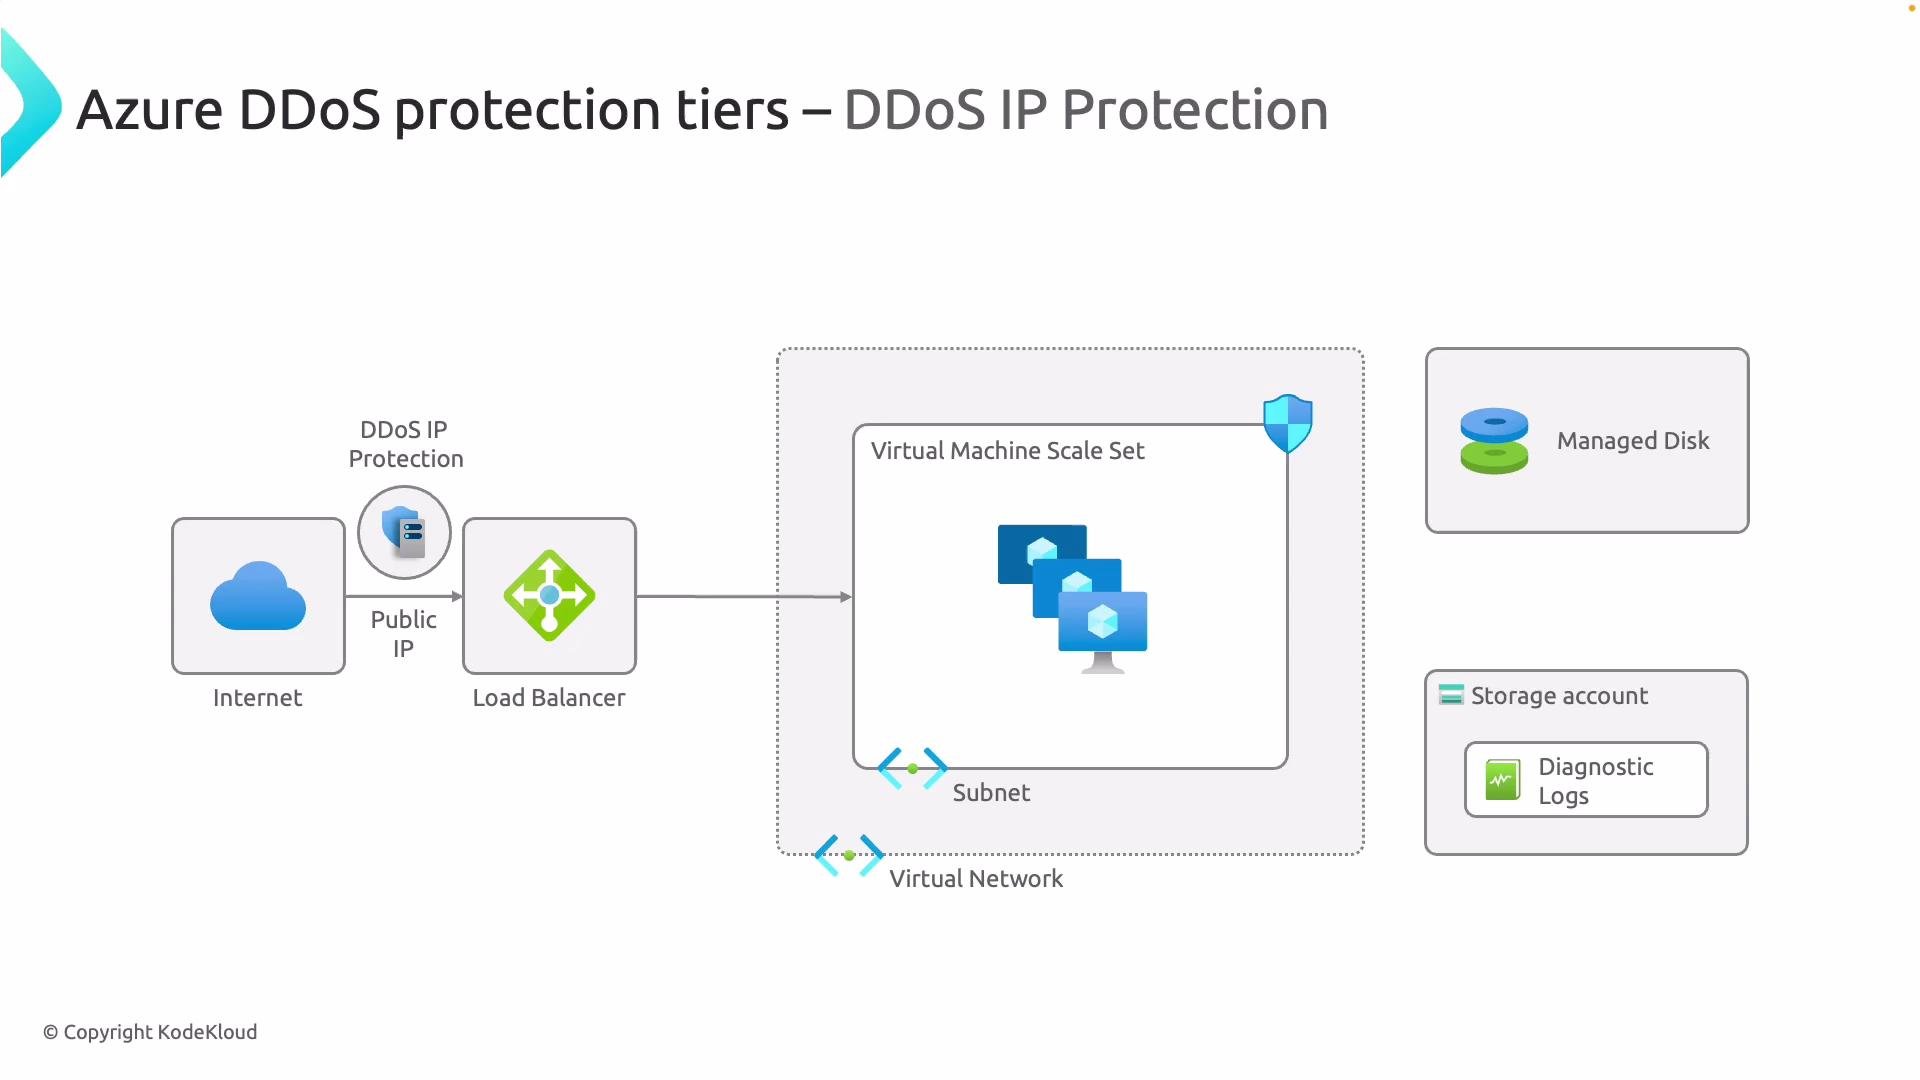
- DDoS IP Protection (per-public-IP): enable protection per Public IP resource. Billing is per protected public IP and suited to scenarios with only a few IPs to secure.
Pricing and notable differences
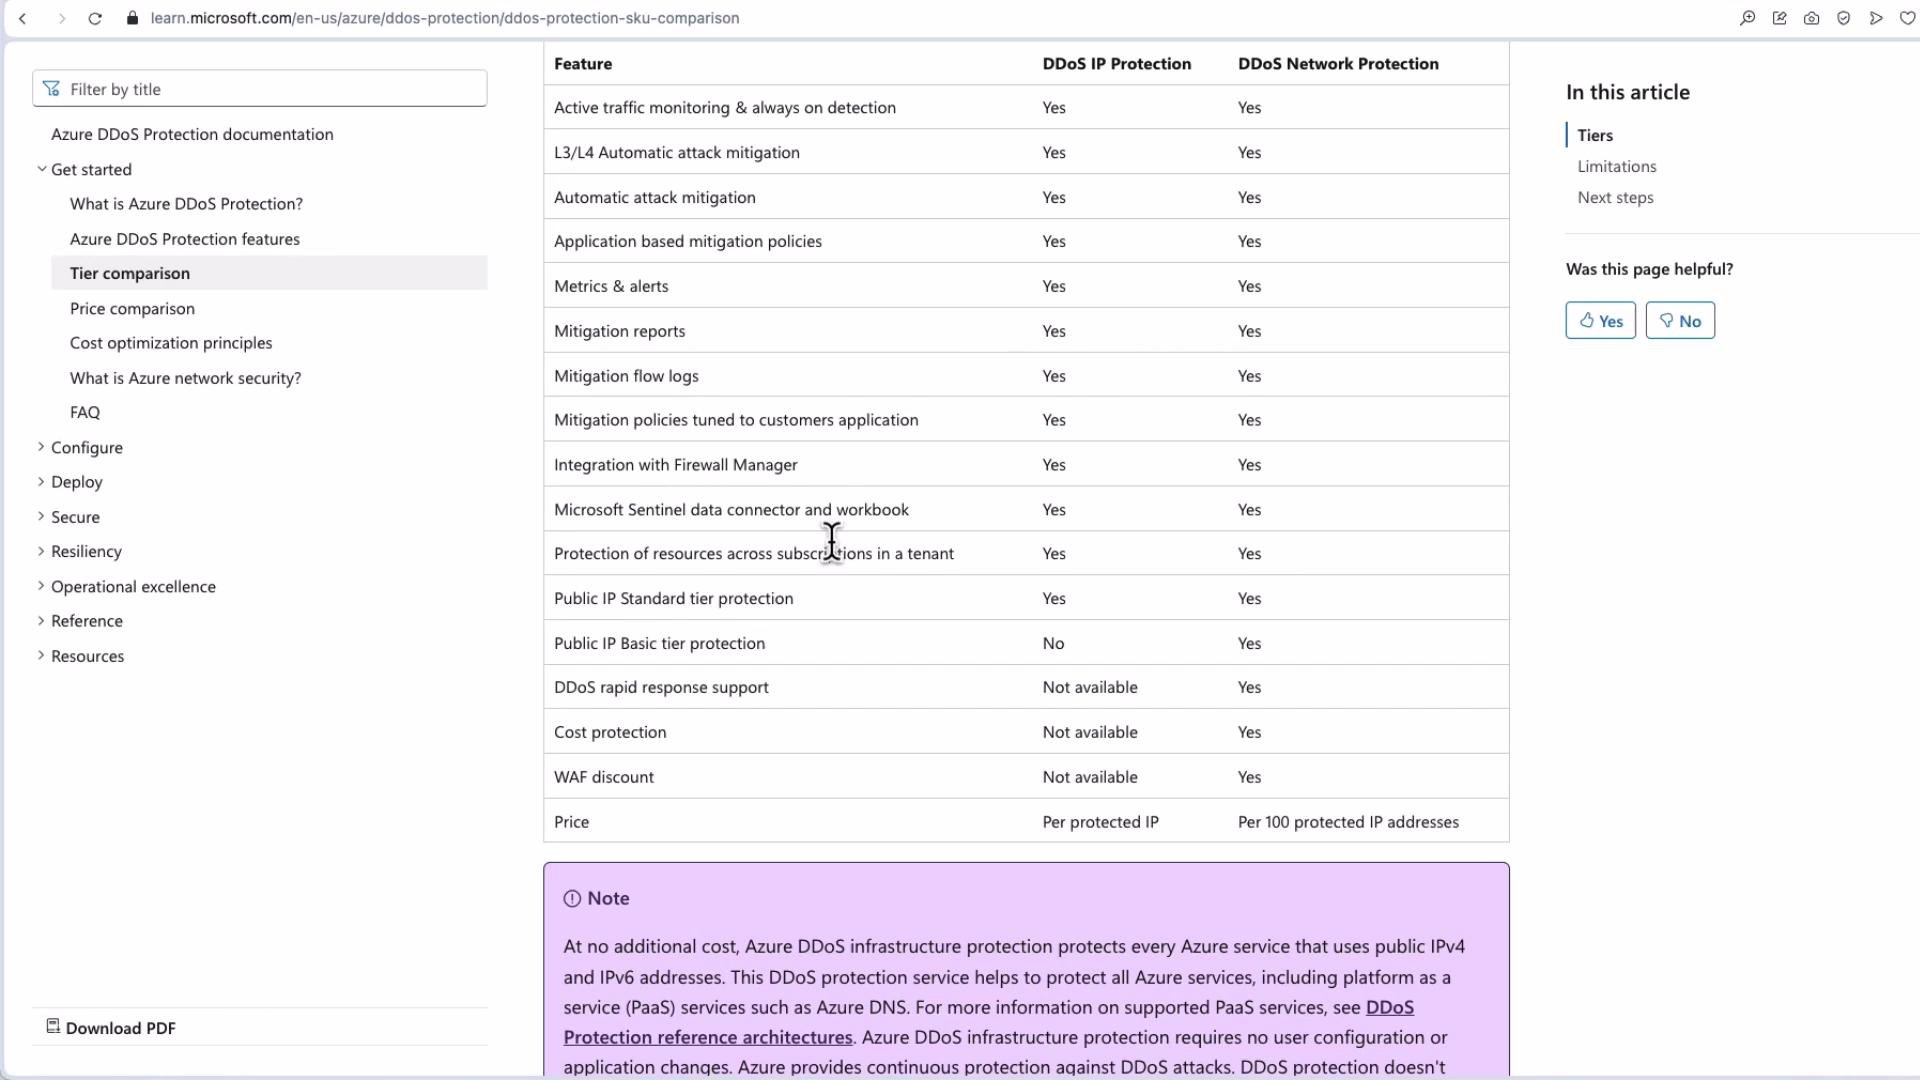
- Network Protection: typically a fixed monthly fee (common plan-level pricing examples are around $2,500/month) regardless of how many resources are attached—cost-effective when protecting many resources.
- IP Protection: billed per protected Public IP address—cost-effective when you only need protection for a small number of IPs.
Azure provides a Basic level of DDoS protection for public IPs at no extra charge. Microsoft has announced deprecation plans for certain Basic SKUs—check the official Azure DDoS Protection documentation for current status and migration guidance: https://learn.microsoft.com/azure/ddos-protection/
Deployment and configuration (high-level)
A typical deployment workflow for DDoS Network Protection:- Create a DDoS Protection plan in the Azure portal (this is the network/plan-level offering).
- Attach the plan to one or more virtual networks (existing or new).
- Enable telemetry and diagnostic logging to collect attack telemetry and metrics.
- Configure alerts and action groups to notify security teams on suspicious traffic or attack events.
- Test and monitor using controlled/simulated traffic or synthetic checks where allowed.

Scope of protection per plan type
- Network Protection: protects the VNets you associate with the plan, covering many attached resources such as Azure Firewall, Application Gateway, Bastion, Load Balancers, VM NICs, and more.
- IP Protection: protects only the explicit Public IPs you enable (either newly created or edited existing Public IP resources).
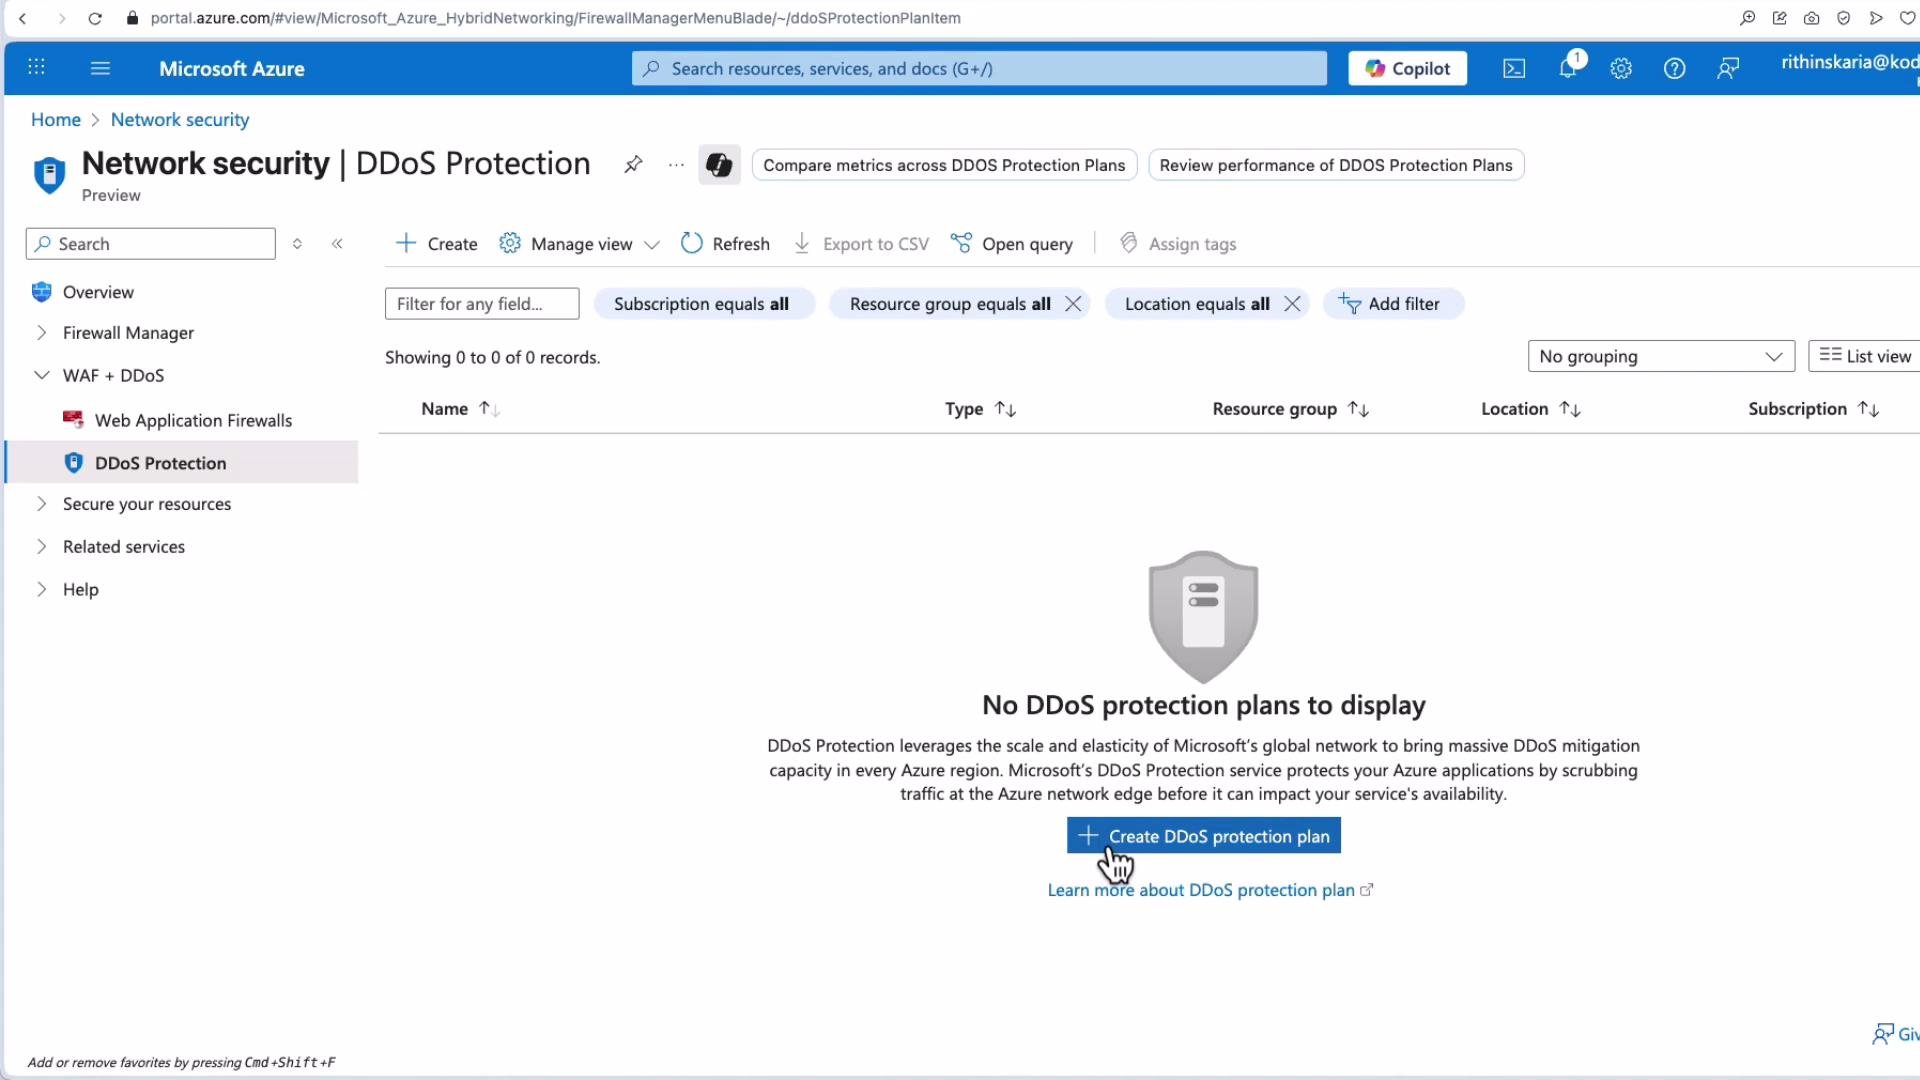
Create a DDoS Protection plan in the Azure portal
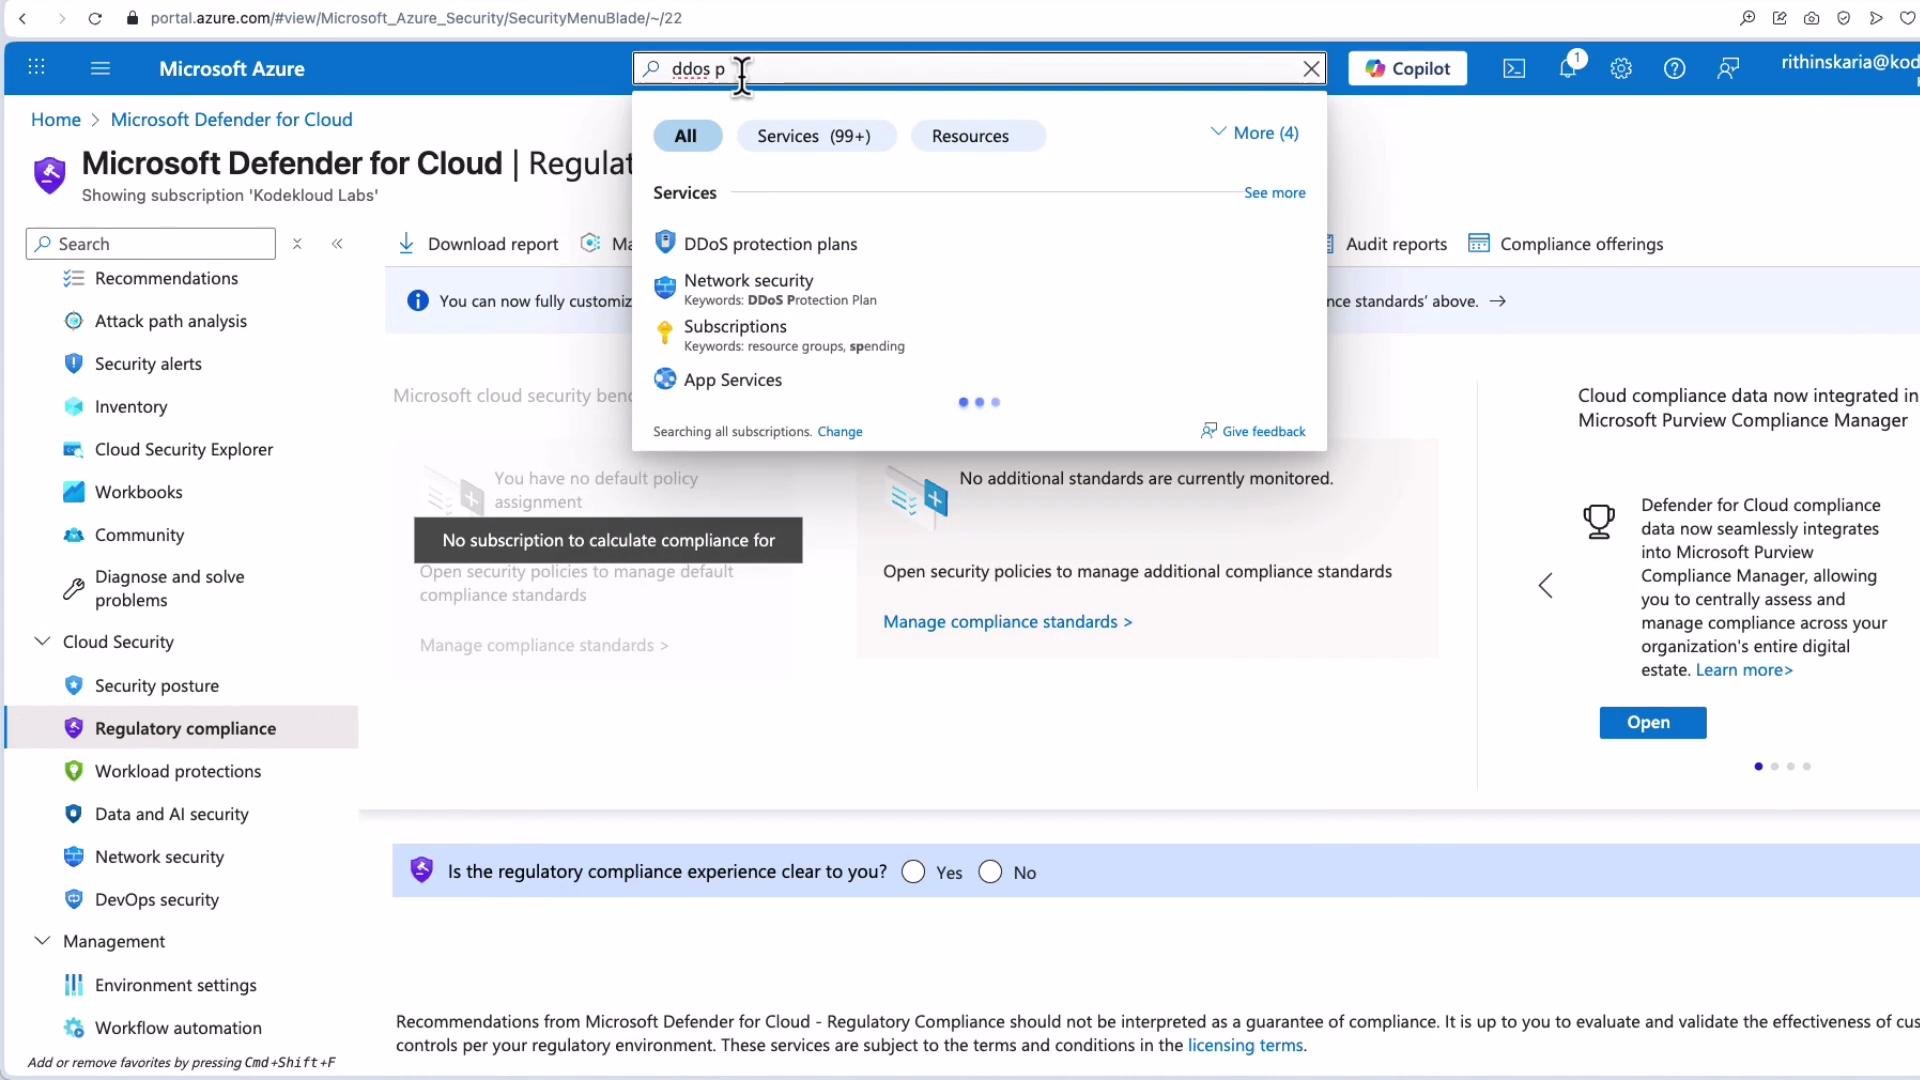
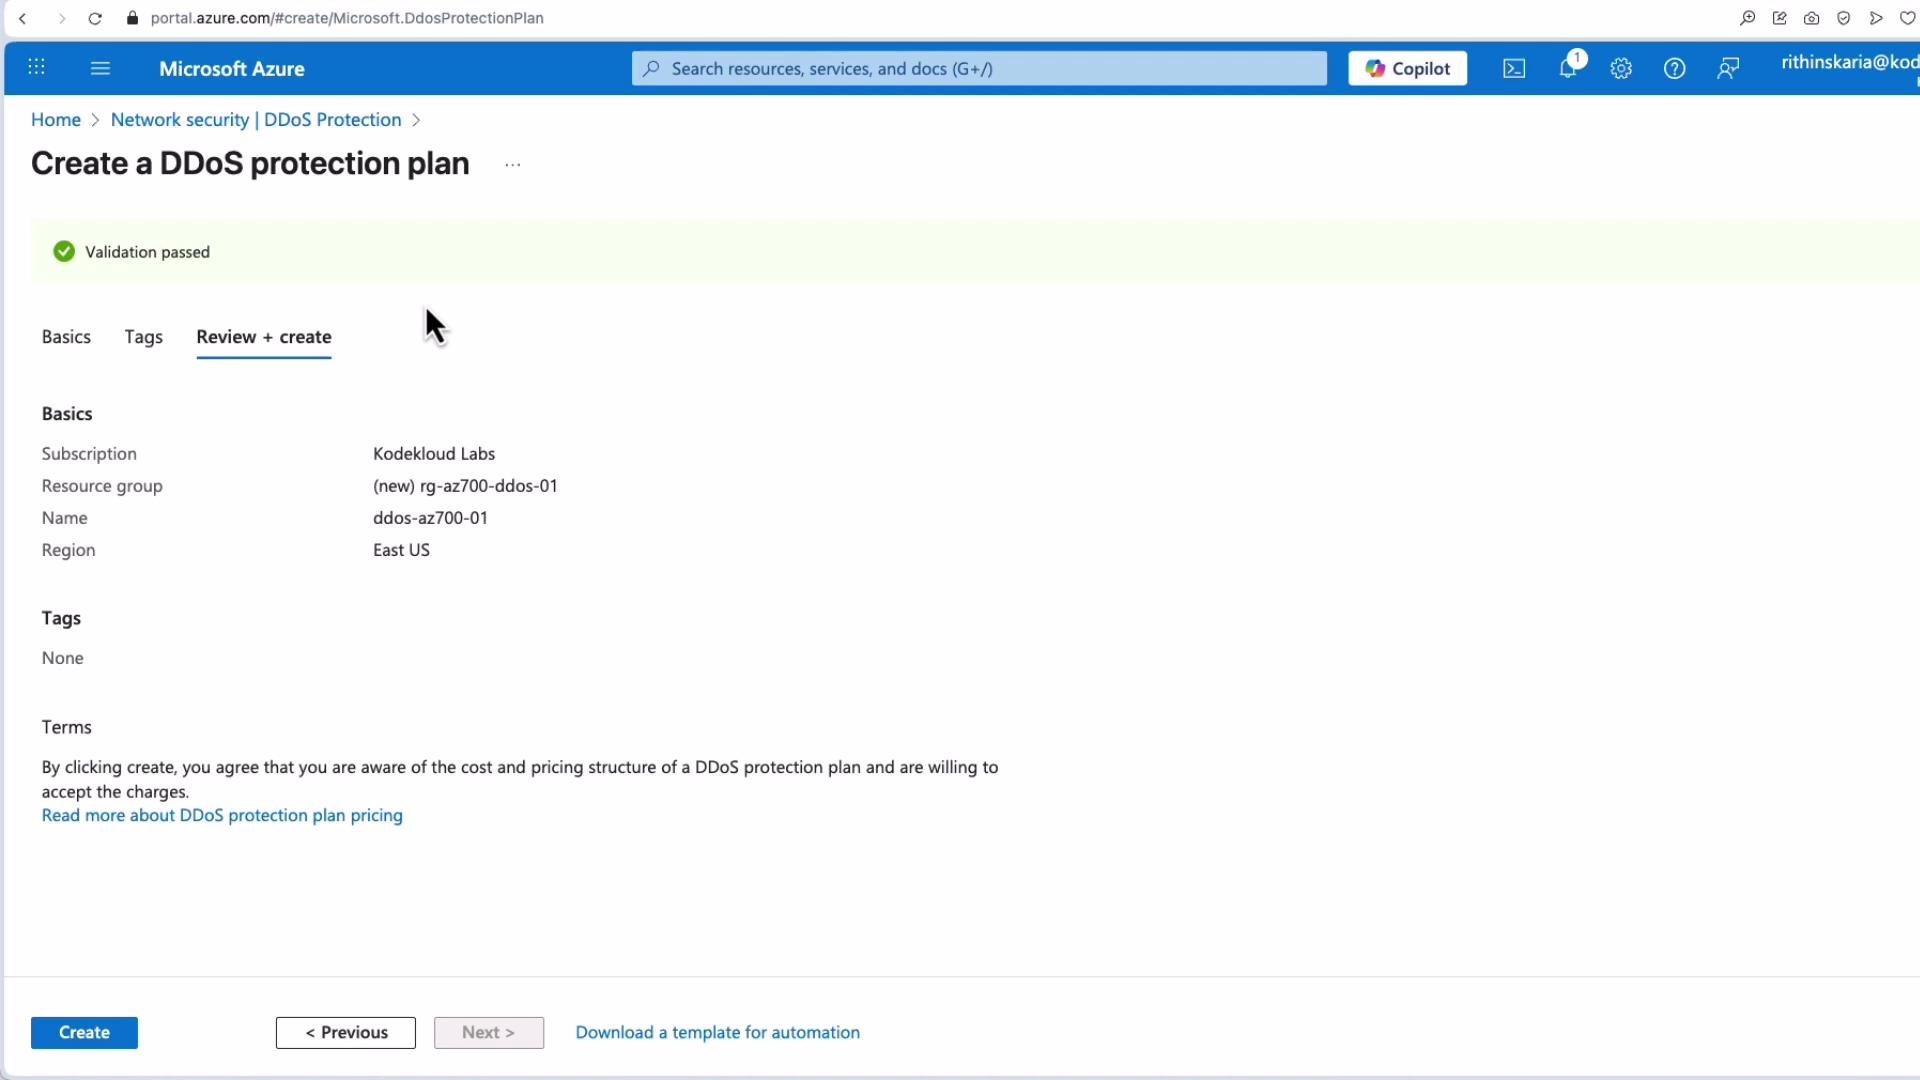
Steps to create a Network Protection plan:- In the Azure portal search box, type “DDoS protection plans”.
- Select your subscription and resource group, choose a plan name and region (for example, East US).
- Review and accept charges, then create the plan.
- After creation, attach the plan to the virtual networks you want to protect.
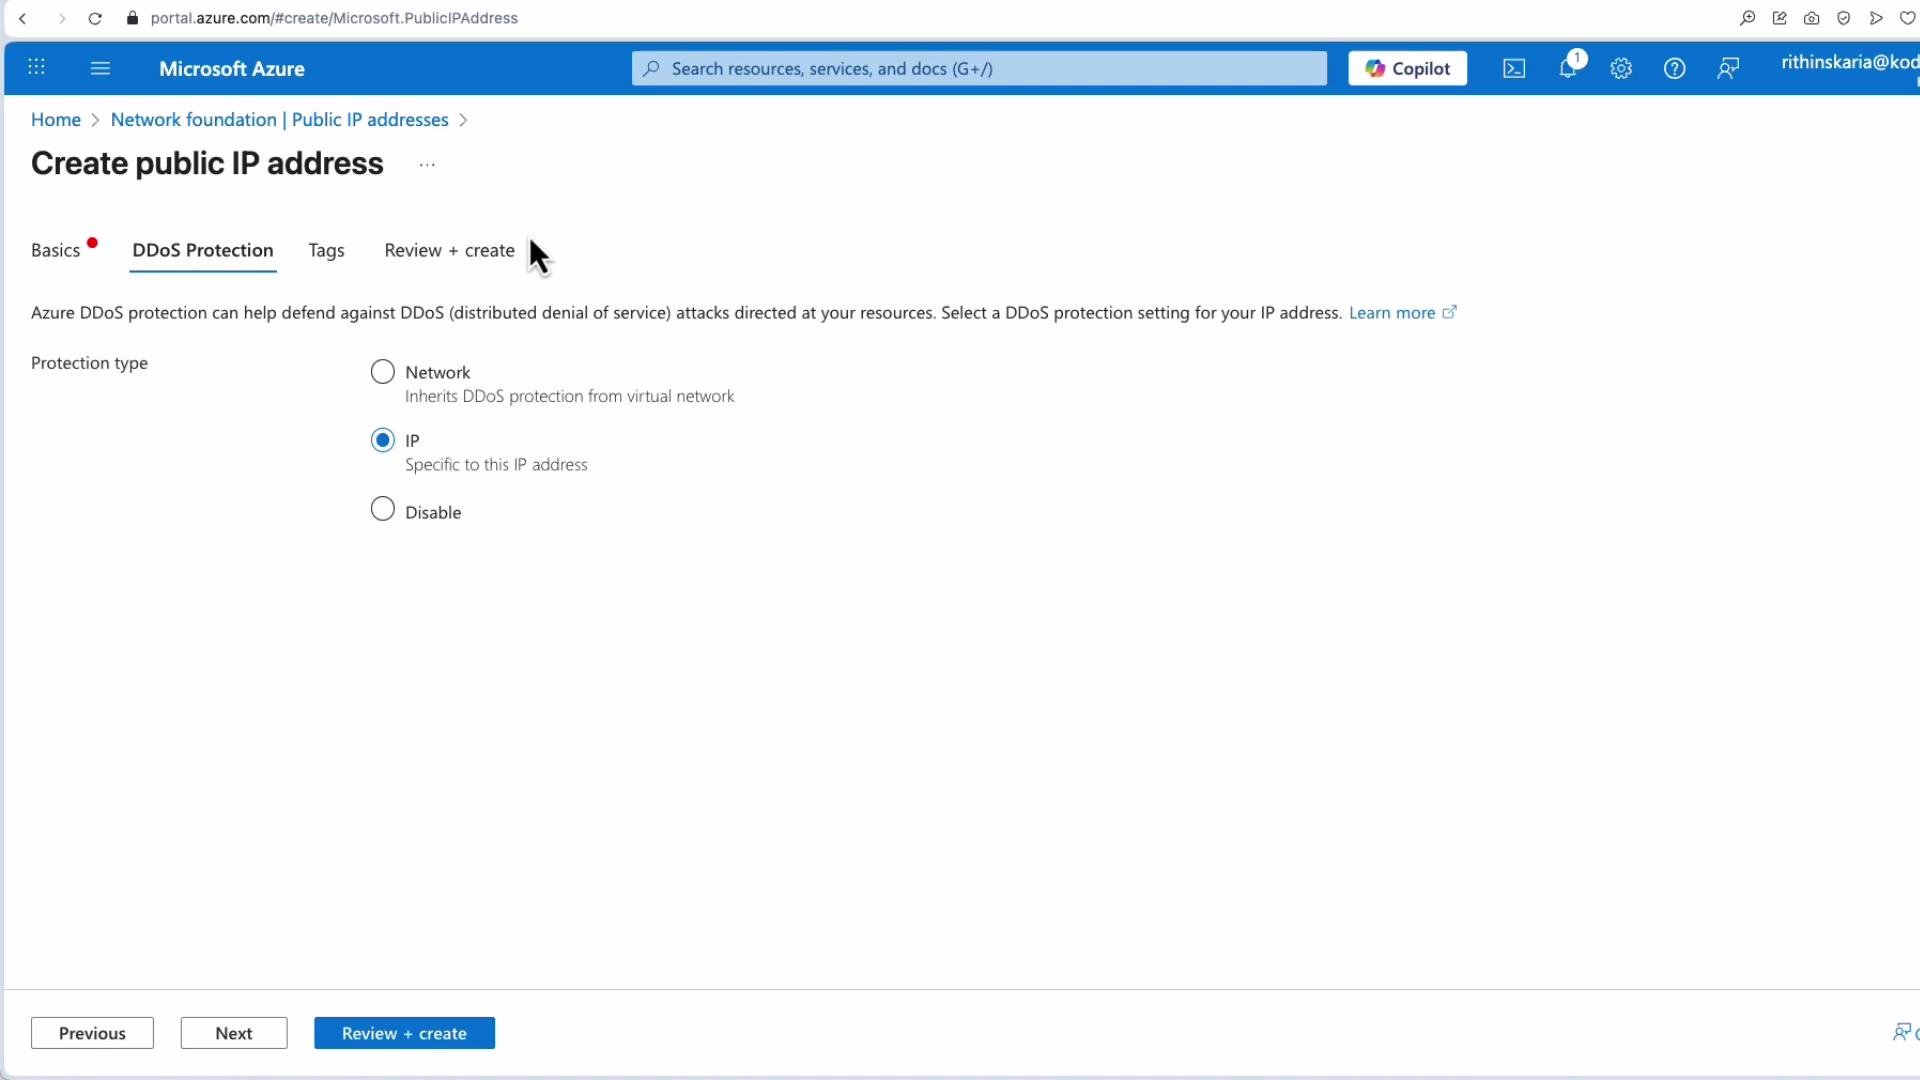
Creating per-IP protection
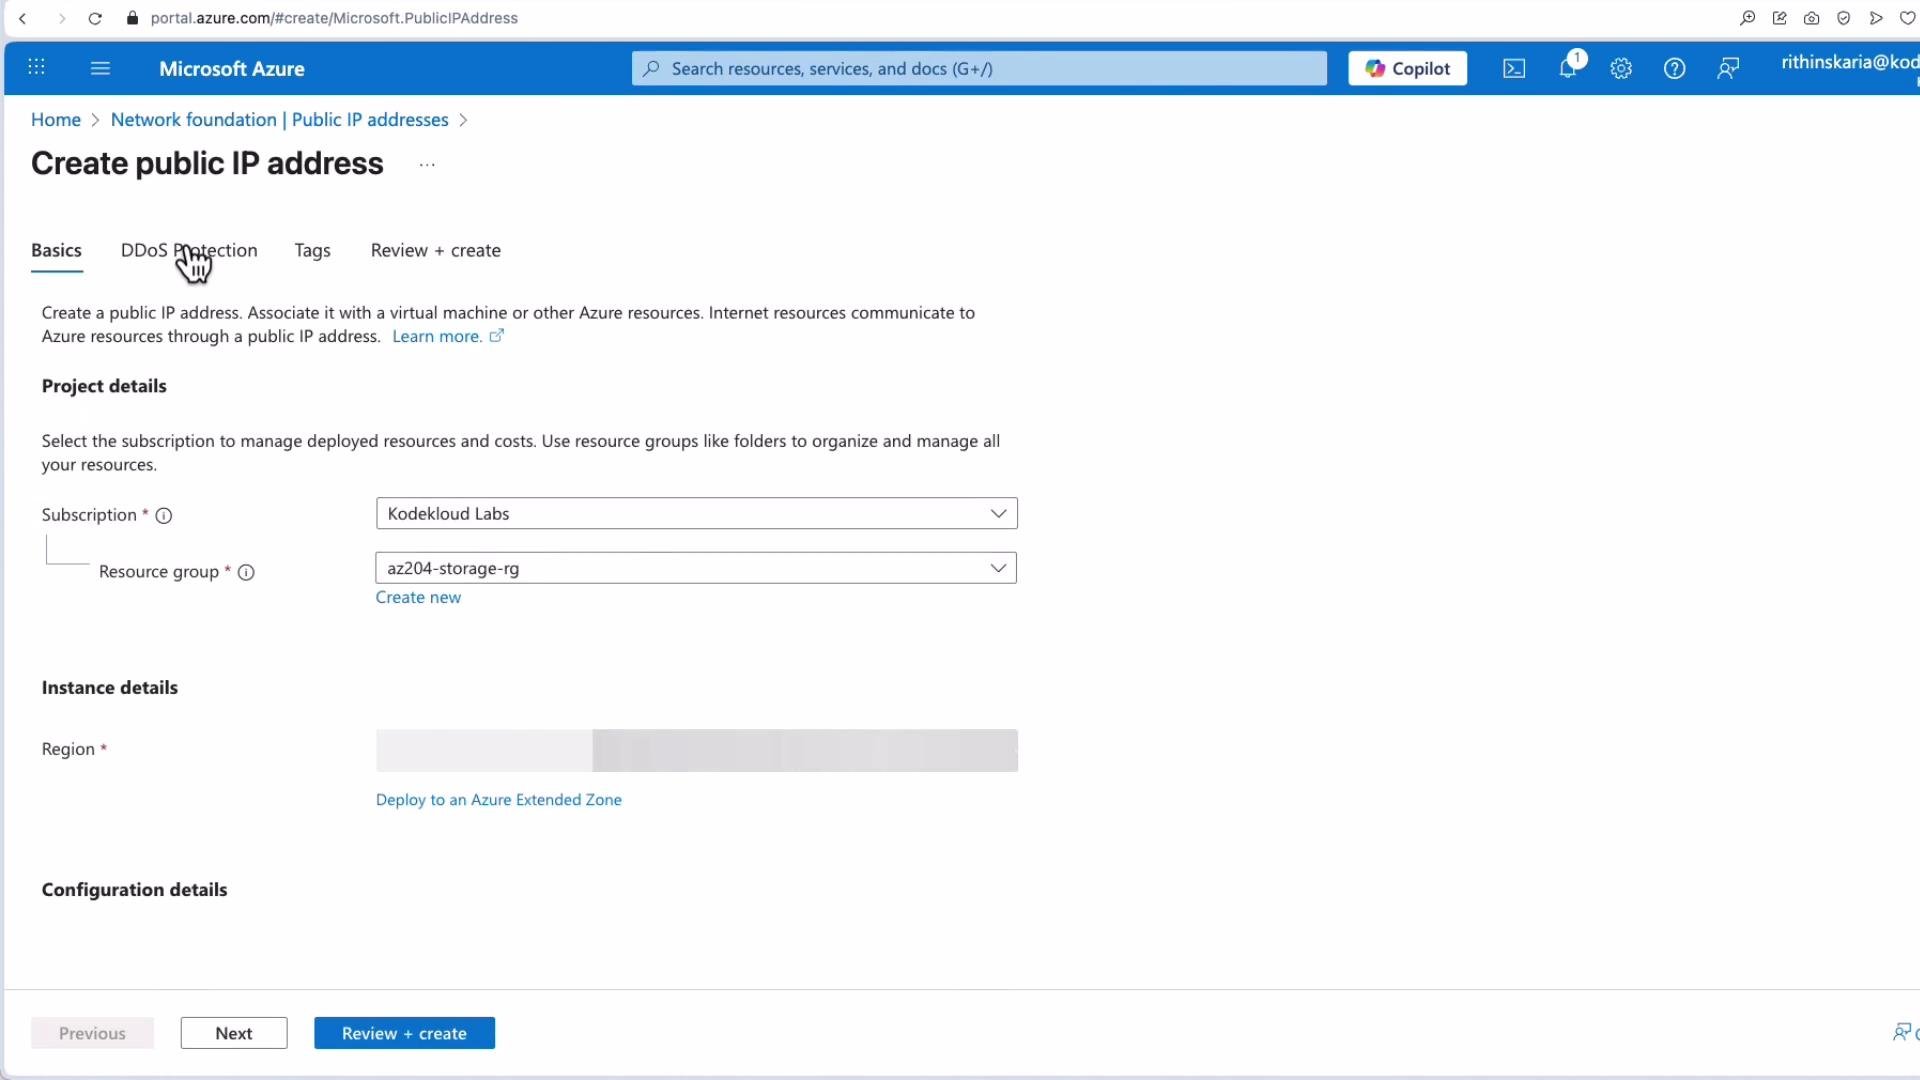
To protect an individual Public IP:- Go to Public IP addresses in the Azure portal.
- Create a new Public IP resource or edit an existing one.
- Enable DDoS protection for that Public IP to apply the per-IP protection model.
- Note: per-IP protected addresses are billed under the IP Protection model.
DDoS Protection Standard and per-IP protection can be expensive depending on scale. Evaluate whether a plan-level purchase (Network Protection) or per-IP billing is more cost-effective for your architecture. Use Azure Cost Management and tagging to estimate and monitor costs.
Cost considerations and best practices
- Choose Network Protection when you need broad coverage across multiple VNets and many public endpoints.
- Choose Per-IP Protection when protecting a small number of Public IPs; compare aggregated per-IP fees vs. a single plan fee.
- Always enable diagnostic logs (sent to a Storage Account, Log Analytics workspace, or Event Hub) and create alerts to integrate with your incident response workflow.
- Regularly test mitigations with controlled simulations and maintain runbooks for responding to DDoS incidents.
- Combine DDoS protection with rate-limiting, Web Application Firewall (WAF), and network-level filtering for layered defense.
Summary
Azure DDoS Protection offers flexible options to defend against large-scale volumetric attacks and targeted IP-level threats. Choose Network Protection for broad, multi-resource coverage and per-IP protection for targeted scenarios. Regardless of the model, enable telemetry, diagnostics, and alerting to maintain visibility and responsiveness during incidents. Further reading and references:- Azure DDoS Protection documentation: https://learn.microsoft.com/azure/ddos-protection/
- Azure Cost Management: https://learn.microsoft.com/azure/cost-management-billing/