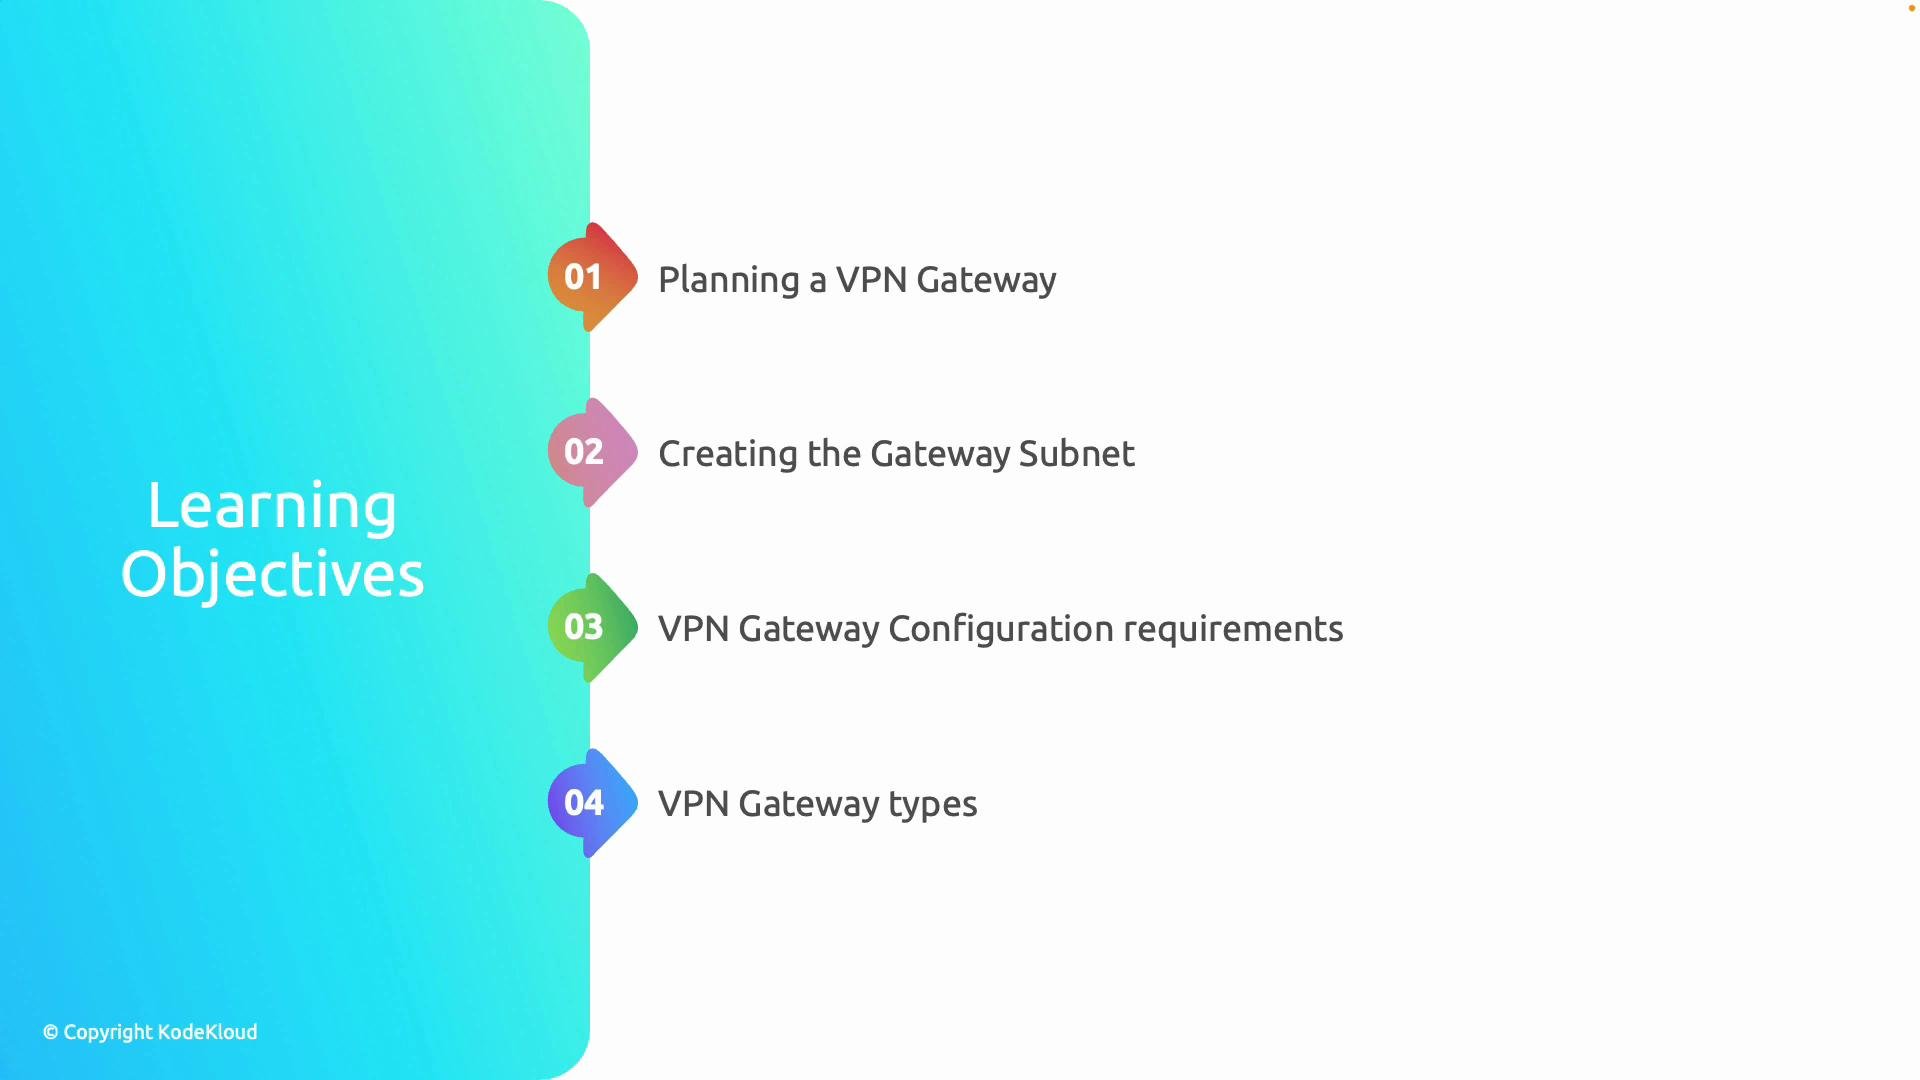
- Plan gateway scope and capacity.
- Create the required GatewaySubnet.
- Configure addressing, routing, and security.
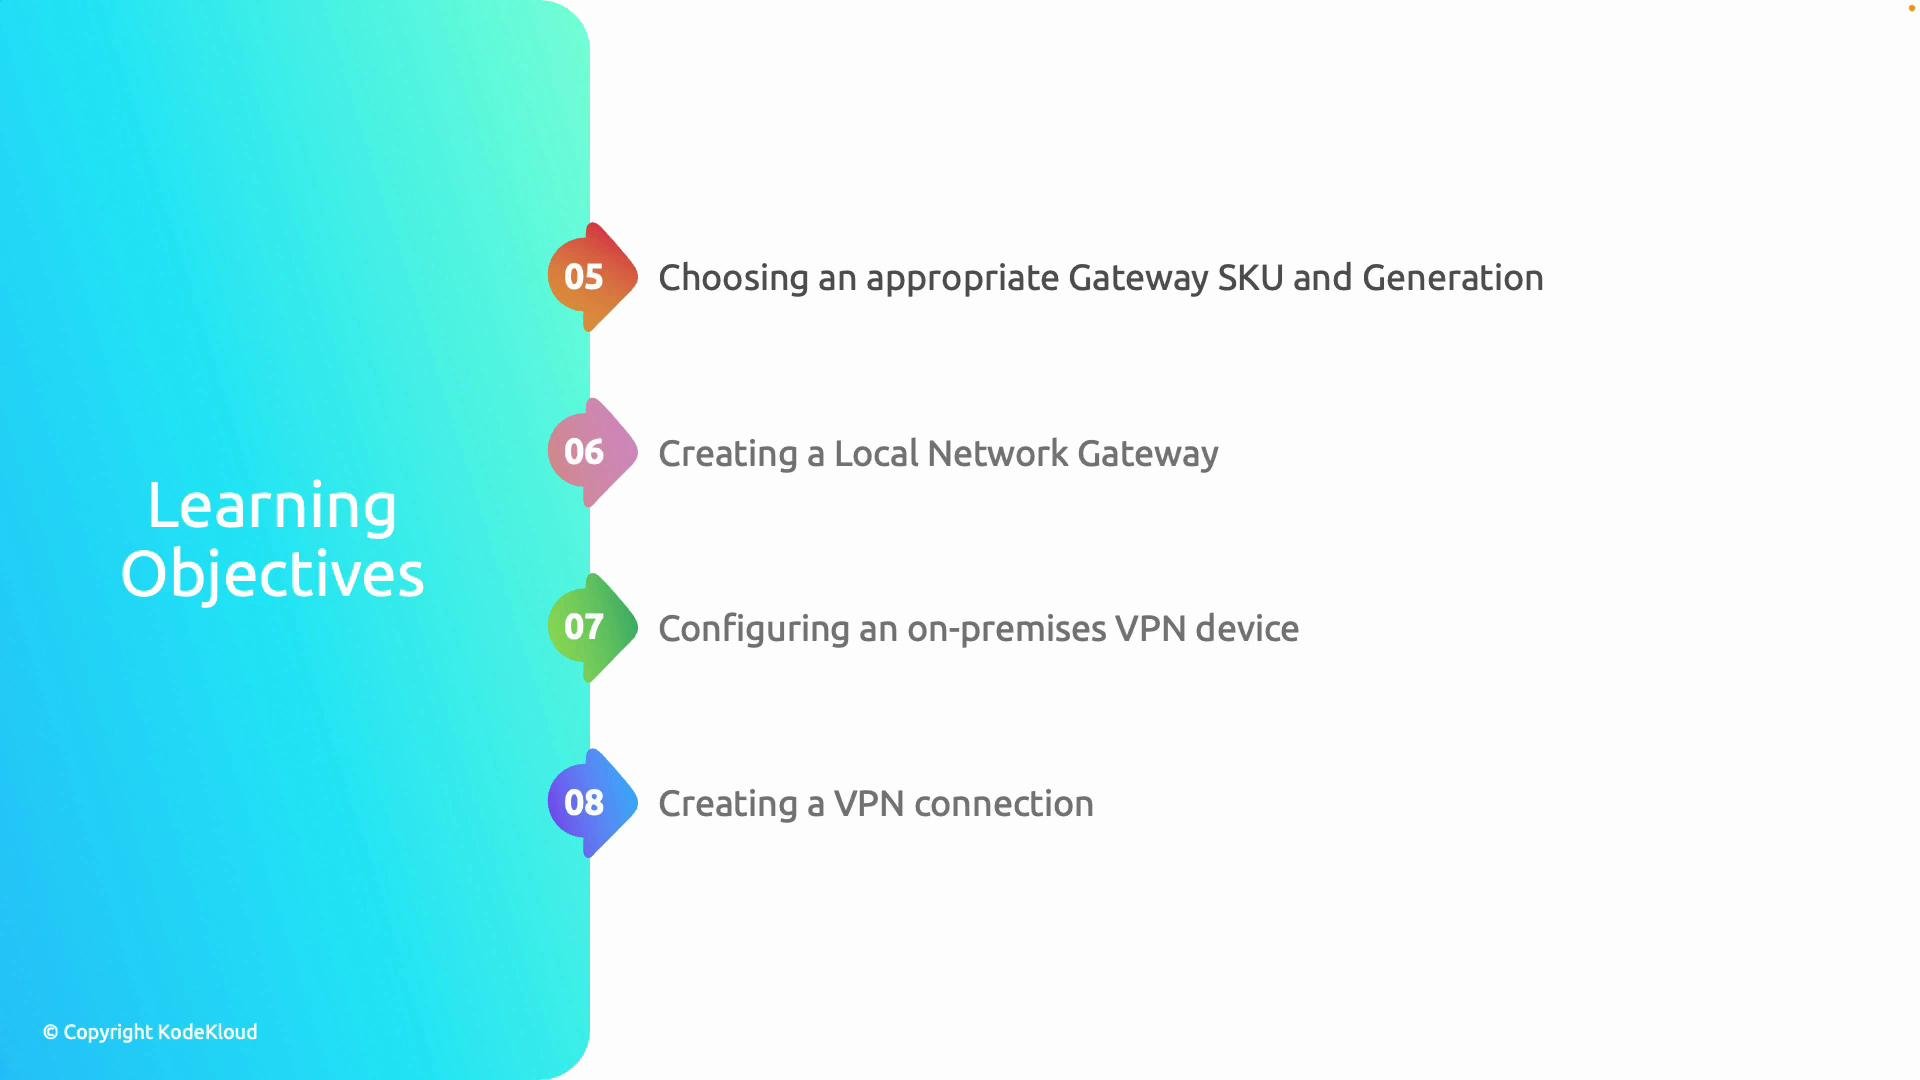
- Choose the appropriate gateway type and SKU.
- Configure the Local Network Gateway and on-premises device.
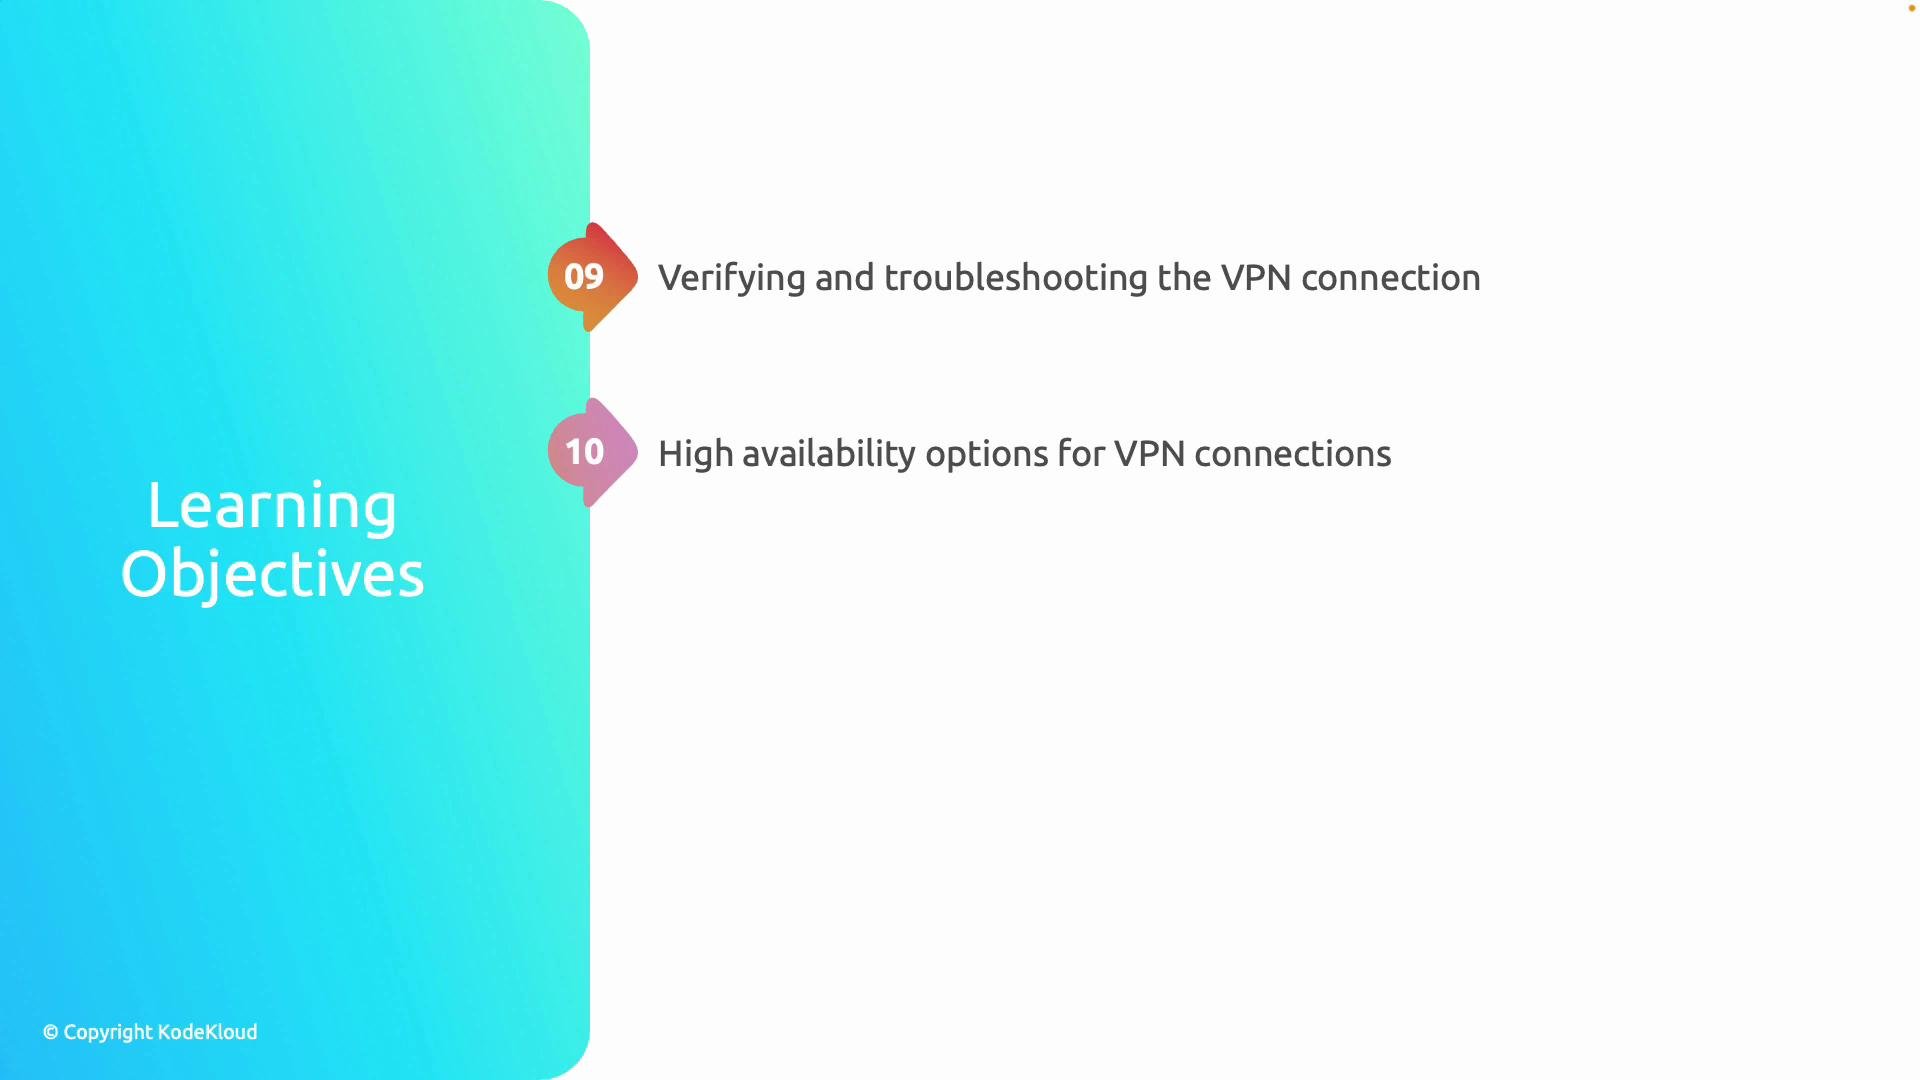
- Deploy the VPN connection and validate end-to-end connectivity.
- Troubleshoot and design for resiliency.
- Identify which resources need connectivity: on-premises networks, other VNets, or individual clients.
- Estimate expected throughput and number of tunnels.
- Define required security posture: encryption, authentication (PSK vs certificates), and isolation.
- Establish availability and resiliency requirements: zone-redundant SKUs, active-active, or hybrid failover.
GatewaySubnet inside the VNet that will host the VPN Gateway. Azure enforces the name and expects adequate IP space for the chosen SKU and number of tunnels. Typically a /27 or larger is recommended for production; smaller sizes may limit functionality.
Example: create GatewaySubnet with Azure CLI
- Address spaces: ensure no overlap with on-premises networks. Plan routing and address prefixes for all connected sites.
- Routing: decide between Azure system routes and custom route tables; plan how to propagate BGP routes if using dynamic routing.
- NSGs and firewalls: GatewaySubnet should not contain NSG rules that block gateway traffic (UDP 500/4500, ESP, IKE, etc.). Place segmentation and inspection perimeters away from GatewaySubnet.
Avoid applying restrictive Network Security Group (NSG) rules directly to
GatewaySubnet. Doing so can block required VPN and management traffic and prevent gateway deployment or tunnel establishment.
Choosing a SKU and generation
Select a SKU that matches your throughput, number of tunnels, and feature requirements (BGP, active-active, zone redundancy). Common SKUs:
VpnGw1, VpnGw2, VpnGw3, and the Basic/older families. Always reference the Azure VPN Gateway SKUs documentation for detailed limits and pricing.
Local Network Gateway and on-premises device
A Local Network Gateway is an Azure resource that represents the remote VPN endpoint. It typically contains:
- The public IP address of the on-premises VPN device.
- The address prefixes (on-premises subnets) advertised to Azure.
- IKE/IKEv2 and IPsec parameters (encryption, hashing).
- Authentication method (pre-shared key or certificates).
- Route advertisement (static routes or BGP).
- Site-to-Site (IPsec) for traditional on-premises to Azure links.
- VNet-to-VNet for peering VNets via VPN gateway.
- Point-to-Site (S2C) for individual clients.
- Azure portal: Monitor VPN Gateway -> Connections for tunnel status.
- Azure Network Watcher: use VPN diagnostics, packet capture, and topology.
- Logs and metrics: review gateway logs, connection metrics, and IKE/IPsec counters.
- Routing validation: confirm on-premises and Azure route tables and BGP advertisements.
- End-to-end tests: ping, traceroute, and application-level checks from both ends.
- Active-active VPN gateways to distribute tunnels across instances.
- Zone-redundant gateway SKUs to survive zone outages.
- Hybrid failover: combine VPN with ExpressRoute or secondary VPN gateways in different regions.
- Automate monitoring and failover testing to validate SLA objectives.
Links and references
Ensure your VPN subnet is named
GatewaySubnet and sized according to the chosen SKU and expected connections—incorrect naming or insufficient subnet size will prevent gateway deployment.