- A Network Virtual Appliance (NVA) provides virtualized network functions such as firewalls, routing, SD‑WAN, or packet inspection.
- When used with an Azure Virtual Hub (part of Virtual WAN), NVAs can be deployed from the Azure Marketplace and integrated into the hub’s routing so traffic is steered through them for inspection, routing, or policy enforcement.
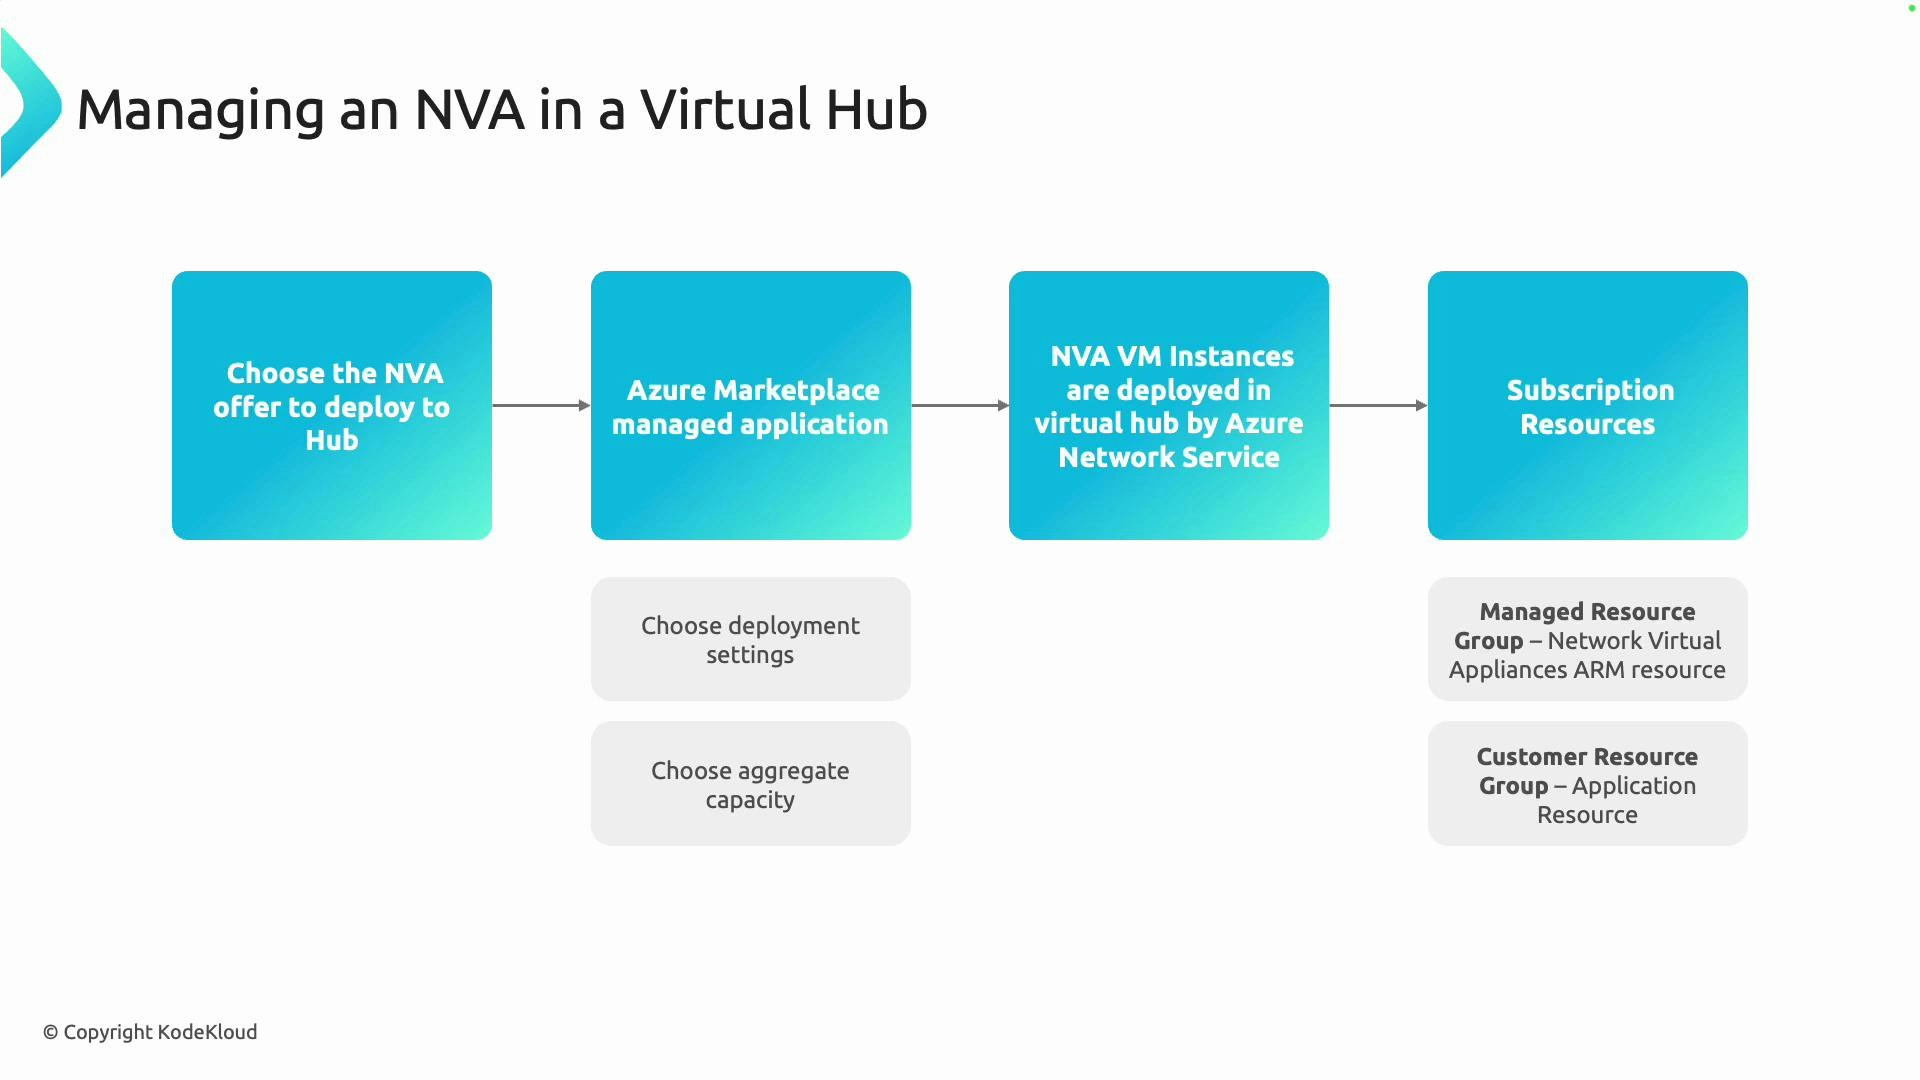
- The following sections walk through selecting an NVA, deploying it from the Marketplace, how Azure integrates it into the hub, and how resources are organized in your subscription.
- Select the NVA offer
- Deploy the NVA from Marketplace
- Azure provisions and integrates the NVA into your Virtual Hub
- Organize and manage the resulting resources in your subscription
- Search the Azure Marketplace for NVAs that match your functional and non‑functional requirements (for example: firewall, advanced routing, SD‑WAN, IDS/IPS).
- Evaluate each offer for:
- Feature set required (L3/L4 routing, L7 inspection, high‑availability models)
- Supported deployment modes (single NIC, multi‑NIC, inline/hub integration)
- Throughput and performance claims
- Licensing model (BYOL, pay-as-you-go, subscription)
- Consider vendor documentation and reference architectures to ensure the appliance supports the Virtual Hub integration pattern you need.
- Marketplace NVAs are typically shipped as managed applications or publisher offerings. During deployment you will configure:
- Virtual machine size (CPU, memory)
- Instance count (number of VM instances or scale units)
- Aggregate capacity/throughput and licensing options
- Networking settings to attach the appliance into the Virtual Hub
- Capacity and scaling characteristics are vendor-specific; consult the appliance vendor documentation to map your expected traffic to the appropriate instance size and count.
Capacity, throughput, and licensing vary by vendor. Confirm vendor performance and high-availability guidance to size instance types and counts for your expected traffic patterns.
- After submitting deployment settings, Azure will provision VM instances and any required networking resources inside the selected Virtual Hub (or a managed resource group controlled by the publisher).
- The deployed NVA instances are integrated into the hub’s routing and connectivity. Integration typically includes:
- Route table entries or hub routing policies to steer traffic through the NVA
- Network interfaces attached to the hub or associated subnets
- Health probes or load‑balancing indicators (vendor-dependent) for HA and traffic distribution
- Marketplace deployments commonly split resources between publisher-managed and customer-managed resource groups to clarify management and support boundaries.
- Keeping resources in separate groups simplifies lifecycle operations, billing, and support handoffs between the appliance publisher and your operations team.
- Validate vendor capacity with representative traffic tests or vendor sizing tools.
- Decide on HA pattern: active/active, active/passive, or vendor-specific clustering.
- Configure hub route policies to steer required traffic to the NVA.
- Implement monitoring and alerting for instance health and throughput.
- Maintain a clear separation of publisher-managed vs. customer-managed resources for upgrades and troubleshooting.
- Azure Virtual WAN: https://learn.microsoft.com/azure/virtual-wan/
- Azure Marketplace: https://azuremarketplace.microsoft.com/
- Vendor-specific NVA documentation (check the Marketplace offer listing for links)