1. Install the Kubernetes Plugin
Jenkins requires the Kubernetes plugin to spin up agents in your cluster.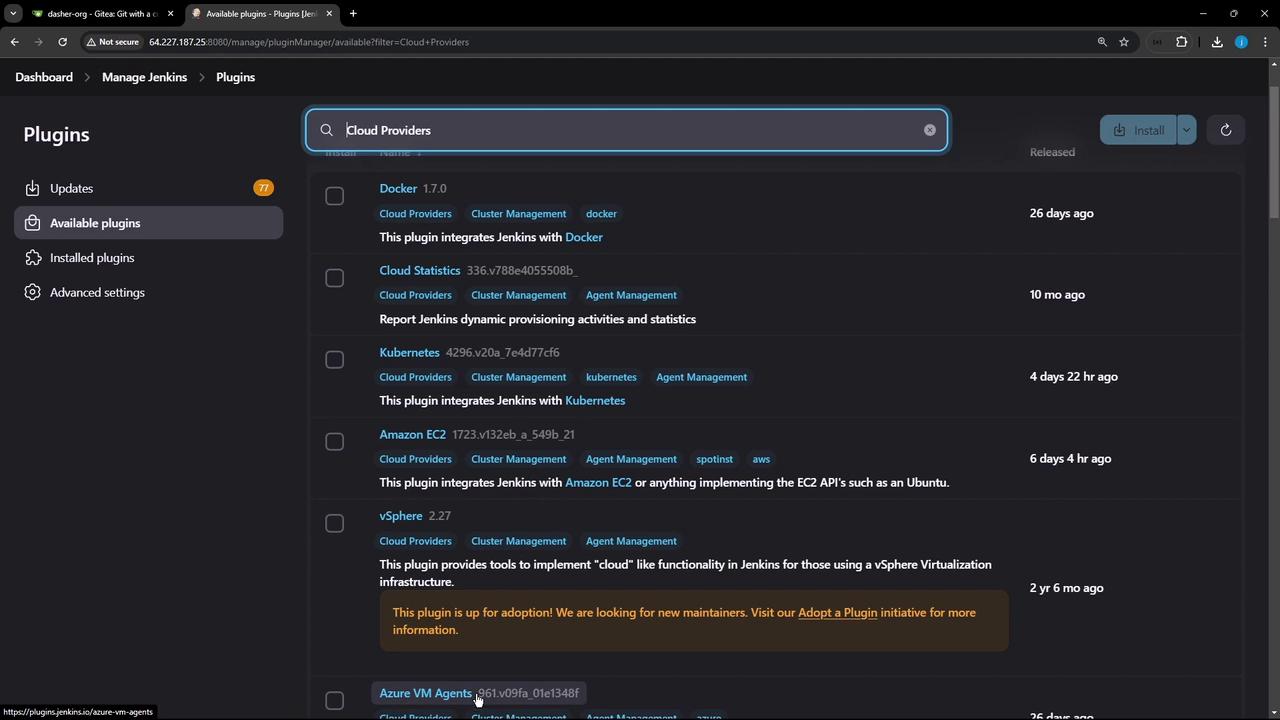
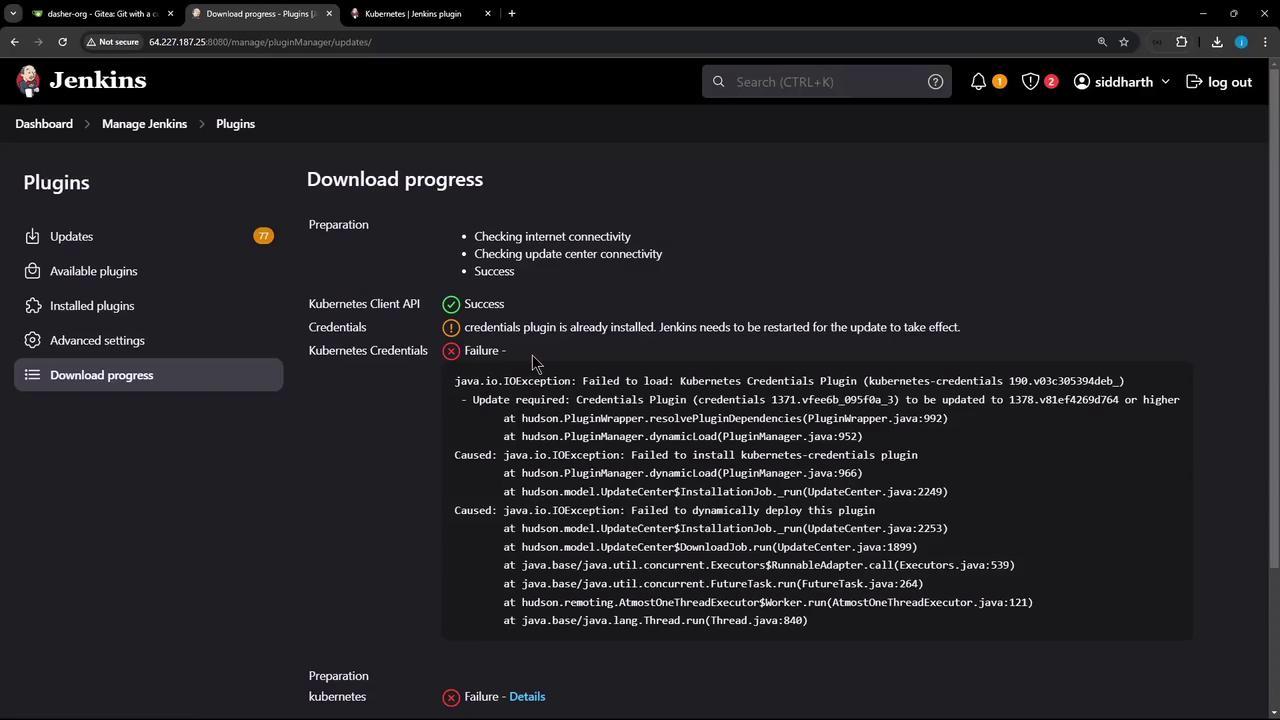
Always restart Jenkins after plugin upgrades to ensure dependencies load correctly.
2. Configure the Kubernetes Cloud
- Go to Manage Jenkins → Manage Nodes and Clouds → Configure Clouds.
- Click Add a new cloud and select Kubernetes.
- Provide a name (e.g.,
prod-k8s-us-east).
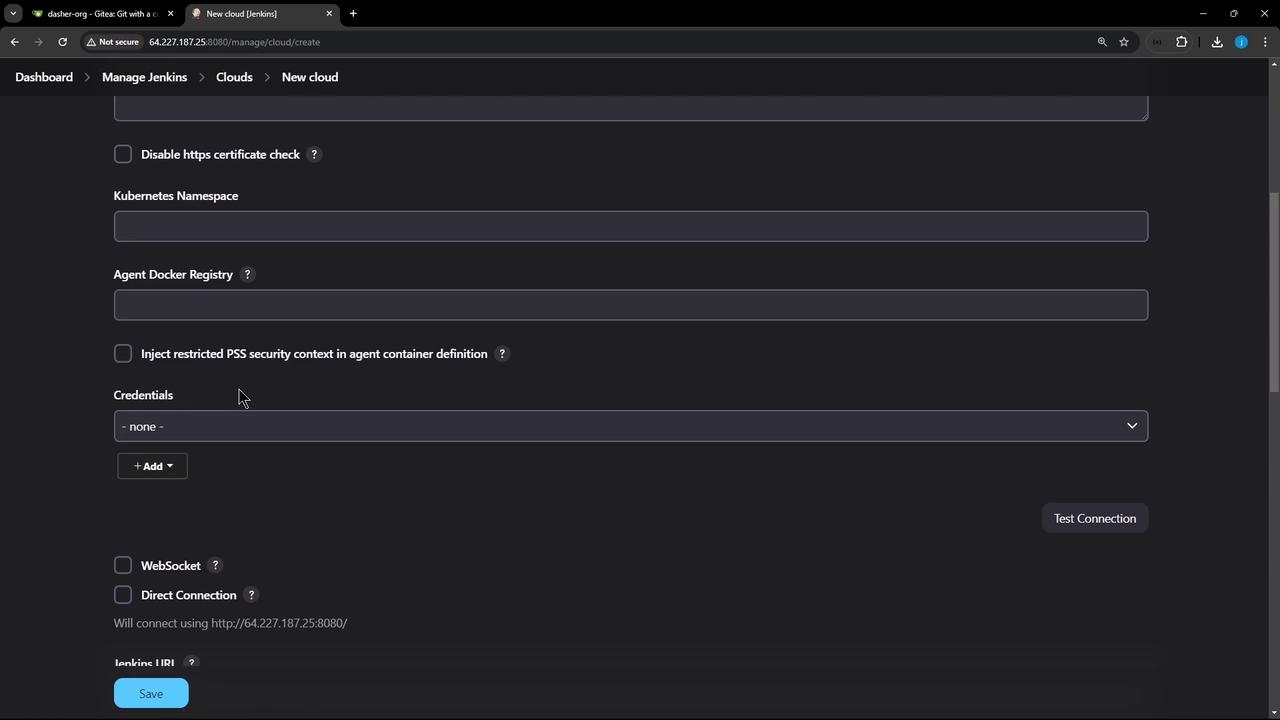
A. Connect Using a Kubeconfig File
- Export your full kubeconfig:
- In Jenkins, add a Secret file credential (
kubeconfig-us-east) and uploadkubeconfig.yaml. - Select this credential under Kubernetes Credentials and click Test Connection.
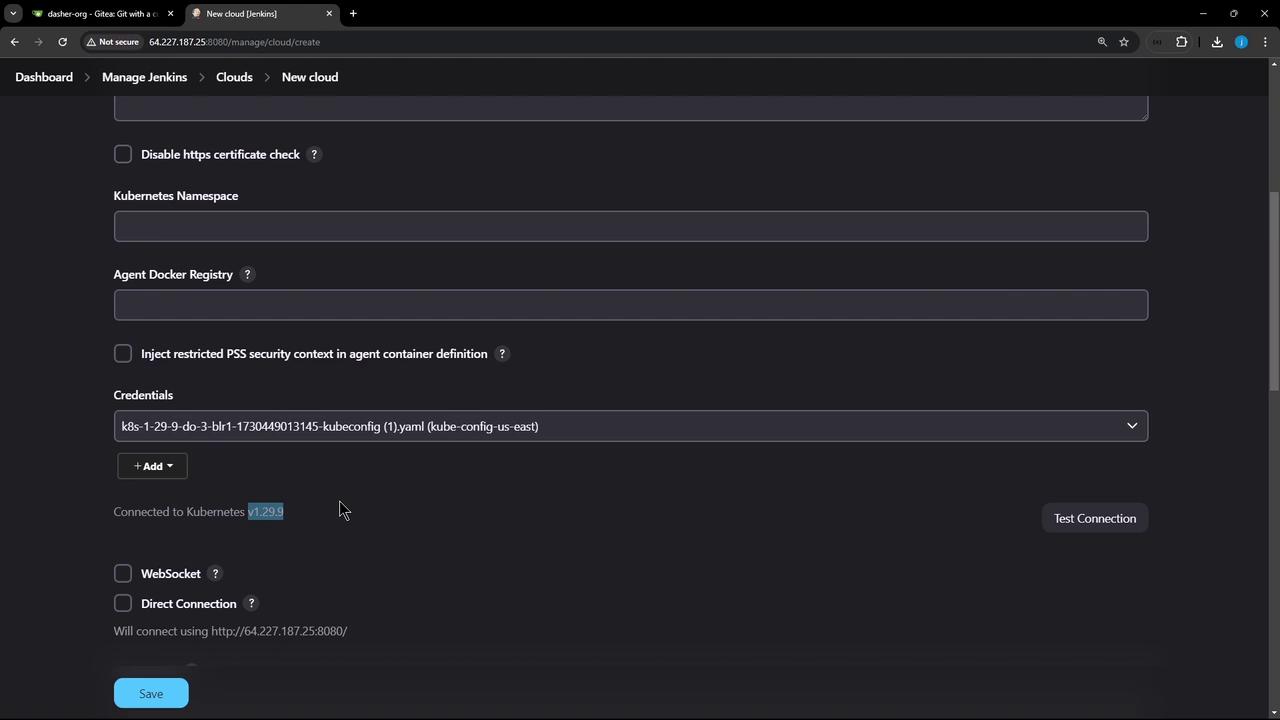
Using a full-admin kubeconfig grants access to the entire cluster. For production, it’s best practice to use a least-privileged service account.
B. Connect Using a Service Account Token
Follow these steps to lock down permissions:- Create a namespace and service account:
- Generate a long-lived token:
- In Jenkins, add a Secret text credential (
jenkins-sa-token) with this token. - Back in the Kubernetes cloud config:
- Kubernetes URL: your API server endpoint
- Namespace:
jenkins - Credentials:
jenkins-sa-token - Click Test Connection.
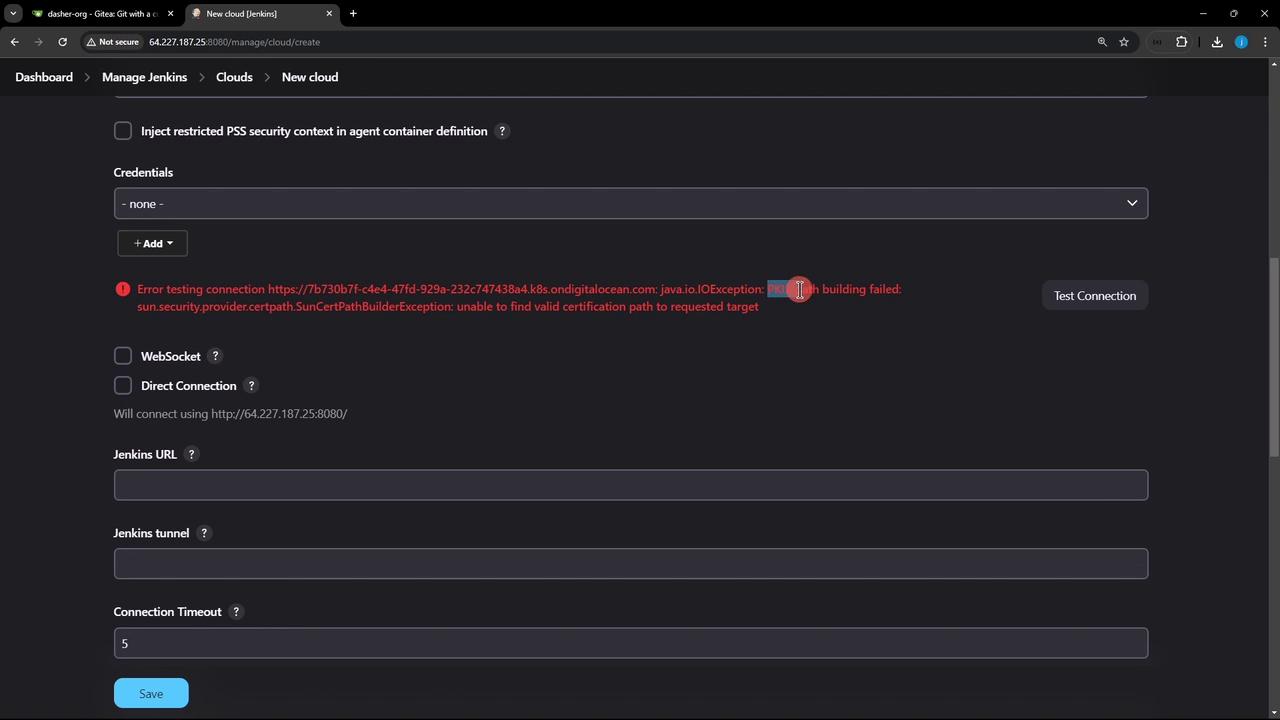
Disabling TLS verification is insecure. Instead, provide the CA certificate for your API server under Kubernetes CA Certificate.
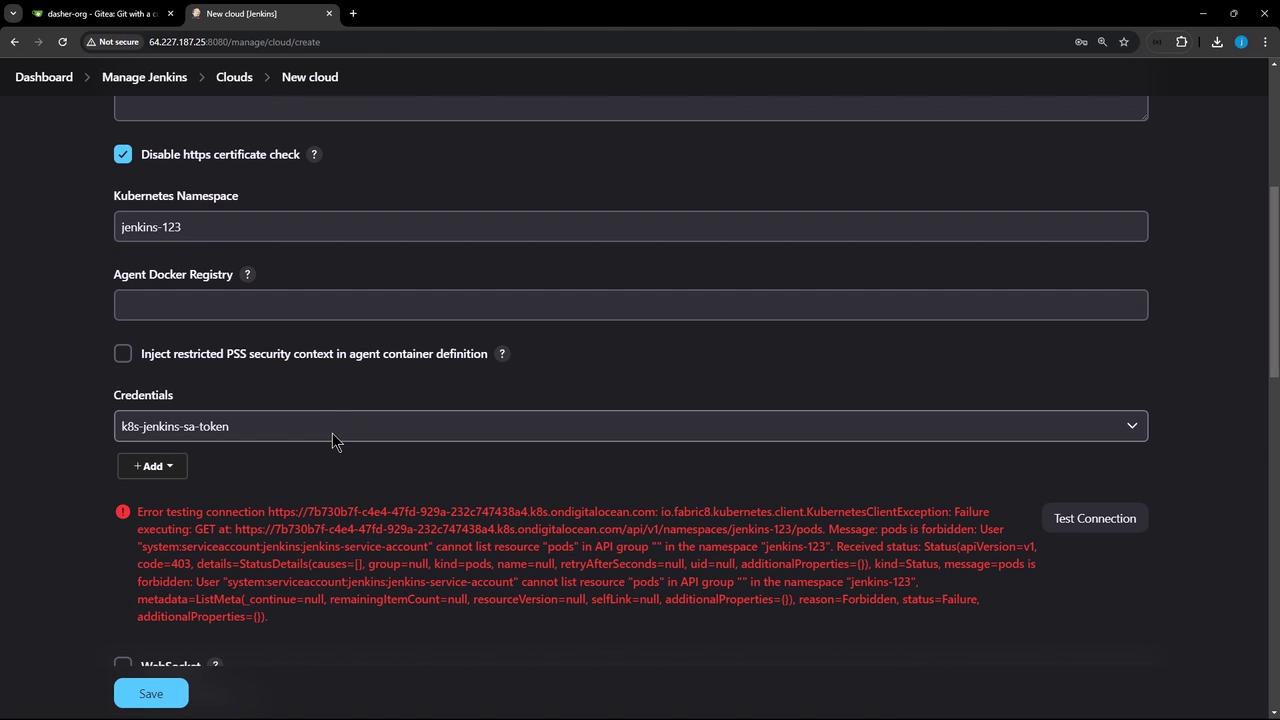
- Grant namespace-scoped admin rights:
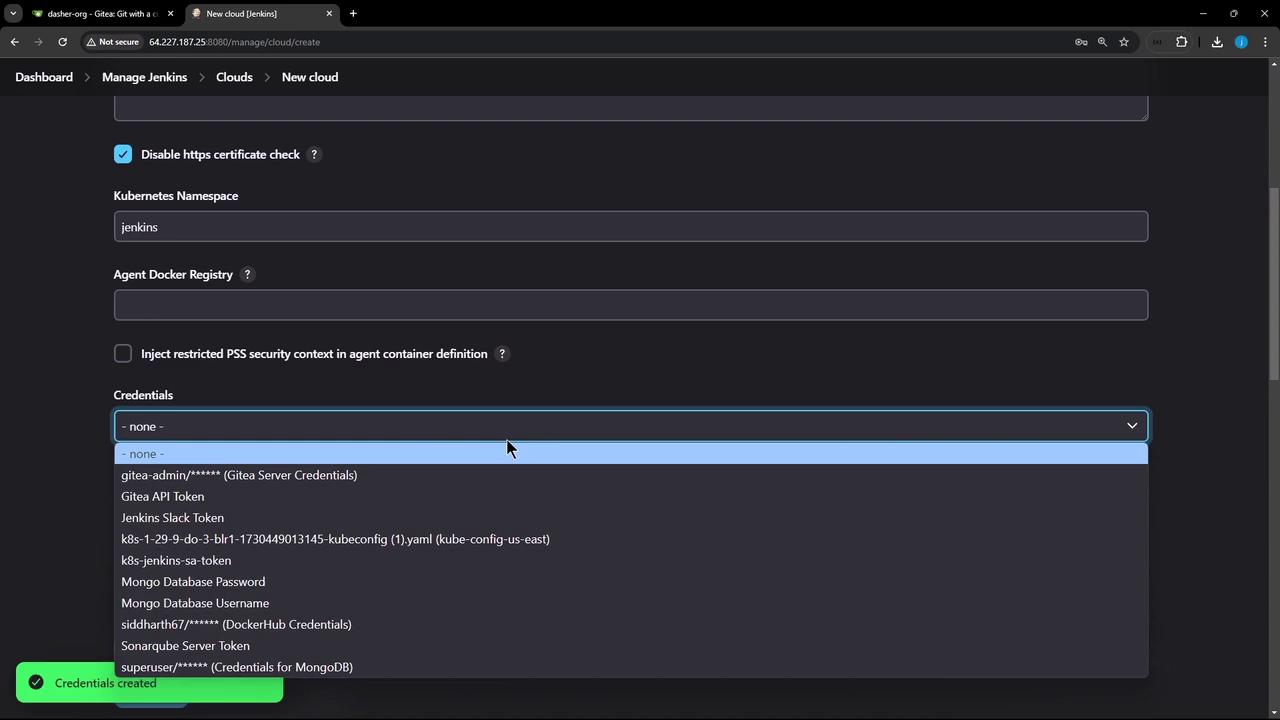
- In Jenkins, click Test Connection again. You should see the credentials dropdown populated and a successful response:
3. Finalize Cloud Settings
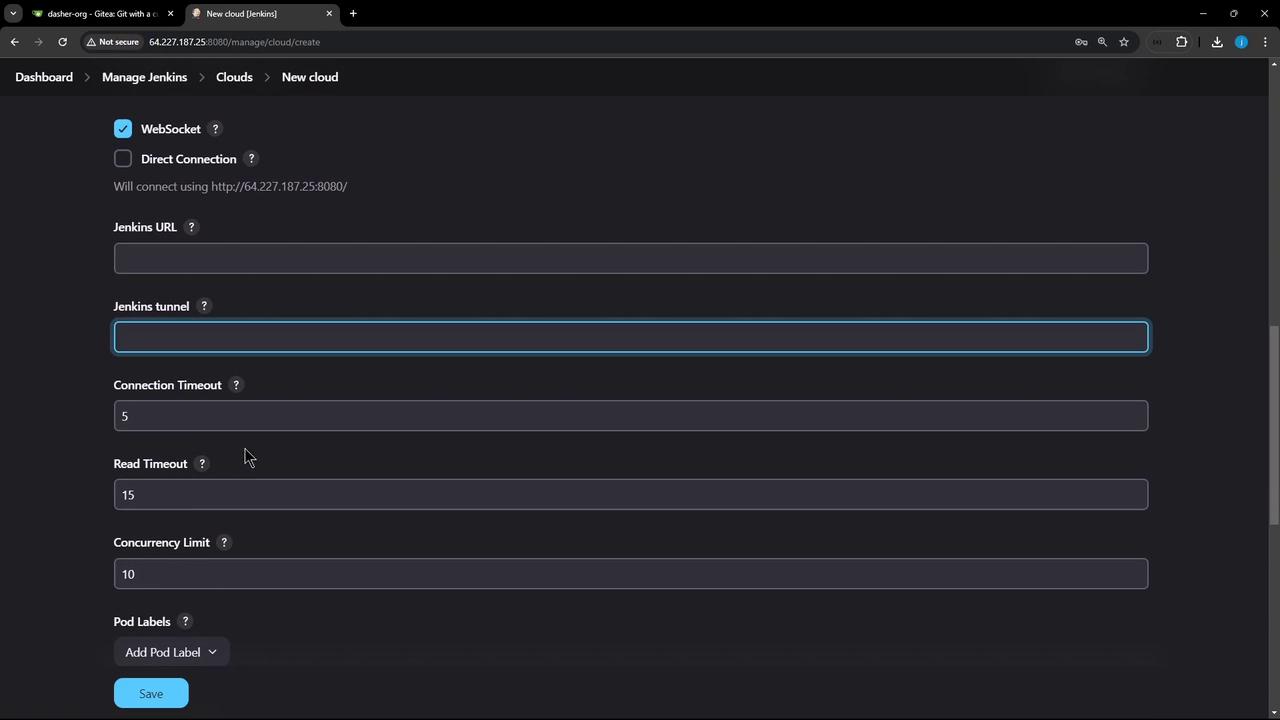
Configure how Jenkins launches and cleans up pods:- Jenkins URL / Jenkins tunnel: Host:port for JNLP/WebSocket agent connections.
- Pod Labels: e.g.,
organization=KodeKloudAzureArc—tags applied to every agent pod. - Pod Retention: