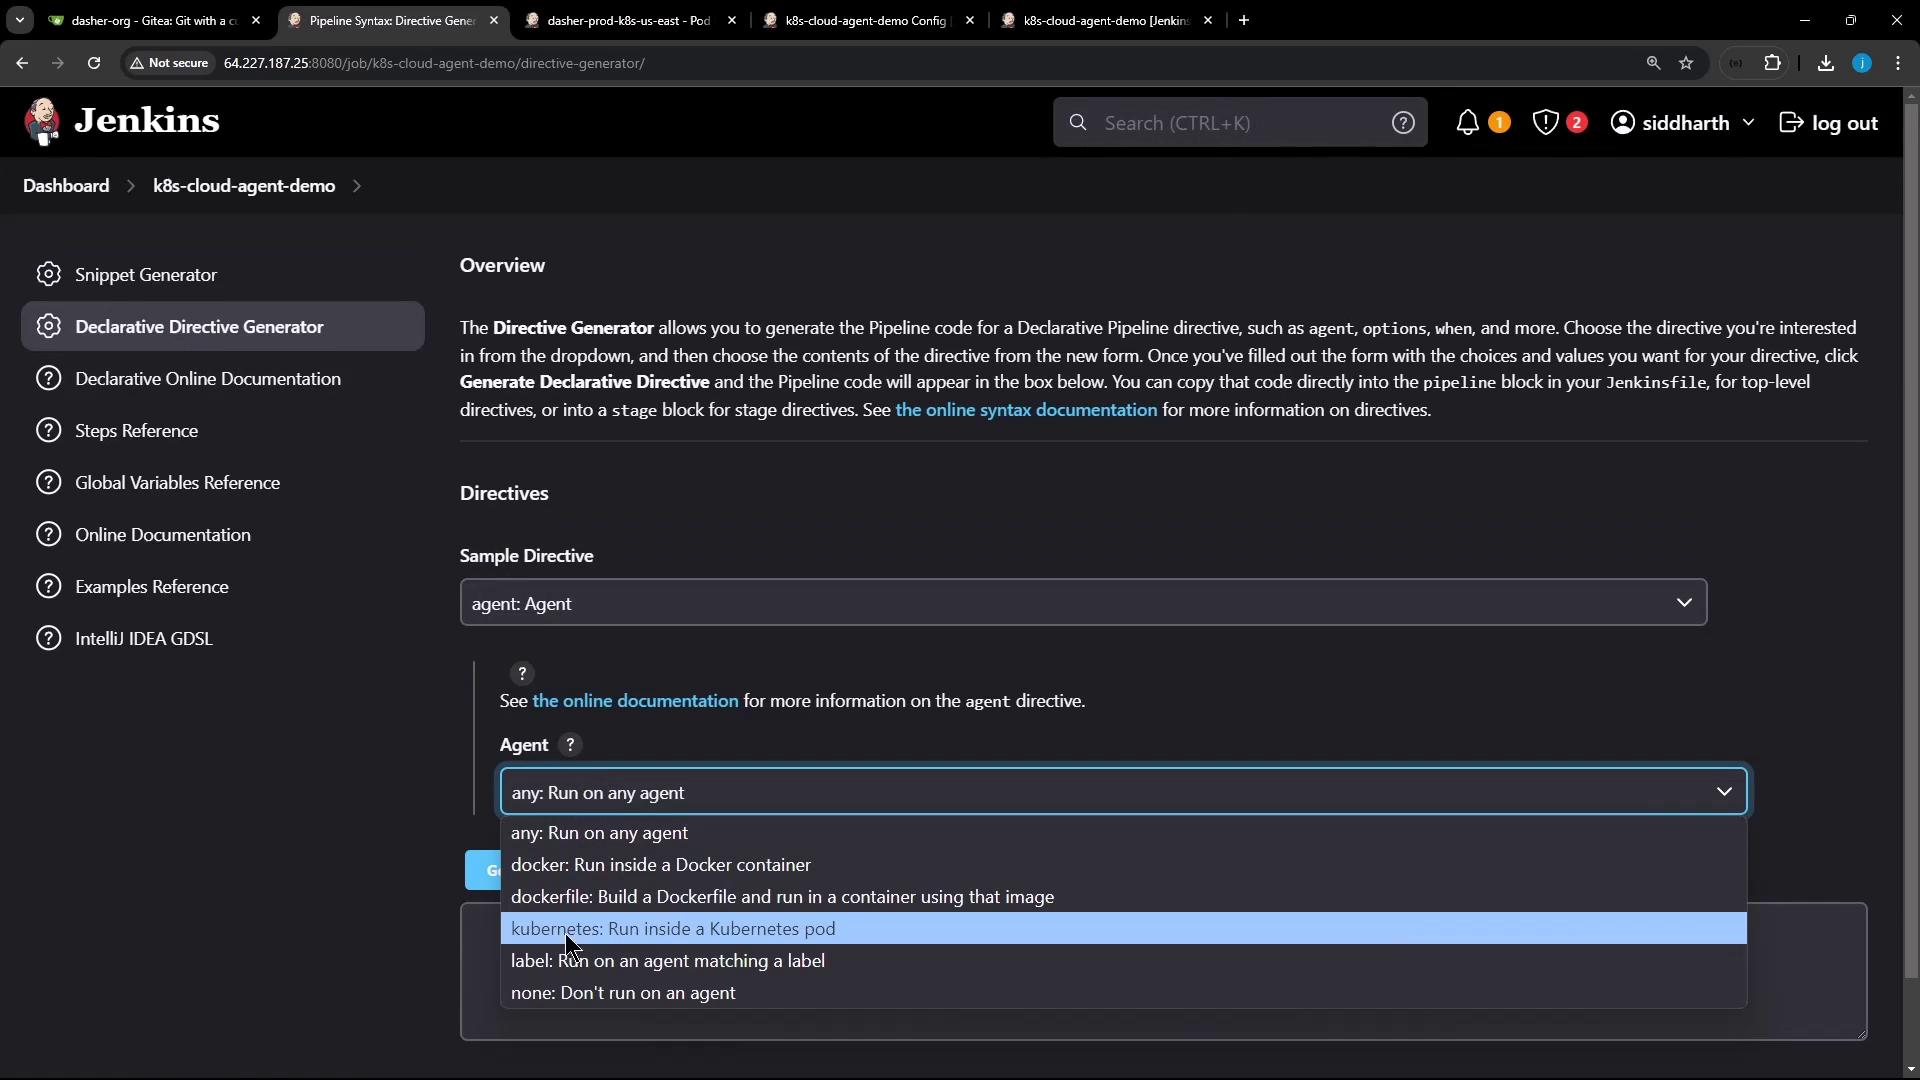
- Define Pod templates inline or via YAML files
- Use a default container or target specific containers per stage
- Inspect Pod definitions and events on your cluster
1. Create a New Pipeline Job
- From the Jenkins dashboard, click New Item.
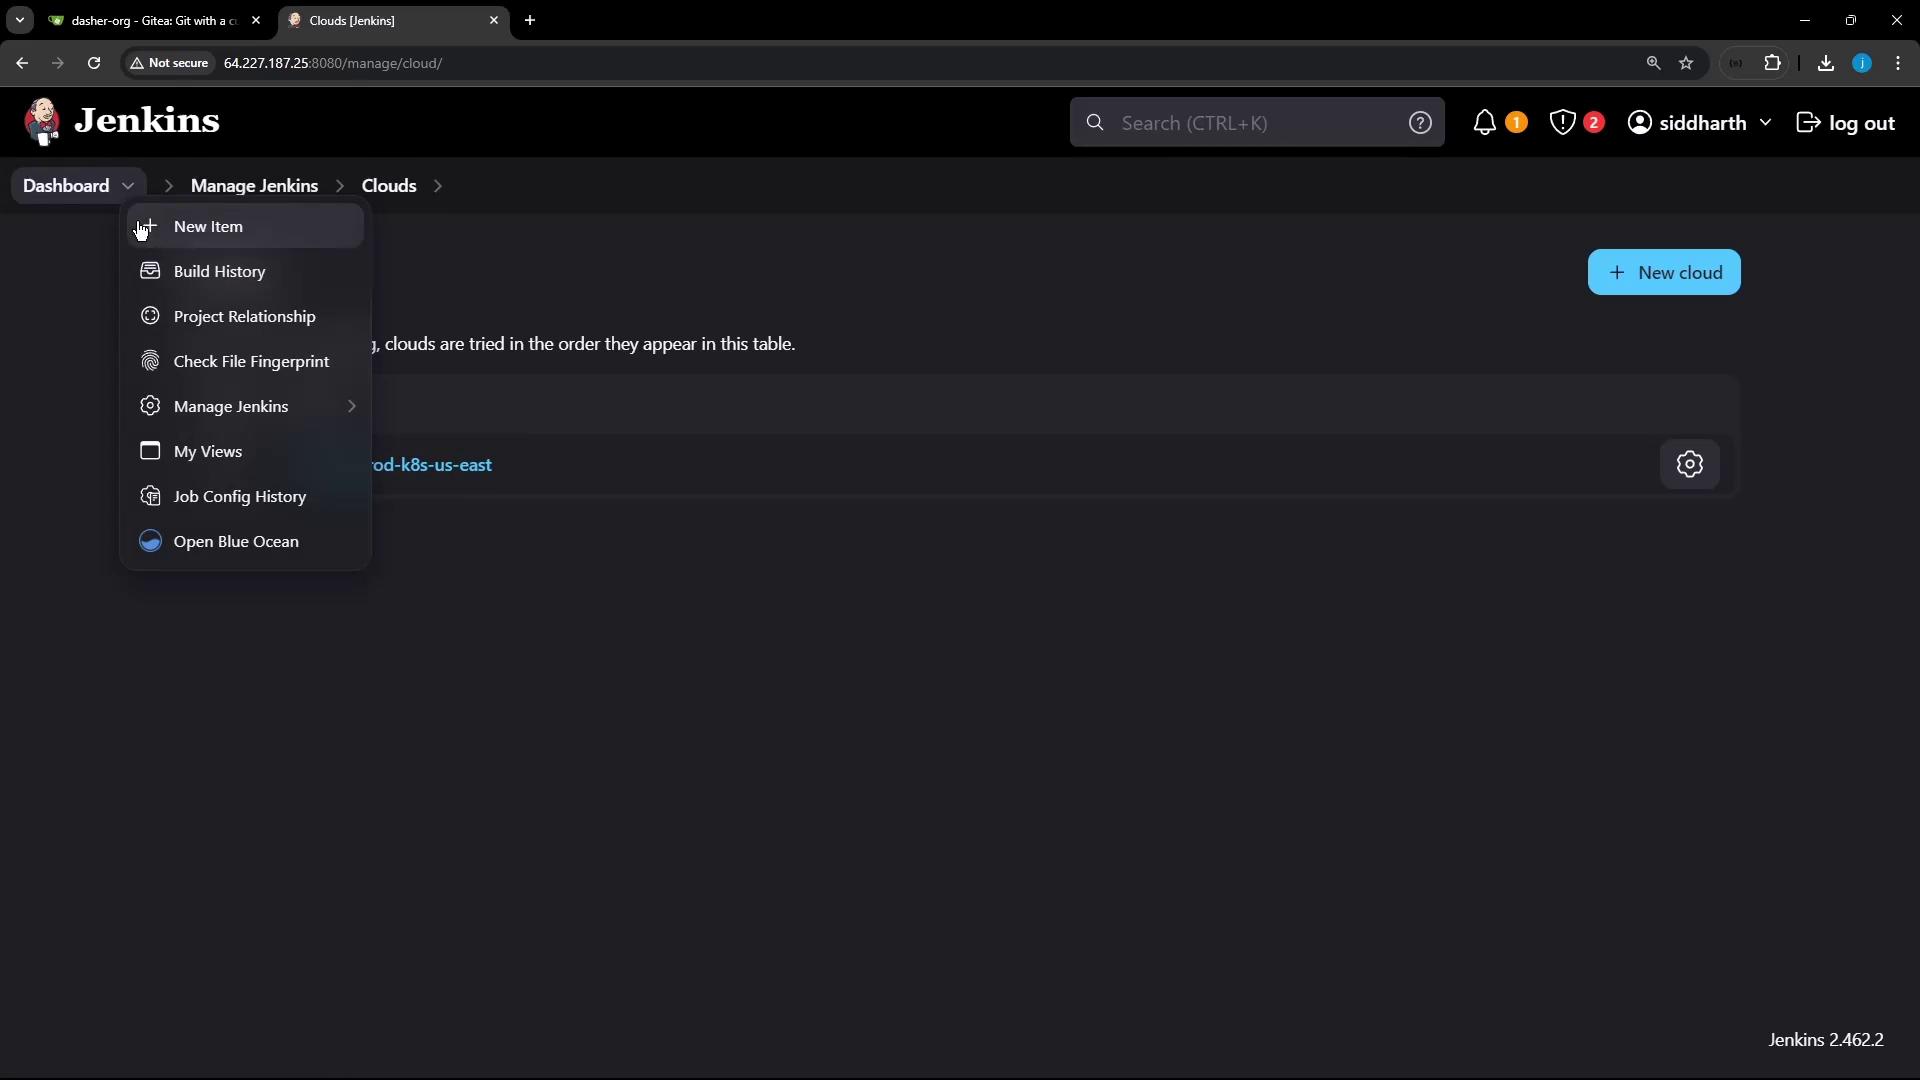
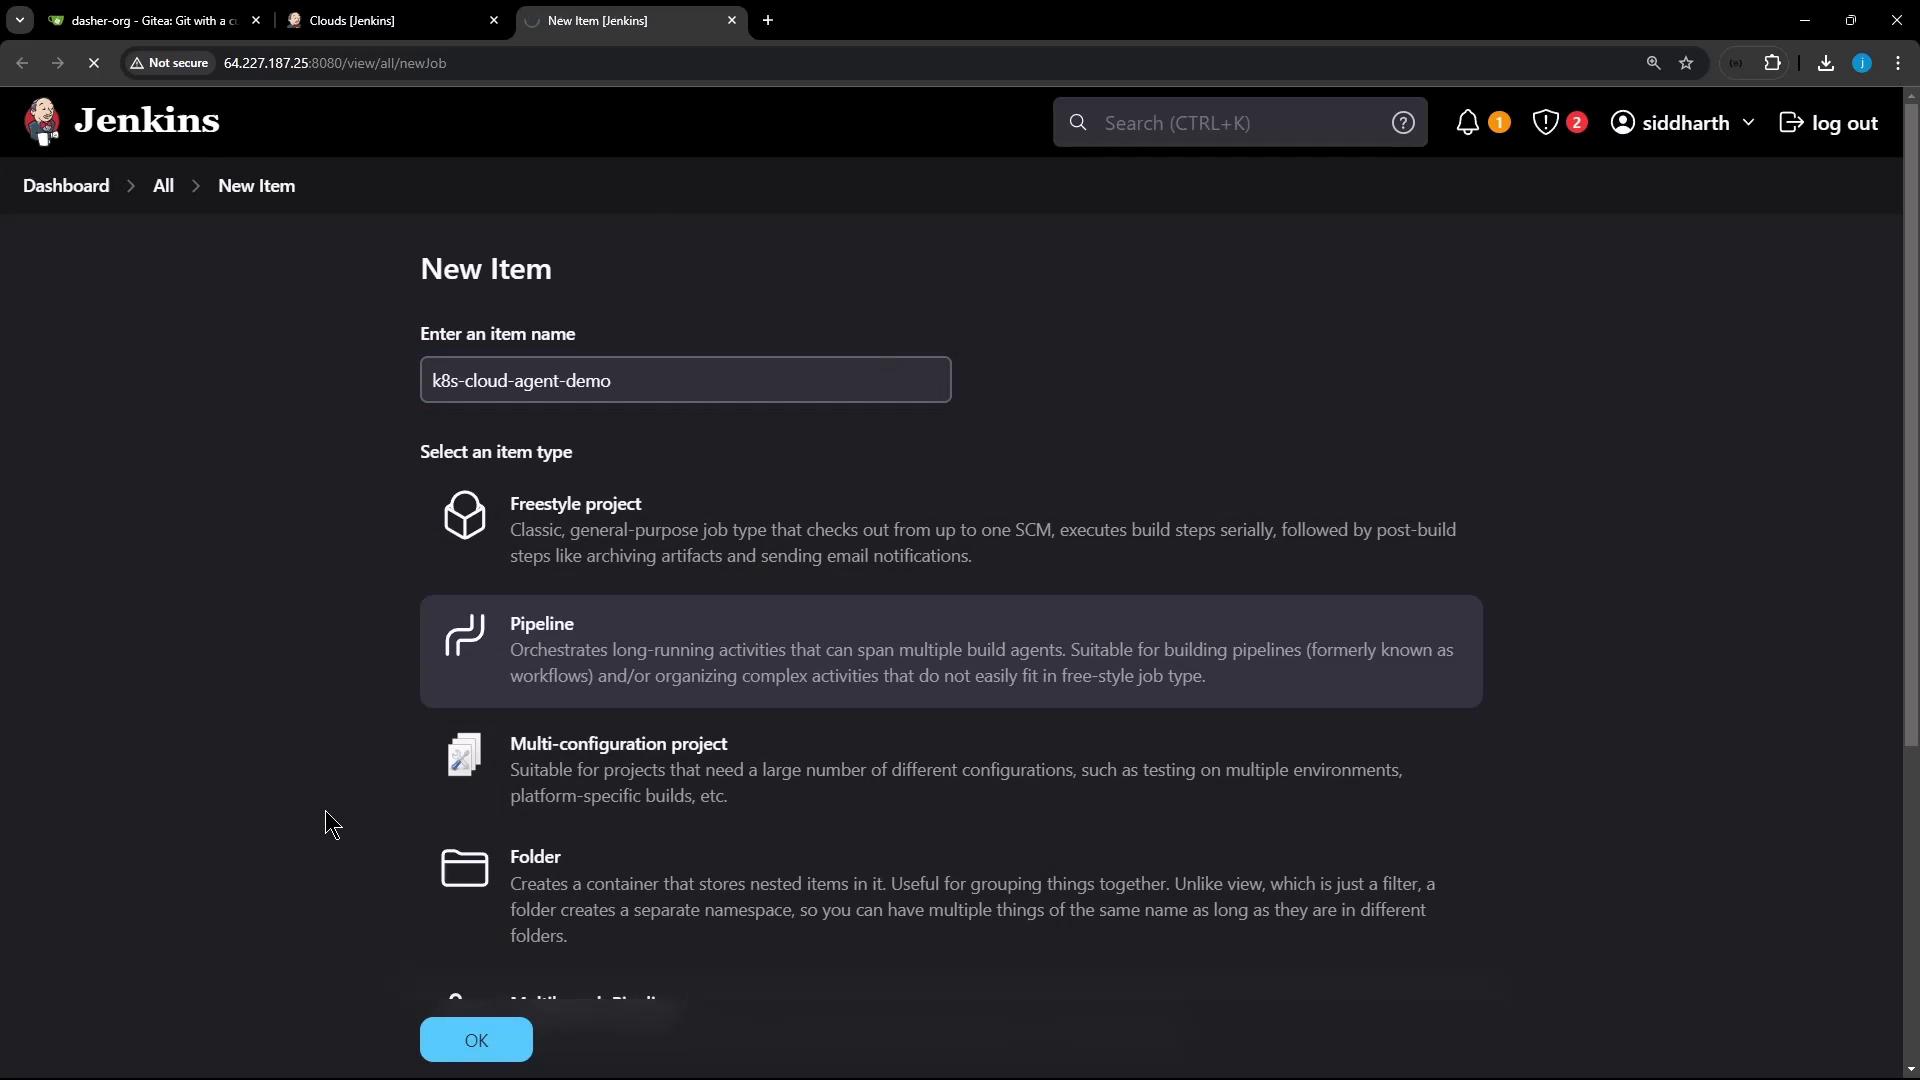
- Enter the job name (k8s-cloud-agent-demo or your preferred name) and select Pipeline.
- Scroll to the Pipeline section, choose Pipeline script, and prepare to paste your Declarative Pipeline.
2. Basic Declarative Pipeline with Kubernetes Agent
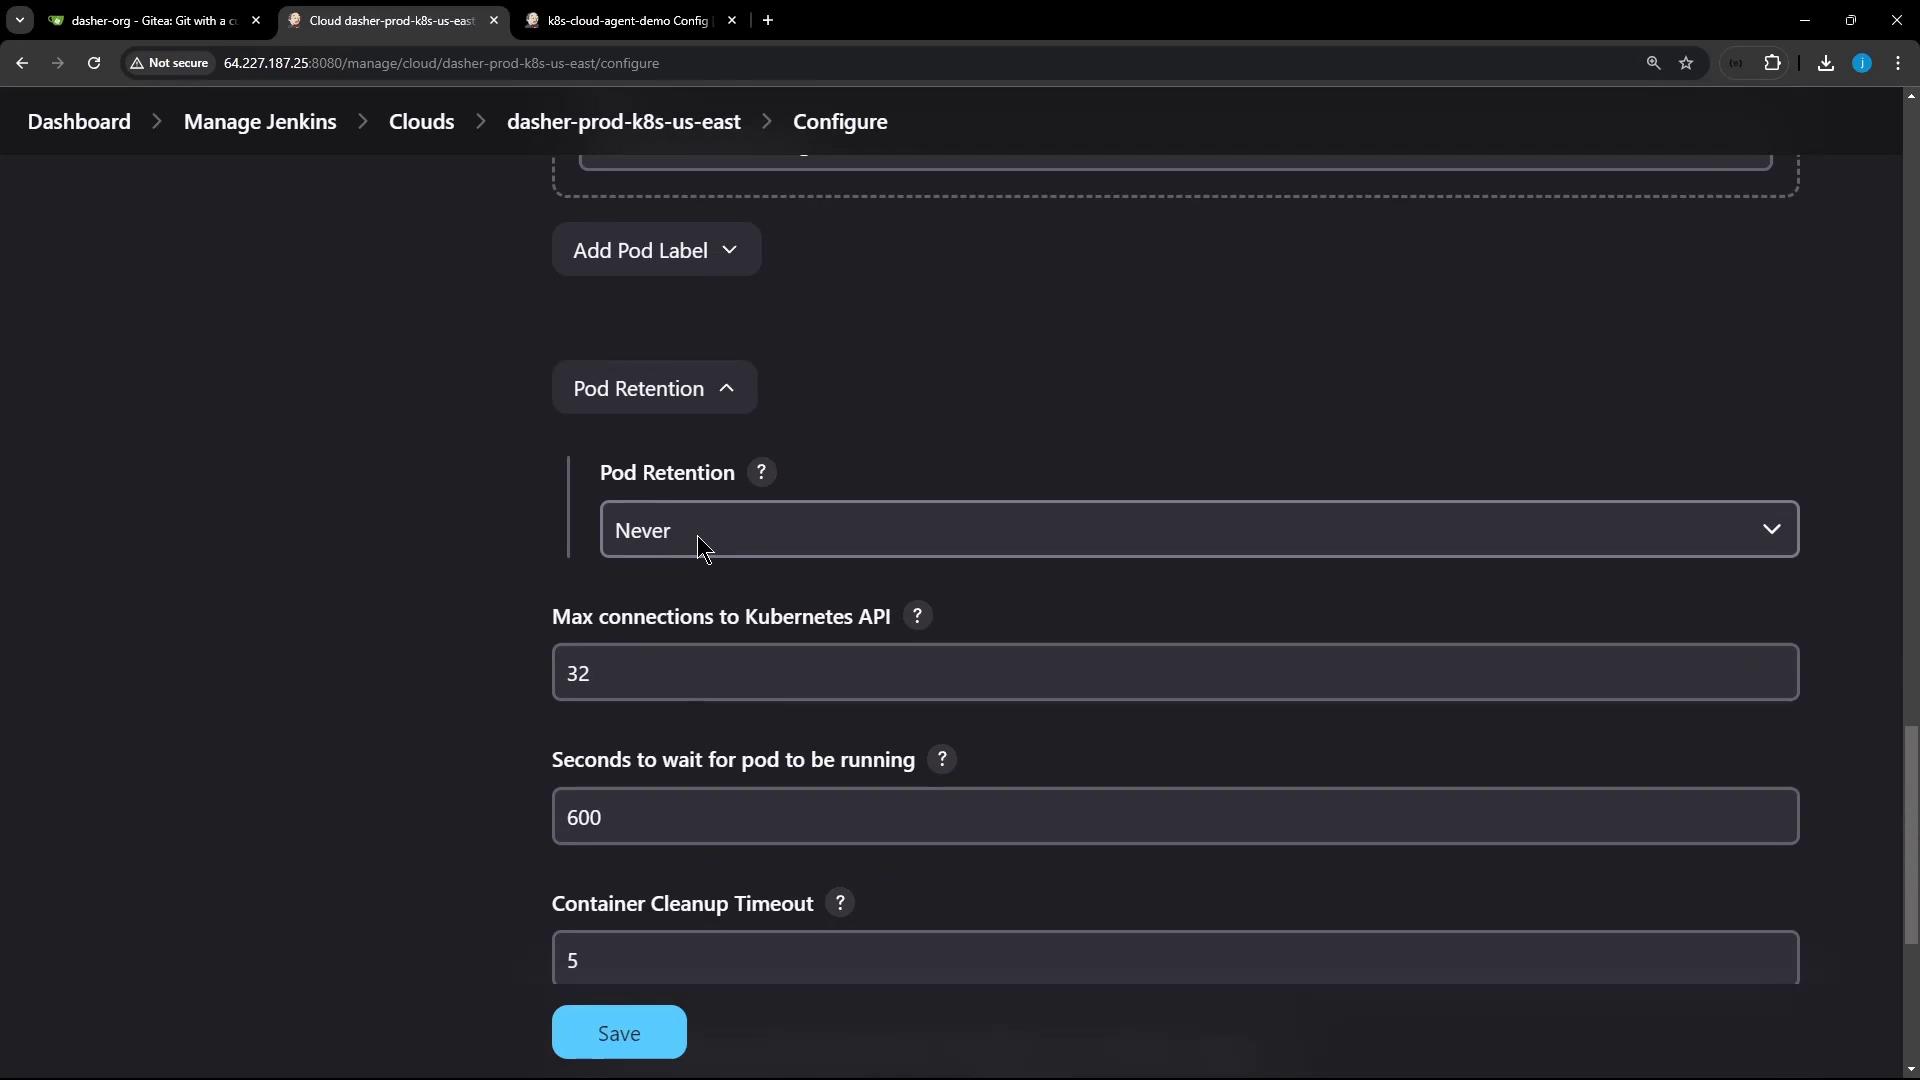
Start with a minimal pipeline that runs one stage inside a Kubernetes Pod defined inline:In the Kubernetes Cloud settings, Pod Retention is set to Never, so Pods are deleted after each build.
3. Run the Build and Inspect the Pod
- Click Build Now on your Pipeline job.
-
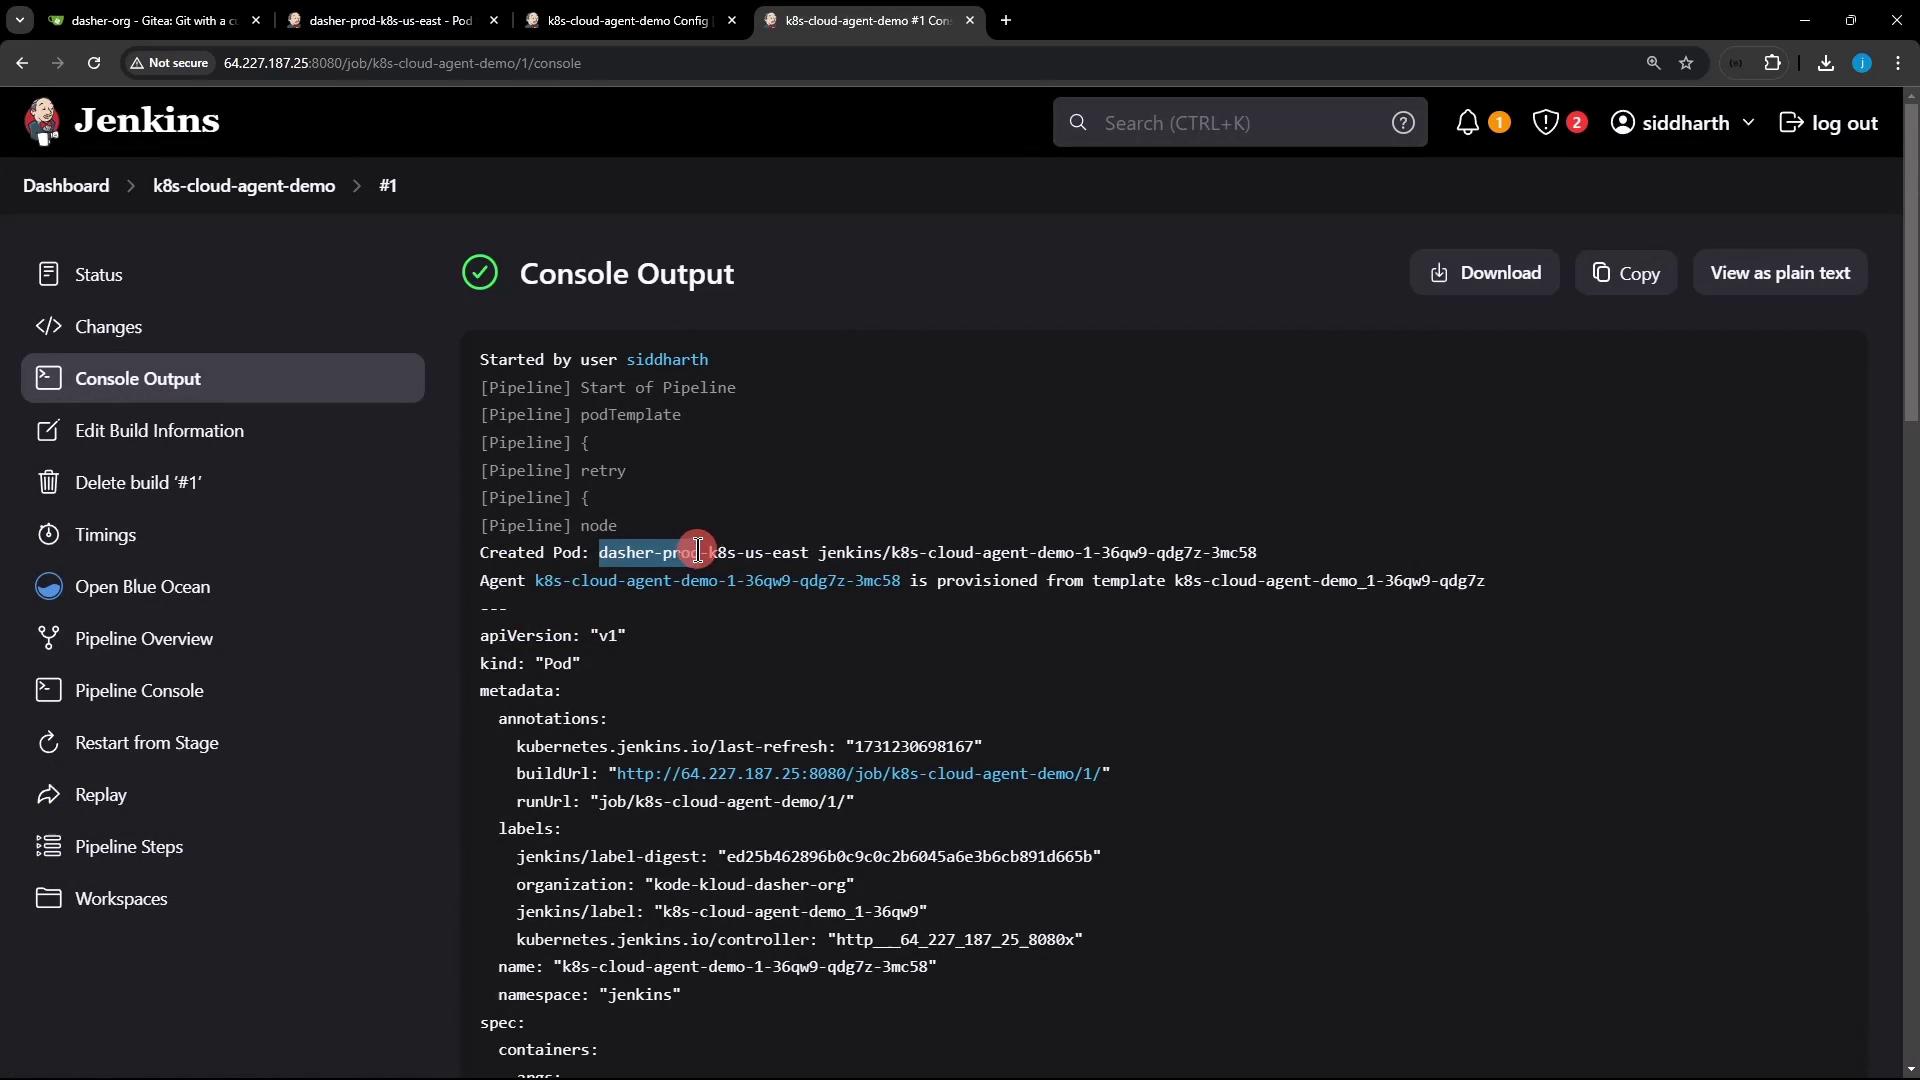
Open Console Output to see the steps:
-
Jenkins also prints the full Pod spec it created:
-
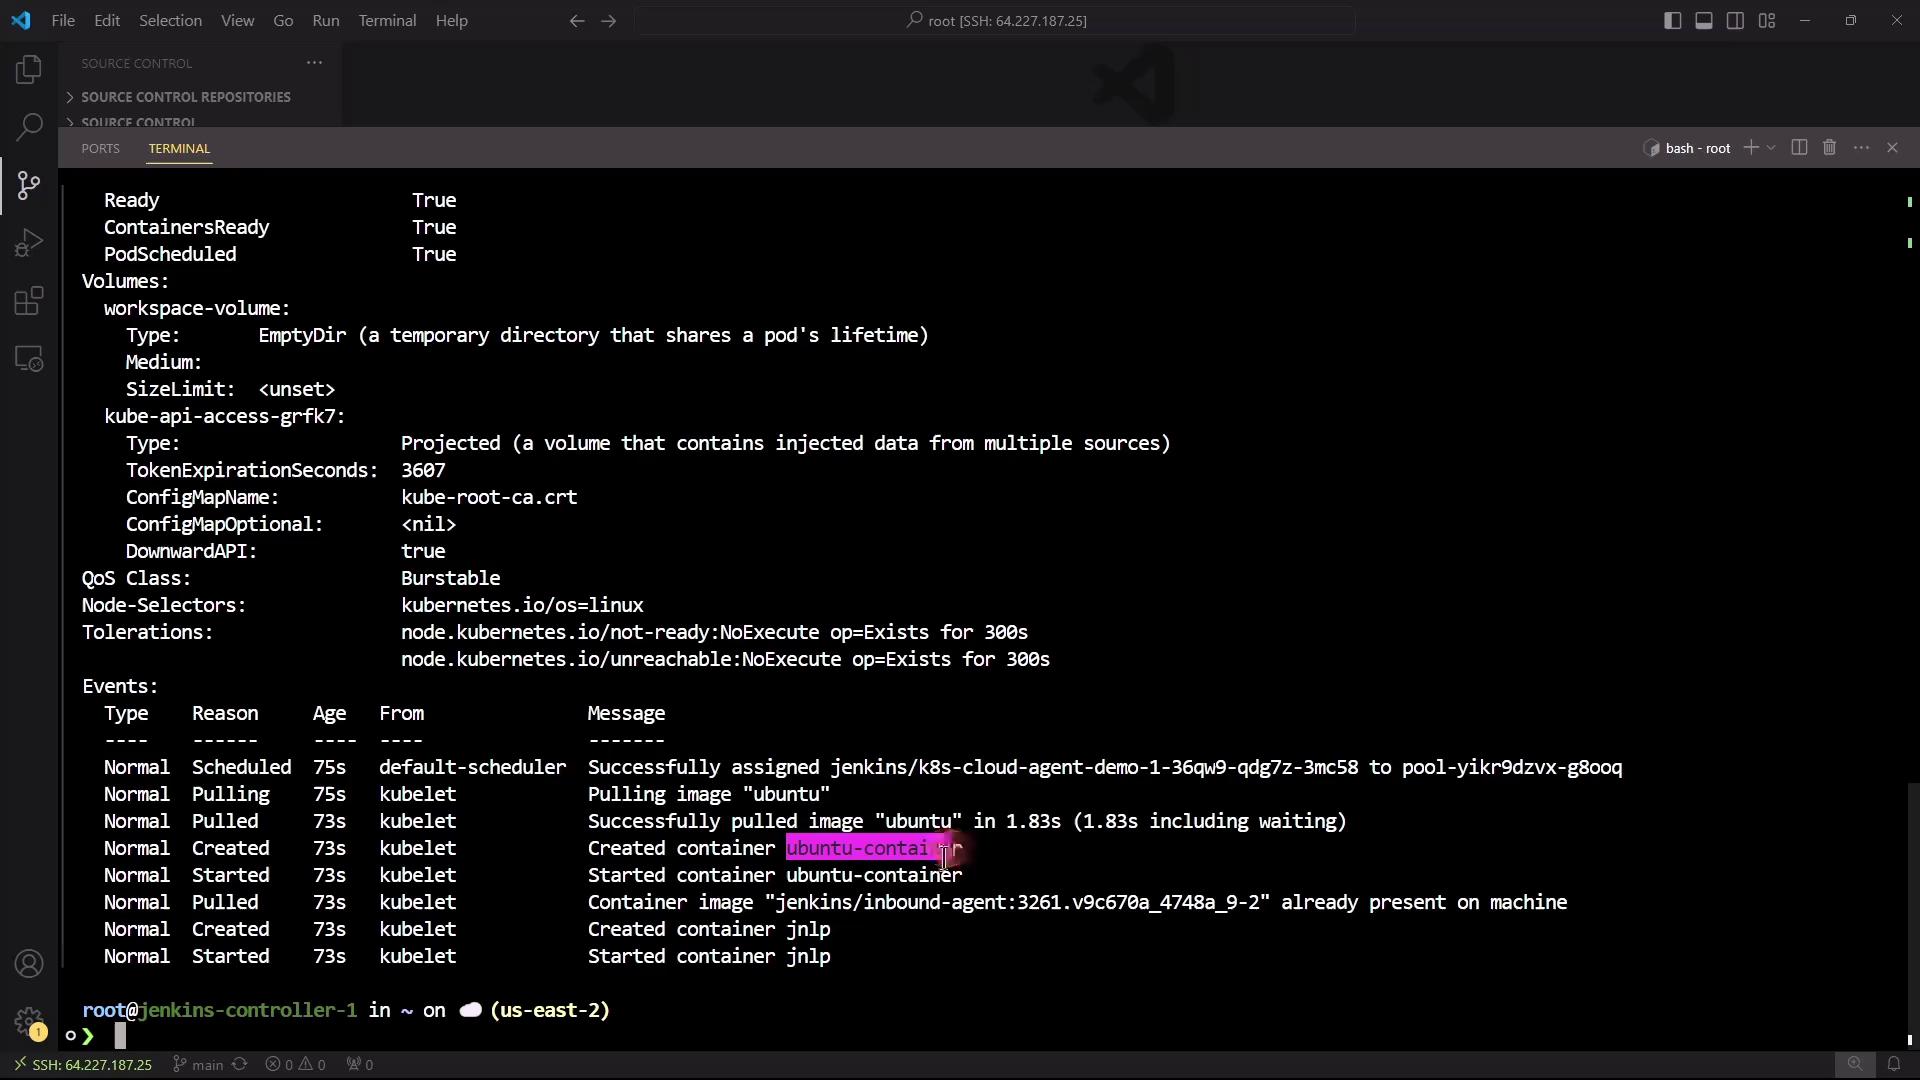
On your Kubernetes cluster, verify the Pod:
-
You will notice two containers:
- ubuntu-container (your build environment)
- jnlp (inbound Jenkins agent for communication)
- After 120 seconds, the Pod is removed due to Pod Retention: Never.
4. Viewing Pod Events
To review lifecycle events of recently terminated Pods:Scheduled, Pulling, Started, and Killing.
5. Using Multiple Containers
Demonstrate how to define and select containers per stage.5.1 Define Two Containers with a Default
The Print Node Version stage will fail because it runs in the Ubuntu container, which lacks Node.js.
5.2 Select the Node Container for a Specific Stage
Wrap Node.js commands in acontainer('node-container') block:
6. Advanced Options
Explore more options with the Declarative Directive Generator.