In this guide, you’ll learn how to install the Jenkins LTS release on an Ubuntu VM, verify prerequisites, install Java 17, and complete the initial setup via the web interface. By following these steps, you’ll have a stable, secure Jenkins server ready for your CI/CD pipelines.

Table of Contents

  1. Choose a Jenkins Release
  2. System Prerequisites
  3. Add Jenkins APT Repository
  4. Install Jenkins
  5. Verify Jenkins Service
  6. Install Java 17
  7. Start Jenkins
  8. Retrieve Initial Admin Password
  9. Complete Setup Wizard
  10. References

1. Choose a Jenkins Release

Jenkins provides two main release lines:
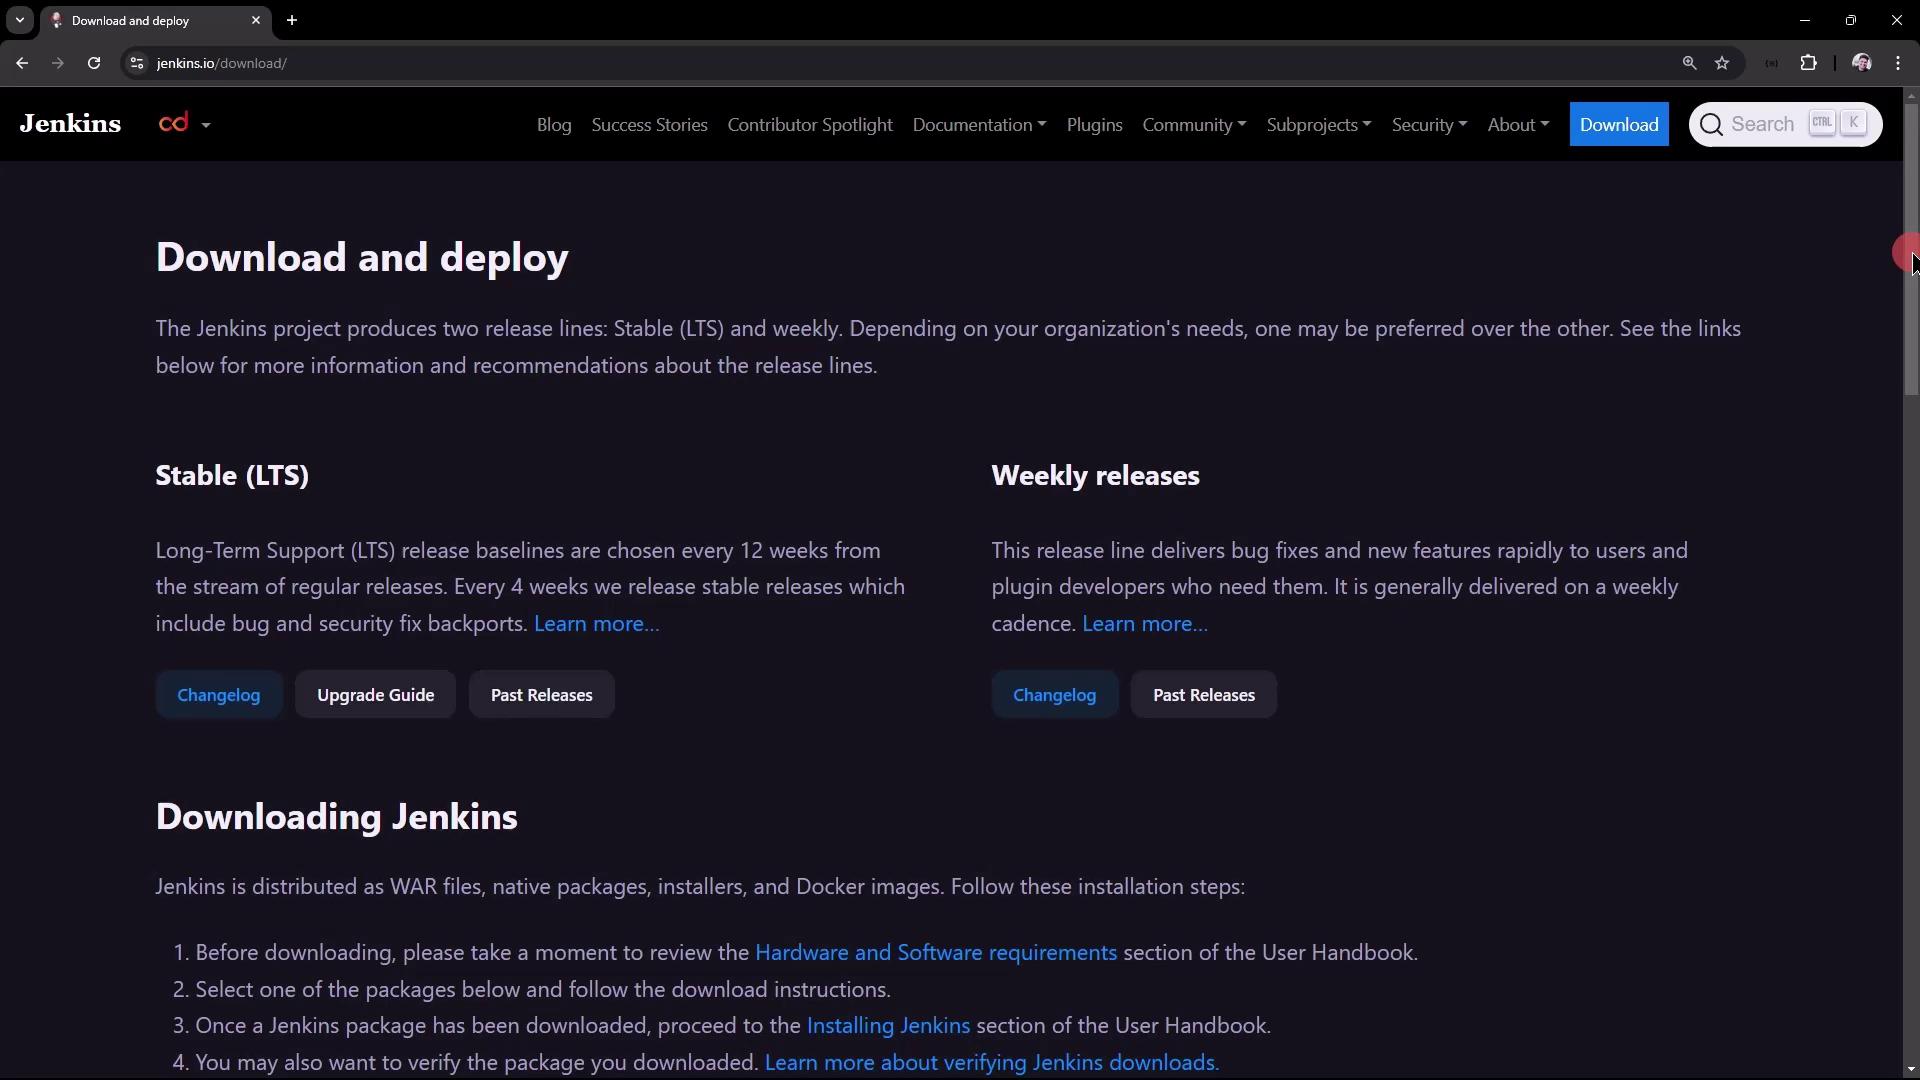
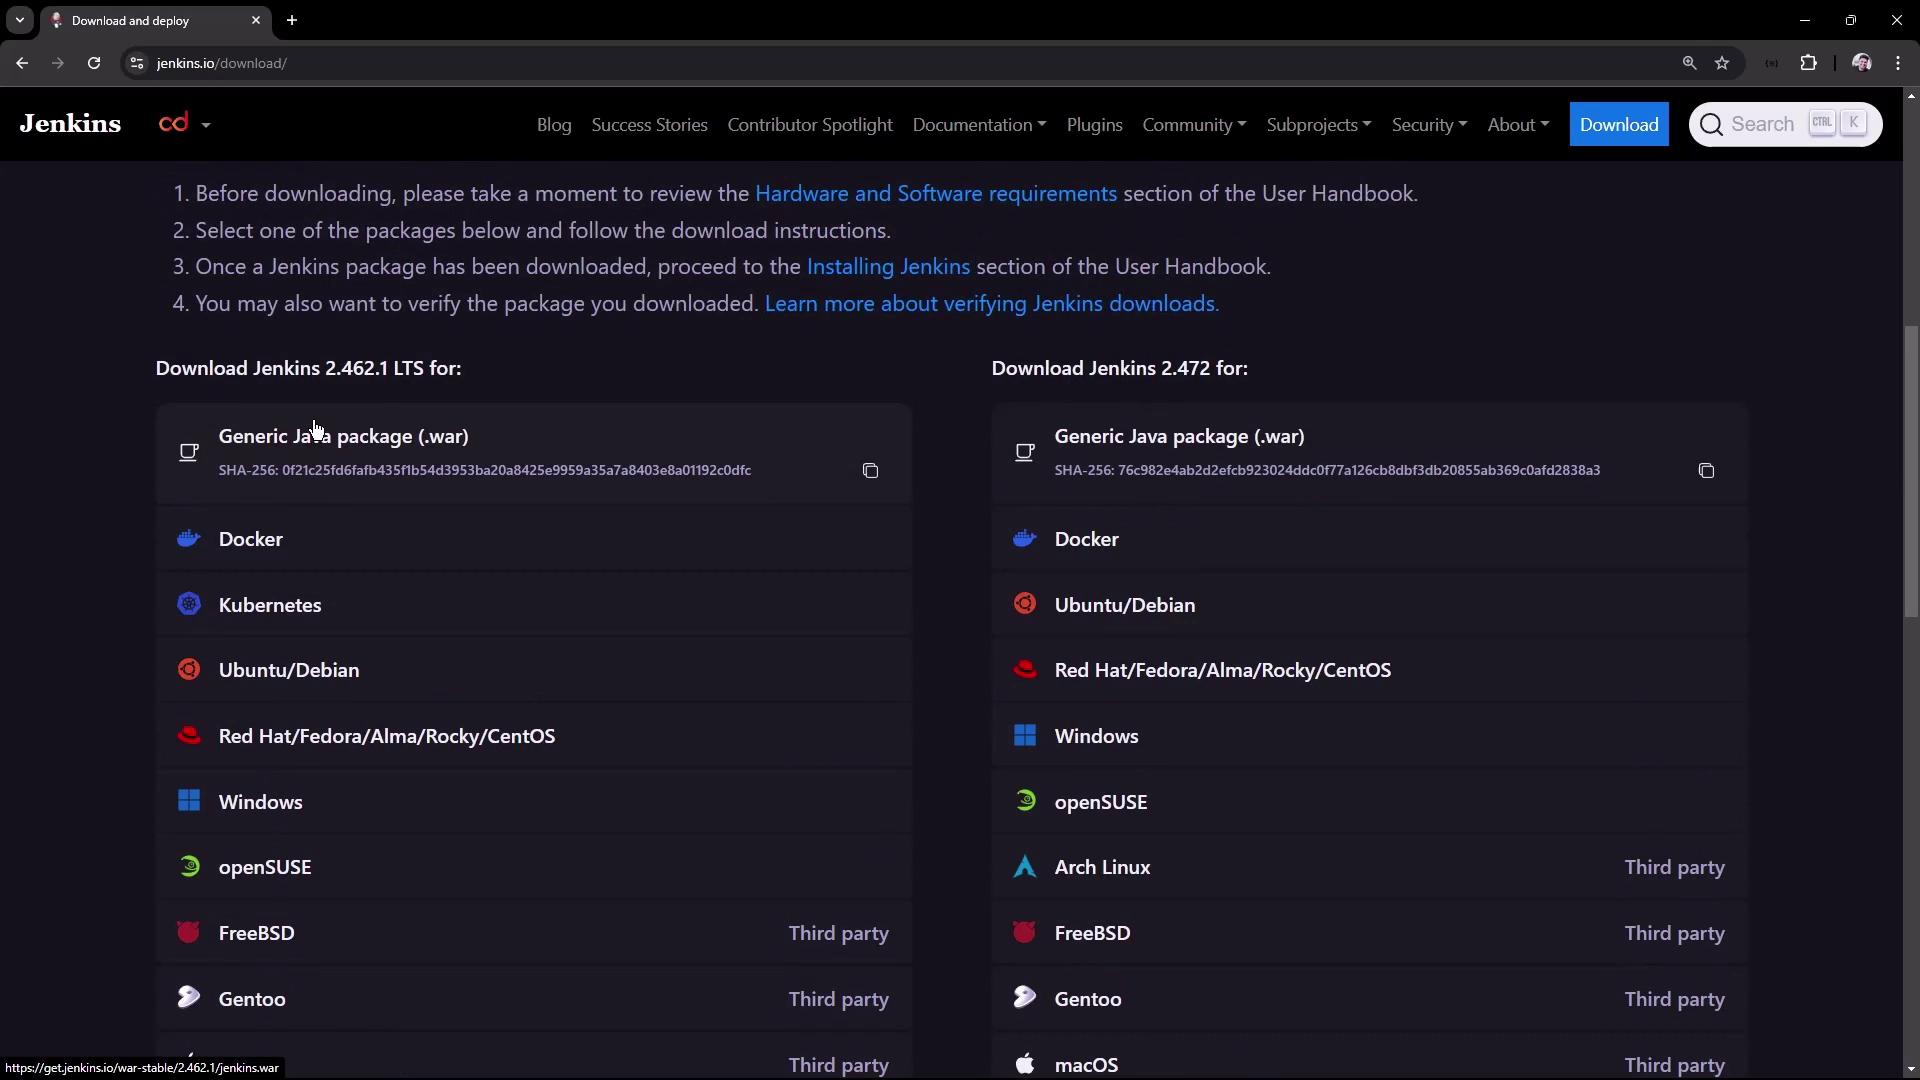
The image shows a webpage from Jenkins.io detailing download and deployment options for Jenkins, including Stable (LTS) and Weekly releases, along with instructions for downloading Jenkins.
Scroll to your platform on the Jenkins download page. You can select Docker, Kubernetes, Windows, or Debian/Ubuntu packages.
The image shows the Jenkins download page, offering different package options for various platforms like Docker, Kubernetes, and Windows. It includes versions 2.462.1 LTS and 2.472, with links for each platform.
For public-cloud deployments, you also have AWS, Azure, Google Cloud, Oracle Cloud, and others:
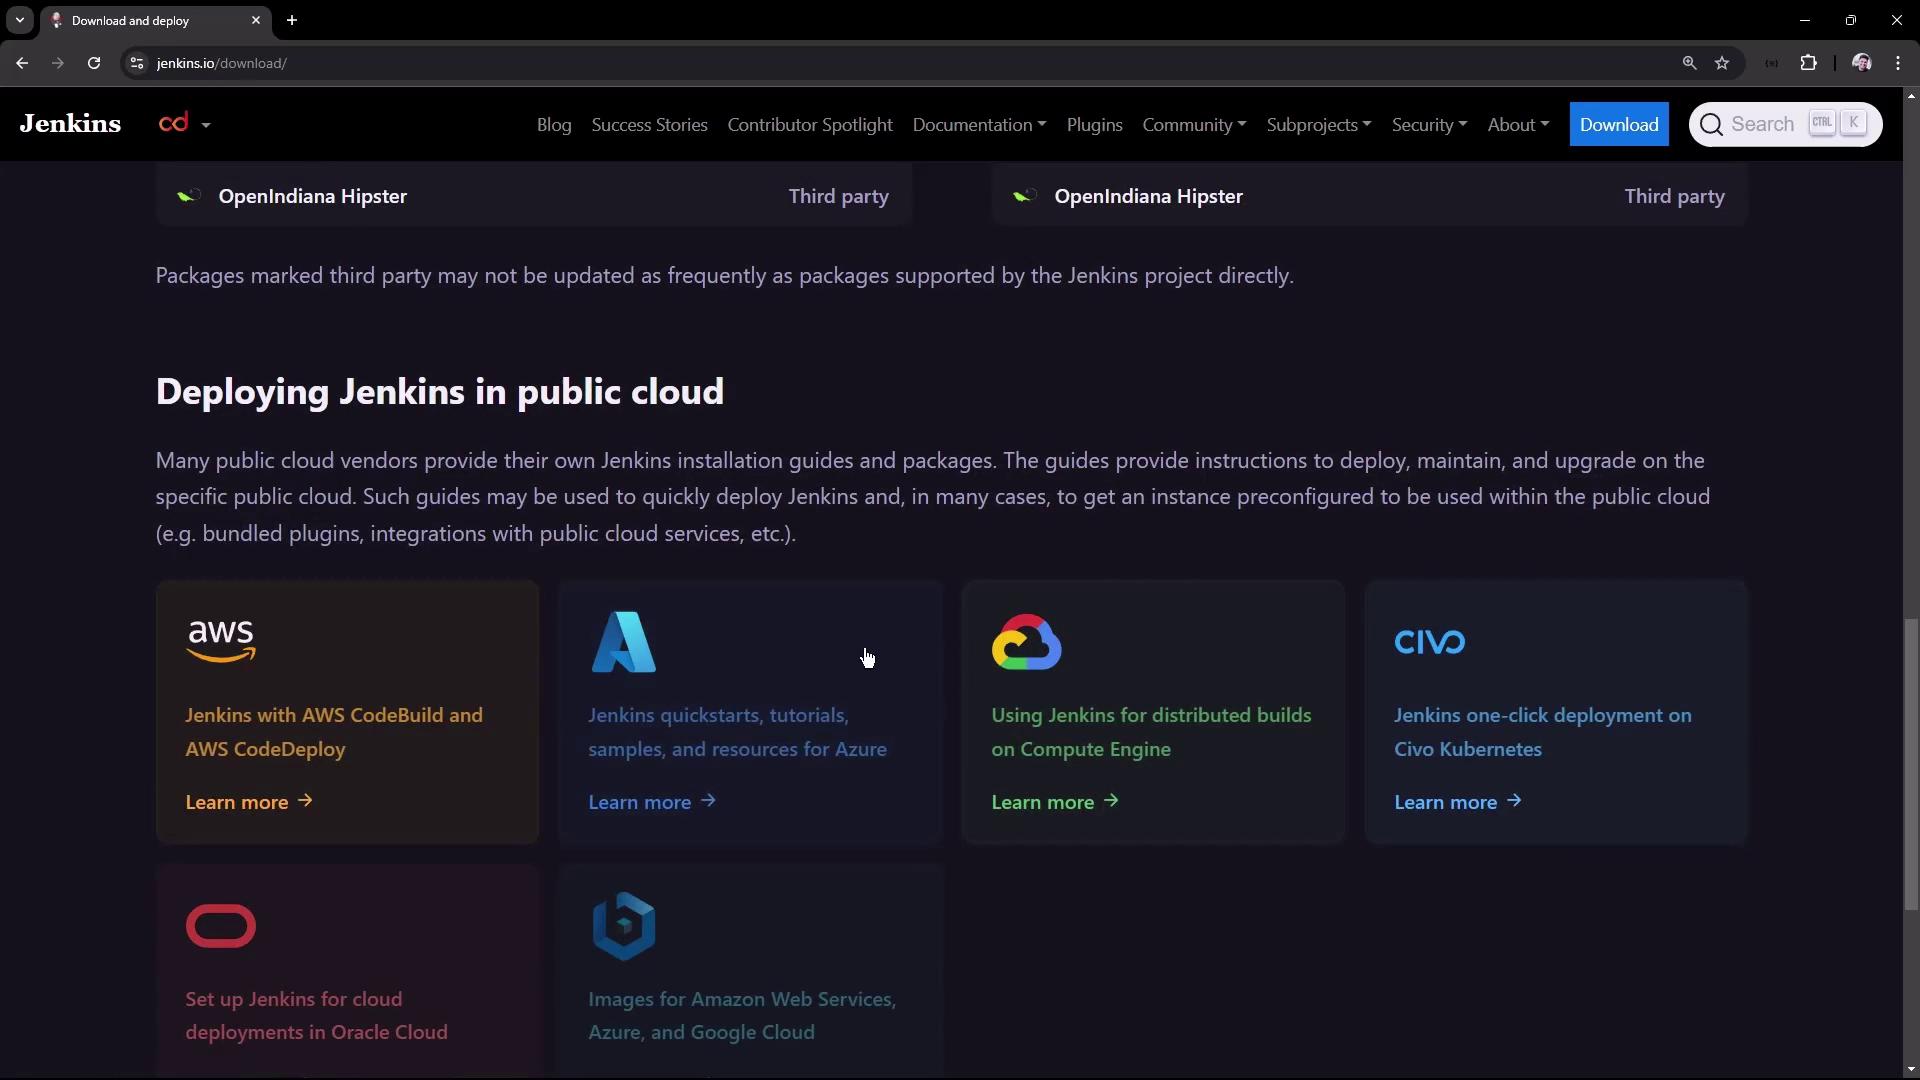
The image shows a webpage from Jenkins.io about deploying Jenkins in public cloud environments, featuring options for AWS, Azure, Google Cloud, Oracle Cloud, and Civo Kubernetes.
In this tutorial, we’ll proceed with Jenkins LTS on Ubuntu.

2. System Prerequisites

Our test VM specifications: Refer to the Jenkins Linux prerequisites for full details.
The image shows a webpage from the Jenkins documentation, detailing prerequisites for installing Jenkins on Linux, including hardware and software requirements.

3. Add Jenkins APT Repository

Add the Jenkins GPG key and repository:
Update APT and install Jenkins:

4. Install Jenkins

During the installation, you should see output confirming the package download:

5. Verify Jenkins Service

Immediately check Jenkins status:
If Java is missing, you’ll see a failure:
Inspect logs for details:
Jenkins requires a supported Java runtime to start. Installing or configuring Java is mandatory.

6. Install Java 17

Jenkins LTS supports Java 17 per the Java Support Policy.
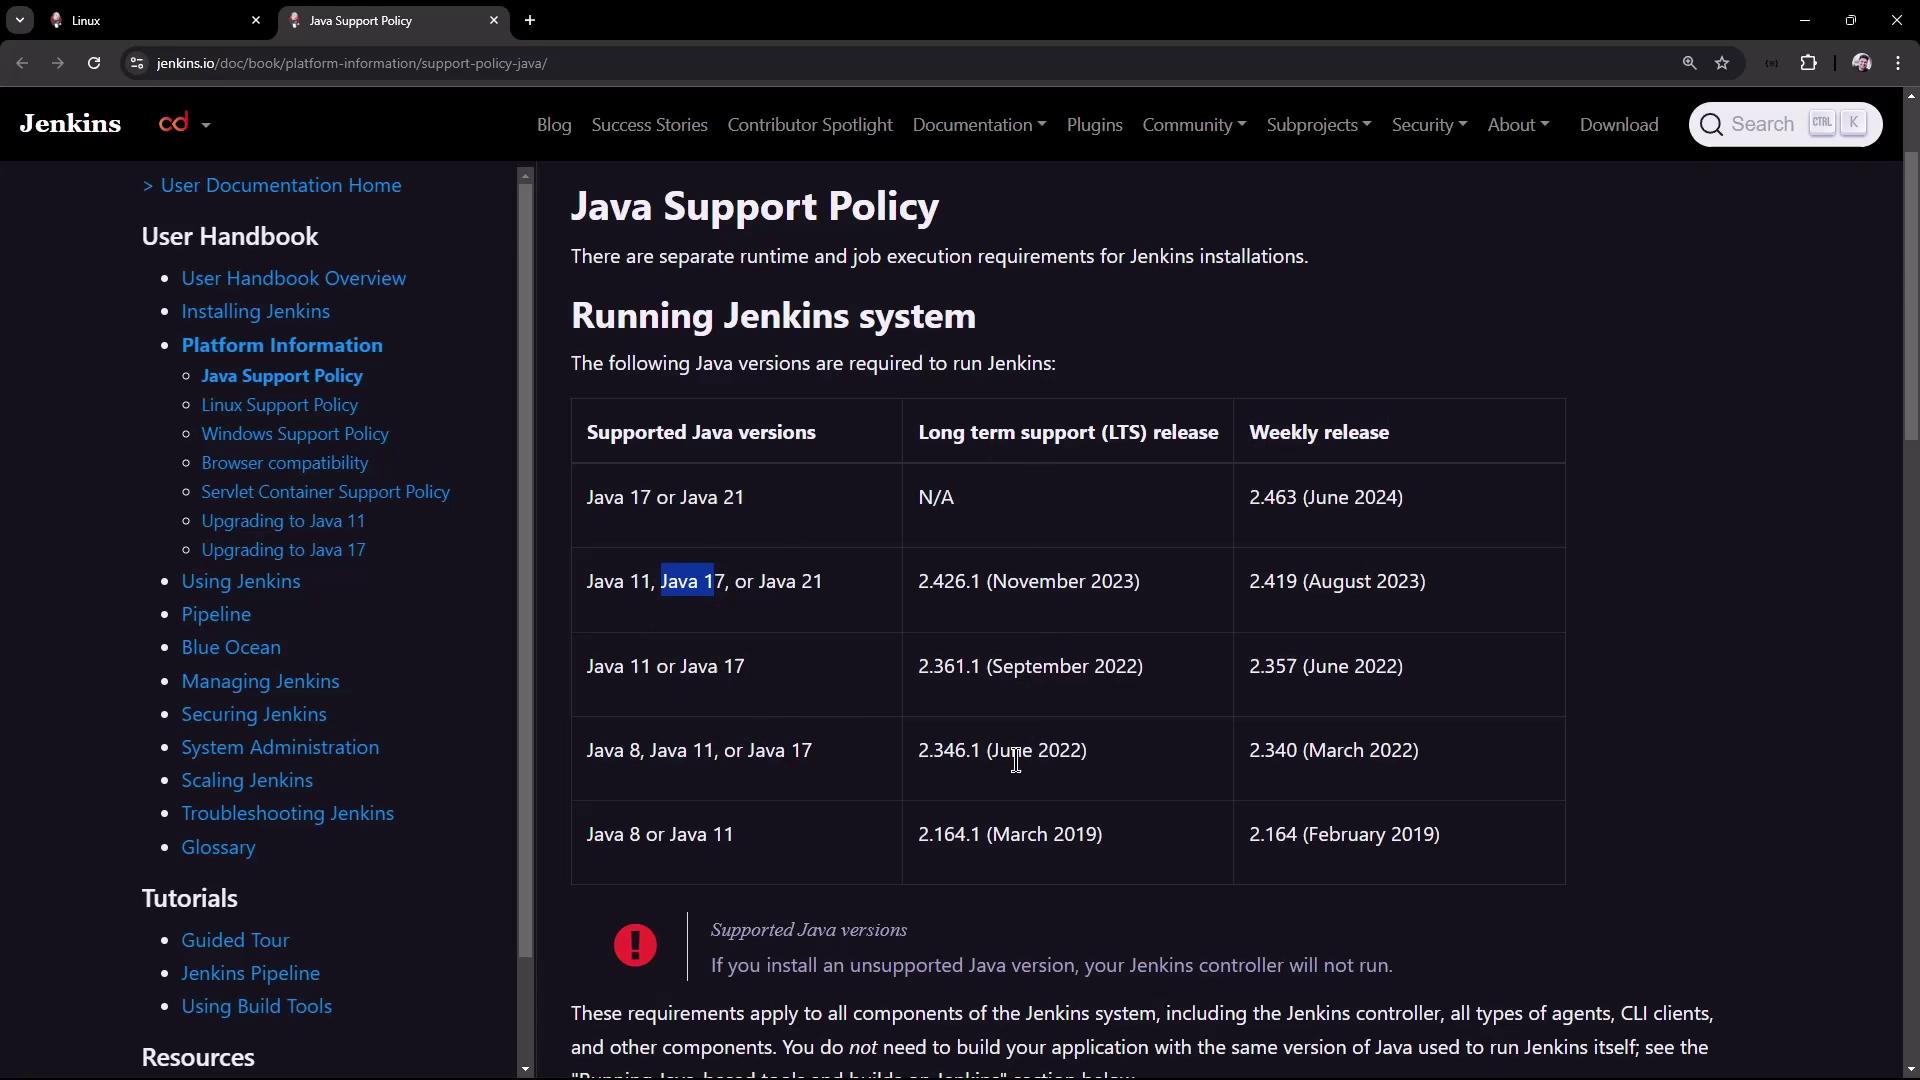
The image shows a webpage from Jenkins' documentation detailing the Java Support Policy, including supported Java versions and their corresponding long-term support and weekly release versions.
Install OpenJDK 17 and fontconfig:
Expected output:

7. Start Jenkins

Restart and check status:
You should see:

8. Retrieve Initial Admin Password

Find the initial admin password in the logs:
Or directly read the file:
Inspect the Jenkins home directory:

9. Complete Setup Wizard

  1. Open http://<YOUR_VM_IP>:8080 in your browser.
  2. Unlock Jenkins with the admin password from /var/lib/jenkins/secrets/initialAdminPassword.
  3. Select Plugins
    • Choose Suggested Plugins or pick specific ones.
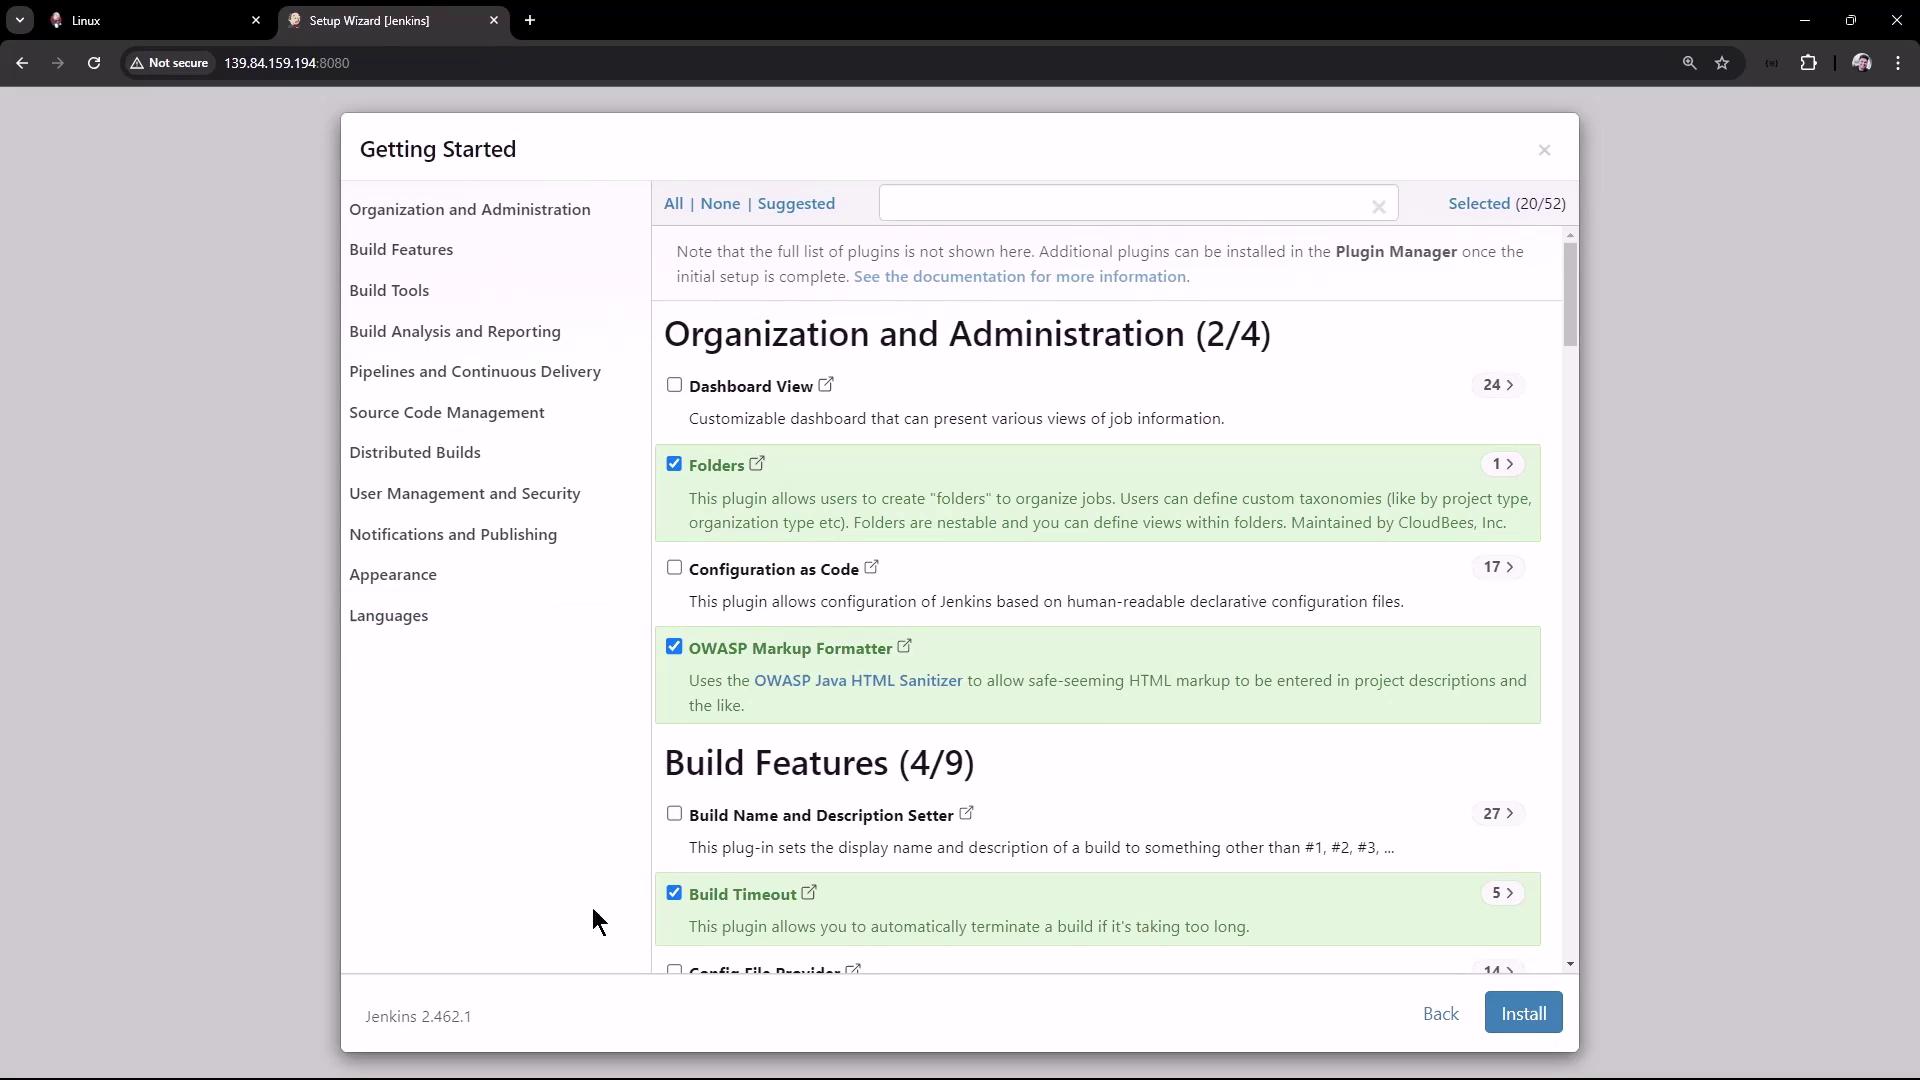
The image shows a Jenkins setup wizard interface with options for selecting plugins related to organization, administration, and build features. The user can choose from various plugins to install.
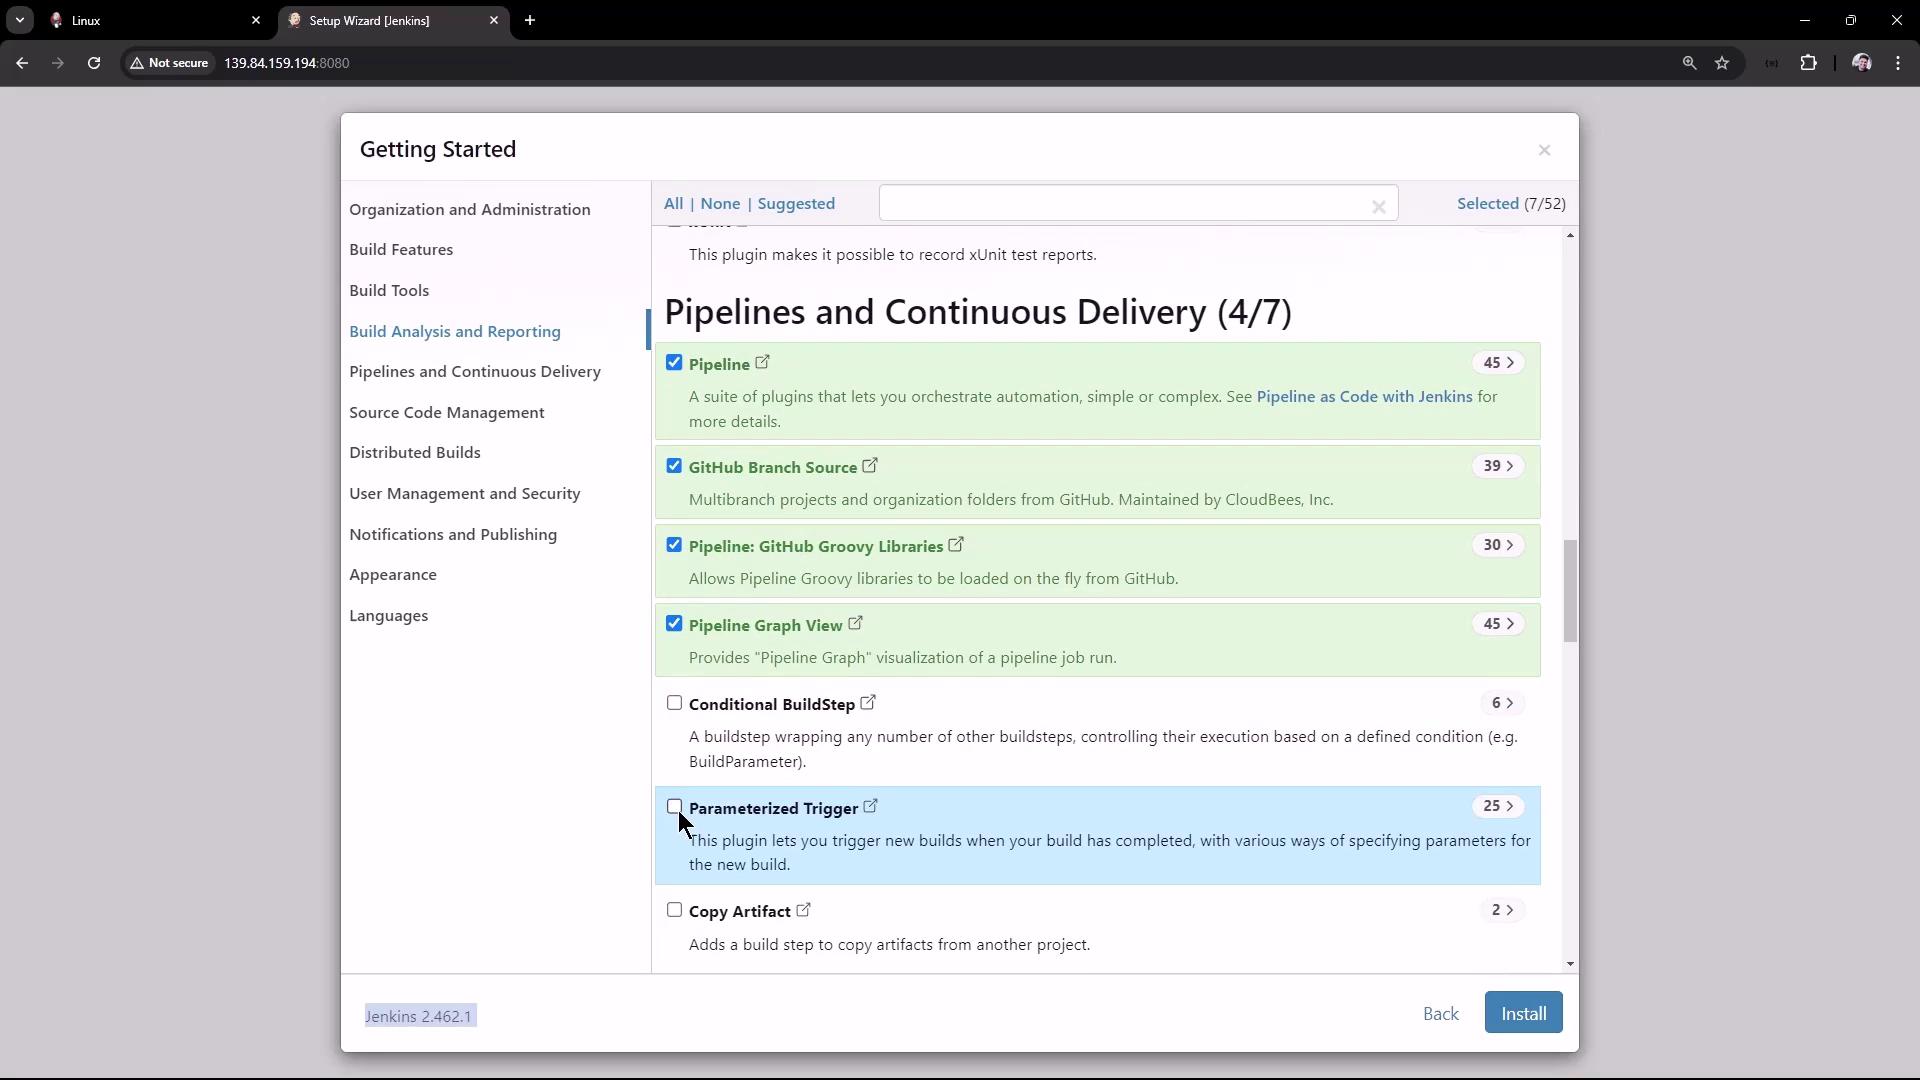
The image shows a Jenkins setup wizard interface, specifically the "Pipelines and Continuous Delivery" section, where various plugins related to pipelines are listed for selection.
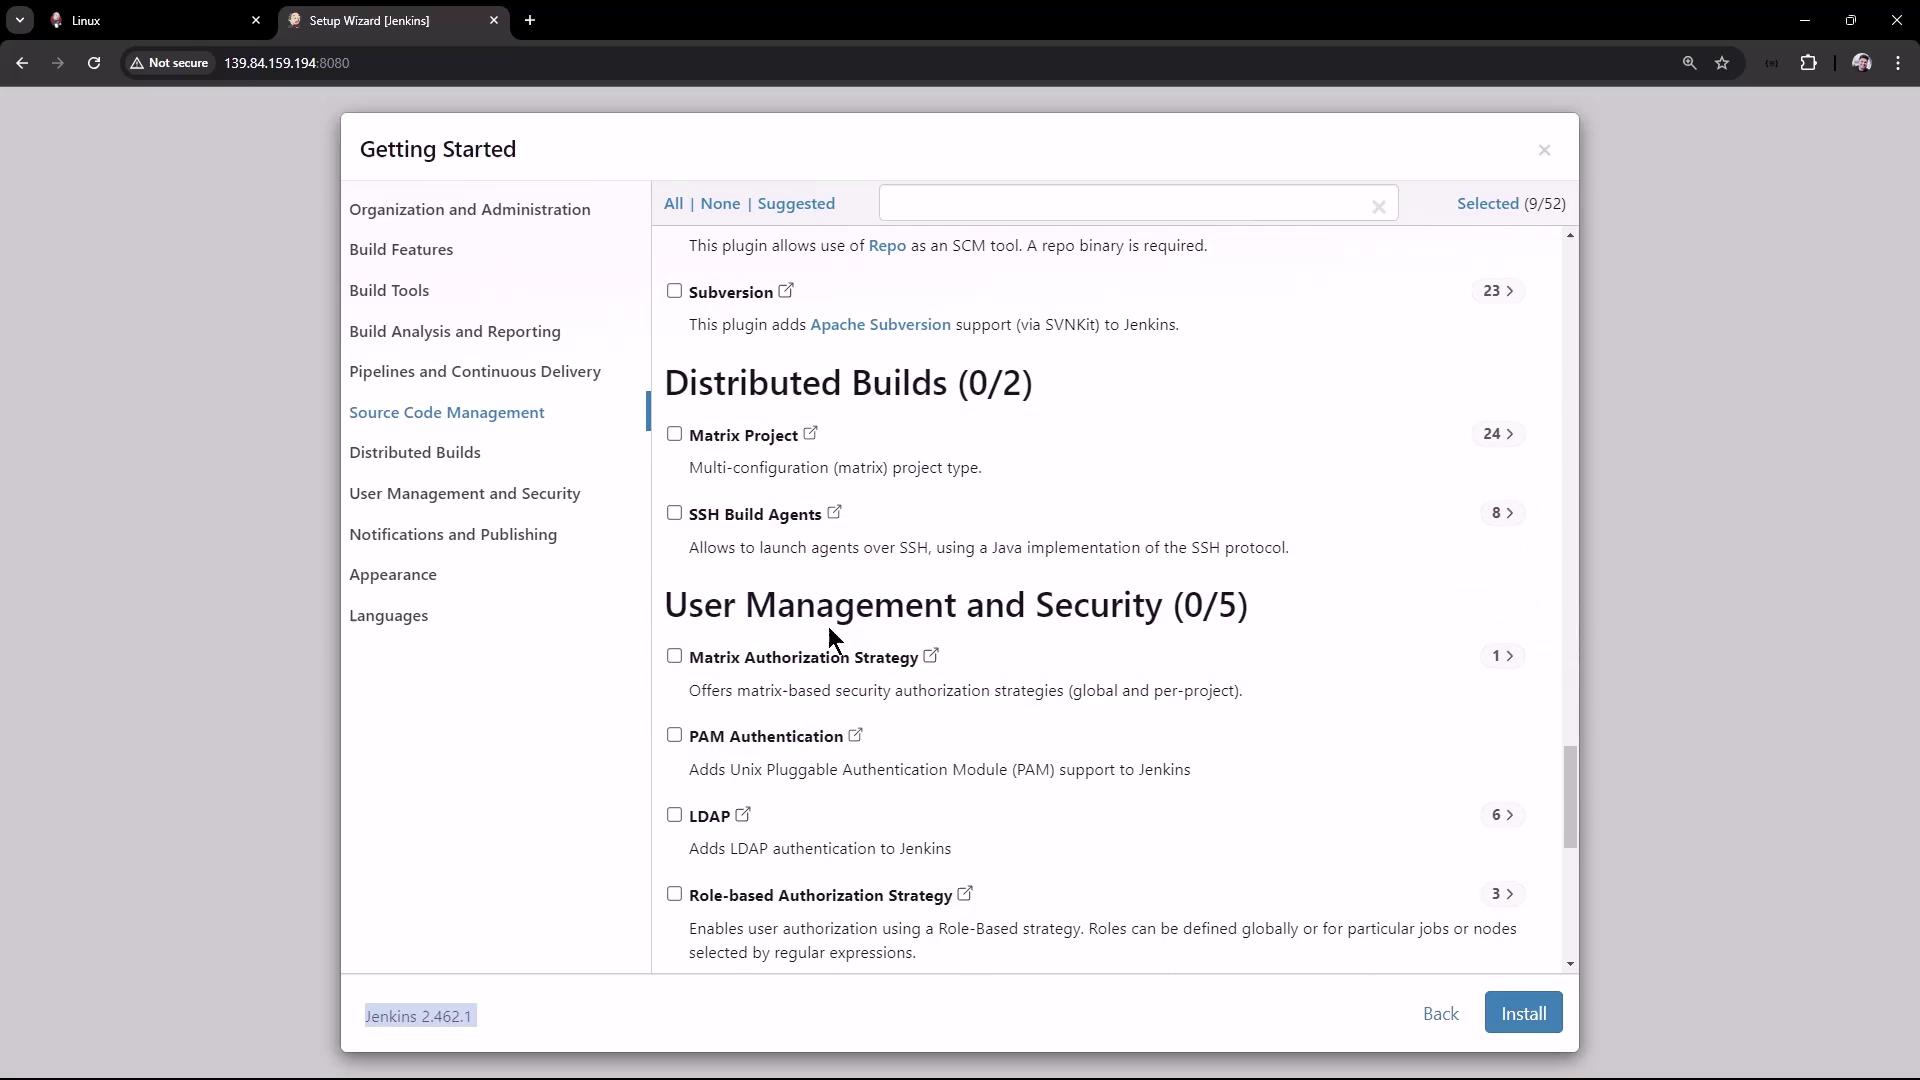
The image shows a Jenkins setup wizard interface with options for configuring plugins related to source code management, distributed builds, and user management and security. The interface includes checkboxes for selecting specific plugins to install.
  1. Choose Appearance
    Pick your UI theme (e.g., Dark Theme):
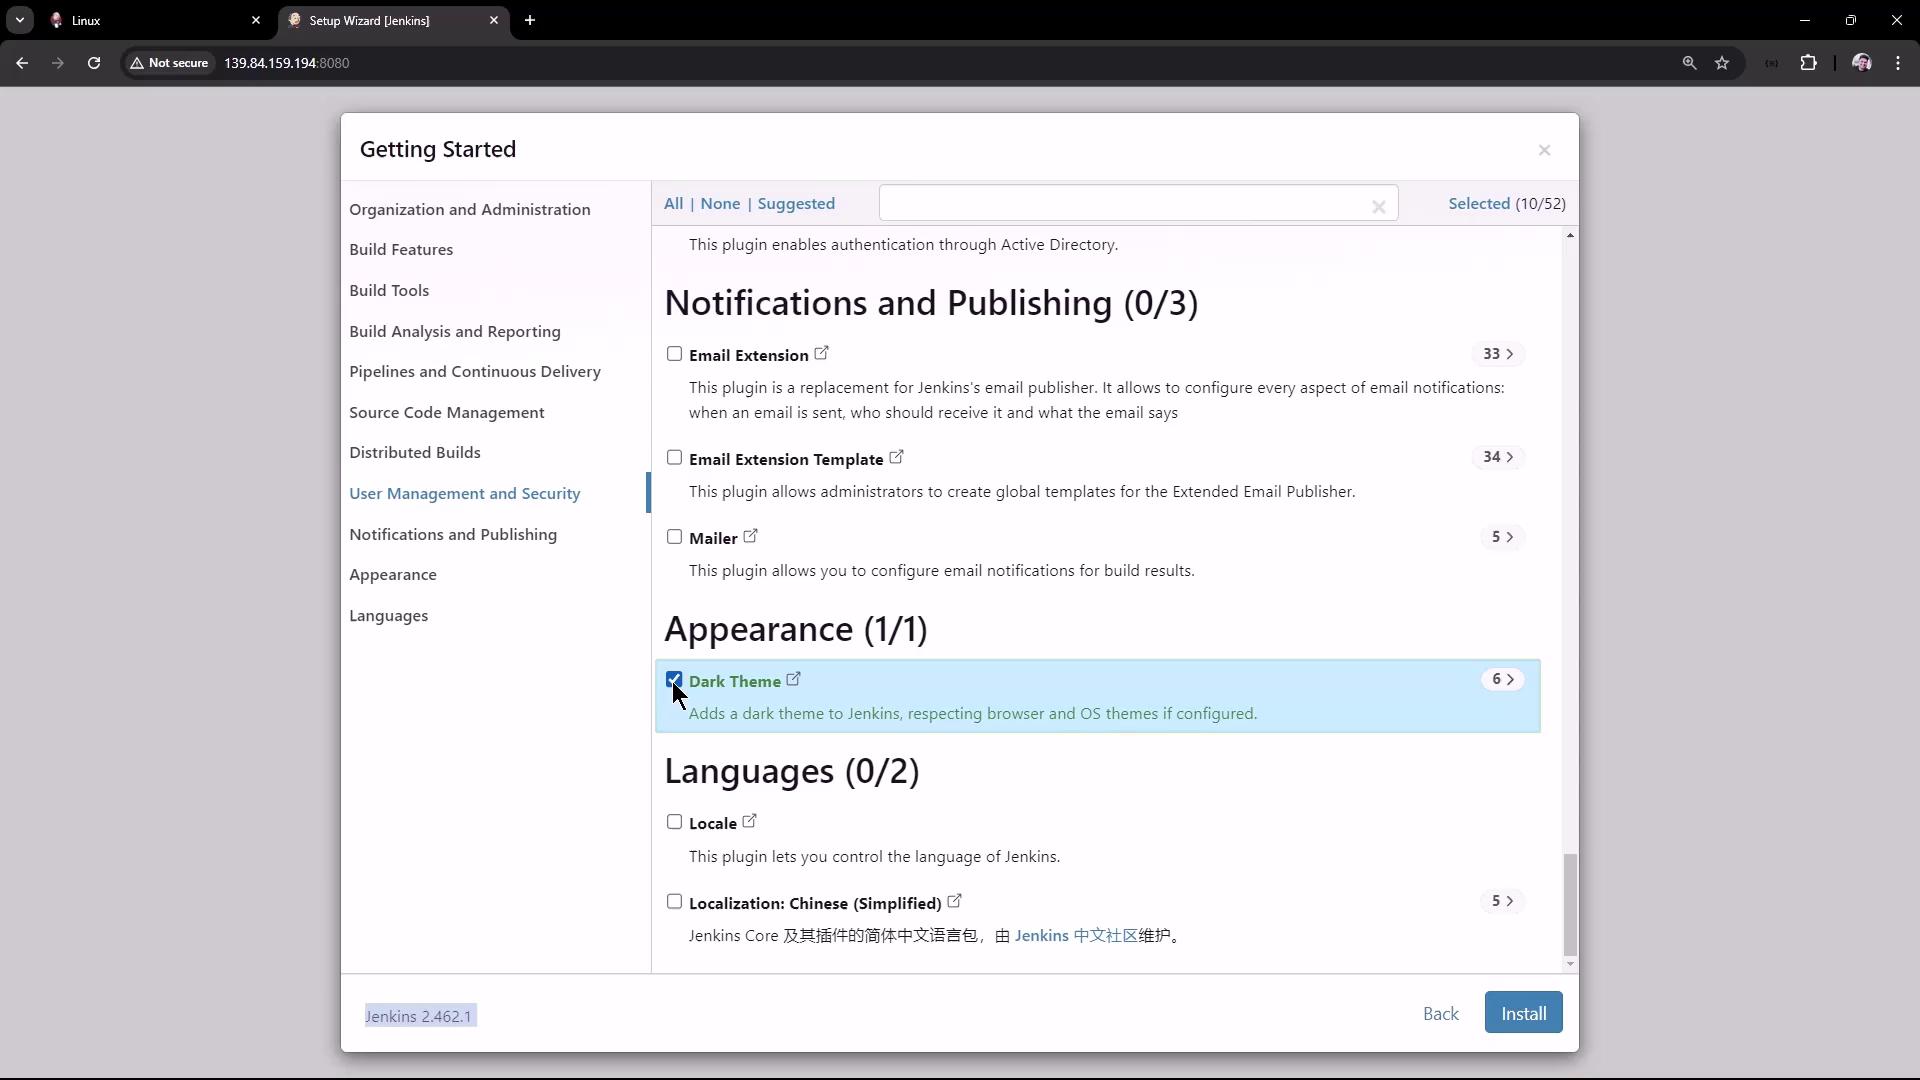
The image shows a Jenkins setup wizard interface with options for configuring notifications, appearance, and languages. The "Dark Theme" option is selected under the Appearance section.
  1. Create First Admin User
    Fill in credentials:
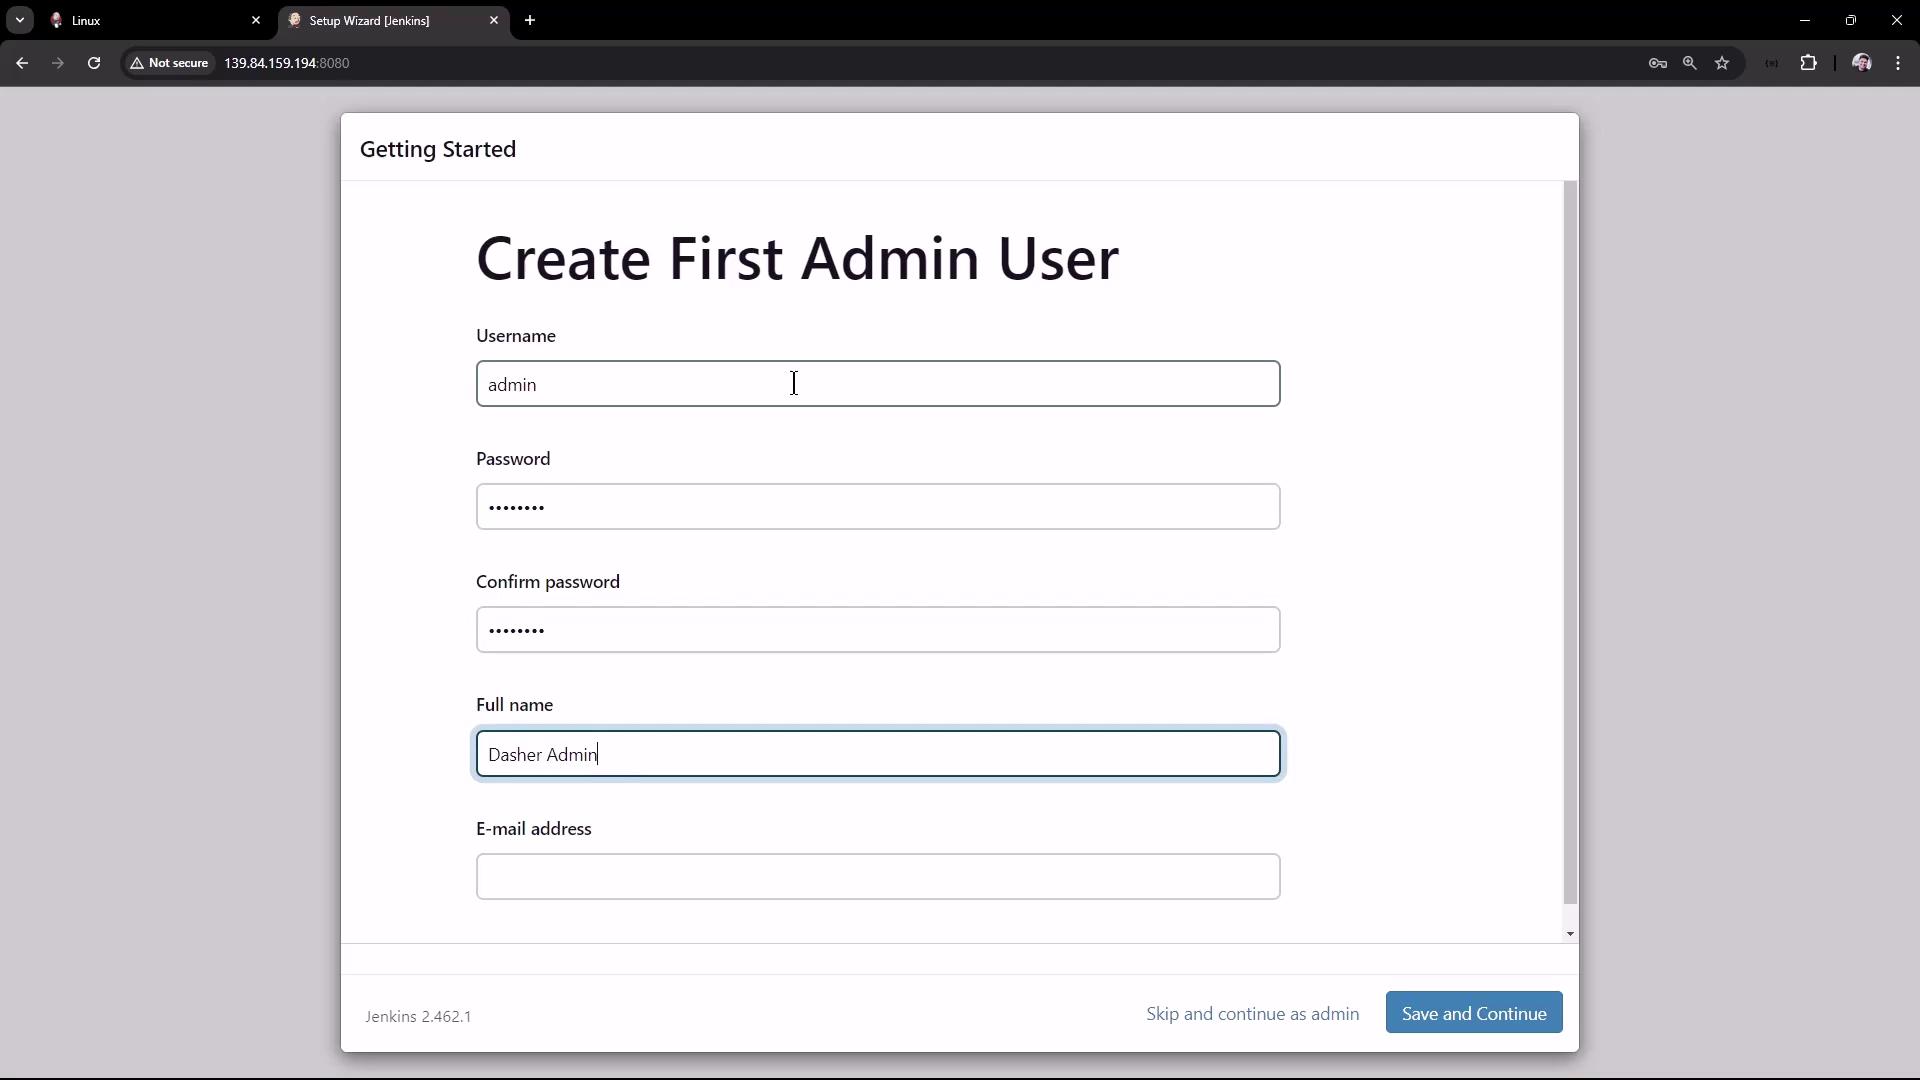
The image shows a web page for creating the first admin user in a setup wizard, with fields for username, password, full name, and email address.
  1. Configure Jenkins URL
    Confirm or edit the root URL, then Save and Finish:
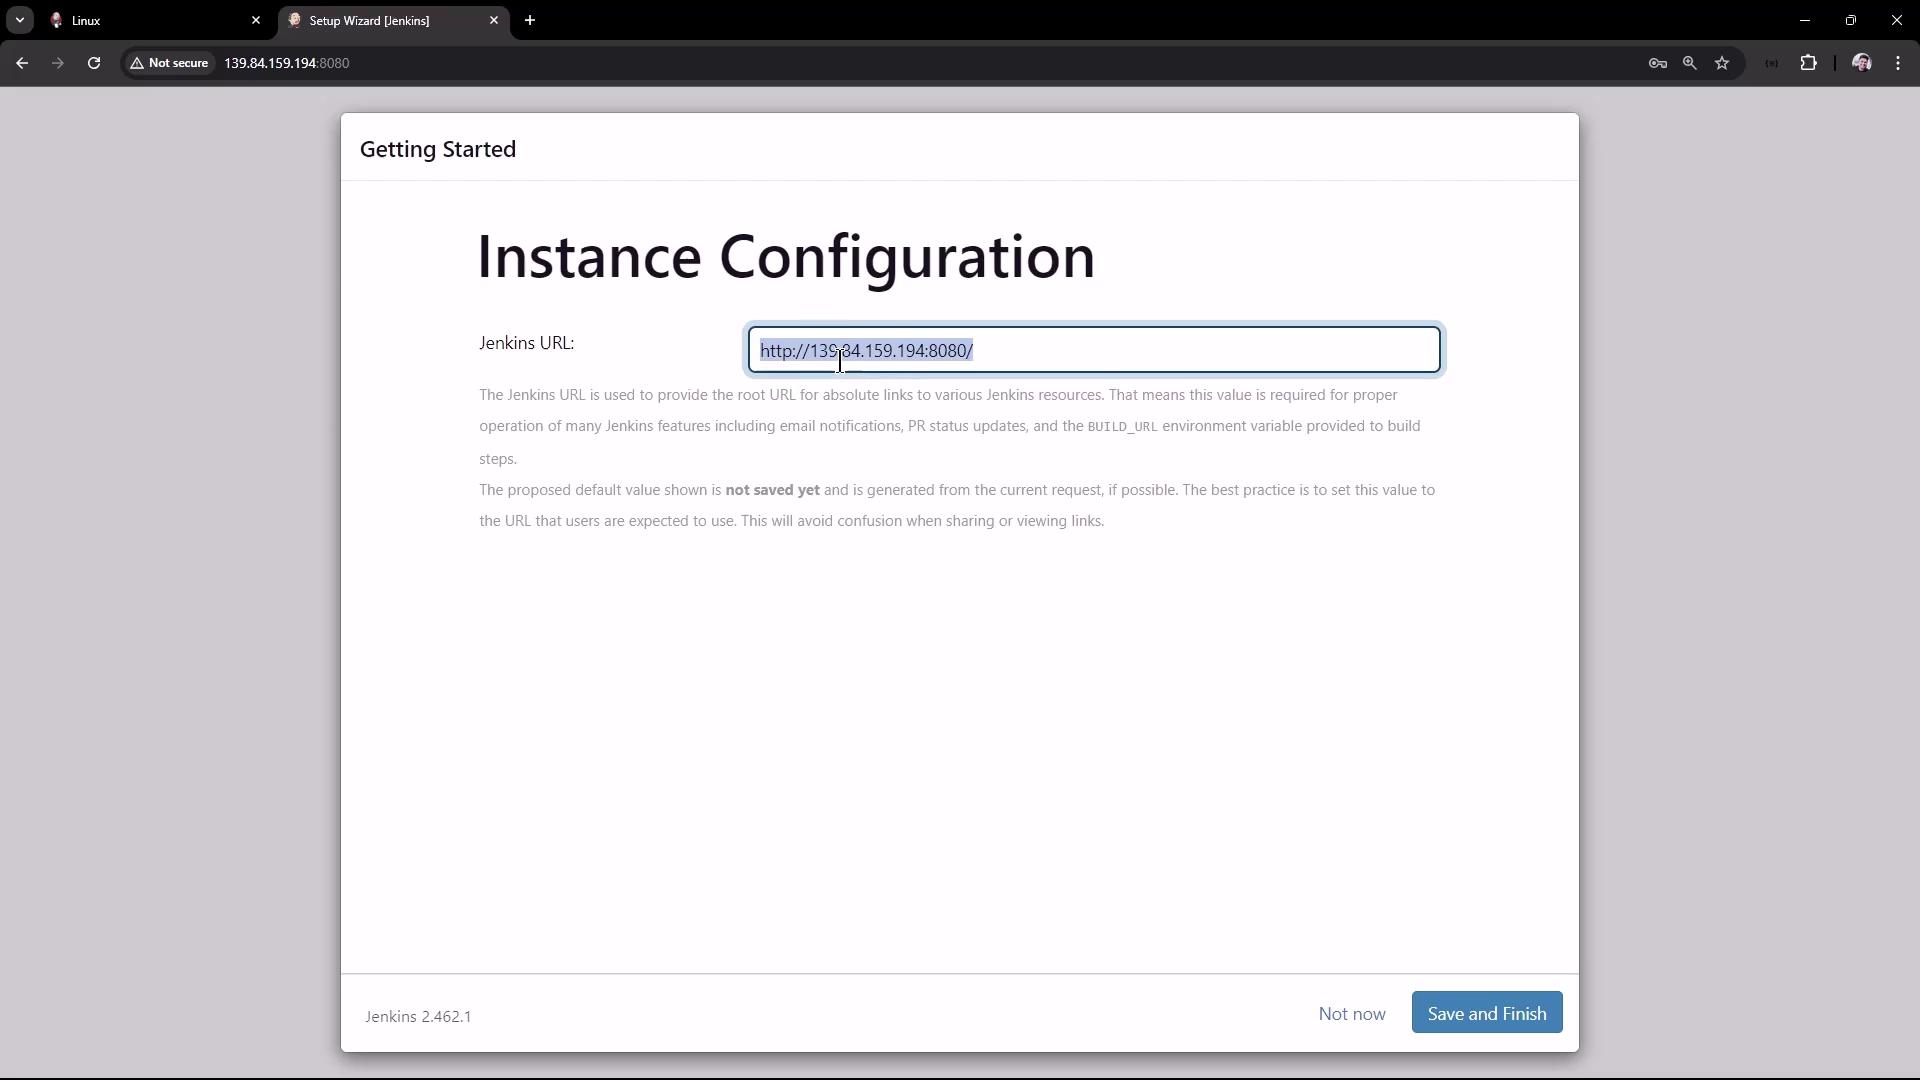
The image shows a Jenkins setup wizard screen for instance configuration, prompting the user to enter a Jenkins URL. There are options to "Save and Finish" or "Not now."
Once done, Jenkins will be ready to use. Start creating your first build pipeline!

10. References

Watch Video

Practice Lab