

Dockerfile and use it as an agent in a Jenkins Pipeline stage. This method lets you pre-install all required tools—like Node.js and cowsay—so your CI/CD steps run smoothly.
1. Using the Standard node:18-alpine Docker Agent
First, try running Node.js commands and the cowsay utility using the official node:18-alpine image:
Jenkinsfile, then trigger a build.
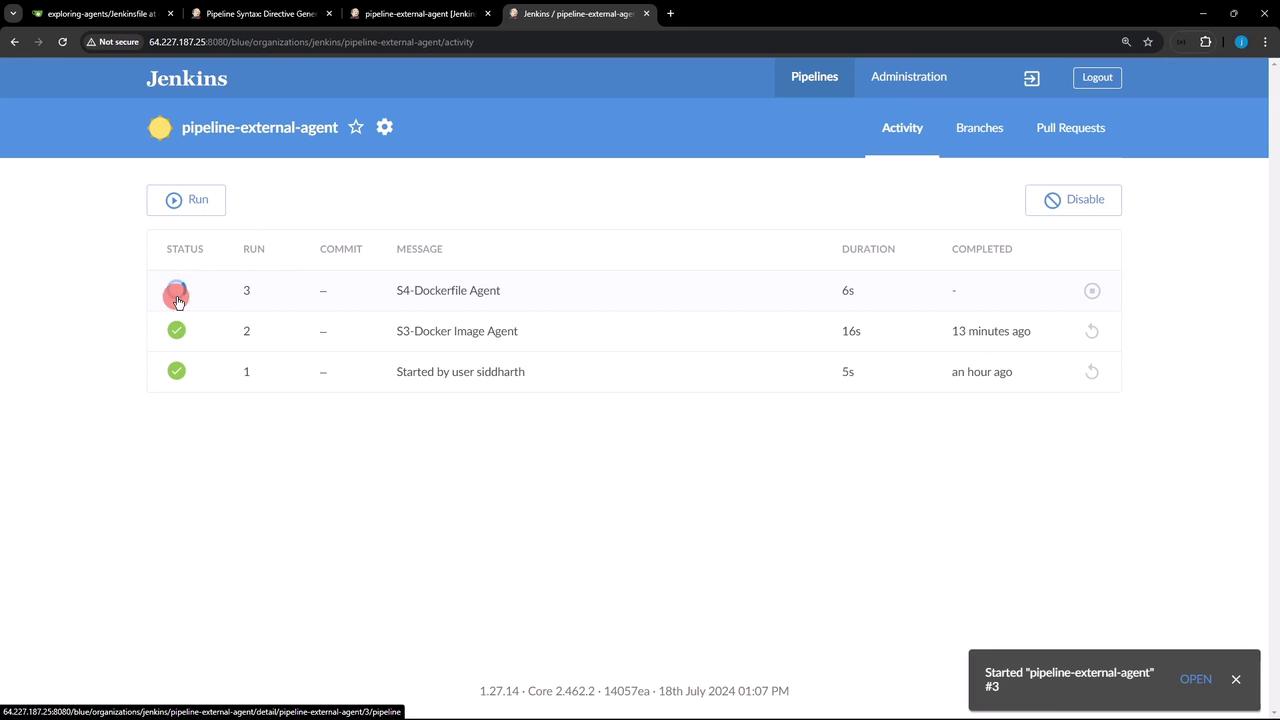
The S4-Dockerfile Agent stage will fail because
cowsay is not installed in the base image.2. Diagnosing the Missing Utility
Inspect the console output to confirm which utility is missing:- Node.js commands succeed (
node -v,npm -v) cowsayfails: the utility isn’t present innode:18-alpine.
3. Crafting a Custom Dockerfile
CreateDockerfile.cowsay at your repository root to bundle Node.js and cowsay:
- Base Image:
node:18-alpine - Dependencies: Installs
gitandperlvia Alpine’s package manager - Cowsay: Clones the cowsay GitHub repository and runs its installer
Using Alpine keeps the image slim. Ensure you list all required packages in the
RUN apk add command.4. Updating Your Jenkinsfile to Use the Custom Image
Swap thedocker agent block for a dockerfile block:
5. Observing the Build Output
When you trigger the build, you’ll see:cowsay run successfully inside the container.
6. Agent Types Comparison
7. Conclusion
By leveraging a custom Dockerfile agent, you ensure each Jenkins stage has exactly the tools it needs. This strategy:- Simplifies dependency management
- Keeps agents lightweight
- Improves reproducibility