/fingerprints page of your Jenkins master.
Use Case
Consider a simple three-job pipeline:| Job Name | Produces | Consumes |
|---|---|---|
| build-job | advice.json | — |
| test-job | reports.json | advice.json |
| deploy-job | — | reports.json |
Fingerprinting is enabled by default in Jenkins LTS. You don’t need additional plugins—just define the files or glob patterns you want to track.
1. Configuring Fingerprints
- Open build-job and click Configure.
- Scroll to Post-build Actions.
- Click Add post-build action → Record fingerprints of files to track usage.
- In Files to fingerprint, enter:
- Click Save.
reports.json).
2. Running the Job and Viewing Fingerprints
- On the build-job page, click Build Now.
- Once the build completes, click the build number (e.g., #8) under Build History.
- In the Artifacts section, locate
advice.json—it will have a fingerprint icon. - Click View to open the fingerprint details page.
- The MD5 checksum of
advice.json. - A list of all builds that produced or consumed that checksum (for example, build-job #8 and test-job #3).
- Timestamps and upstream/downstream relationships, giving you full visibility into your pipeline.
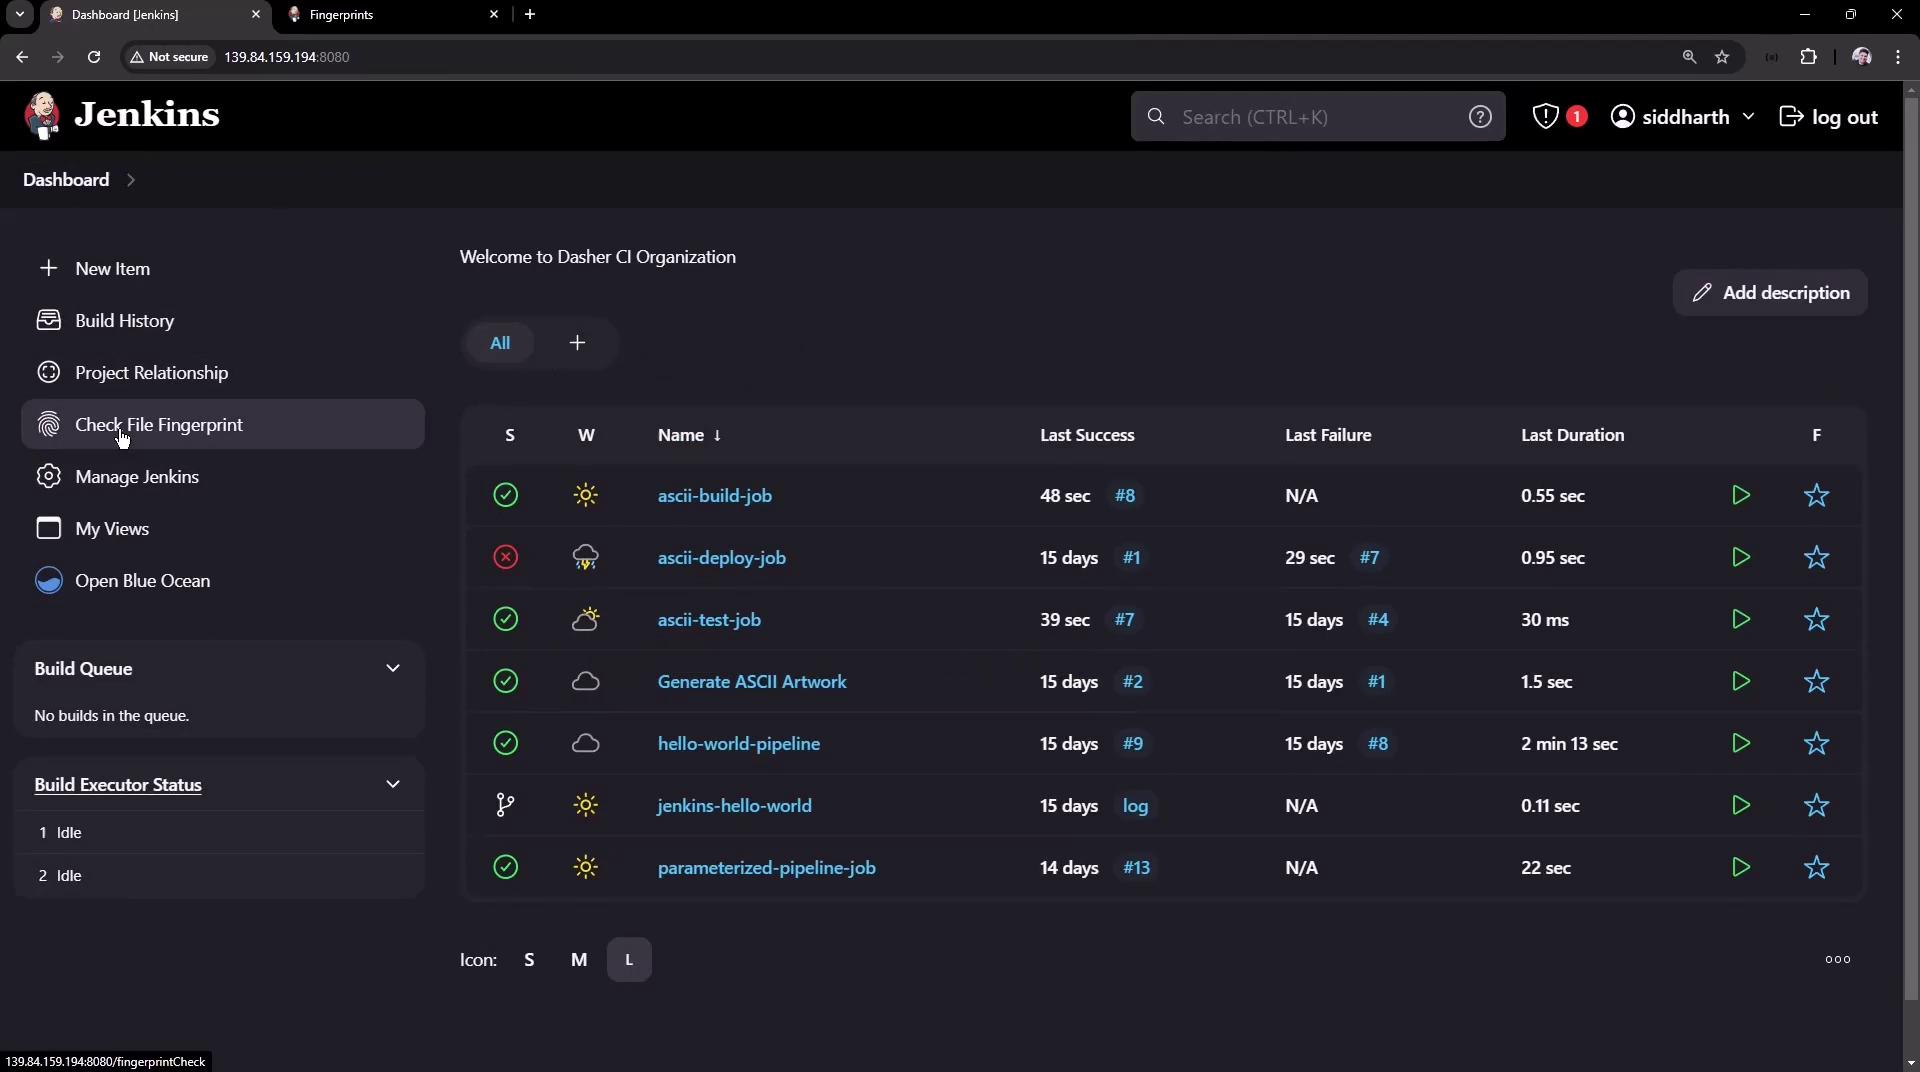
3. Checking Fingerprints from the Dashboard
You can also verify fingerprints for ad-hoc files:- From the Jenkins dashboard sidebar, click Check File Fingerprints.
- Upload any file (e.g., an archived JAR).
- Jenkins will display:
- The MD5 checksum.
- Which jobs and builds produced or consumed that checksum.
- Timestamps for each usage.
Fingerprinting very large or frequently changing files can increase Jenkins storage and processing overhead. Use precise glob patterns to limit tracked files.