- Creating a Pipeline project
- Configuring the pipeline script
- Running a Hello World job
- Viewing build output and timing
- Adding automatic Maven installation
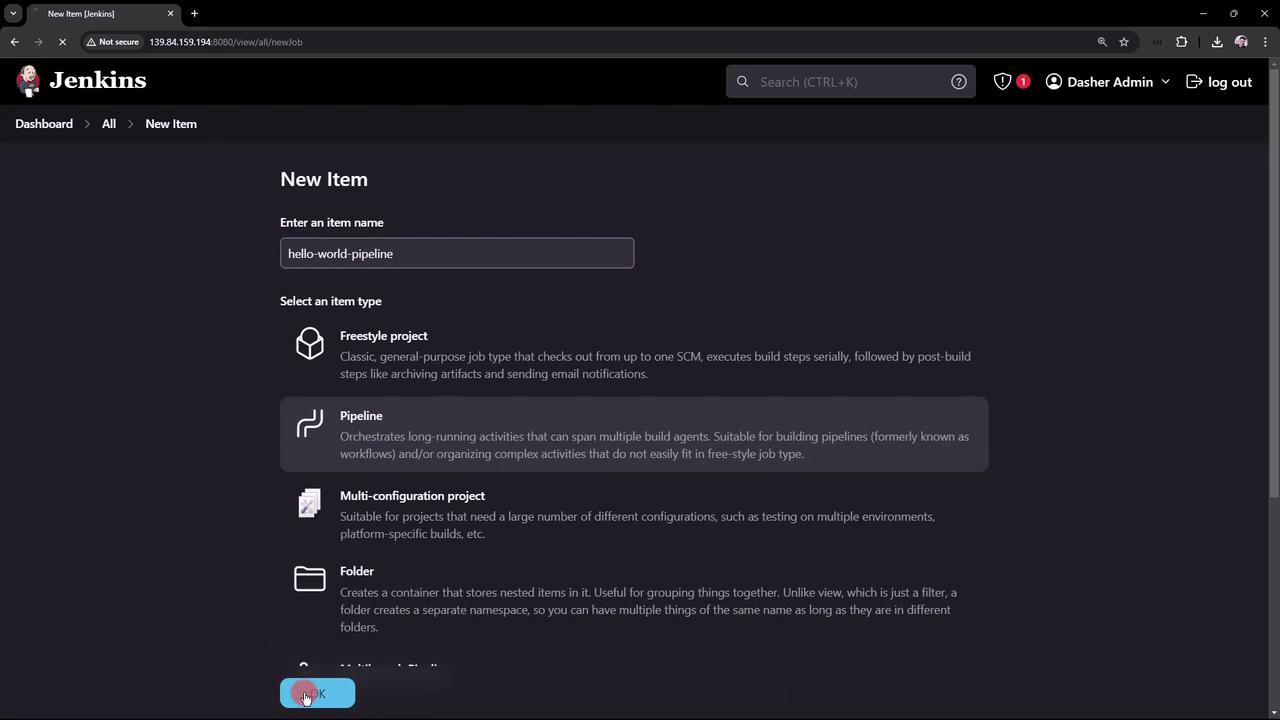
1. Create a Pipeline Project
- In the Jenkins UI, click New Item.
- Enter hello-world-pipeline as the name.
- Select Pipeline and click OK.
2. Configure the Pipeline
Open your new project’s configuration to see sections like General, Build Triggers, and Pipeline. You can:| Option | Description |
|---|---|
| Description | Add context about the job’s purpose. |
| Build Triggers | Schedule with cron or poll SCM. |
| Pipeline script | Paste your Declarative Pipeline directly in Jenkins. |
| Pipeline script from SCM | Store your Jenkinsfile in a repository for version control. |
- Under Pipeline, choose Pipeline script.
- (Optional) Enable Use Groovy Sandbox to restrict script permissions.
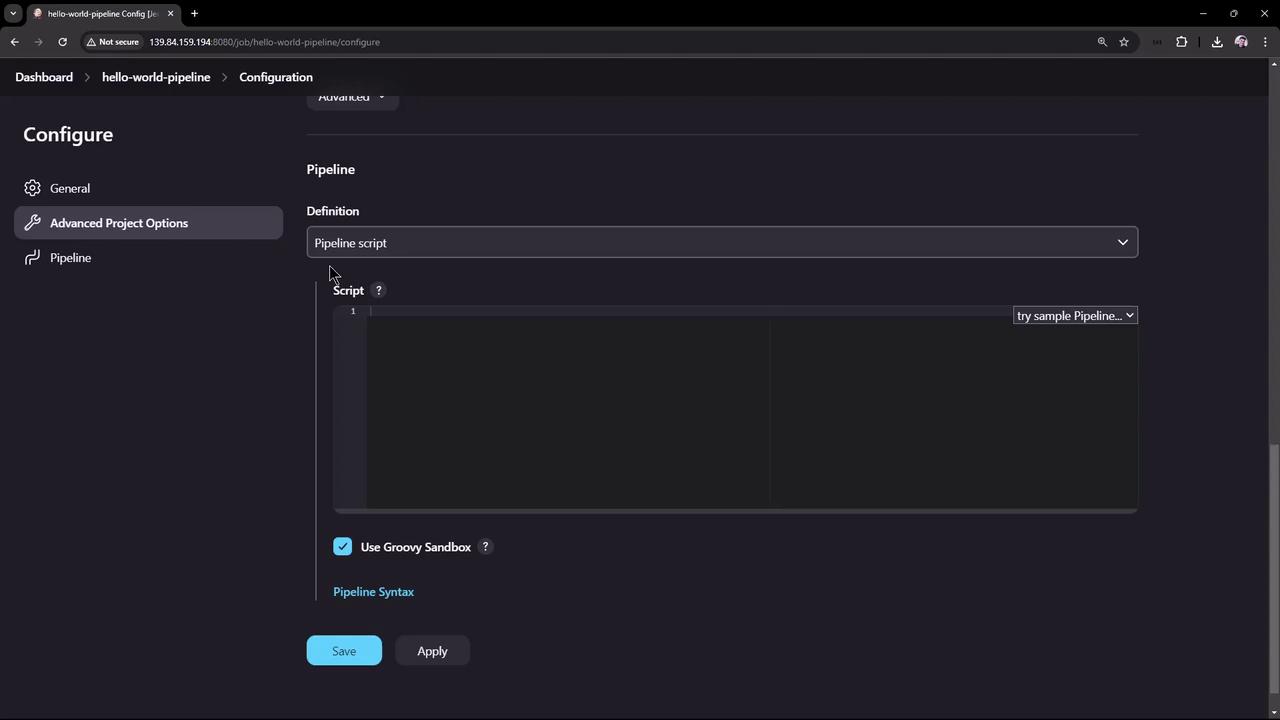

3. Hello World Pipeline
Paste this Declarative Pipeline into the script box:- agent any runs on any available node.
- stage(‘Hello’) contains an
echo 'Hello World'step.
Enabling the Groovy Sandbox is recommended if you’re running untrusted scripts. It prevents unauthorized method calls.
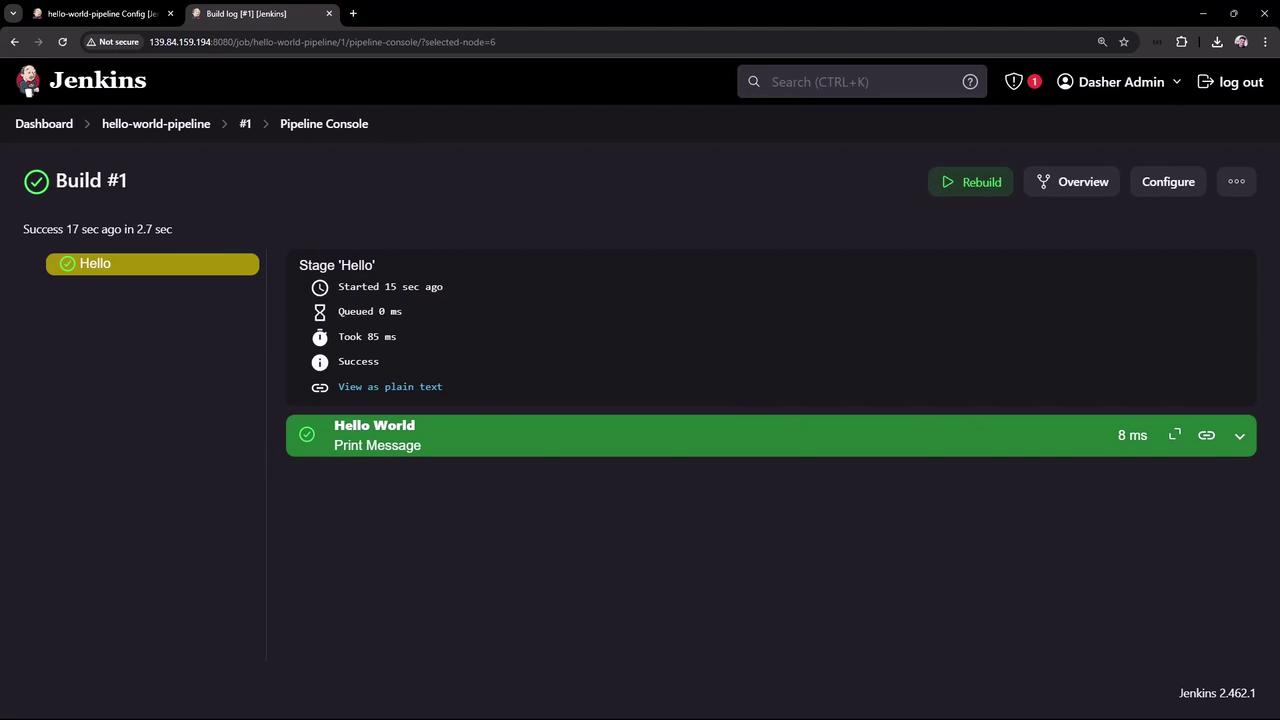
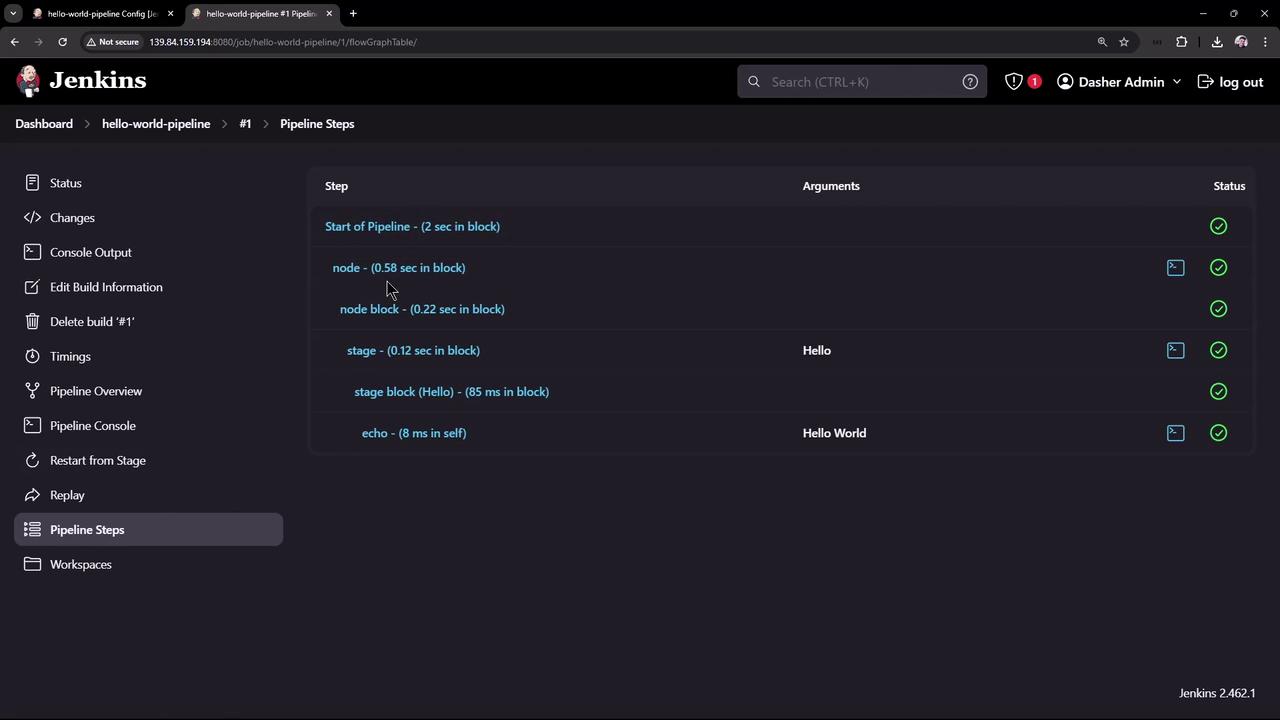
4. View the Results
After triggering the job, the dashboard shows build status, history, and links to console output.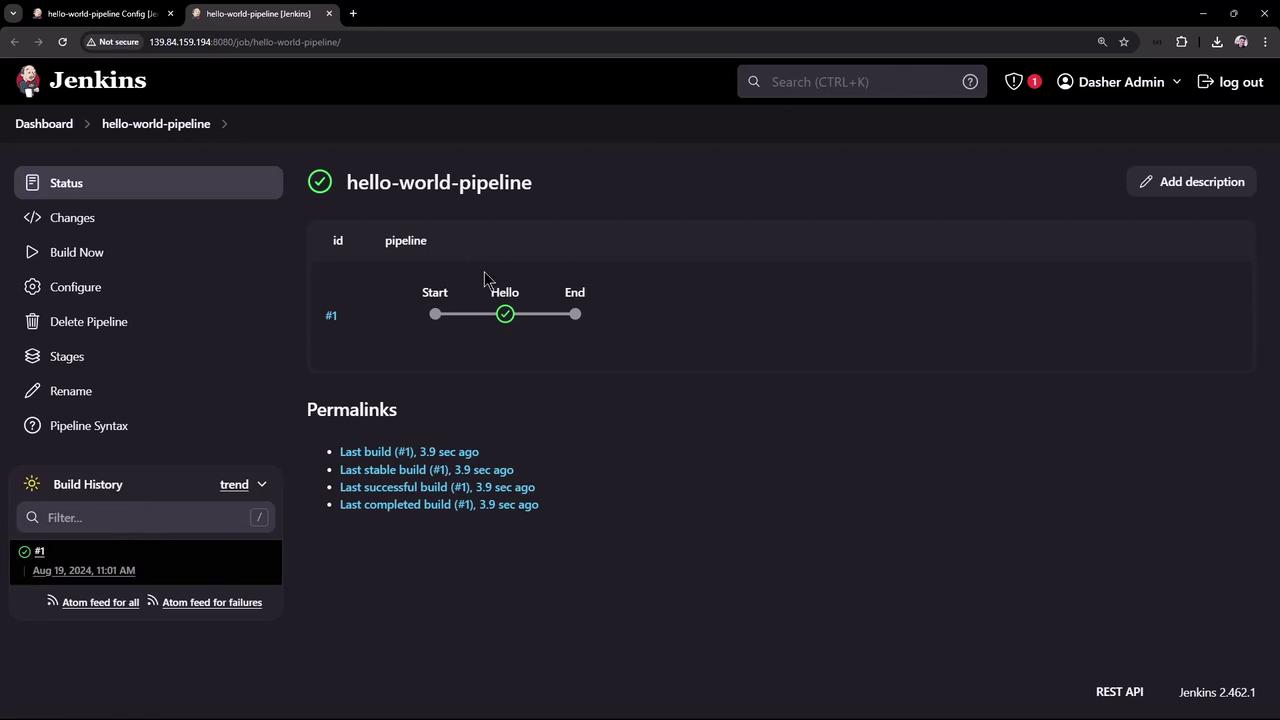

5. Extending with Maven
Let’s enhance the pipeline to print the Maven version. Add atools block:
If you run this now, you’ll get a compilation error because the tool name M3 isn’t defined in Jenkins yet.
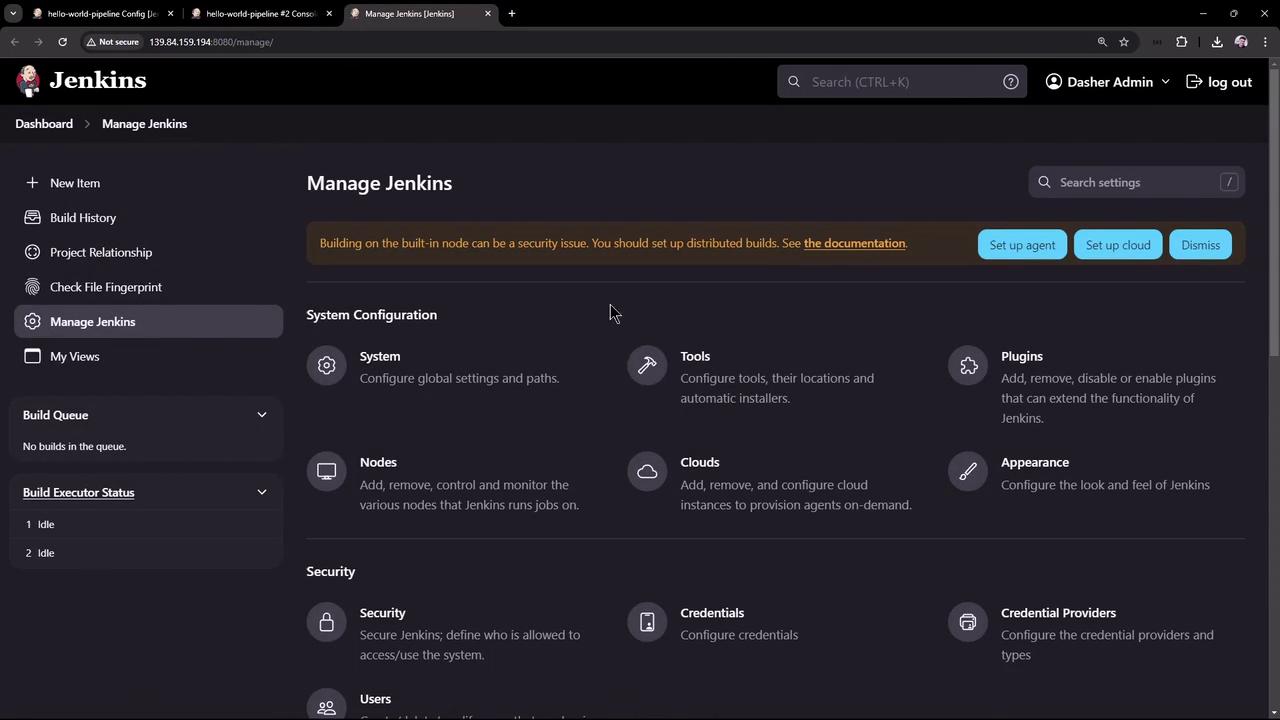
6. Configure Maven in Jenkins
- Navigate to Manage Jenkins > Global Tool Configuration.
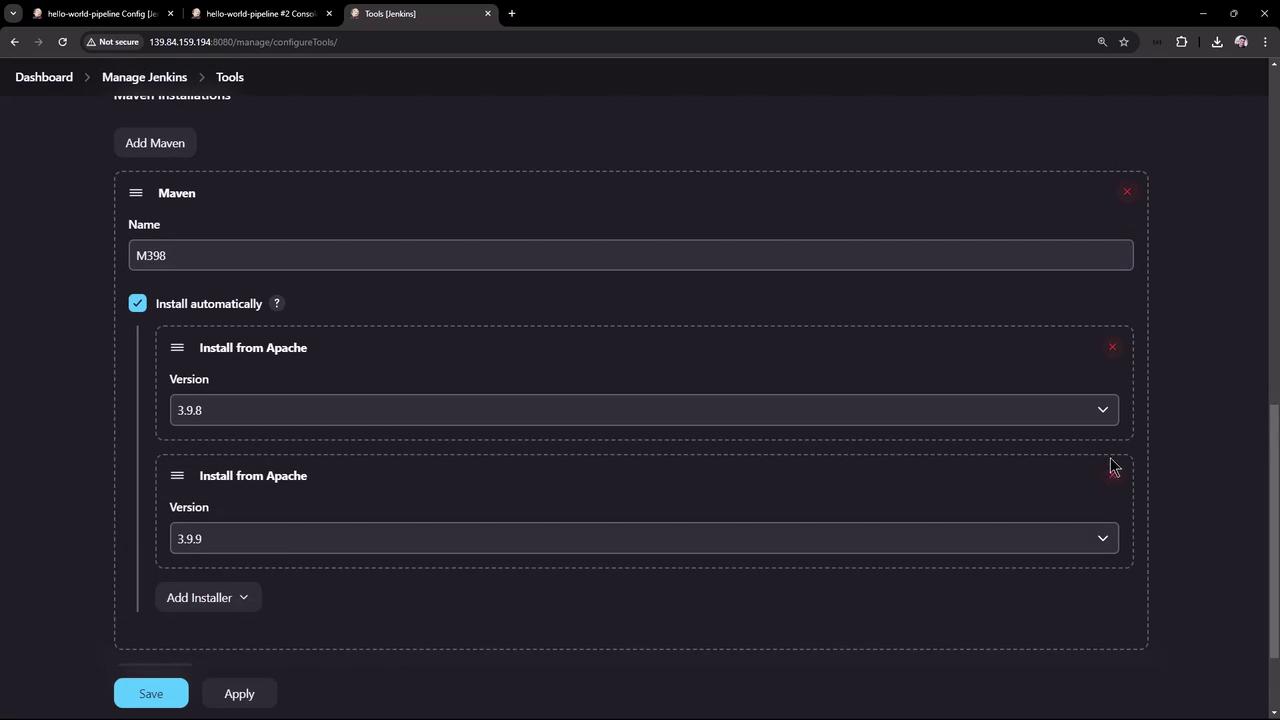
- Under Maven installations, click Add Maven.
- Name it M398, enable Install automatically, and choose version 3.9.8.
- Save your changes.
7. Build and Verify
Click Build Now again. You’ll see Tool Installation followed by Echo Version. Console snippet:Conclusion
You’ve now:- Created a Jenkins Pipeline project
- Written and executed a “Hello World” pipeline
- Viewed build logs and timing
- Configured Jenkins to install Maven automatically