

1. Download the Jenkins CLI JAR
Navigate to Manage Jenkins → Jenkins CLI and copy the link tojenkins-cli.jar:
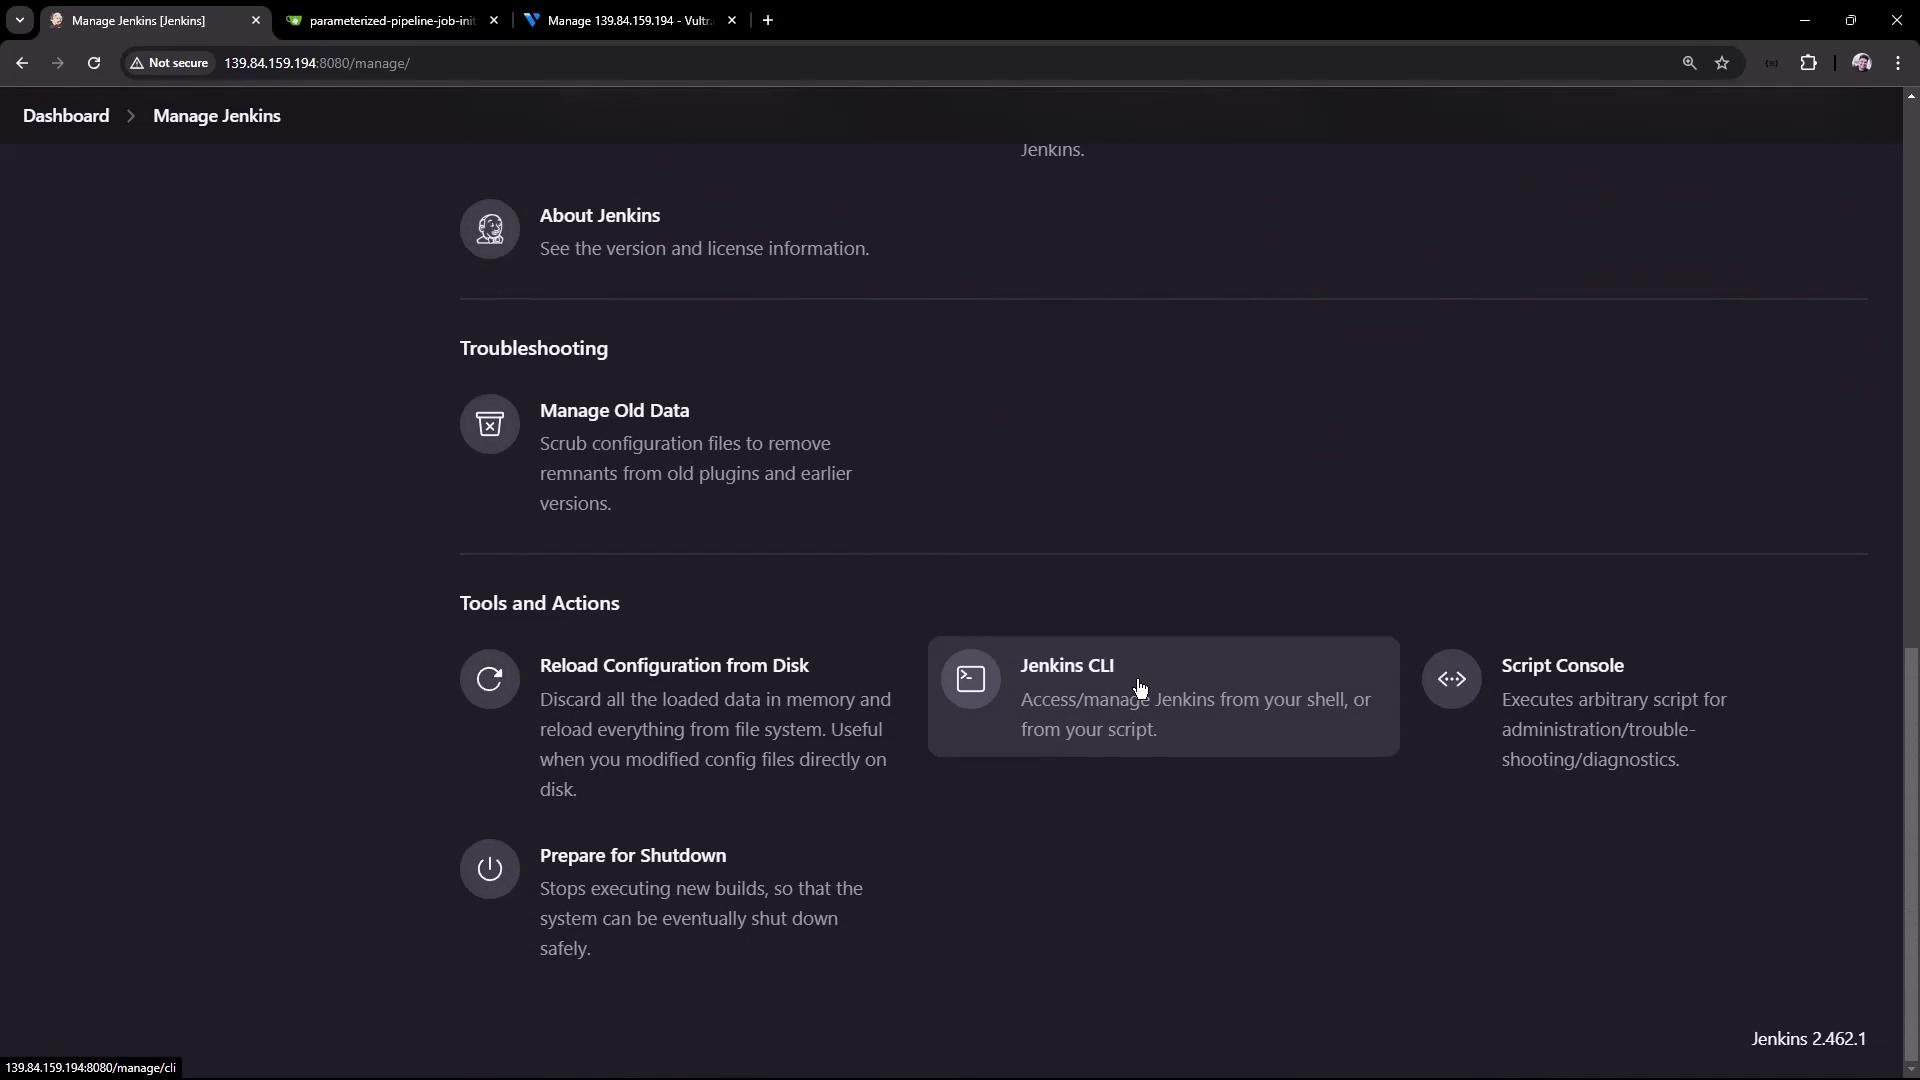
Replace
http://139.84.159.194:8080/ with your own Jenkins URL if different.2. Explore Available CLI Commands
List all CLI commands and options:3. Authenticate with Username and Password
Use-auth USER:SECRET to provide credentials. For example:
Avoid embedding plaintext passwords in scripts. Use Jenkins API tokens or SSH key authentication for better security.
4. Build Command and Flags
Thebuild command accepts several useful flags:
5. Triggering a Parameterized Job
To triggerparameterized-pipeline-job with a BRANCH_NAME parameter:
6. View Job Status in Jenkins UI
After running the CLI command, you can monitor the build status and trends in the Jenkins dashboard: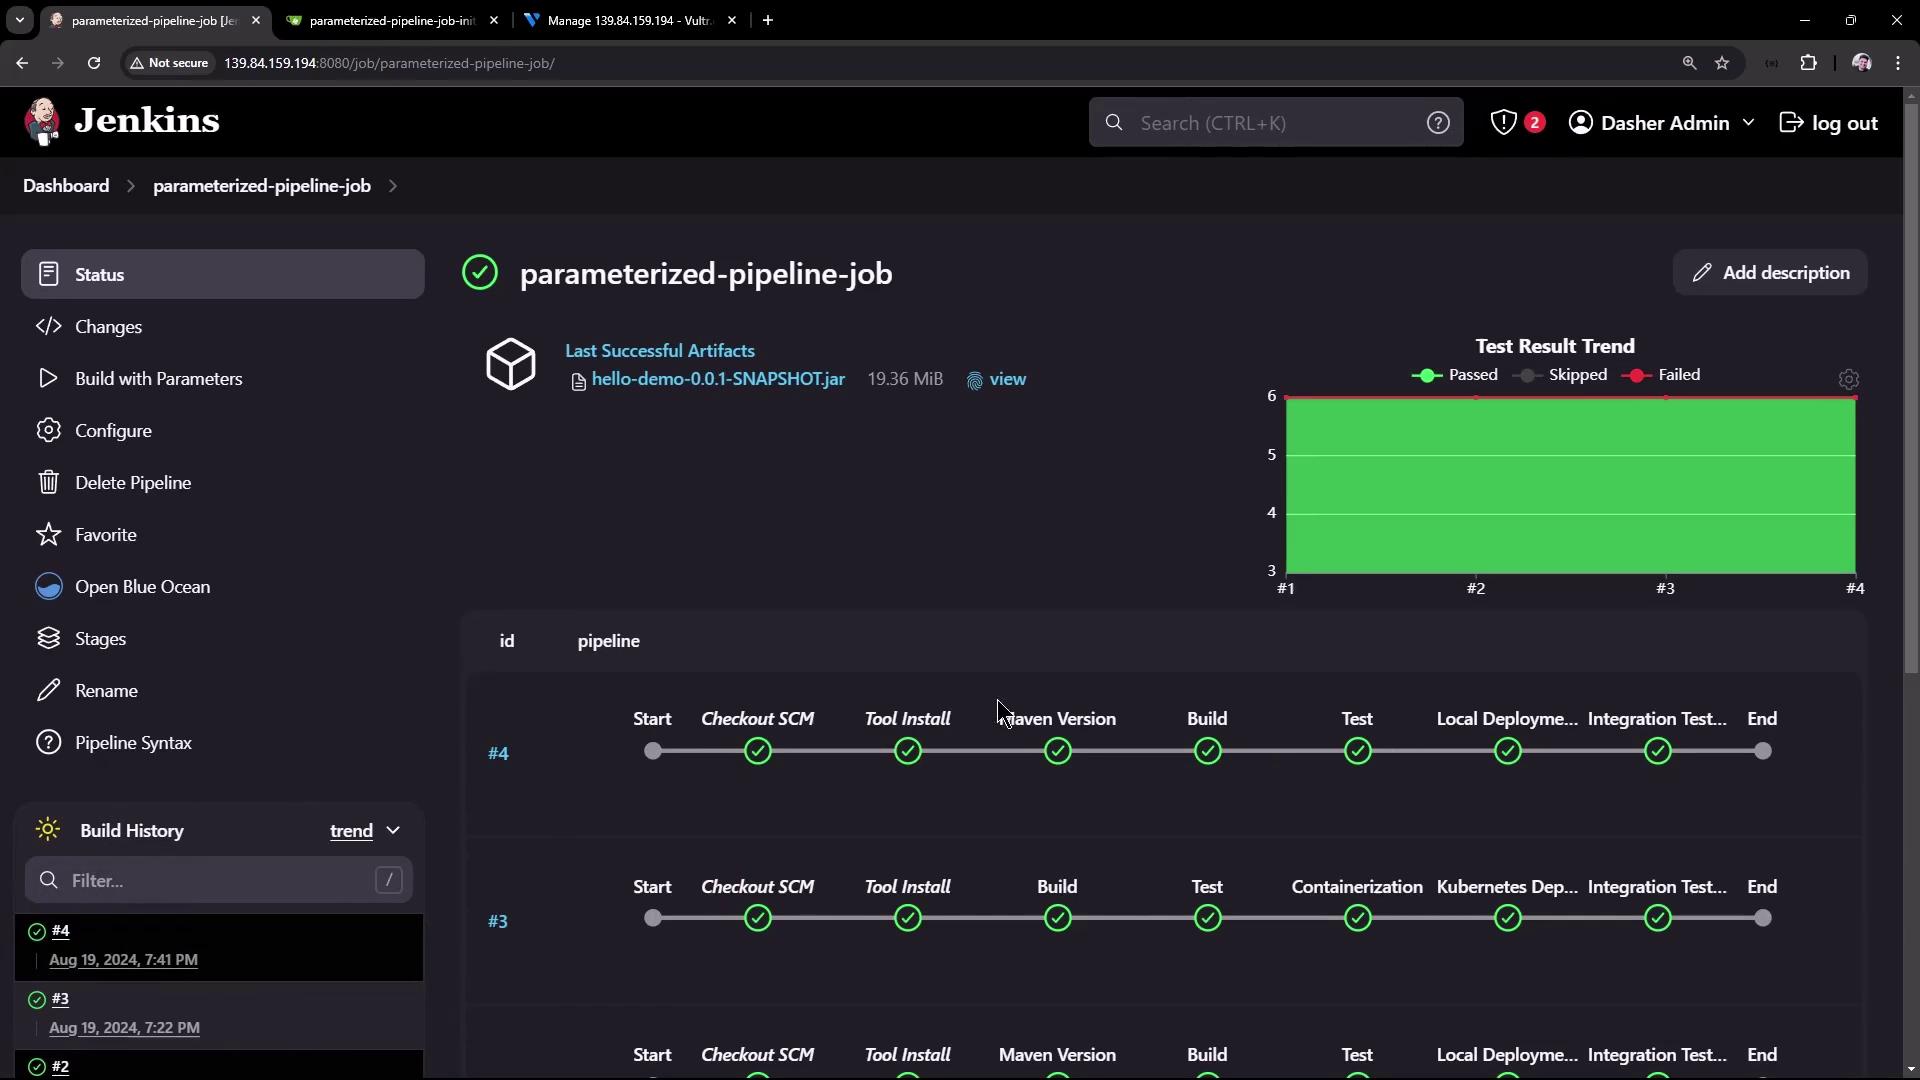
7. Include Full Console Output
If you need detailed logs in your terminal, add the-v flag:
You can automate these steps in shell scripts or integrate them into your CI/CD pipelines. Beyond building jobs, the Jenkins CLI lets you manage views, plugins, credentials, and more.