

- Automatically archives every job and system configuration change
- Provides side-by-side diff views for quick comparison
- Restores older versions and recovers deleted jobs
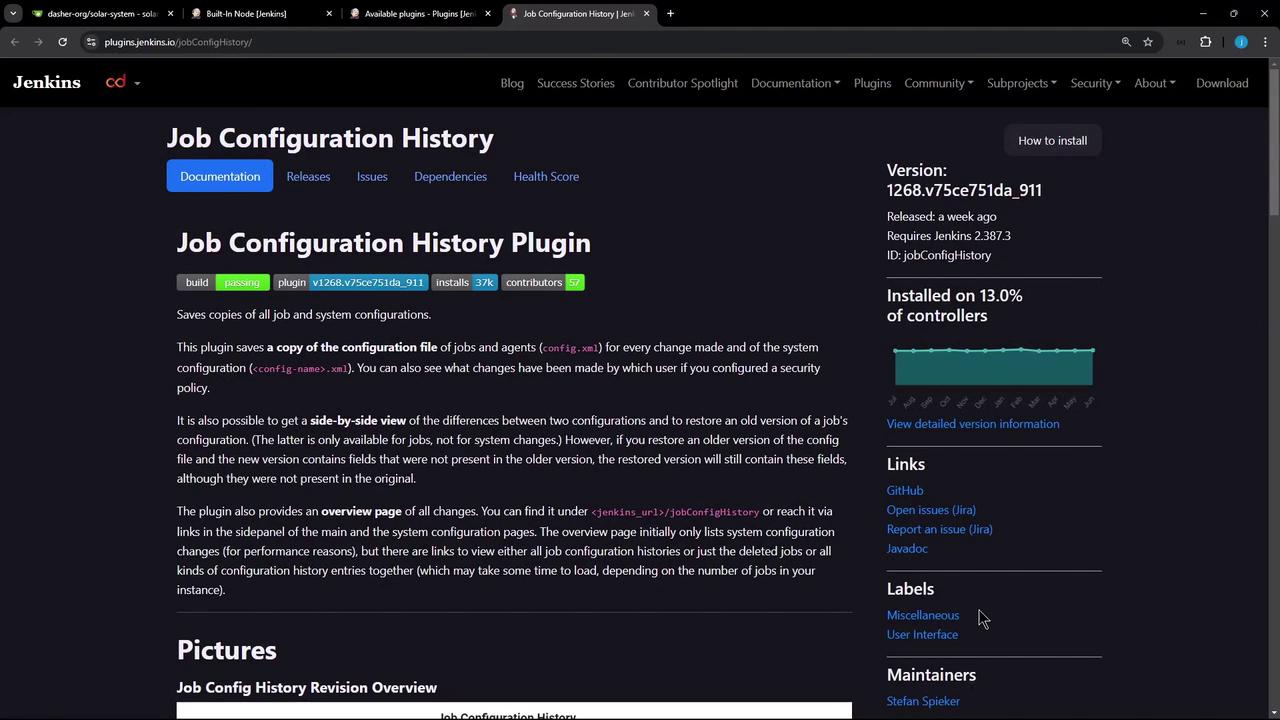
Plugin Features
1. Installing the Plugin
- Navigate to Manage Jenkins > Manage Plugins.
- Under the Available tab, search for Job Configuration History.
- Select the plugin, click Install without restart, then restart Jenkins:
- Via Manage Jenkins > Restart
- Or manually restart the Jenkins service
Keeping every configuration change can consume significant disk space over time. Monitor the storage and adjust limits in the plugin settings section.

2. Navigating Configuration History
Once Jenkins restarts, a new Job Config History link appears in the dashboard sidebar. Click it to:- View All Configuration History
- Filter by Job Changes, System Changes, Created Jobs, or Deleted Jobs
- Inspect individual revisions and metadata
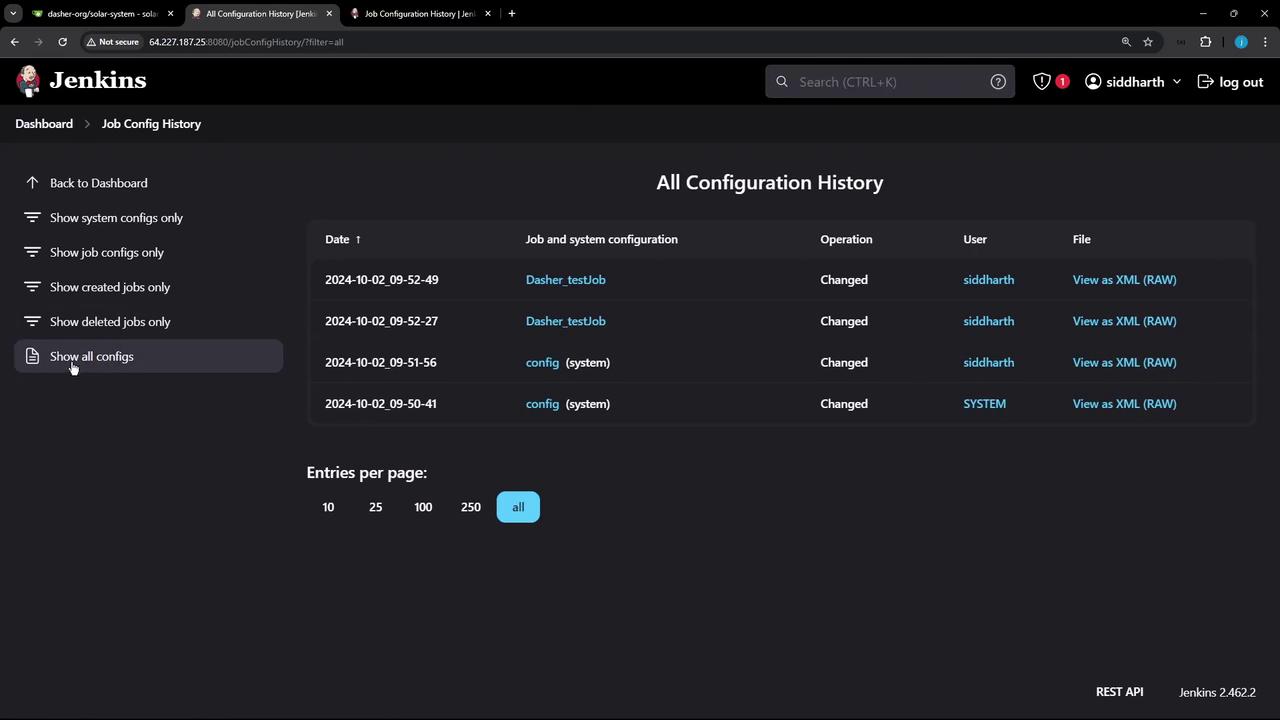
3. Tracking Job Configuration Changes
Follow these steps to see how changes are recorded:- Open Dasher_testJob from the Jenkins dashboard.
- Click Configure, disable any restriction rules, then Save.
- In Build, add an Execute Shell step:
- Save and select Build Now.
- Re-enter Configure, add:
- Save and Build Now again.
3.1 Per-Job History and Diff View
To inspect a single job’s history:- Open Dasher_testJob > Job Config History
- You’ll see a list of revisions with user, timestamp, and operation
- Click Show Difference for a side-by-side XML diff
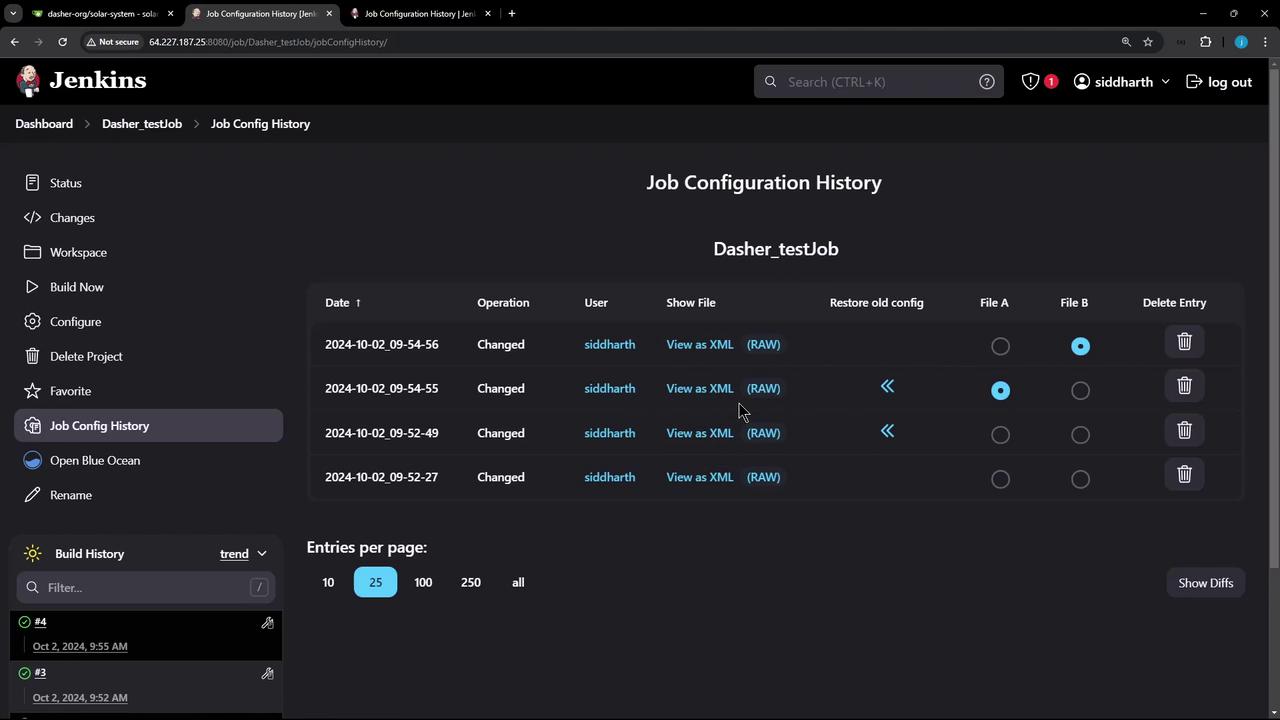
config.xml and reflect only the restored build steps:
4. Restoring Deleted Jobs
The plugin logs deletions, allowing you to recover lost jobs:- Delete Dasher_testJob from the dashboard.
- Go to Job Config History and filter by Deleted Jobs.
- Find the delete event and click Restore to recover the job.
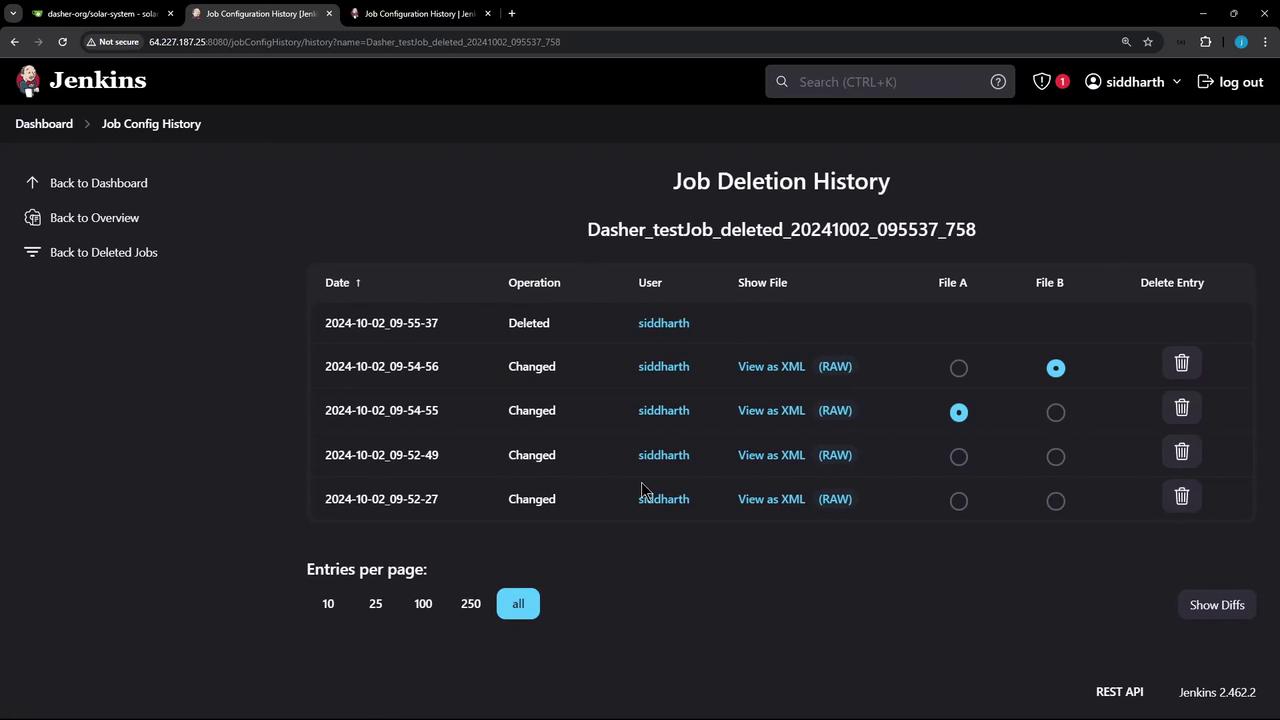
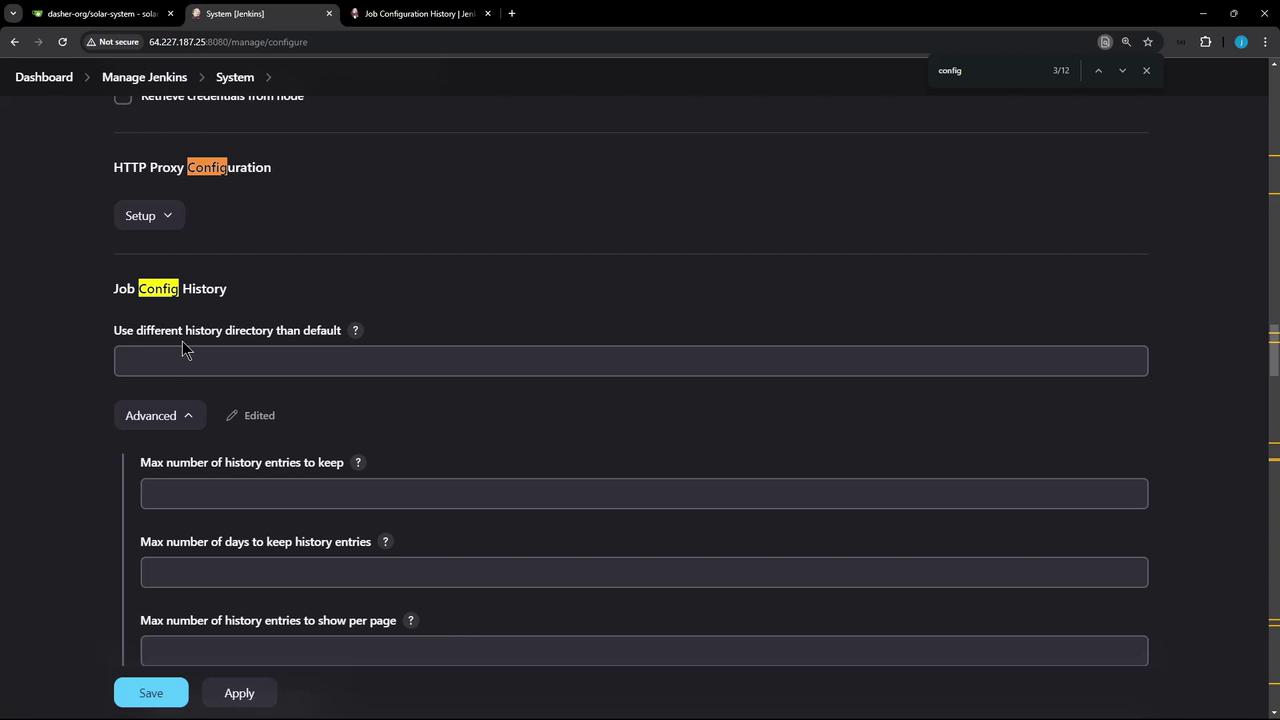
5. Plugin Settings and Storage Location
Configure history storage and limits:- Navigate to Manage Jenkins > Configure System.
- Scroll to Job Config History settings:
- History Root Directory (default:
/var/lib/jenkins/config-history) - Max entries per config
- Max age of entries
- History Root Directory (default:
config.xml and history.xml: