

emailext snippet, add an email step to a Declarative pipeline post action, attach build logs and files, and send HTML-formatted notifications.
Create a new Jenkins pipeline job (for example, “Pipeline Email Notification”) and open the Pipeline Syntax / Snippet Generator to produce the emailext step.
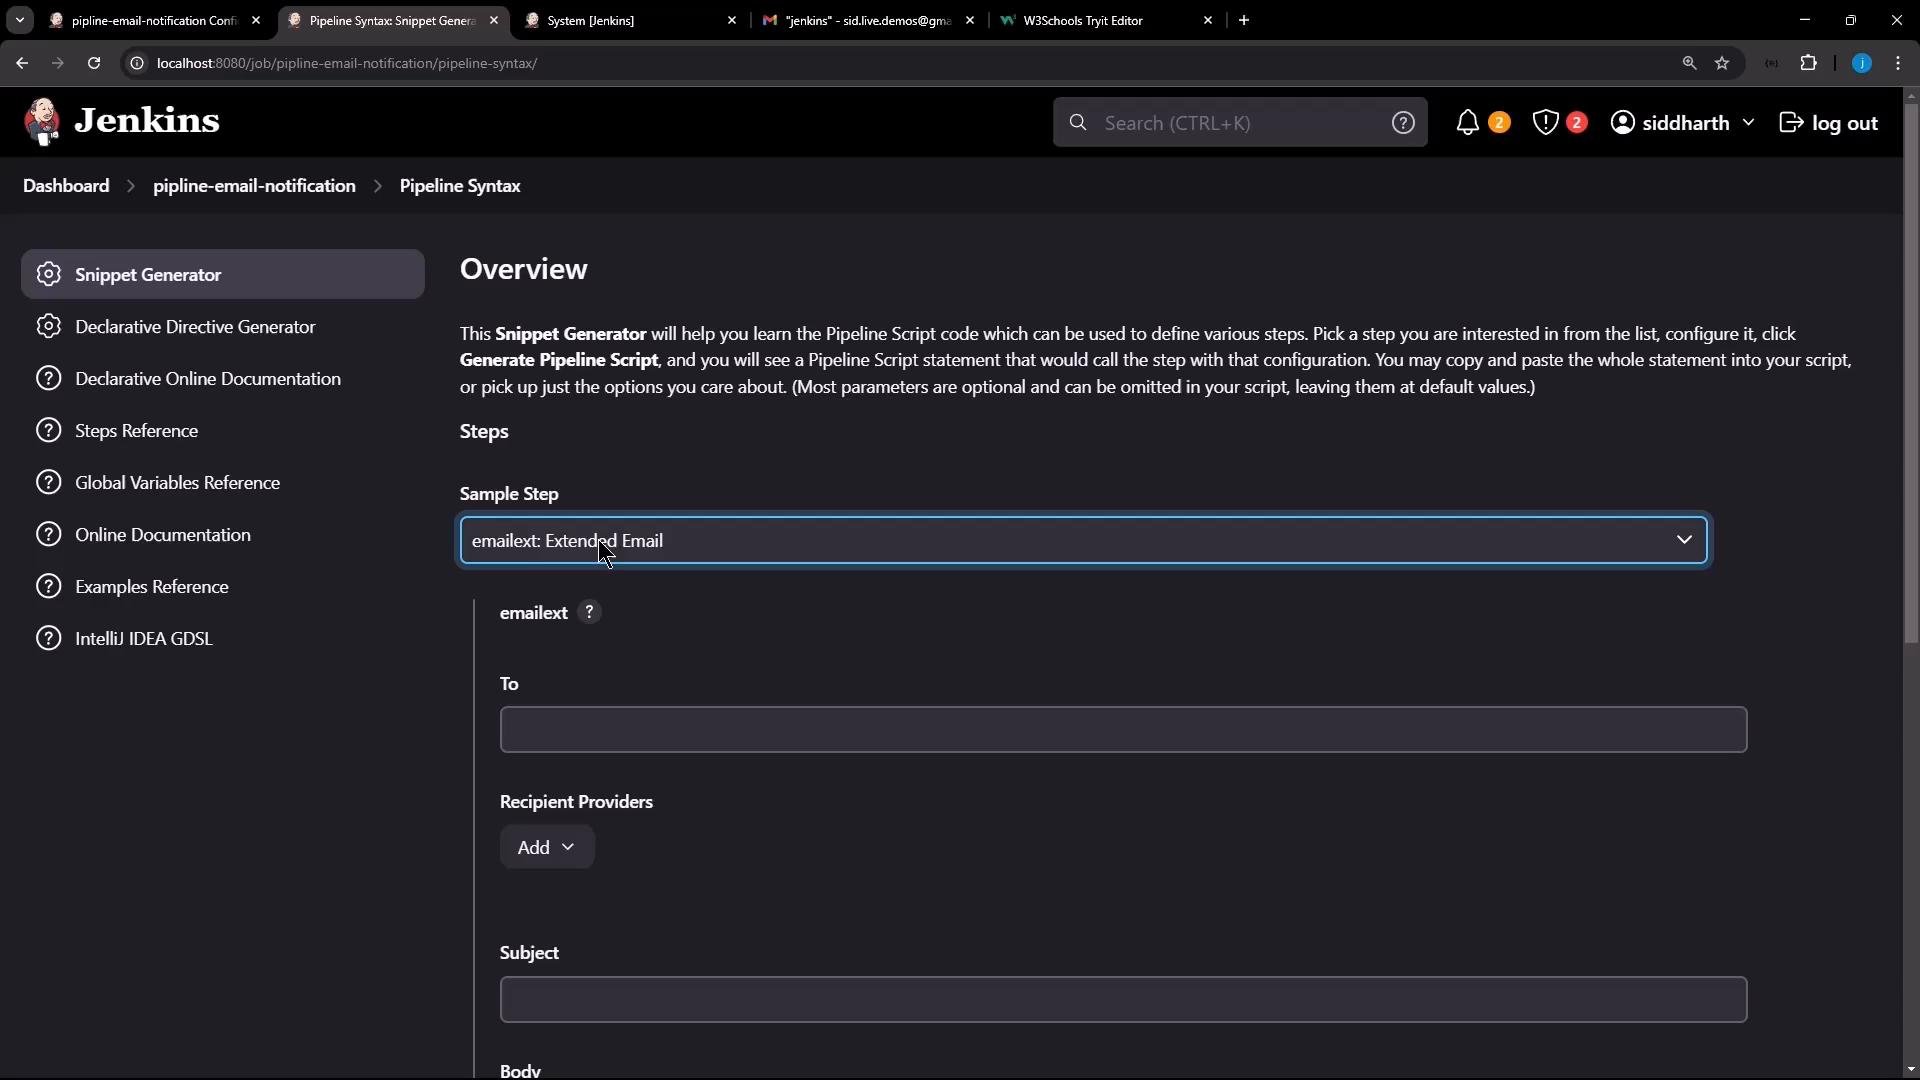
Below is a minimal Declarative pipeline example. It creates a file during a stage and then sends an email in the
post section. Note emailext is invoked as a step with named arguments (attachLog, body, subject, to, attachmentsPattern):
- The
Hellostage generatestestFile.txt. - The
postblock runs after the build and callsemailext. attachLog: trueattaches the console log.attachmentsPatternattaches any files matching the glob (here,testFile.txt).
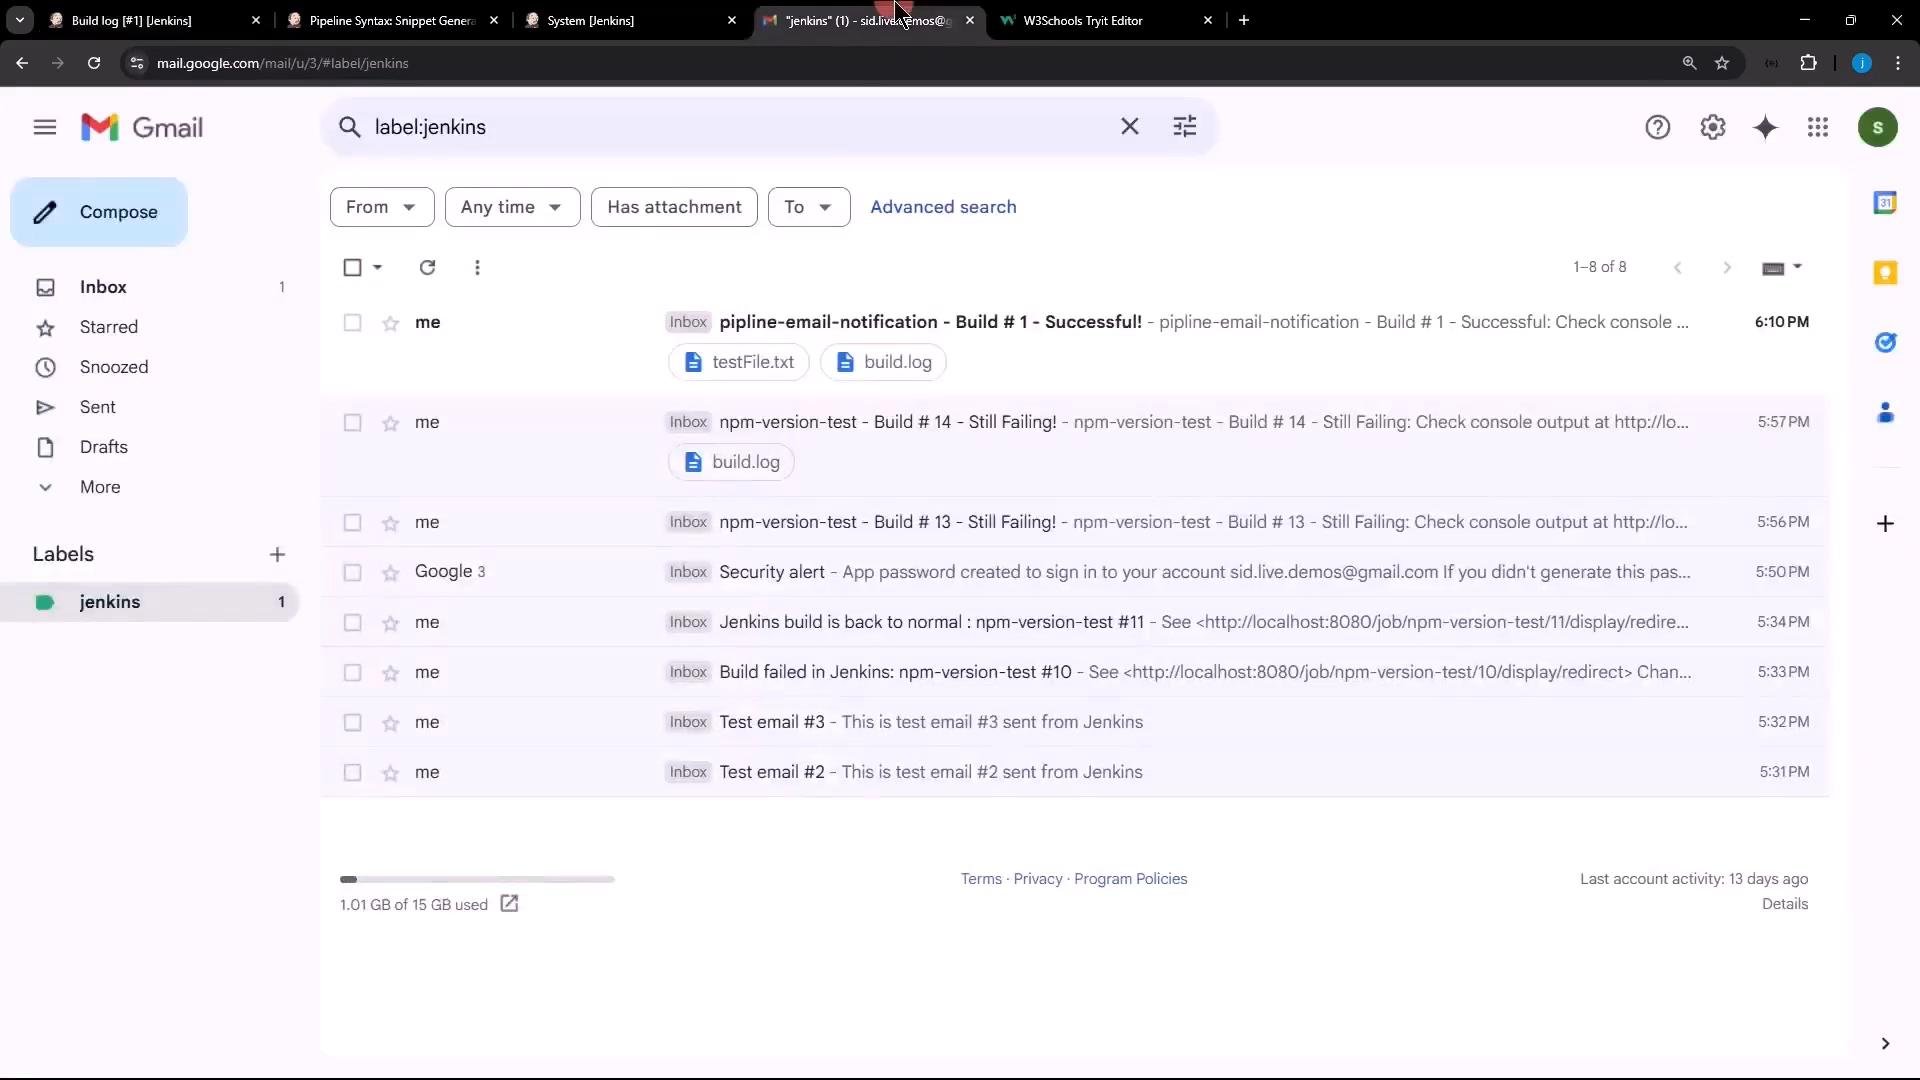
testFile.txt attached. Example: Jenkins notifications appearing in a Gmail inbox.
- By default the plugin sends plain text.
- To use HTML, provide an HTML template as the default content (or pass it directly as the
body) and configure the default content type totext/html.
Default Content:
- Set
Default Contentto your HTML template. - Set
Default Content Typetotext/html. - Confirm SMTP settings (server, port, credentials, SSL/TLS) so Jenkins can successfully deliver mail.
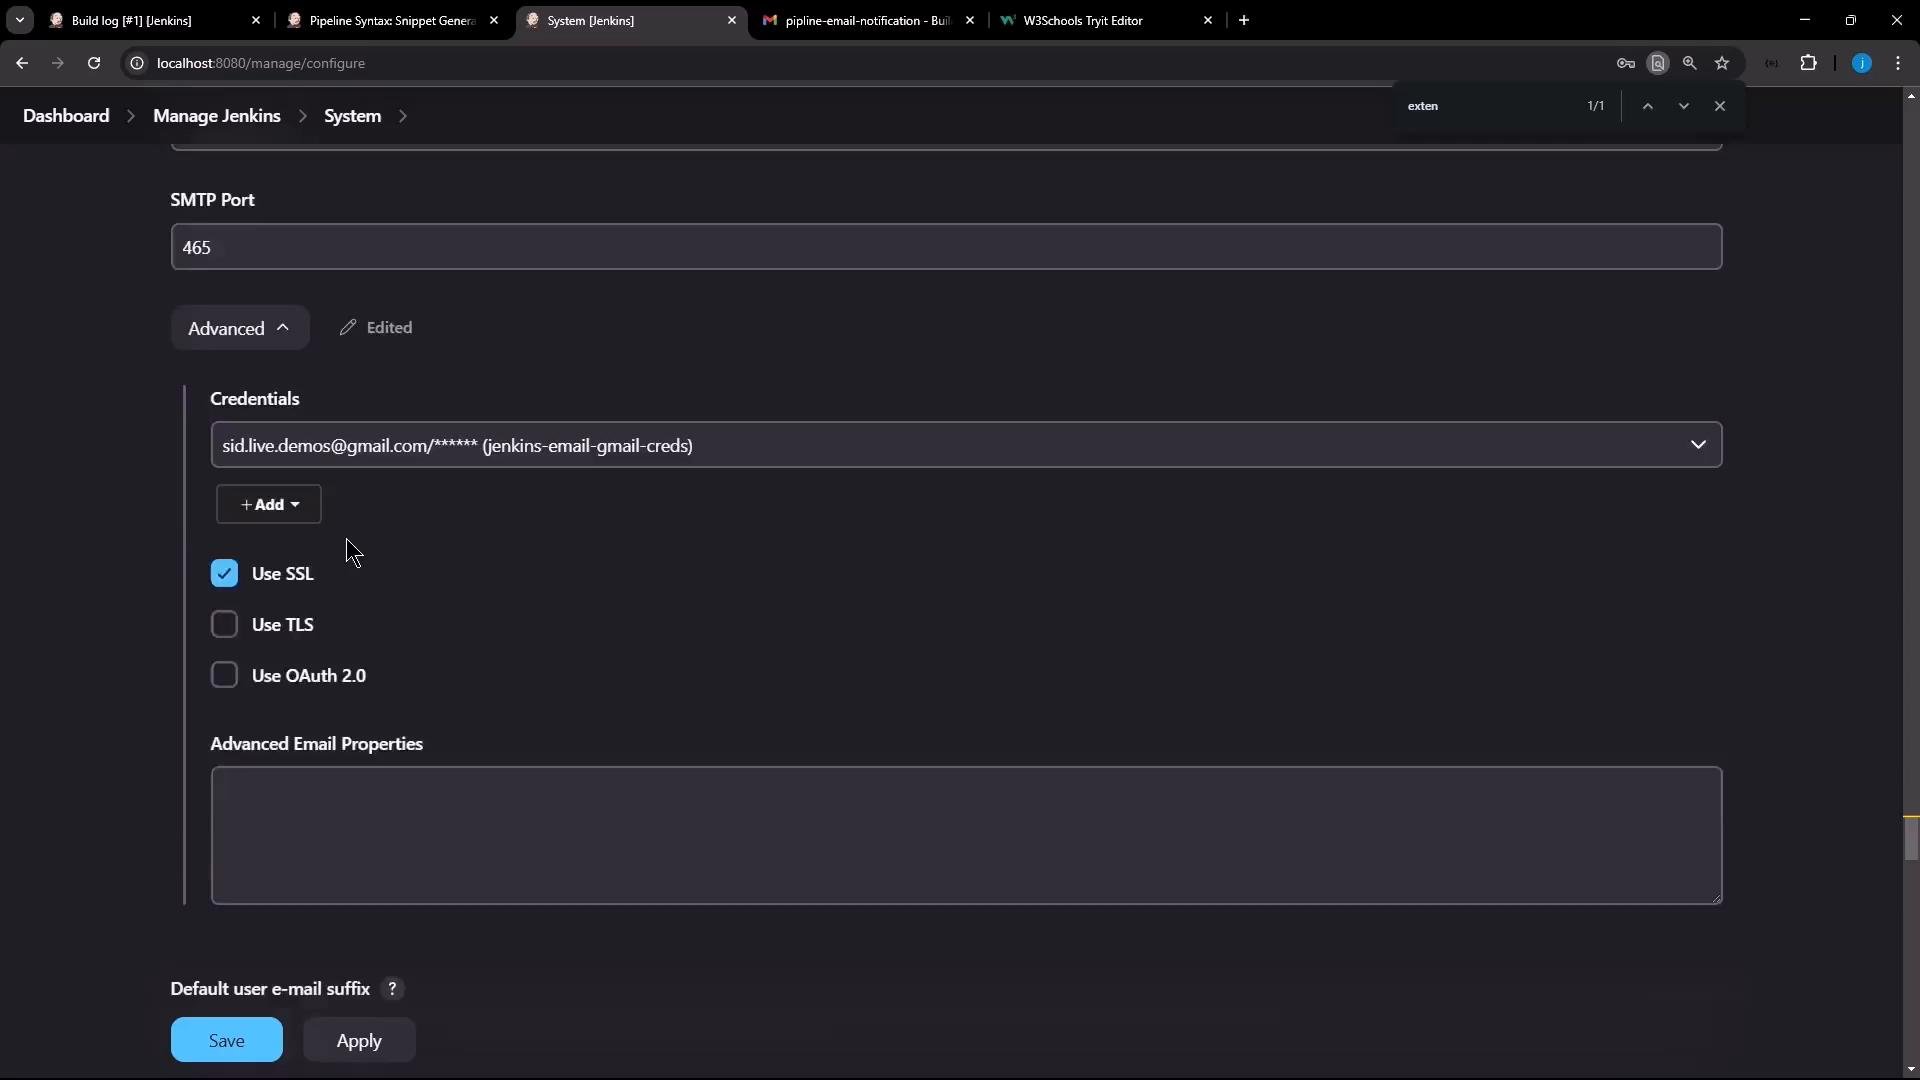
When you paste the HTML into the Extended E-mail Notification
Default Content field, also set Default Content Type to text/html. If left as plain text, HTML will appear as literal markup in the email.
References and further reading:
- Email Extension plugin (Extended E-mail): https://plugins.jenkins.io/email-ext/
- Pipeline Syntax / Snippet Generator: https://www.jenkins.io/doc/book/pipeline/syntax/
- Managing Jenkins — Mail configuration: https://www.jenkins.io/doc/book/managing/
emailext snippet, invoking emailext from post actions, attaching logs/files, and sending HTML-formatted notifications.