In this guide, we’ll extend our Jenkins pipeline by adding Build and Unit Test stages alongside the existing Echo Version step. By the end, you’ll have an automated flow that compiles, packages, and tests your Spring Boot application.

Current Pipeline Status

Below is the current pipeline, which installs Maven and echoes its version:
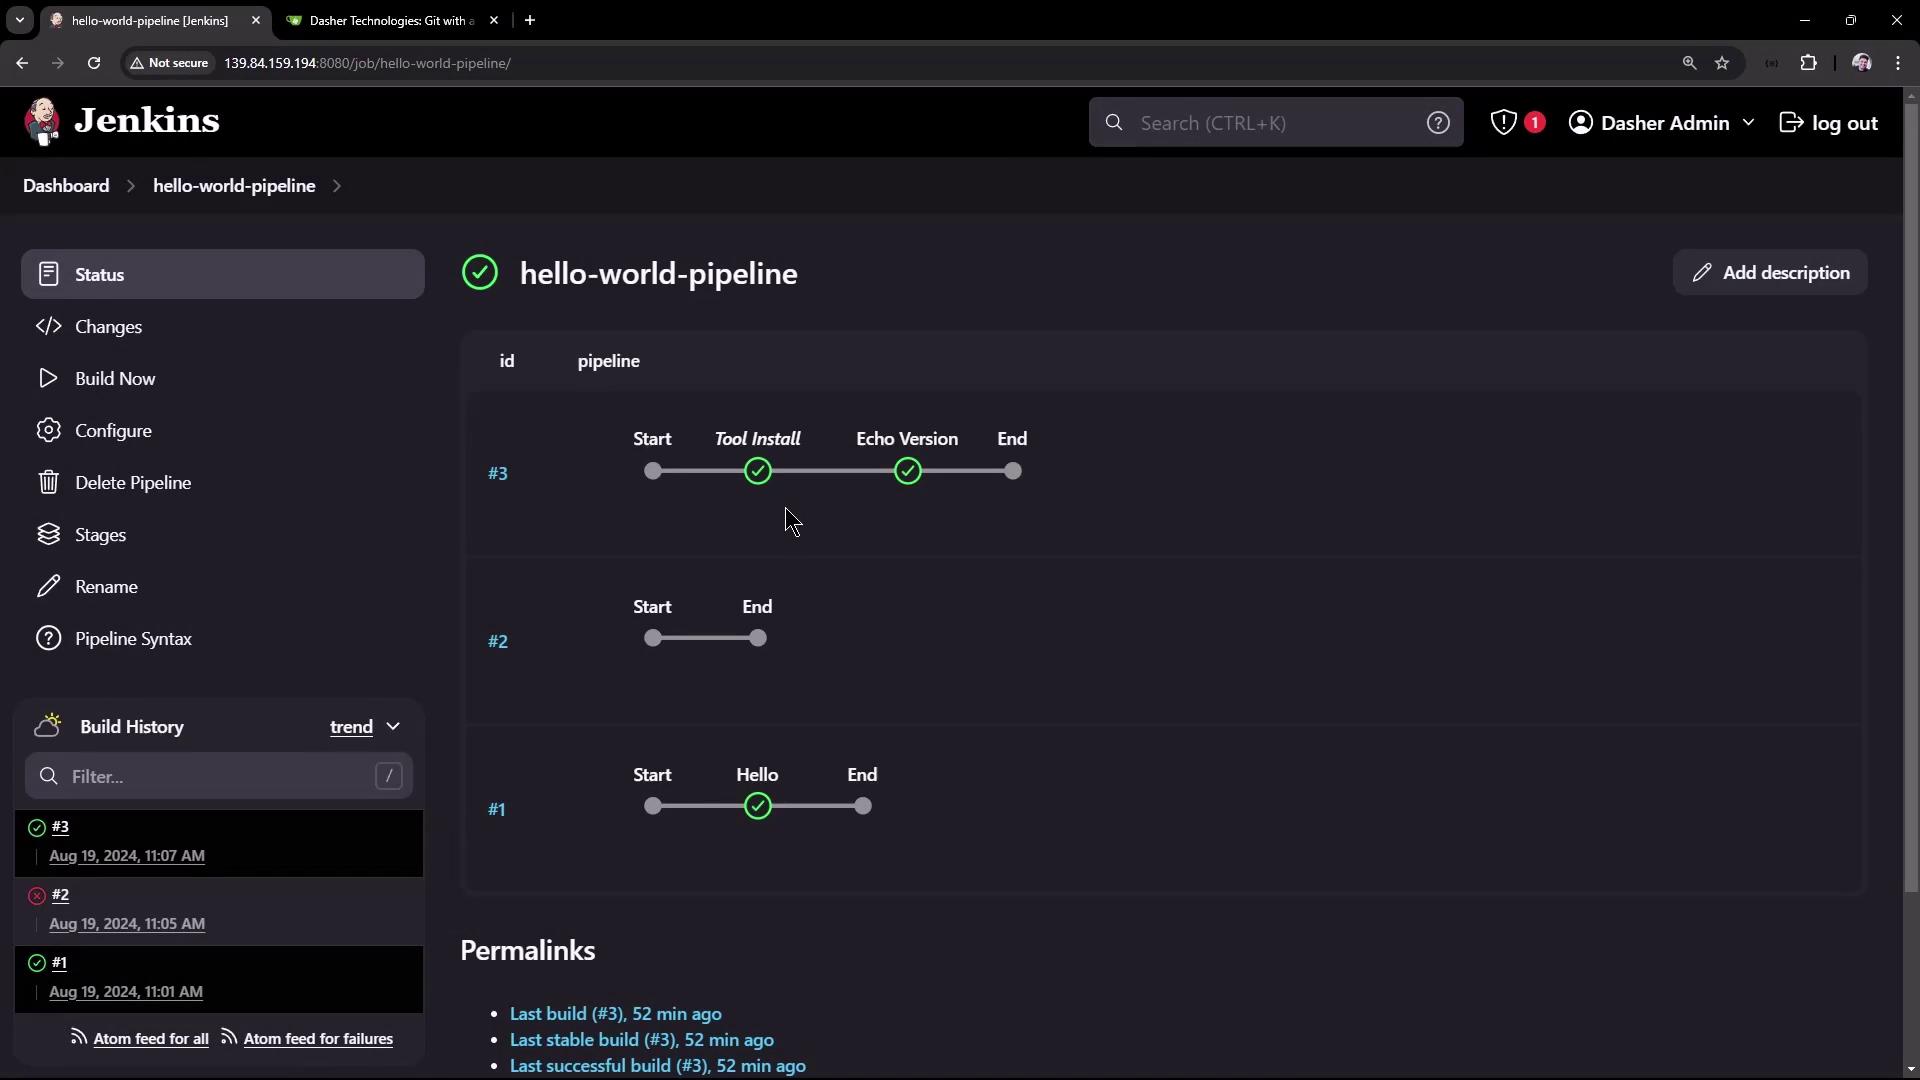
The image shows a Jenkins dashboard displaying the status of a "hello-world-pipeline" with stages like "Tool Install" and "Echo Version" marked as completed. The interface includes options for configuring and managing the pipeline.

Application Repository

Our sample Spring Boot “Hello World” application resides in the jenkins-hello-world repository. It uses Maven to build a JAR and includes six JUnit test cases (five passing, one failing).
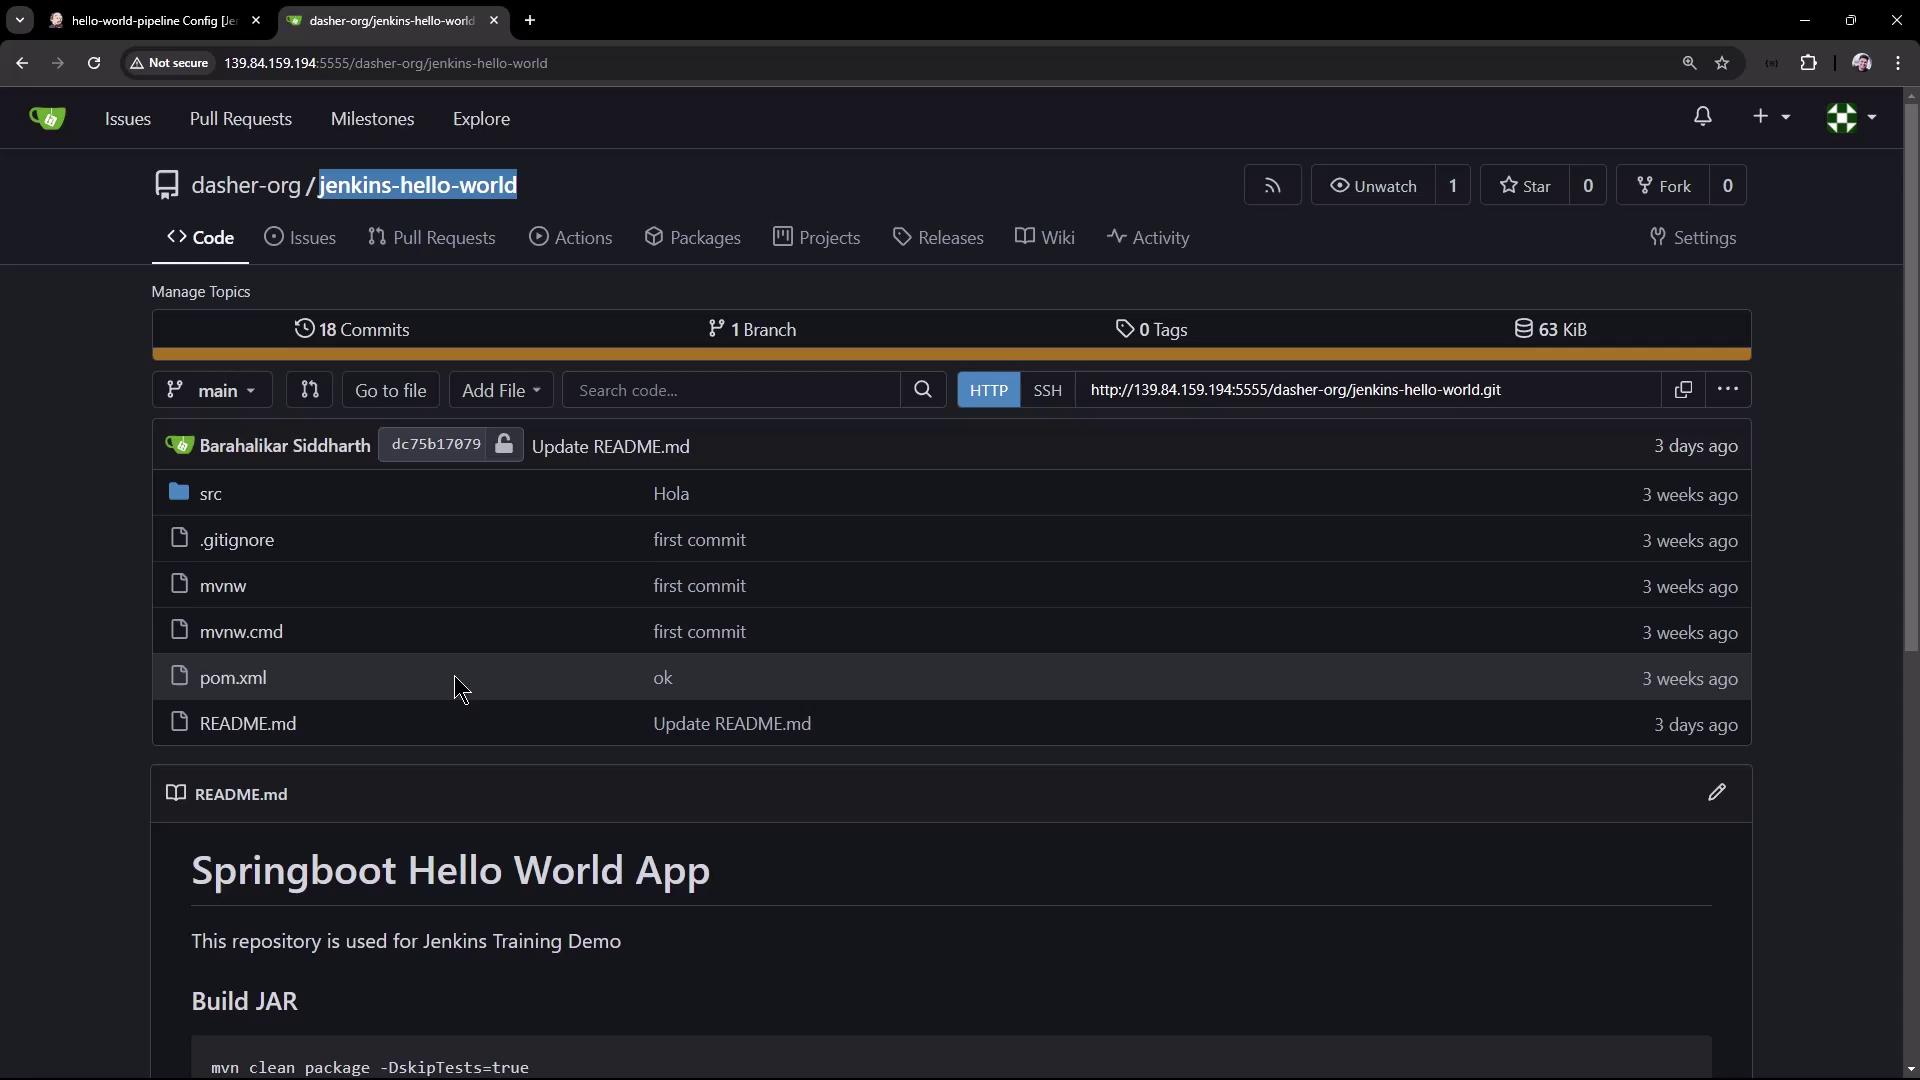
The image shows a GitHub repository page for "jenkins-hello-world" with a list of files and recent commits. The README section describes a Springboot Hello World App used for Jenkins training.

Defining the Pipeline

Create or update a Jenkinsfile at the root of your project with the following content:

Pipeline Stages Overview

First Run: Checkout Failure

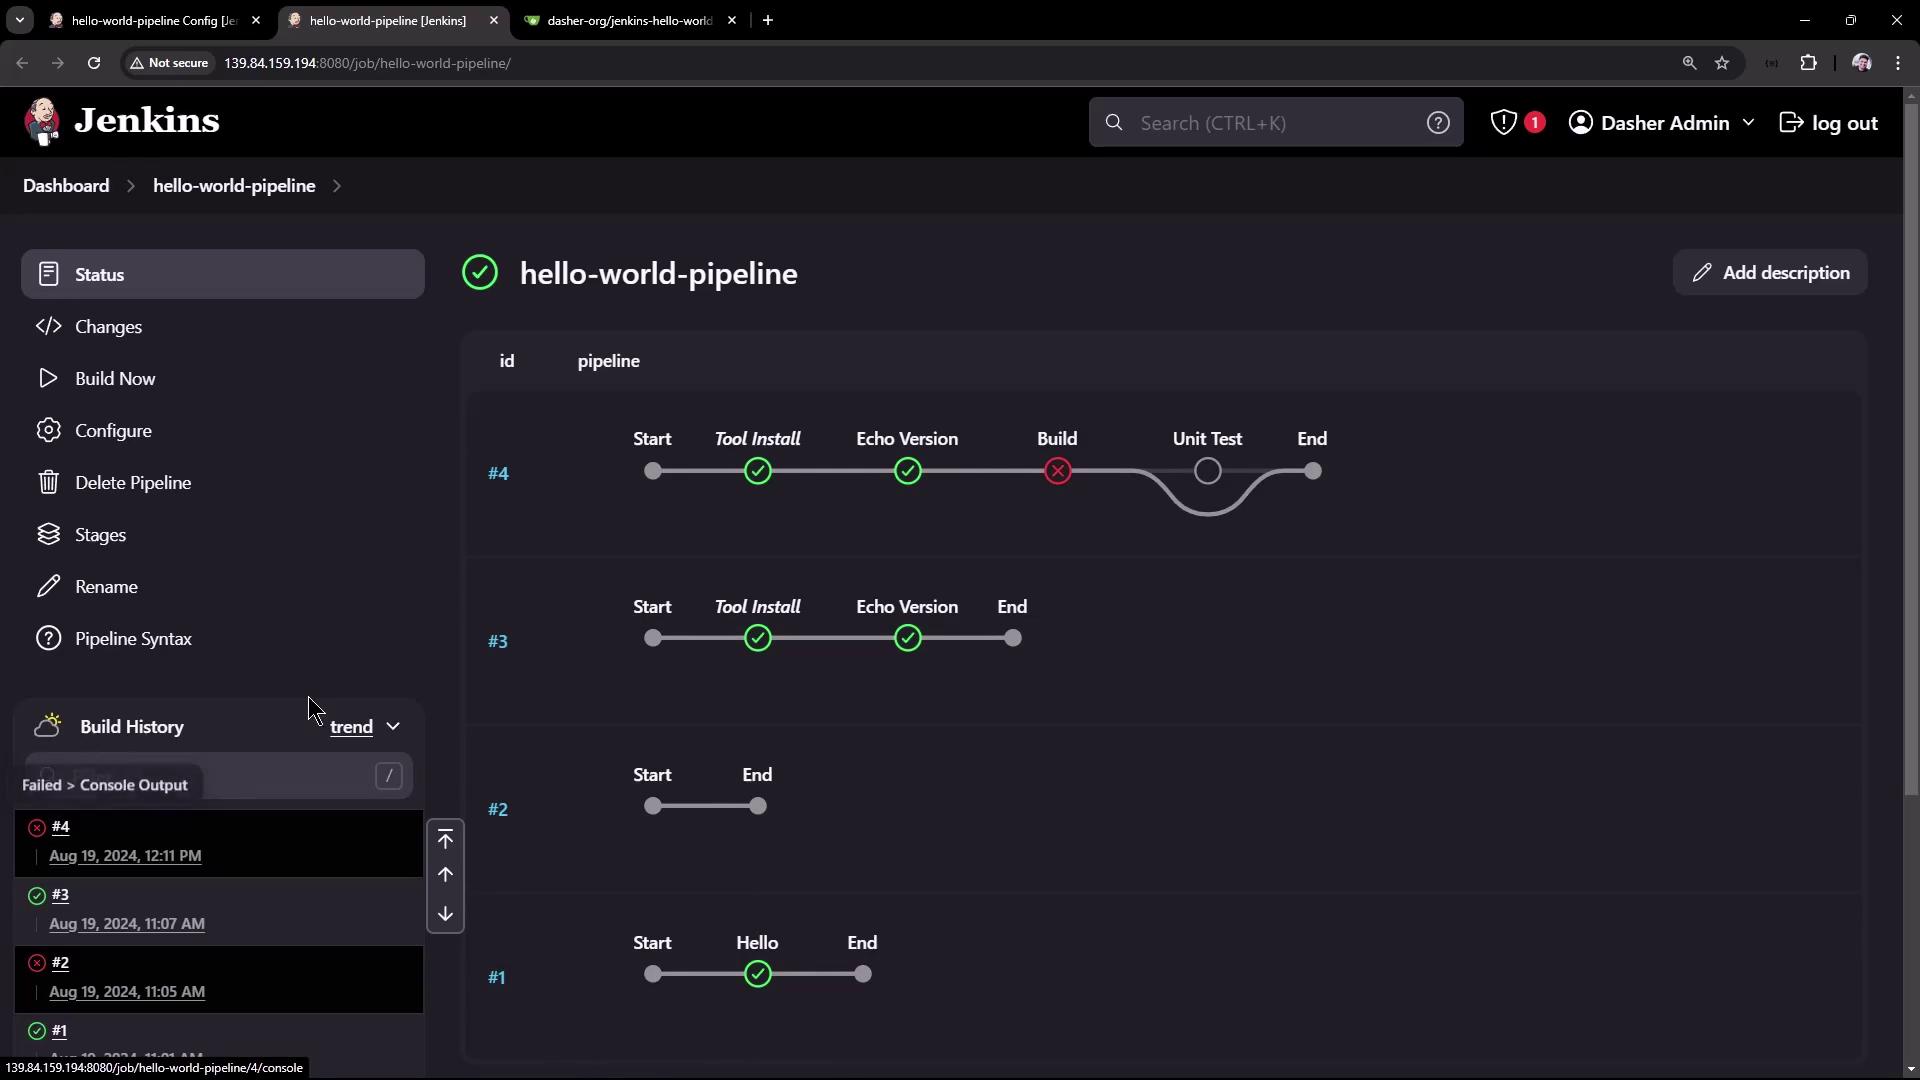
On the initial run, the pipeline fails at the Build stage because the default branch is main, not master:
The image shows a Jenkins dashboard displaying the status of a "hello-world-pipeline" with various stages, including "Tool Install," "Echo Version," "Build," and "Unit Test," with some stages marked as successful and one as failed.
The console logs display:
Ensure your git step points to the correct branch (main in this repository) to avoid checkout errors.

Specifying the Correct Branch

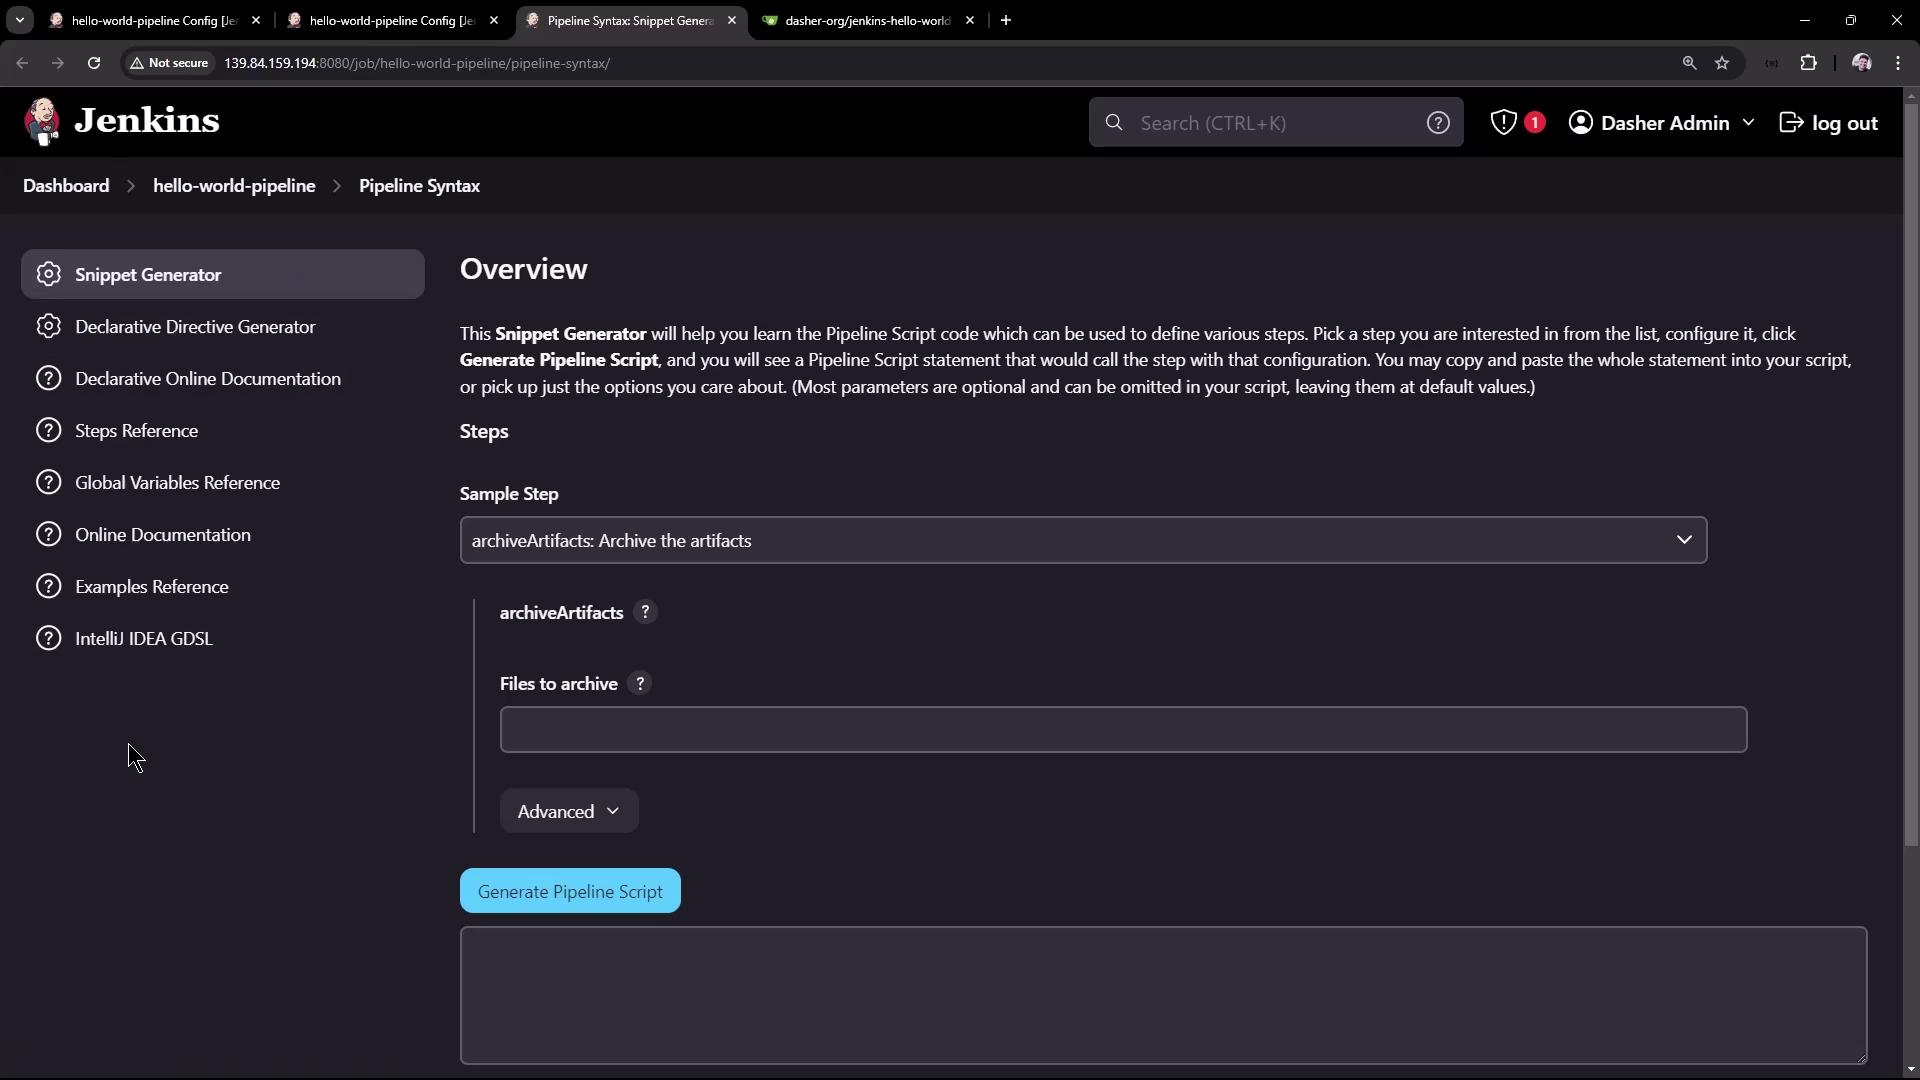
Use the Jenkins Snippet Generator to craft a branch-specific git checkout:
The image shows a Jenkins interface with the "Snippet Generator" for creating pipeline scripts. It includes options for archiving artifacts and generating a pipeline script.
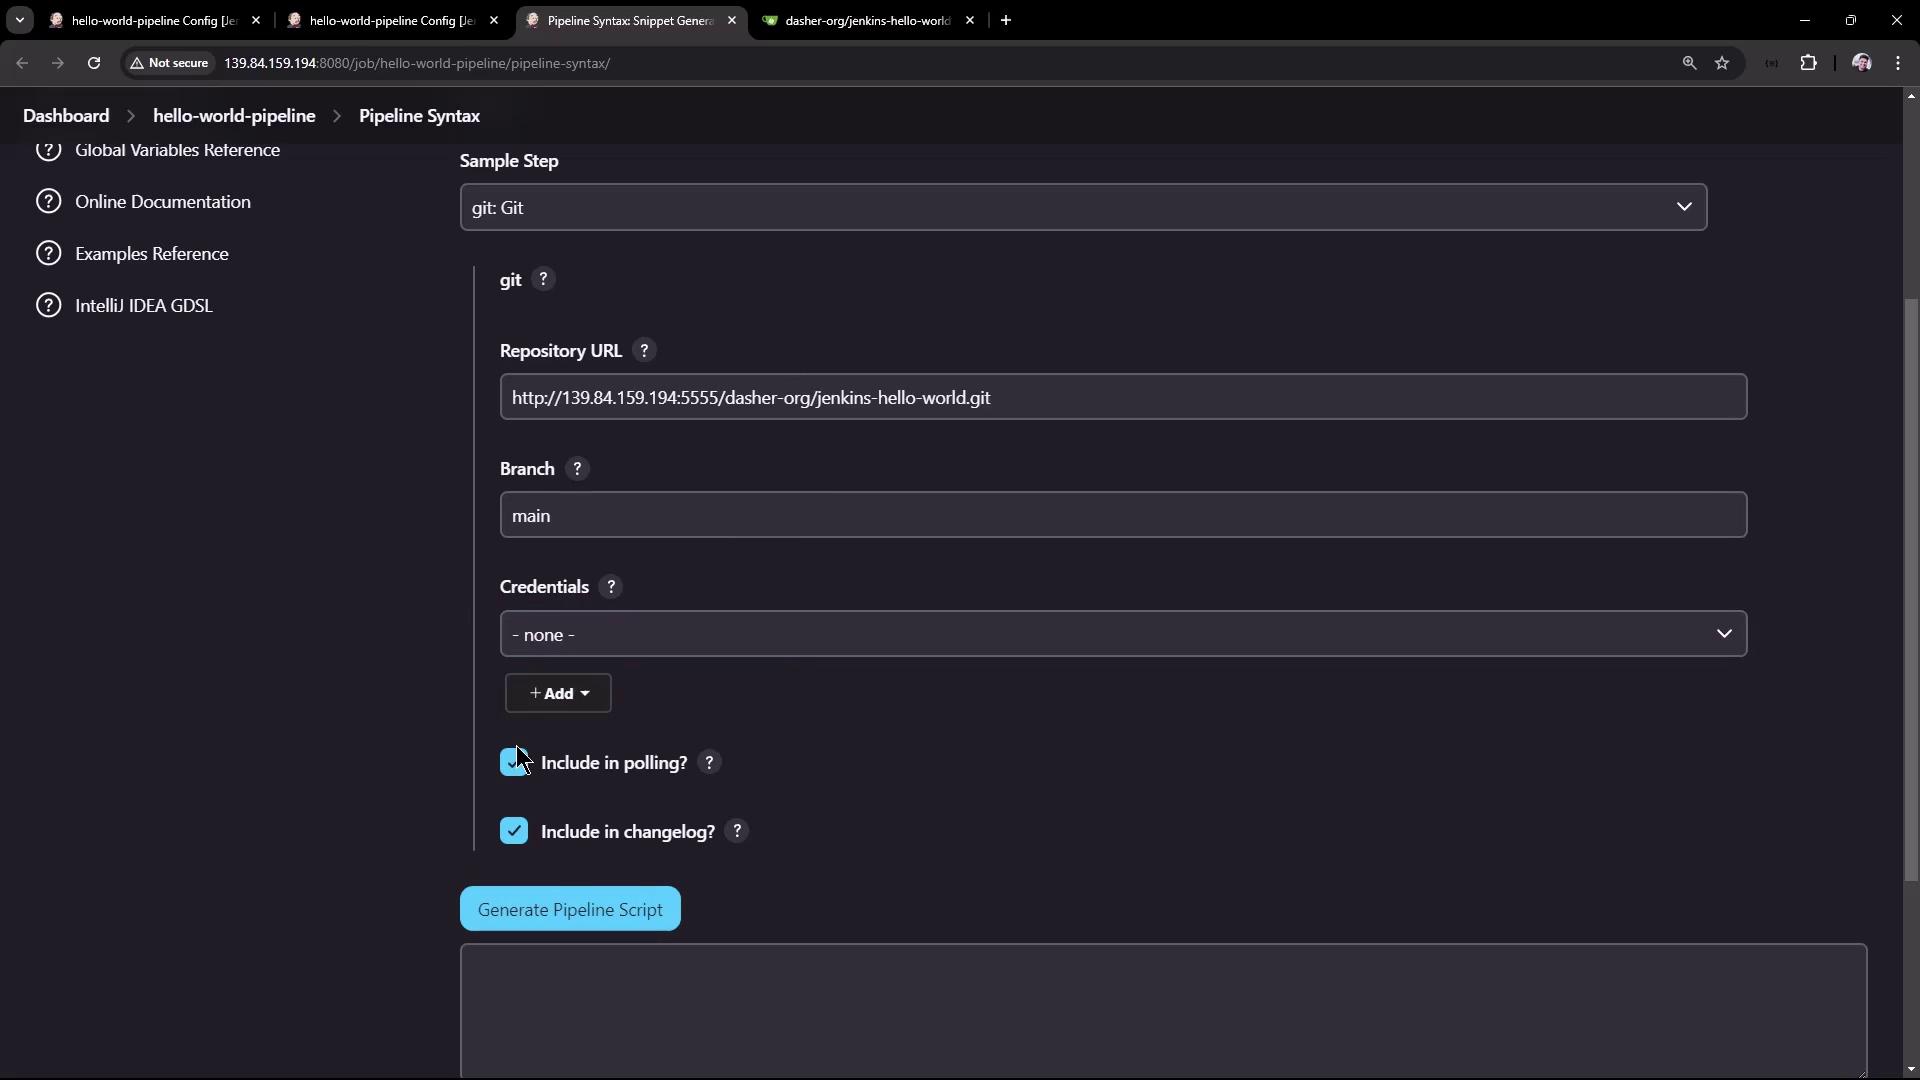
  1. Select Git.
  2. Enter your repository URL.
  3. Set Branch to main.
  4. Click Generate Pipeline Script.
Adjust your Jenkinsfile:
The image shows a Jenkins Pipeline Syntax configuration screen, where a Git repository URL and branch are specified for generating a pipeline script.
Commit and re-run the pipeline. The checkout and build succeed, but one unit test still fails:

Fixing the Unit Test

Update the assertion in HelloControllerTests.java to match the controller’s greeting:
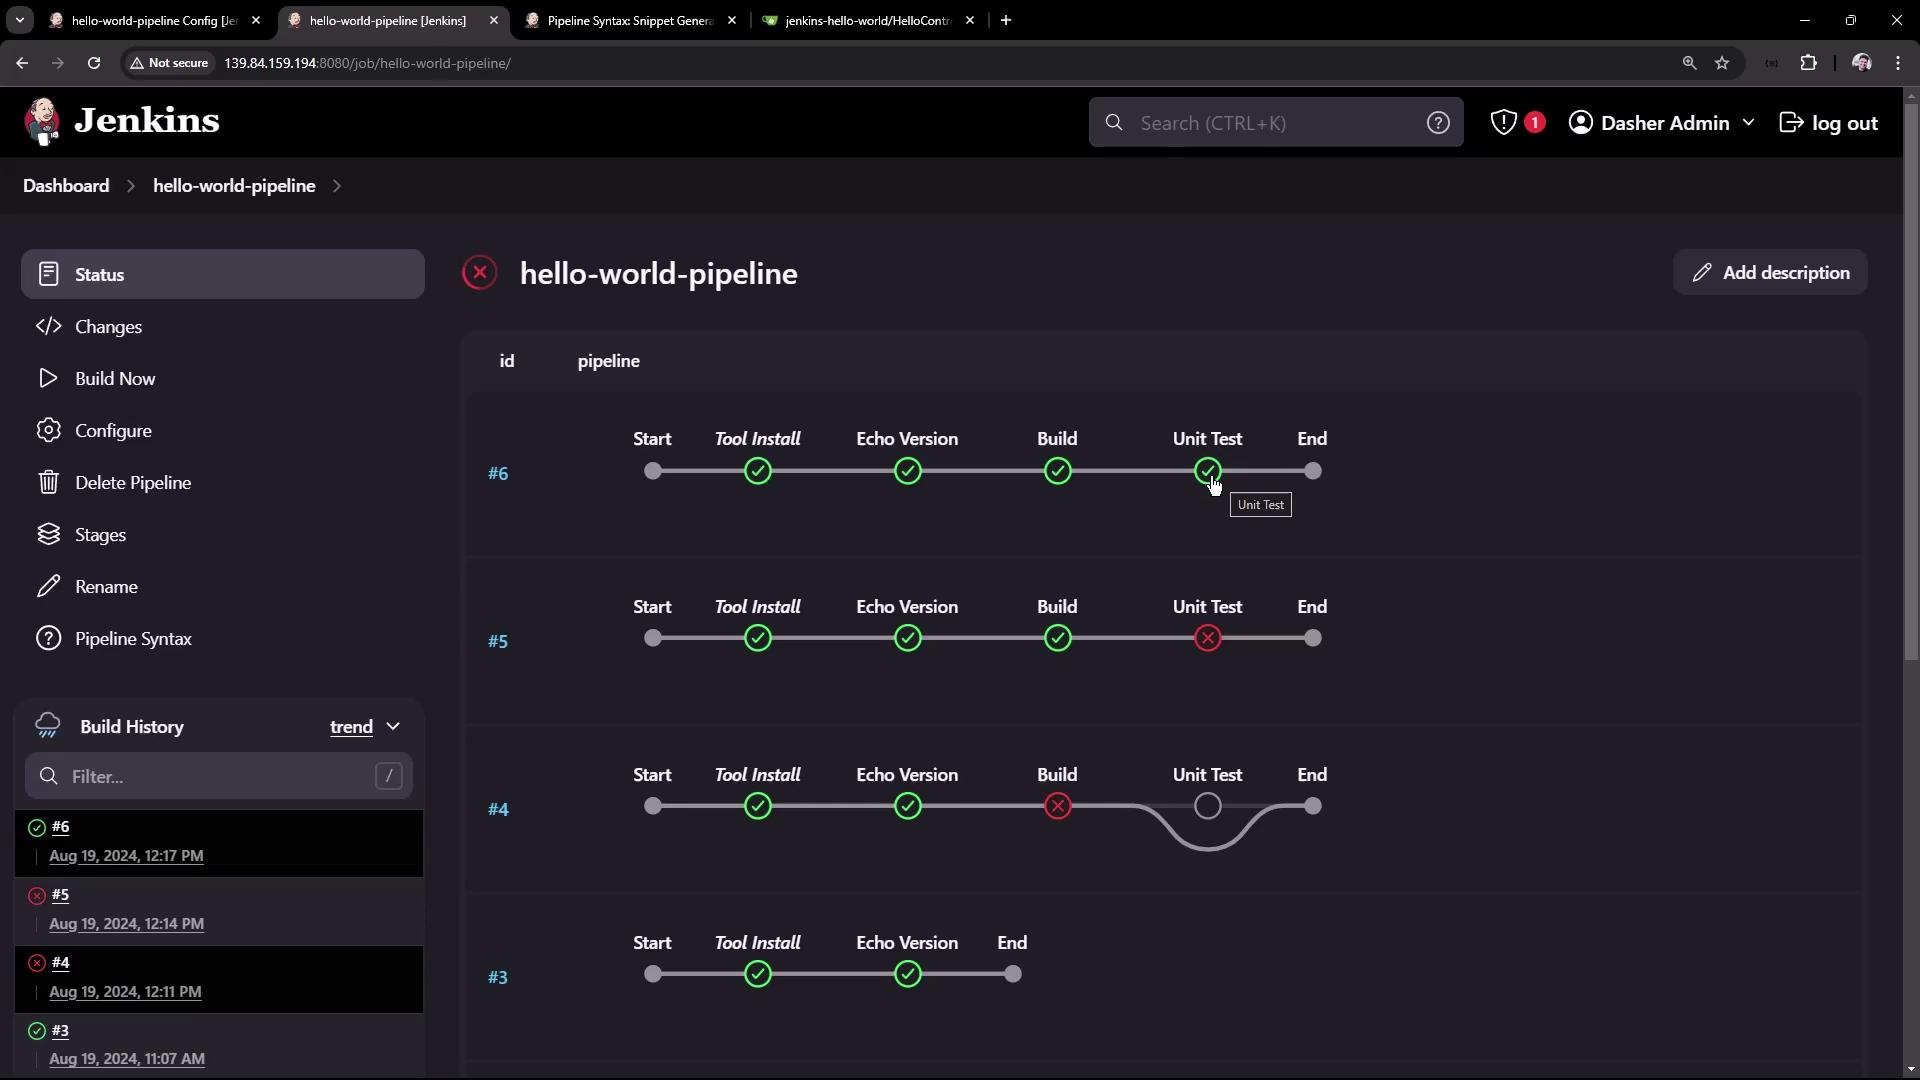
Commit the change and trigger the pipeline again. All stages should now pass:
The image shows a Jenkins dashboard displaying the status of a "hello-world-pipeline" with multiple stages, some of which have passed and others have failed.

Application Overview

Controller (src/main/java/com/kodekloud/hello_demo/HelloController.java):
Configuration (src/main/resources/application.properties):
For better collaboration, commit your Jenkinsfile directly into the repository so pipeline changes are tracked alongside your application code.

Next Steps

With this pipeline, you’ve automated:
  1. Tool installation and version verification
  2. Source checkout (branch main)
  3. Maven clean package (skipping tests)
  4. JUnit test execution
Consider adding stages for artifact archiving, static code analysis, or deployment.

Watch Video