

- Cloning the repository
- Inspecting
package.json - Reviewing application code (
app.js, controllers, client) - Executing unit tests and enforcing coverage
- Containerizing with Docker
- Exploring OpenAPI specs
- Running the app and demoing endpoints
- Automating everything with Jenkins pipelines
Prerequisites
Ensure you have these versions installed:Repository Overview
The Solar System app uses:- Express for the REST API
- Mongoose for MongoDB integration
- Mocha & Chai for testing
- nyc for code coverage
- serverless-http for AWS Lambda support
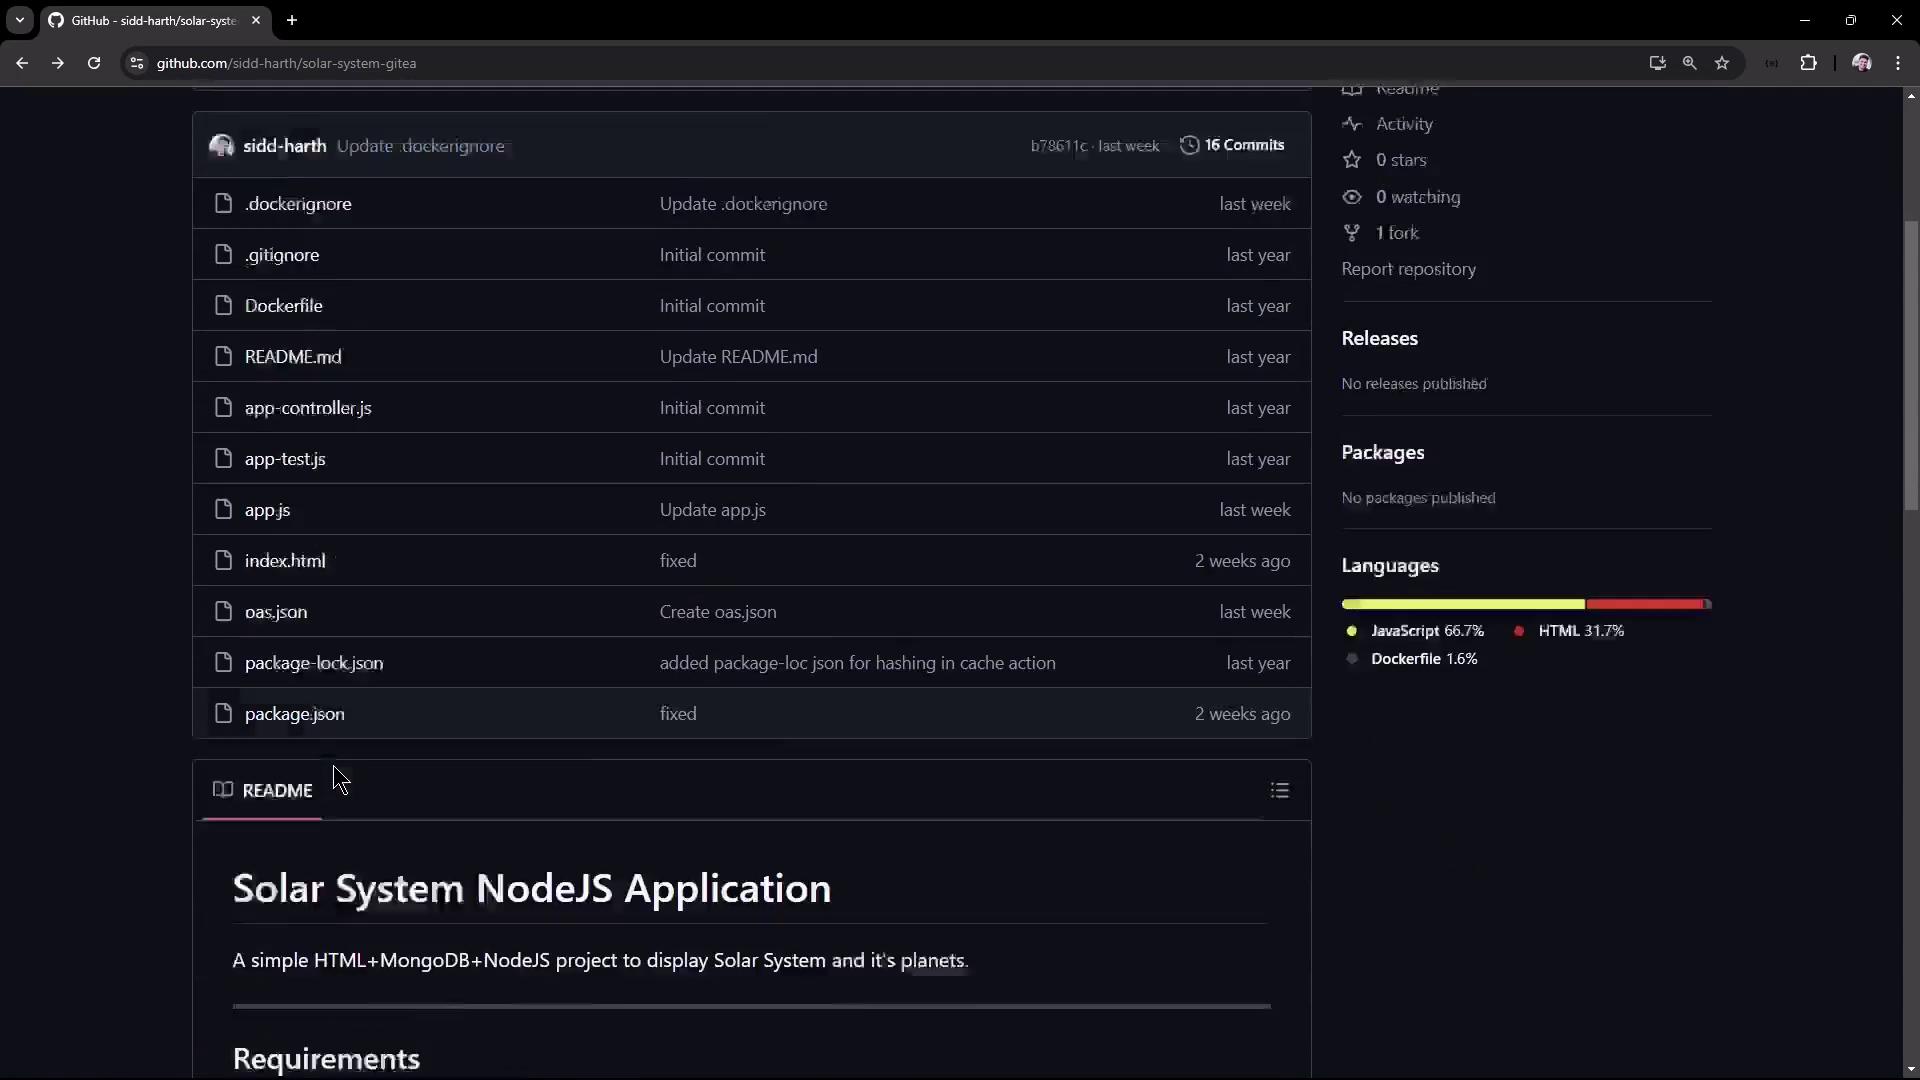
Project Structure
1. Clone the Repository
2. Inspect package.json
Open package.json to review scripts and dependencies:
testruns Mocha with JUnit output.coverageenforces ≥ 90% line coverage via nyc.- serverless-http enables AWS Lambda compatibility.
3. Application Entry Point (app.js)
This file initializes Express, connects to MongoDB, and exports the app for tests and serverless:
4. Controller & Routes (app.controller.js)
Define the Mongoose schema and API endpoints:
5. Frontend Logic (client.js)
Fetch and display the hostname from /os:
6. Unit Tests (app-test.js)
Validate endpoints with Mocha, Chai, and chai-http:
7. Dockerfile
Build an Alpine-based Node.js container:8. OpenAPI Spec (openapi.yaml)
Define three endpoints for probes and host info:
9. Run Locally
- Install dependencies:
- Export MongoDB credentials or hard-code for quick tests:
If
MONGO_URI isn’t set, npm test will fail. Use:-
Run tests and coverage:
-
Add a listener in
app.jsto start the server: -
Start the application:
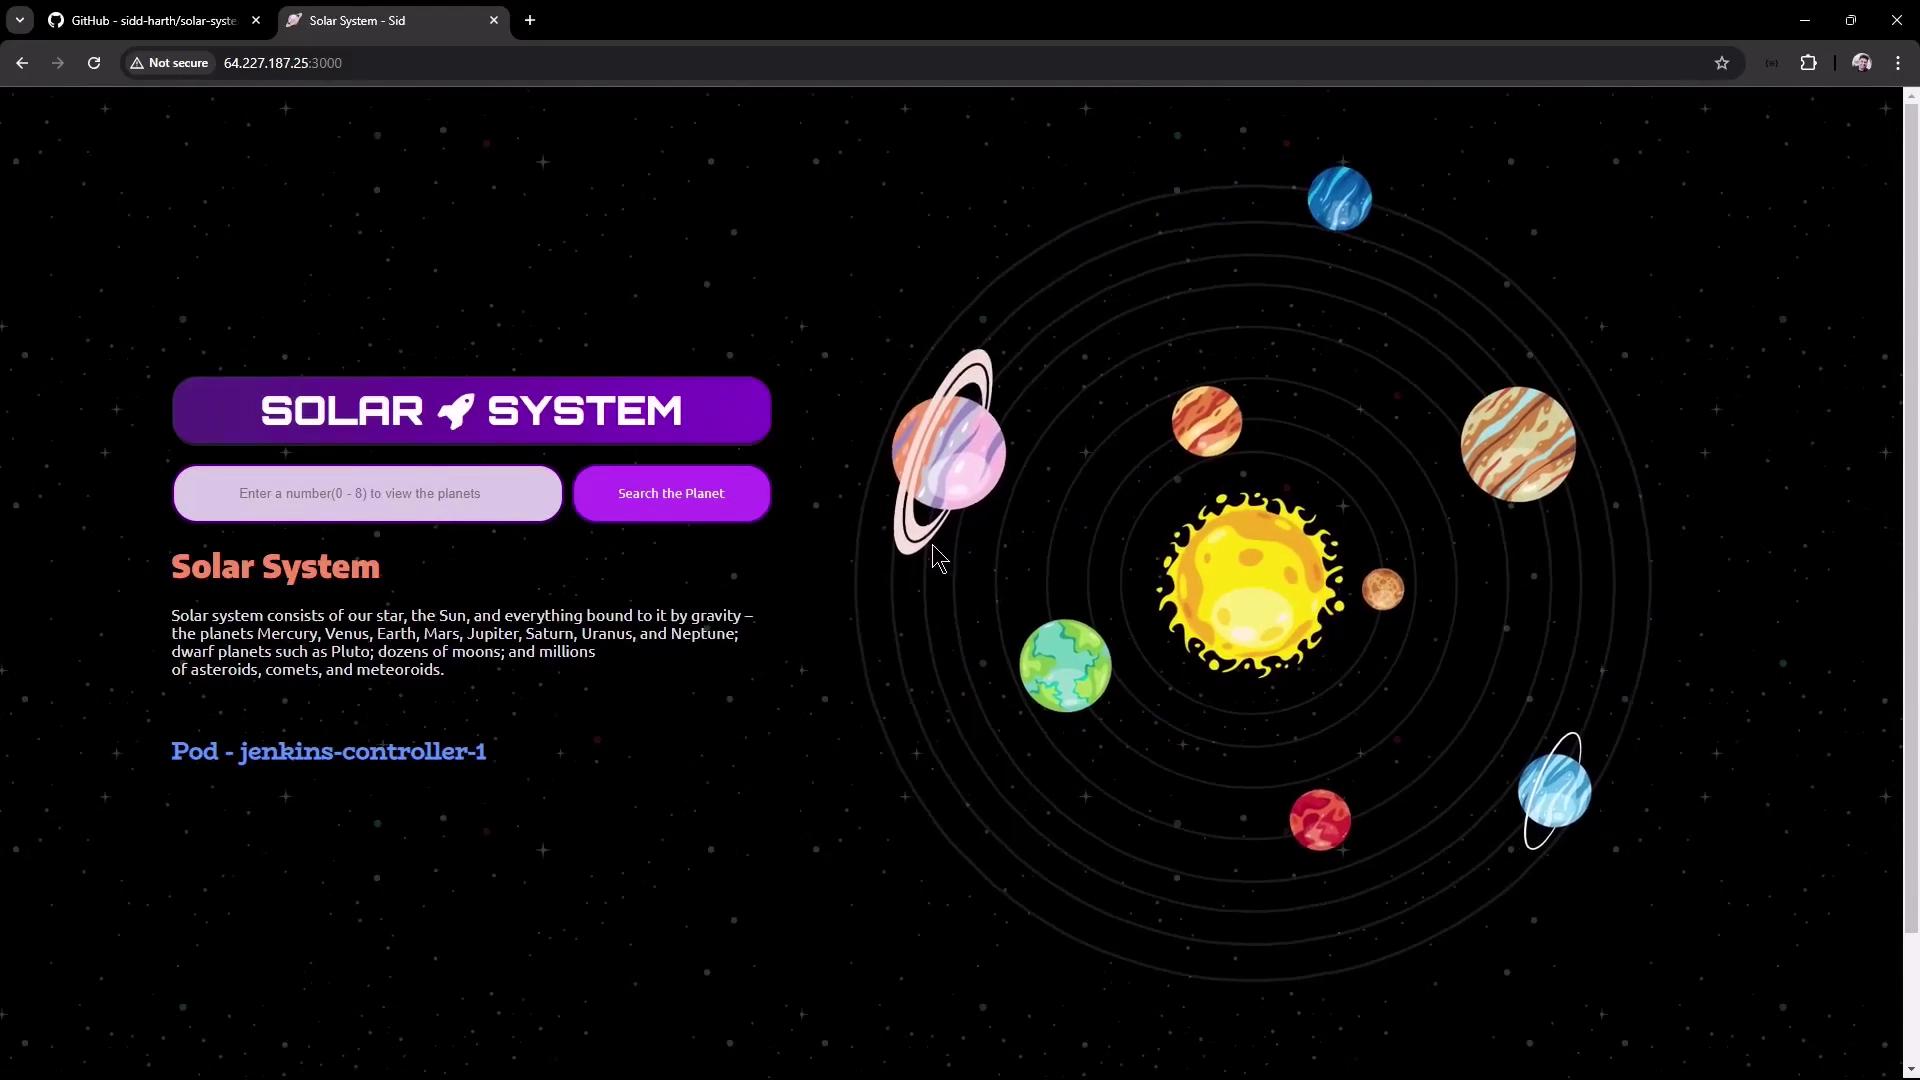
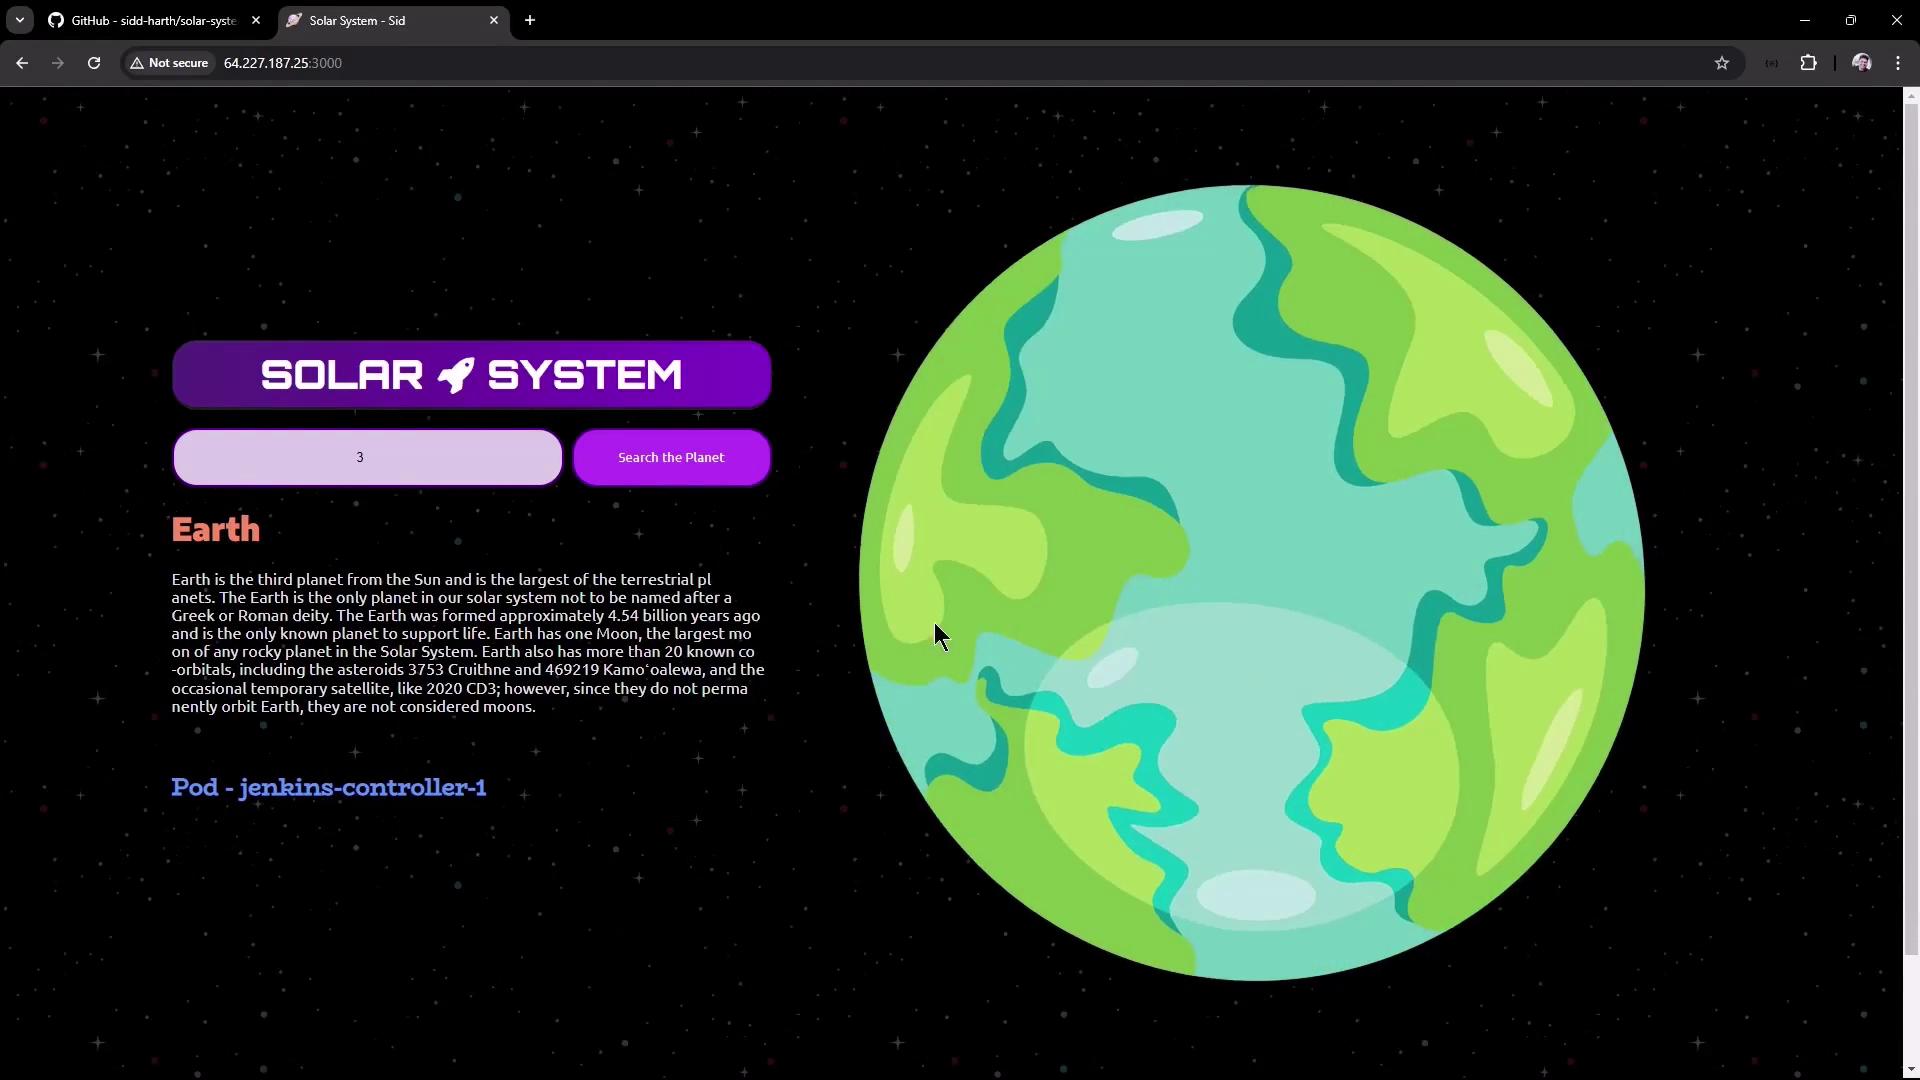
10. Explore in Browser
Navigate tohttp://<VM-IP>:3000 to view and search planets:
In the next lesson, we’ll automate cloning, building, testing, coverage enforcement, and deployment with Jenkins pipelines.
Links and References
- Node.js
- Express Guide
- Mongoose Docs
- Mocha
- Chai Assertion Library
- nyc (Istanbul CLI)
- OpenAPI Specification