

apt installation and launch Jenkins directly from its WAR file. This approach gives you full control over JVM options, ports, and context paths—ideal for testing or side-by-side instances.
1. Inspecting the Apt-Installed Jenkins Service
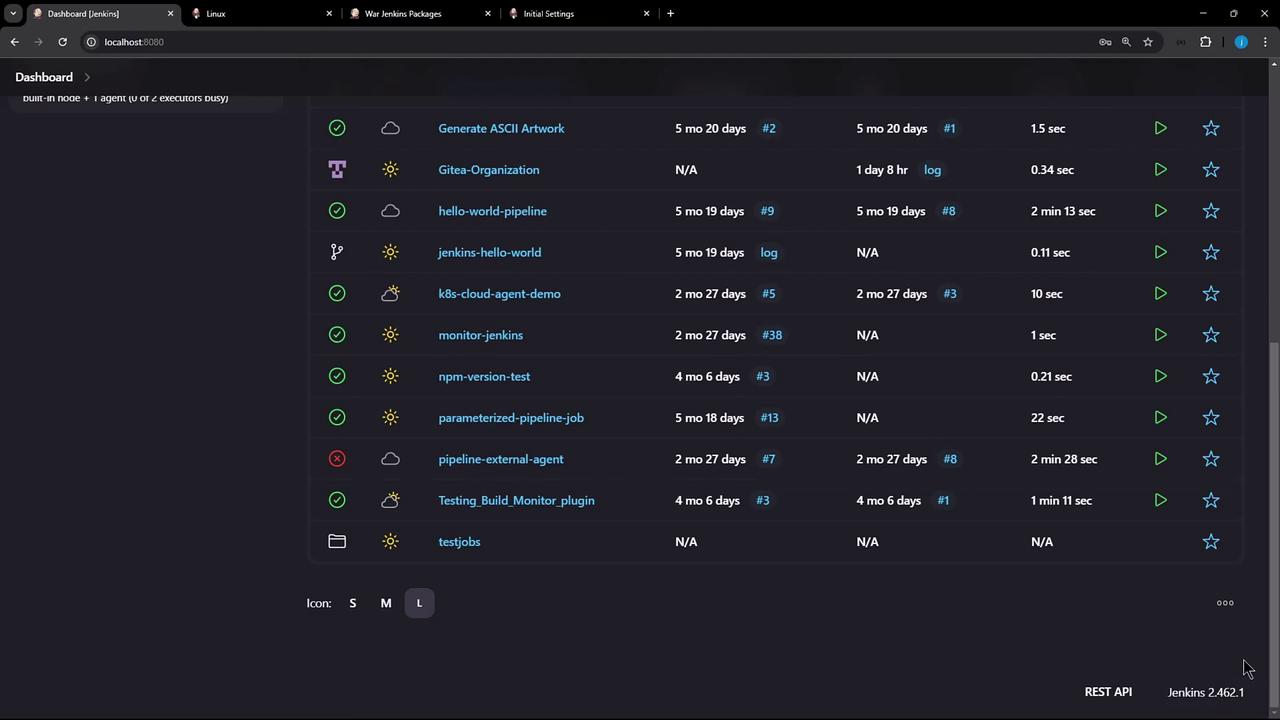
Start by confirming the existing Jenkins process managed viaapt:
- A 1 GB heap (
-Xms1G -Xmx1G) - The WAR file at
/usr/share/java/jenkins.war - Webroot under
/var/cache/jenkins/war - HTTP bound to port 8080
2. Downloading a Specific Jenkins WAR Version
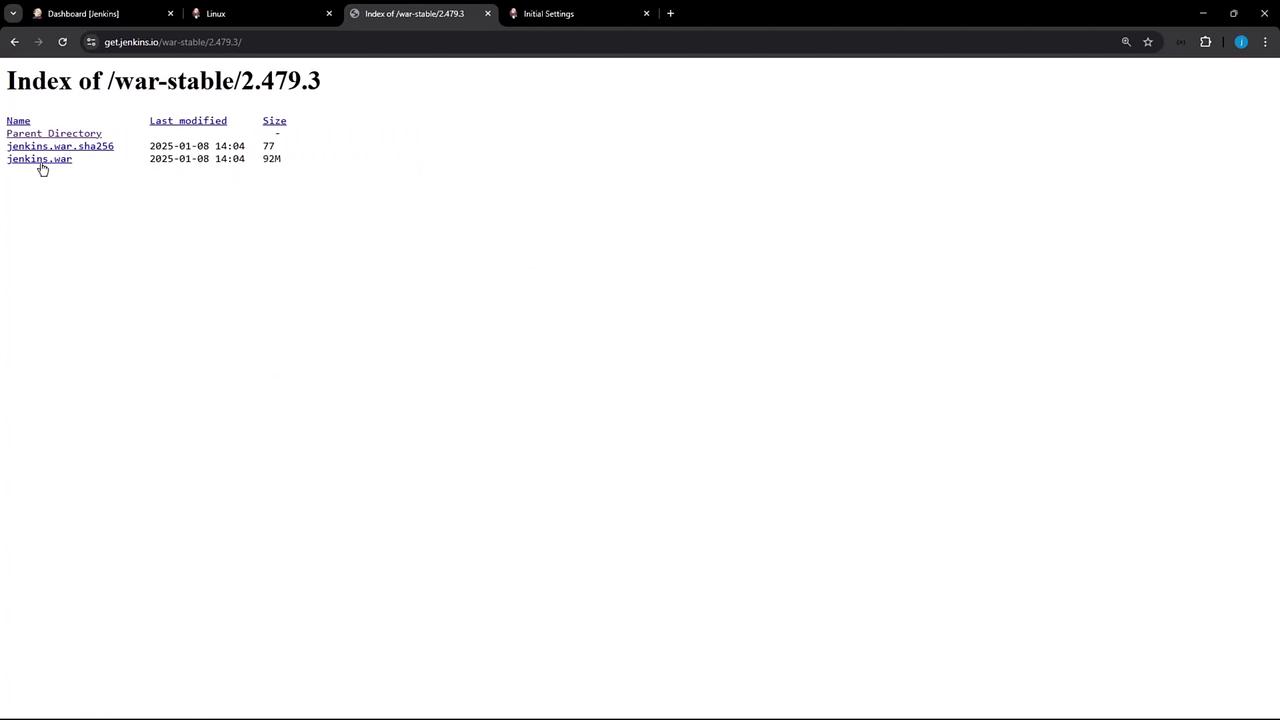
To try a newer release, browse the Jenkins WAR directory and choose 2.479.3 (released Jan 1, 2025):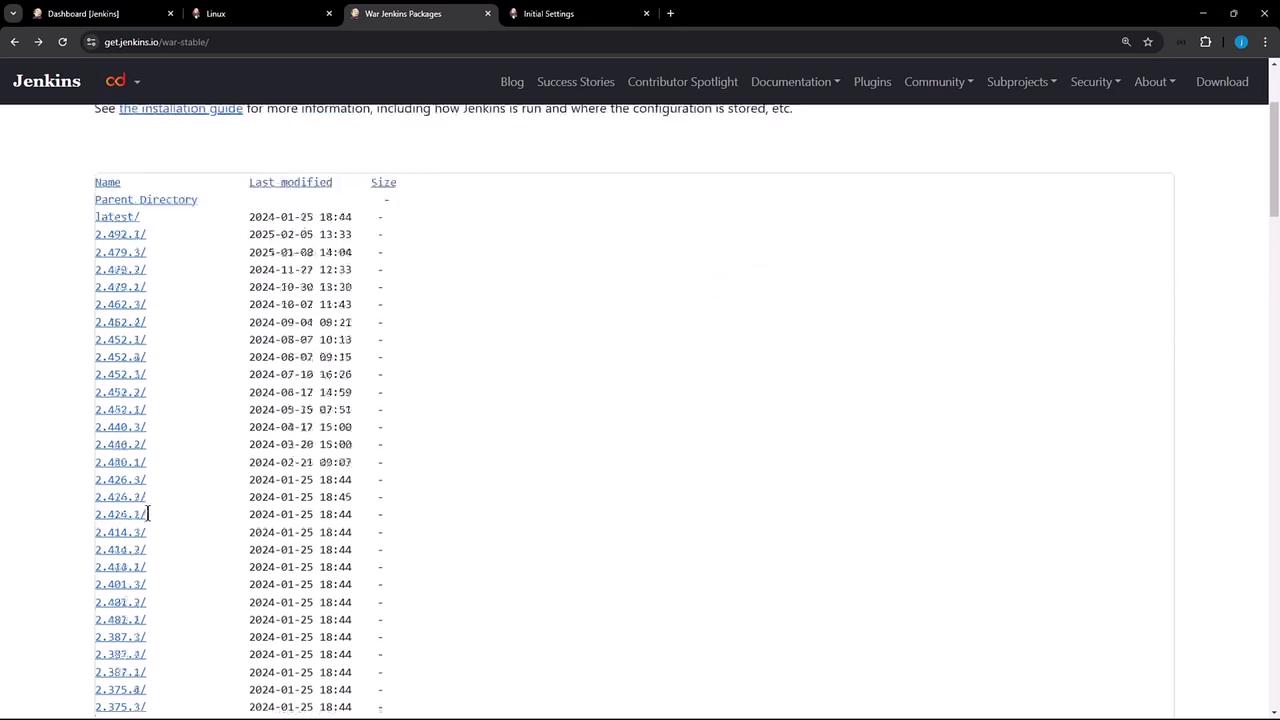
3. Launching Jenkins with Custom Parameters
By default,java -jar jenkins.war binds to port 8080—which conflicts with the apt-installed service. Override this with:
Save the generated password. You can always retrieve it later from
/root/.jenkins/secrets/initialAdminPassword.4. Unlocking Jenkins and Installing Plugins
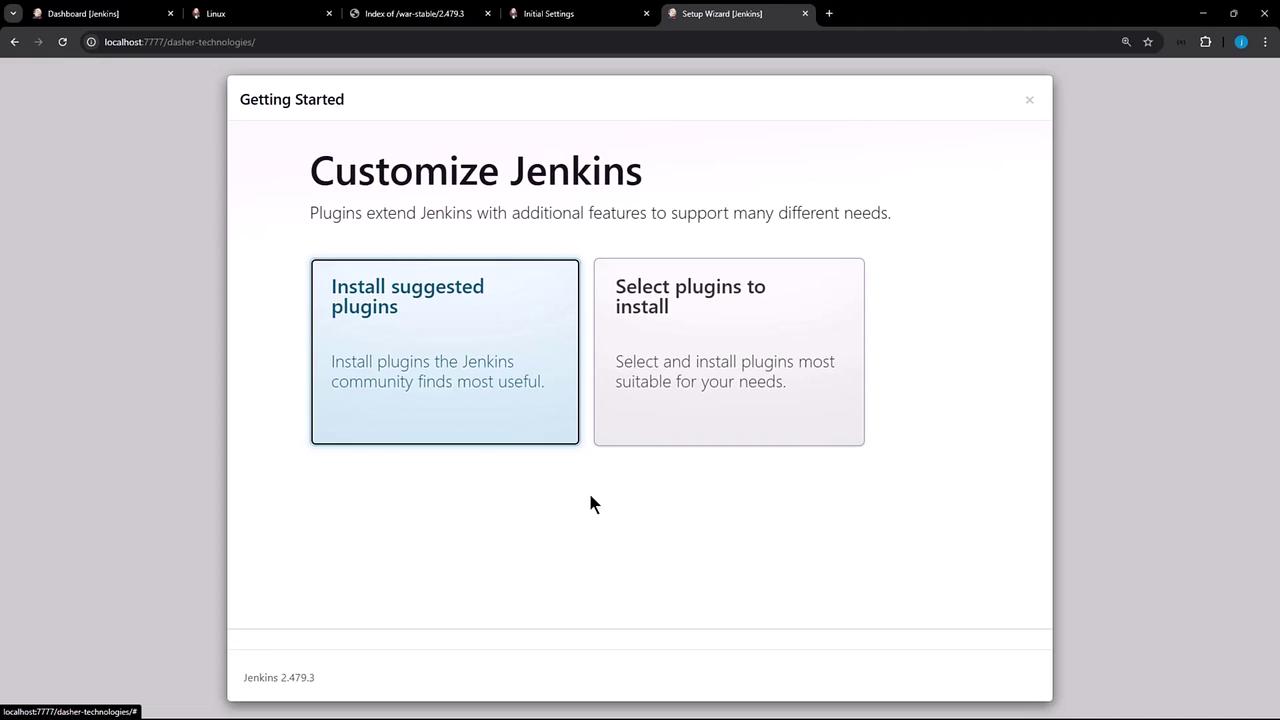
Open your browser at:- Install Suggested Plugins
- Select Plugins to customize your install
5. Common Startup Options
Jenkins supports various JVM and server flags. Below are frequently used HTTP/HTTPS settings:
For the complete list of server options, see Jenkins HTTP Server Options.
6. Verifying Multiple Jenkins Instances
In another terminal, confirm both theapt-installed and standalone WAR instances are running:
- Port 8080 via
apt - Port 7777 with custom context
/dasher-technologies