

features/advanced-demo branch. We’ll cover tool setup, environment configuration, caching, timestamps, and concurrency control.
1. Review the Existing Declarative Pipeline
The current pipeline installs Node.js, sets environment variables, and caches npm dependencies:2. Create and Push the Scripted Branch
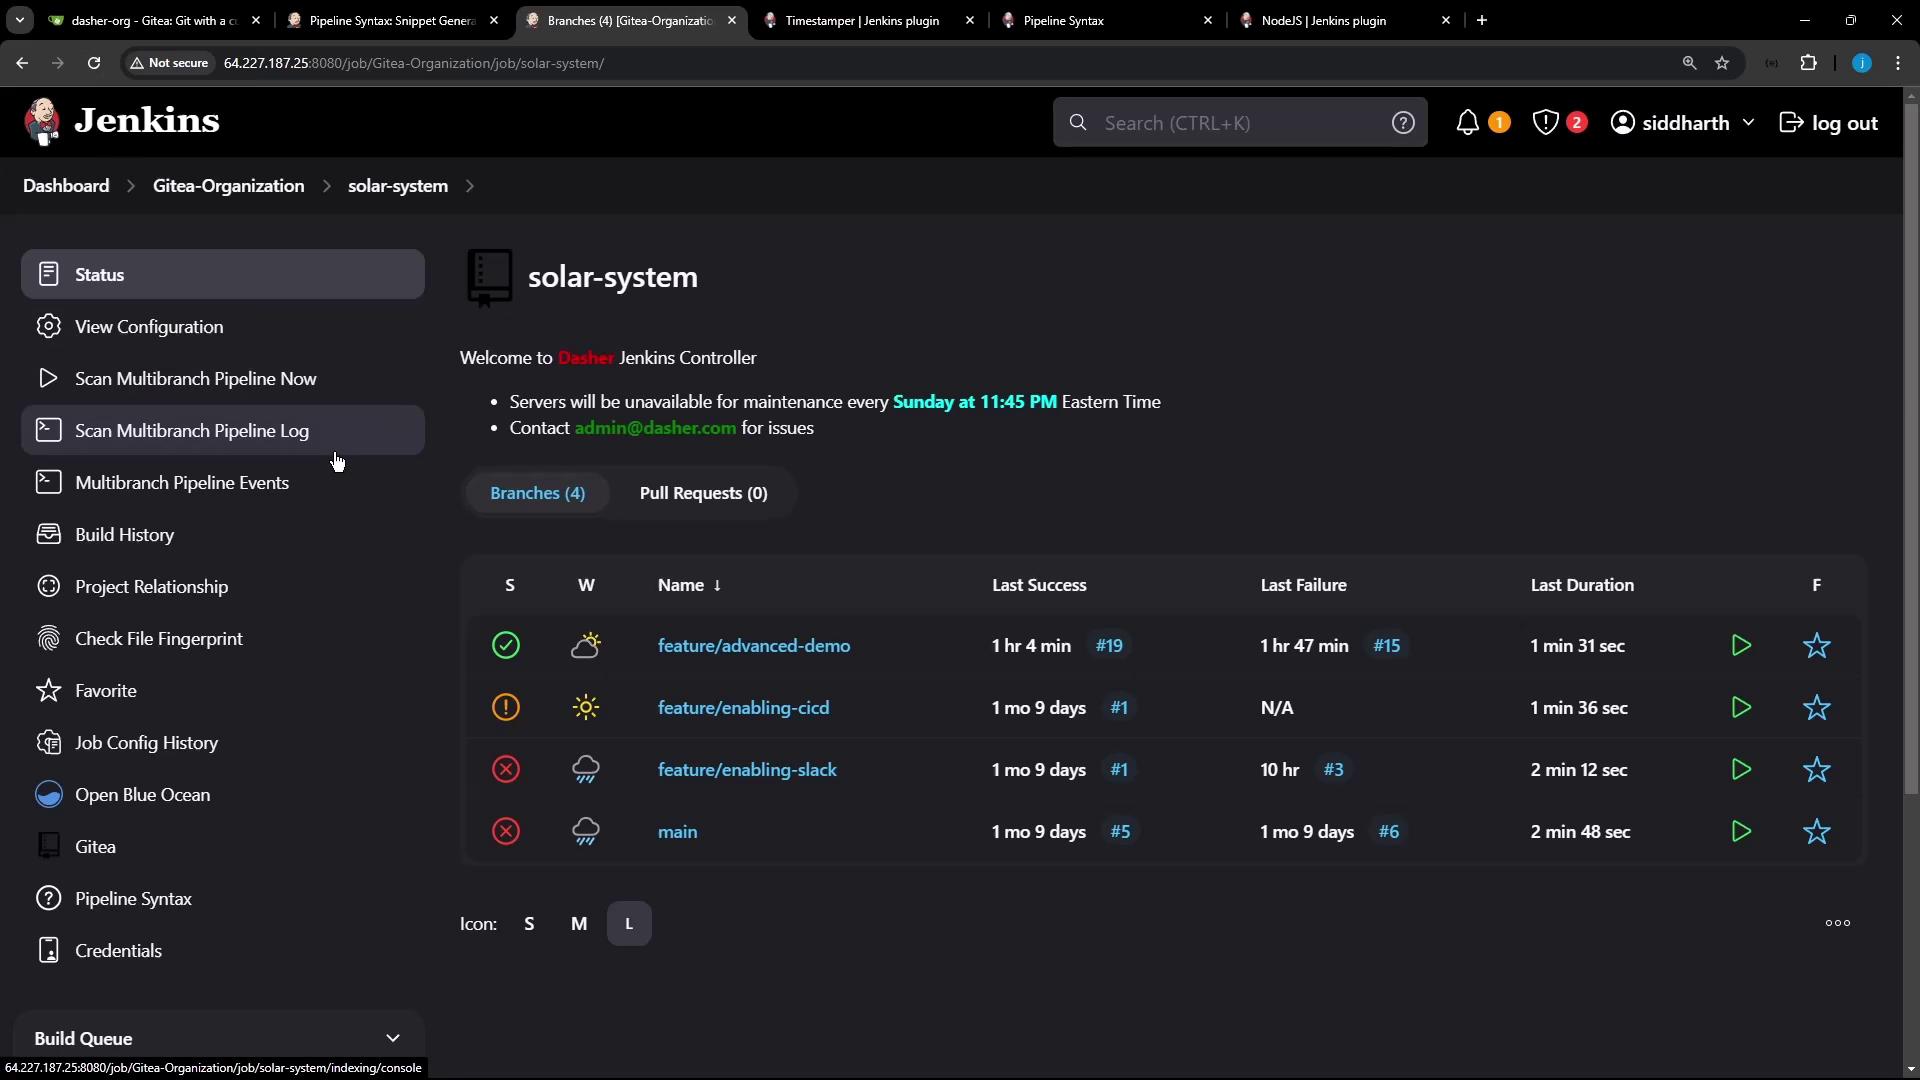
3. Define the Scripted Pipeline
Wrap all steps inside anode block and configure tools, environment, and build properties:
Caching
node_modules speeds up CI by restoring dependencies from the cache on subsequent runs, reducing network overhead.4. Check Pipeline Syntax Reference
If you need to explore other Scripted Pipeline constructs, consult the official syntax guide.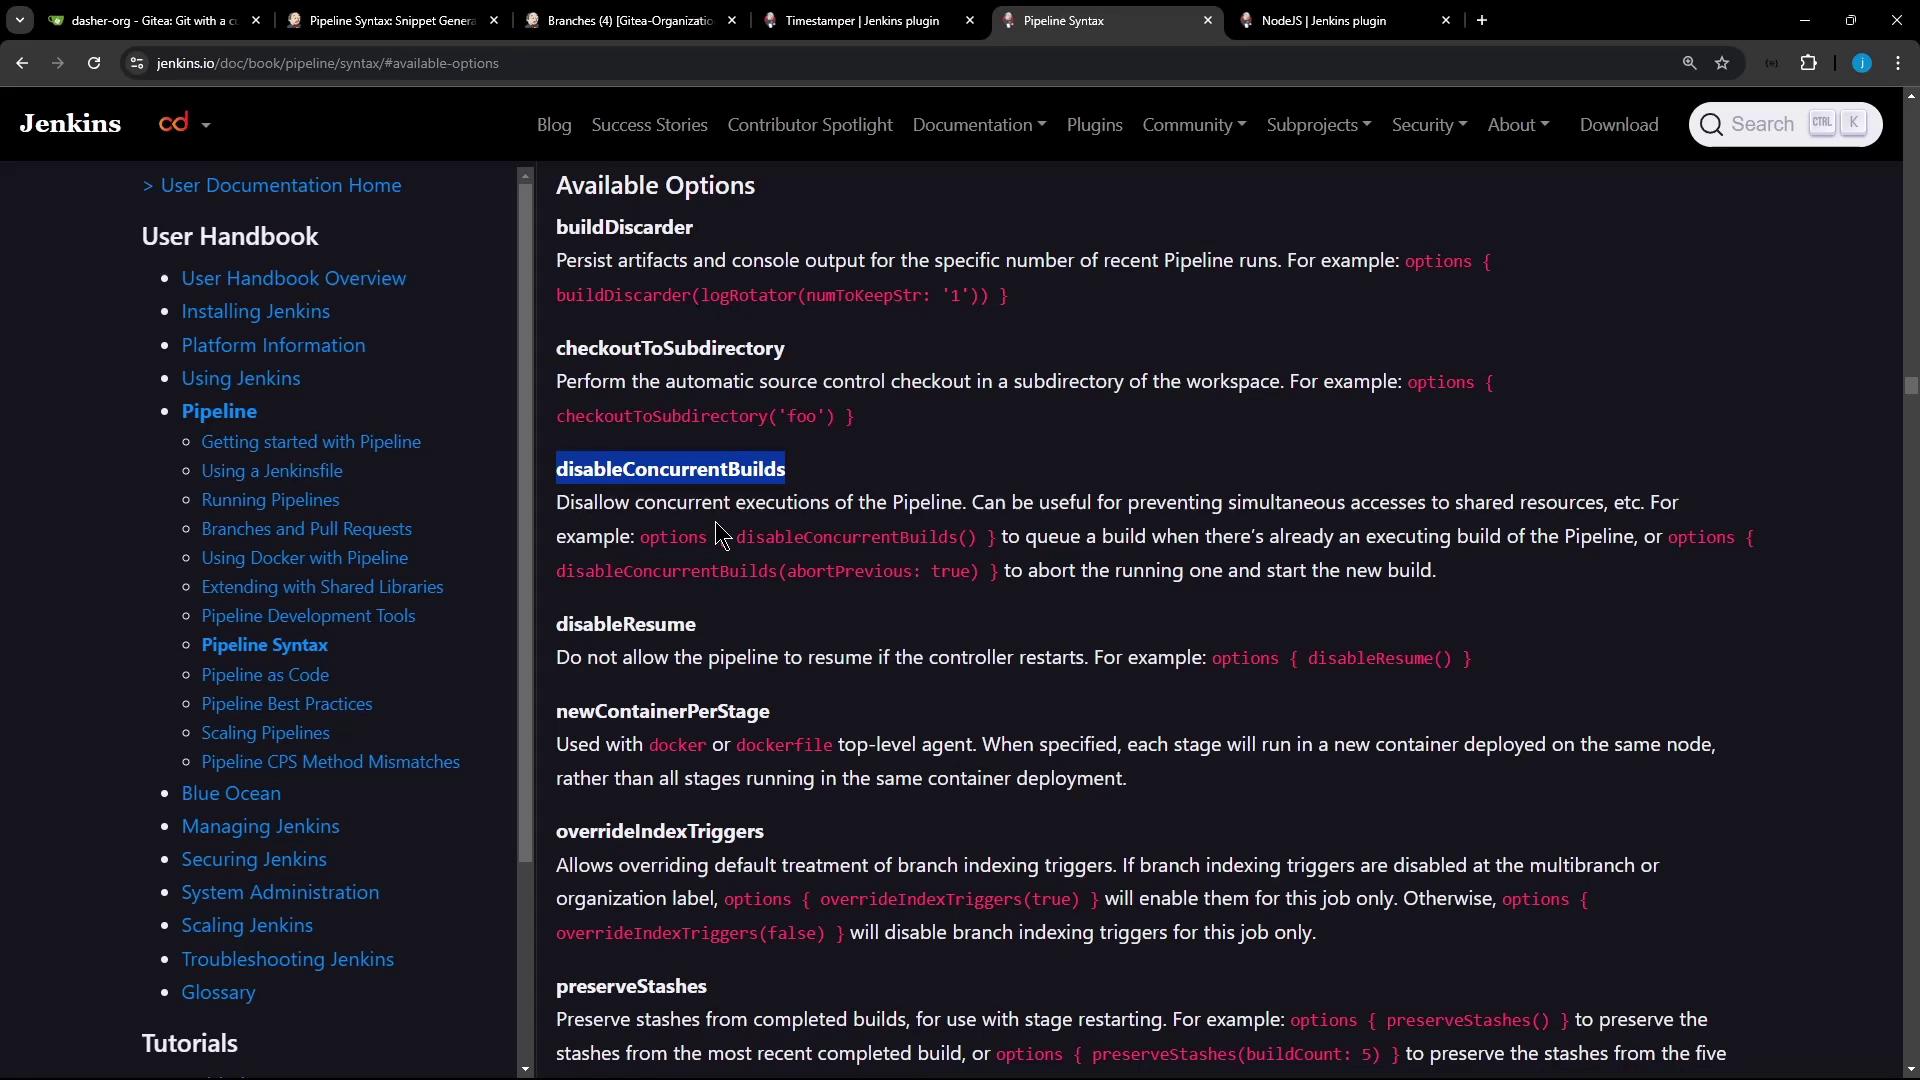
5. Validate First and Subsequent Runs
On the first run, the cache is empty:6. Ensure Concurrency Control
Start two builds in quick succession; the earlier build will be aborted to honorabortPrevious: true.
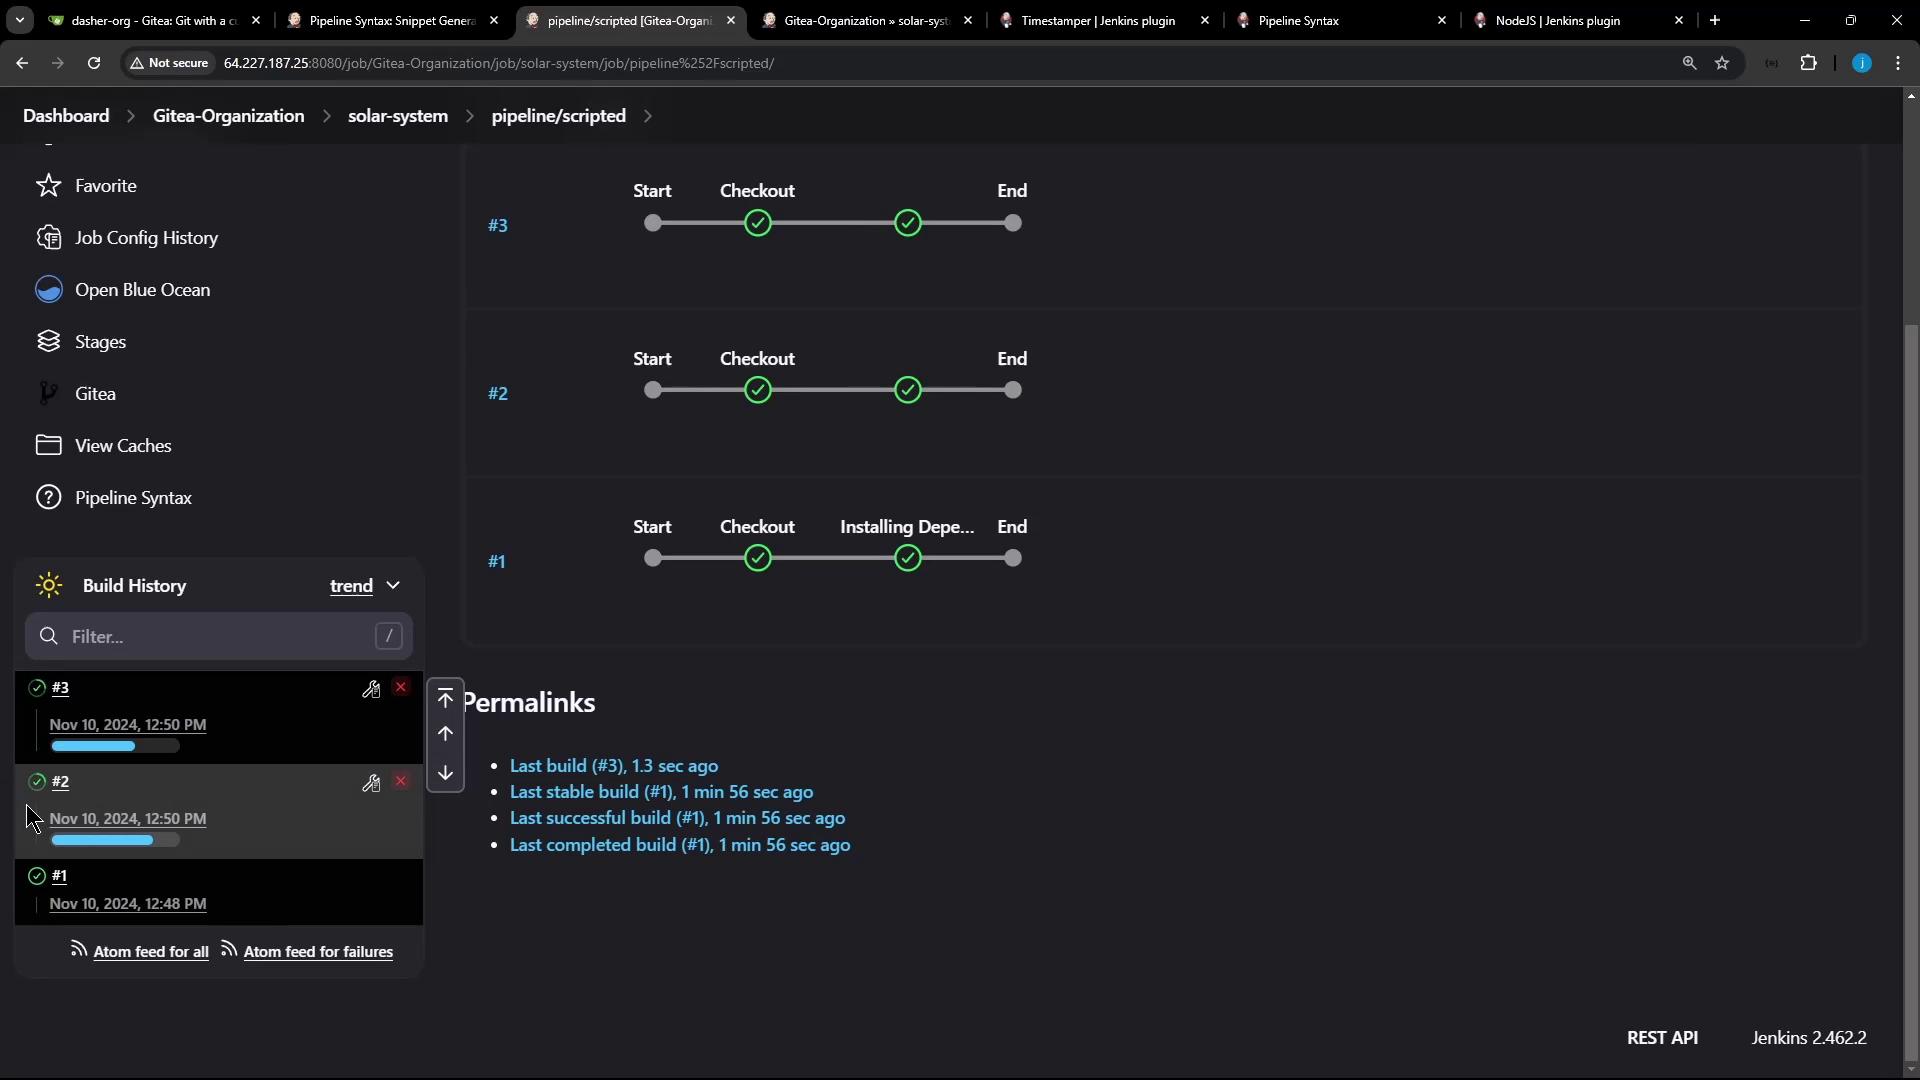
Aborting previous builds can interrupt cleanup tasks. Ensure your pipeline handles partial states and rollbacks correctly.