

1. Clearing Existing Environment Variables
First, in the AWS Lambda console, navigate to your function named solar-system-function. Under Configuration, click Edit, remove all environment variables, and hit Save. We’ll inject these values dynamically in Jenkins.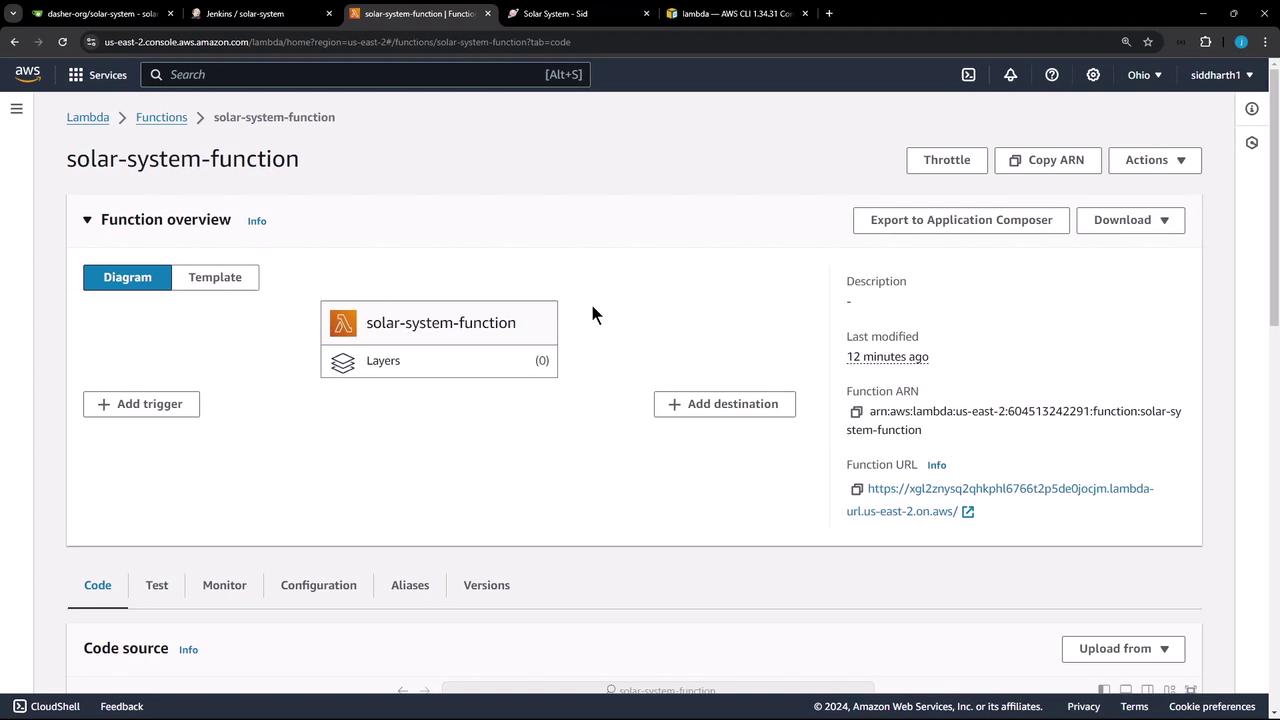
Removing environment variables here ensures that Jenkins controls all runtime settings securely.
2. Preparing the Local Workspace
On your build VM or local machine, clean up any existing sandbox and checkout the latest code from thesolar-system repository:
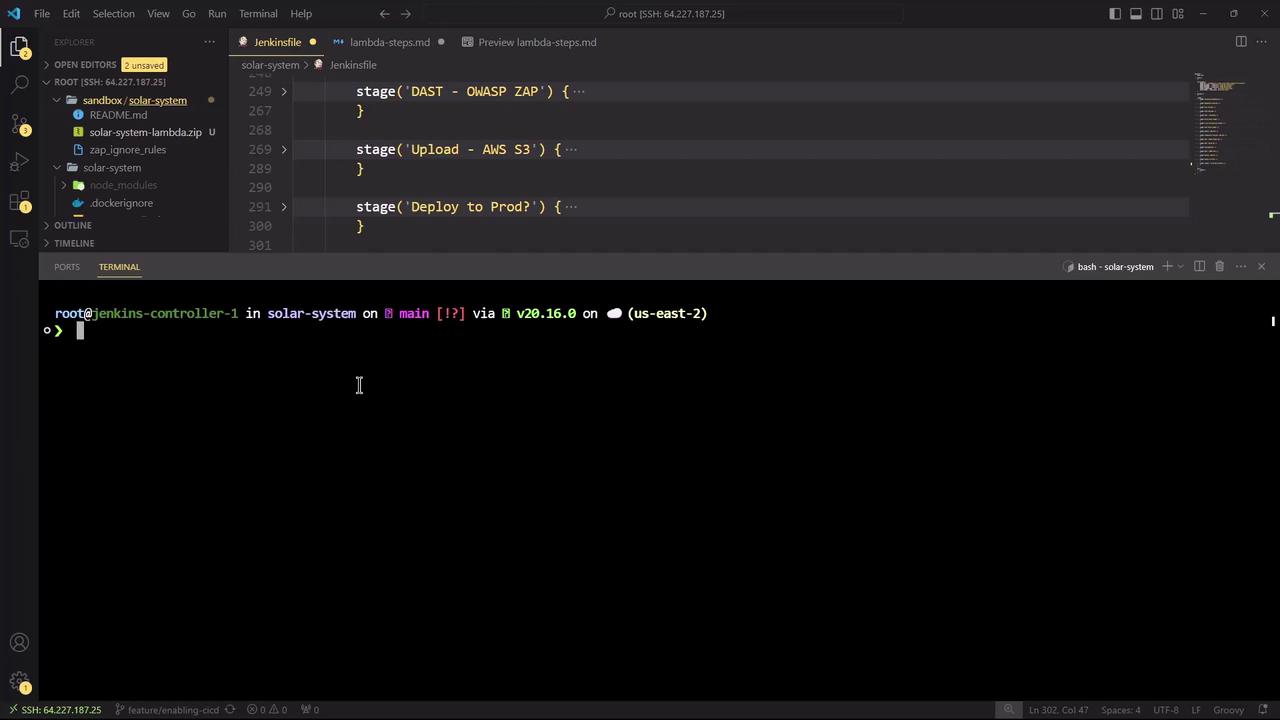
Jenkinsfile and updated files ready:
3. Adding the Lambda Deployment Stage
InJenkinsfile, add a new stage under stages called Lambda - S3 Upload & Deploy. This stage triggers only on the main branch, modifies app.js to work in Lambda, creates a zip package, uploads it to S3, and then updates the Lambda function code:
Ensure the AWS credentials you reference (
aws-s3-ec2-lambda-creds) have s3:PutObject and lambda:UpdateFunctionCode permissions.4. Bumping the Frontend Version
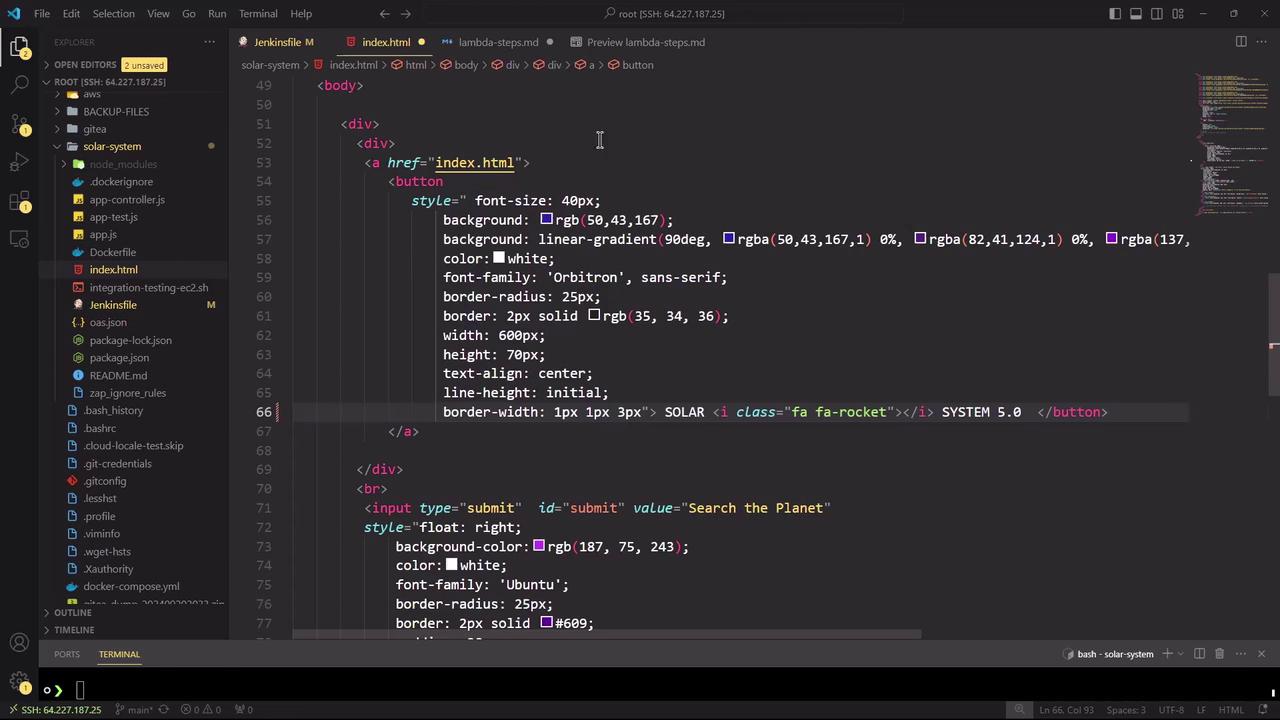
Increment the frontend version number inindex.html (near line 66) to v5.0 to reflect new changes:
5. AWS CLI Reference
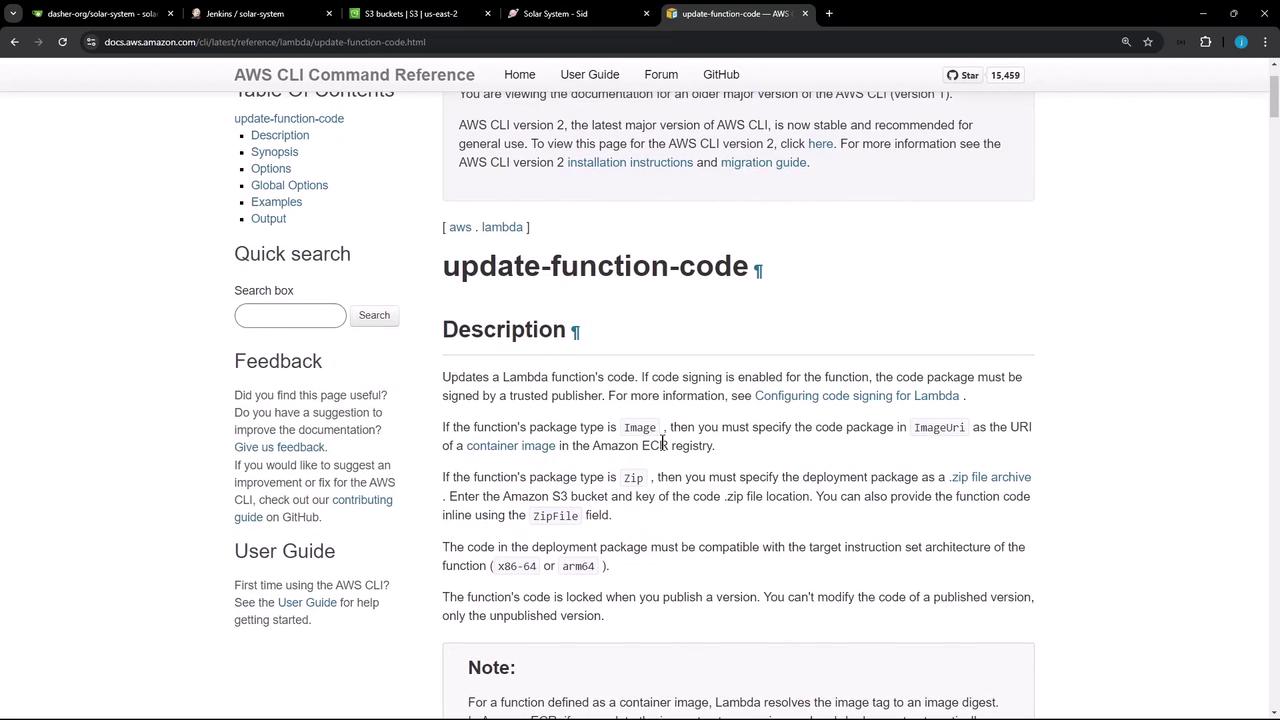
For more details on theupdate-function-code command, consult the AWS CLI reference:
Lambda update-function-code
6. Committing and Pushing Changes
Stage and commit your updates, then push to themain branch. This action triggers the Jenkins pipeline automatically:
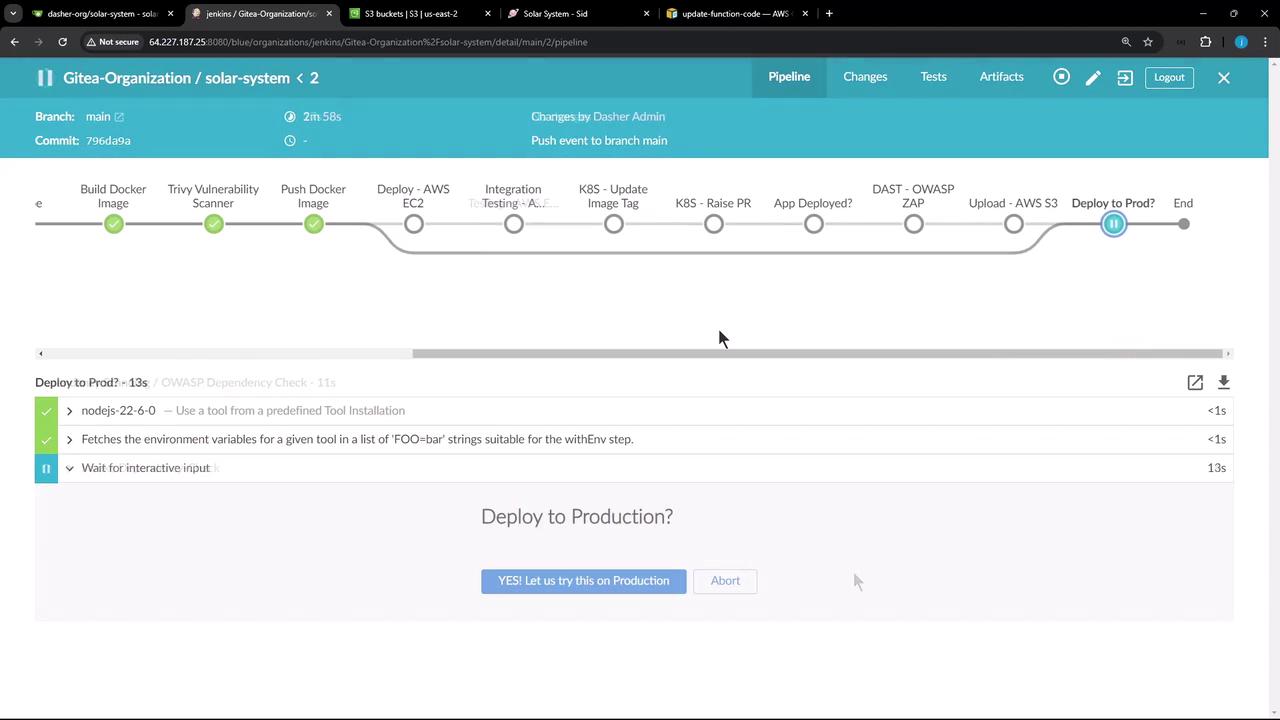
7. Validating the Deployment in S3
After the build completes, verify that the new ZIP artifact appears in your S3 bucket: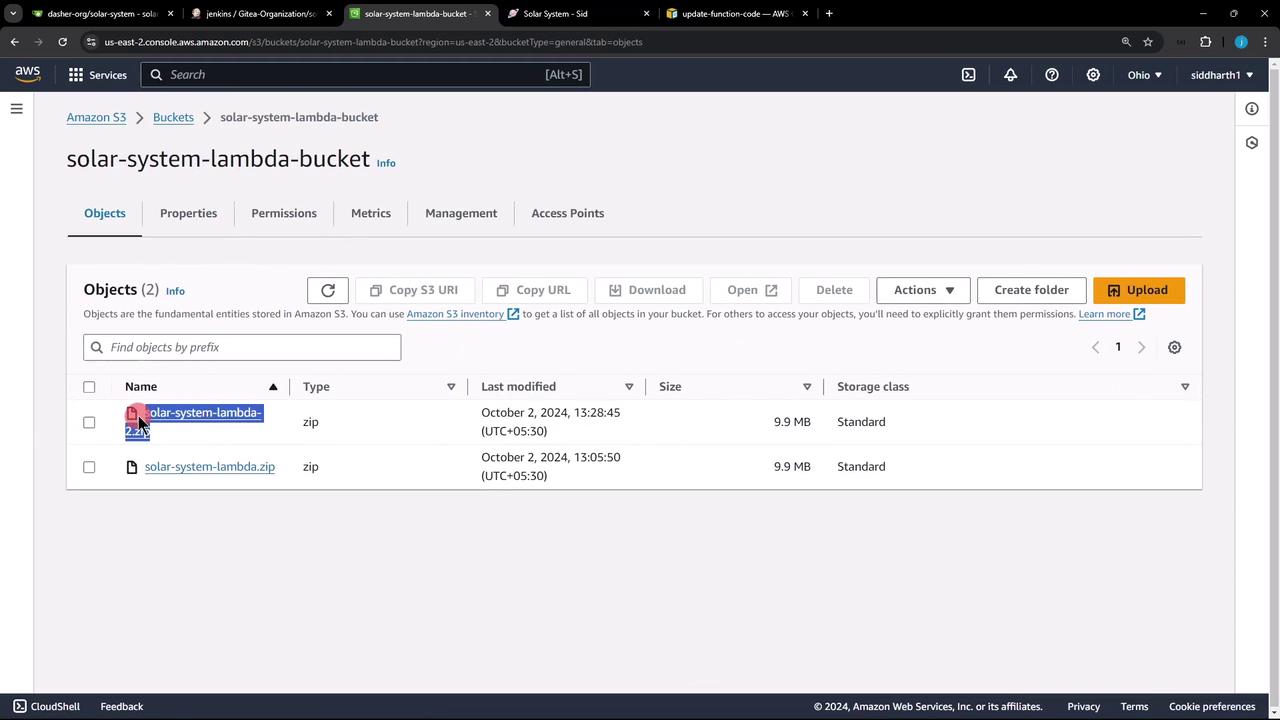
8. Troubleshooting: Missing Environment Variables
If you encounter an Internal Server Error, it often indicates missing environment variables. Check CloudWatch logs to debug: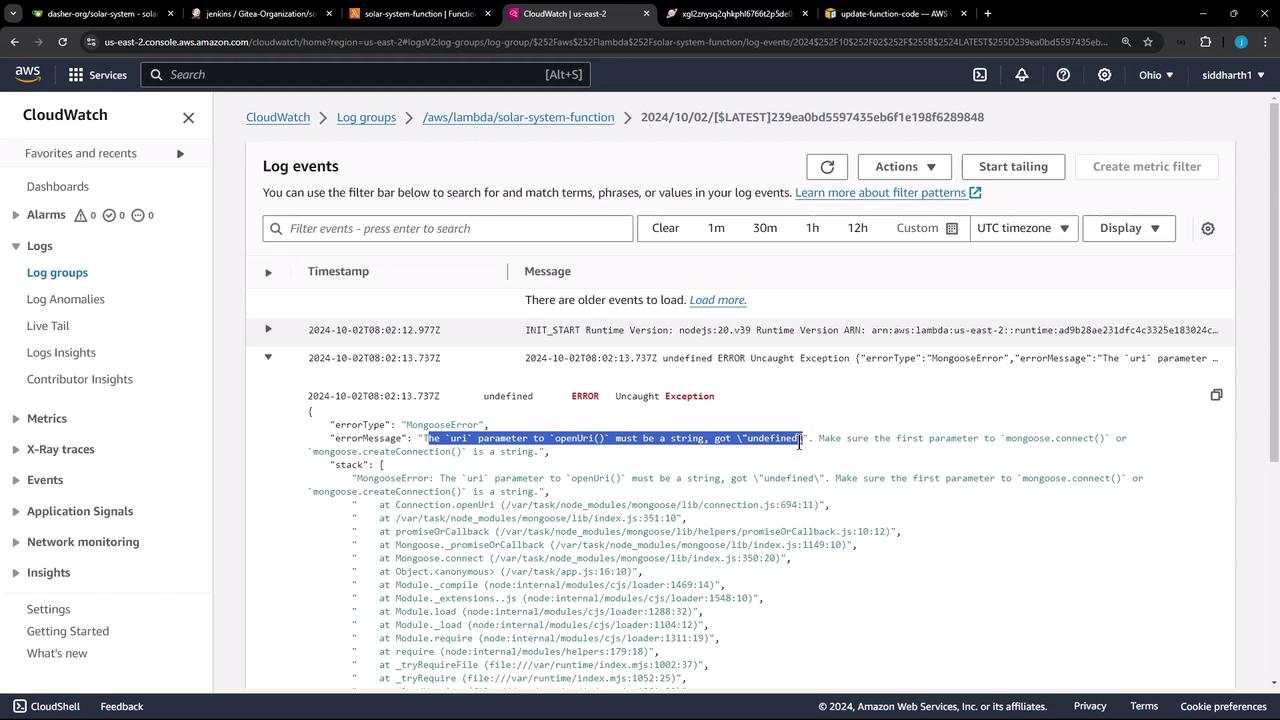
app.js you’ll find:
process.env.MONGO_URI, MONGO_USERNAME, and MONGO_PASSWORD must be supplied by Jenkins.
Without proper environment variables, your Lambda function will fail to connect to MongoDB.
9. Next Steps: Injecting Environment Variables via Jenkins
To address missing credentials, update yourpipeline block in Jenkinsfile. Add an environment section with secure credential bindings: