

Jenkinsfile with only essential stages, organized Trivy reports, and a dedicated branch for future enhancements.
Recap of Our Jenkins Setup
First, navigate to your Jenkins dashboard. We’re using a Git Organization Folder job configured with two repositories. In thesolar-system repo, we’ve been working on the feature/enabling-flag branch.
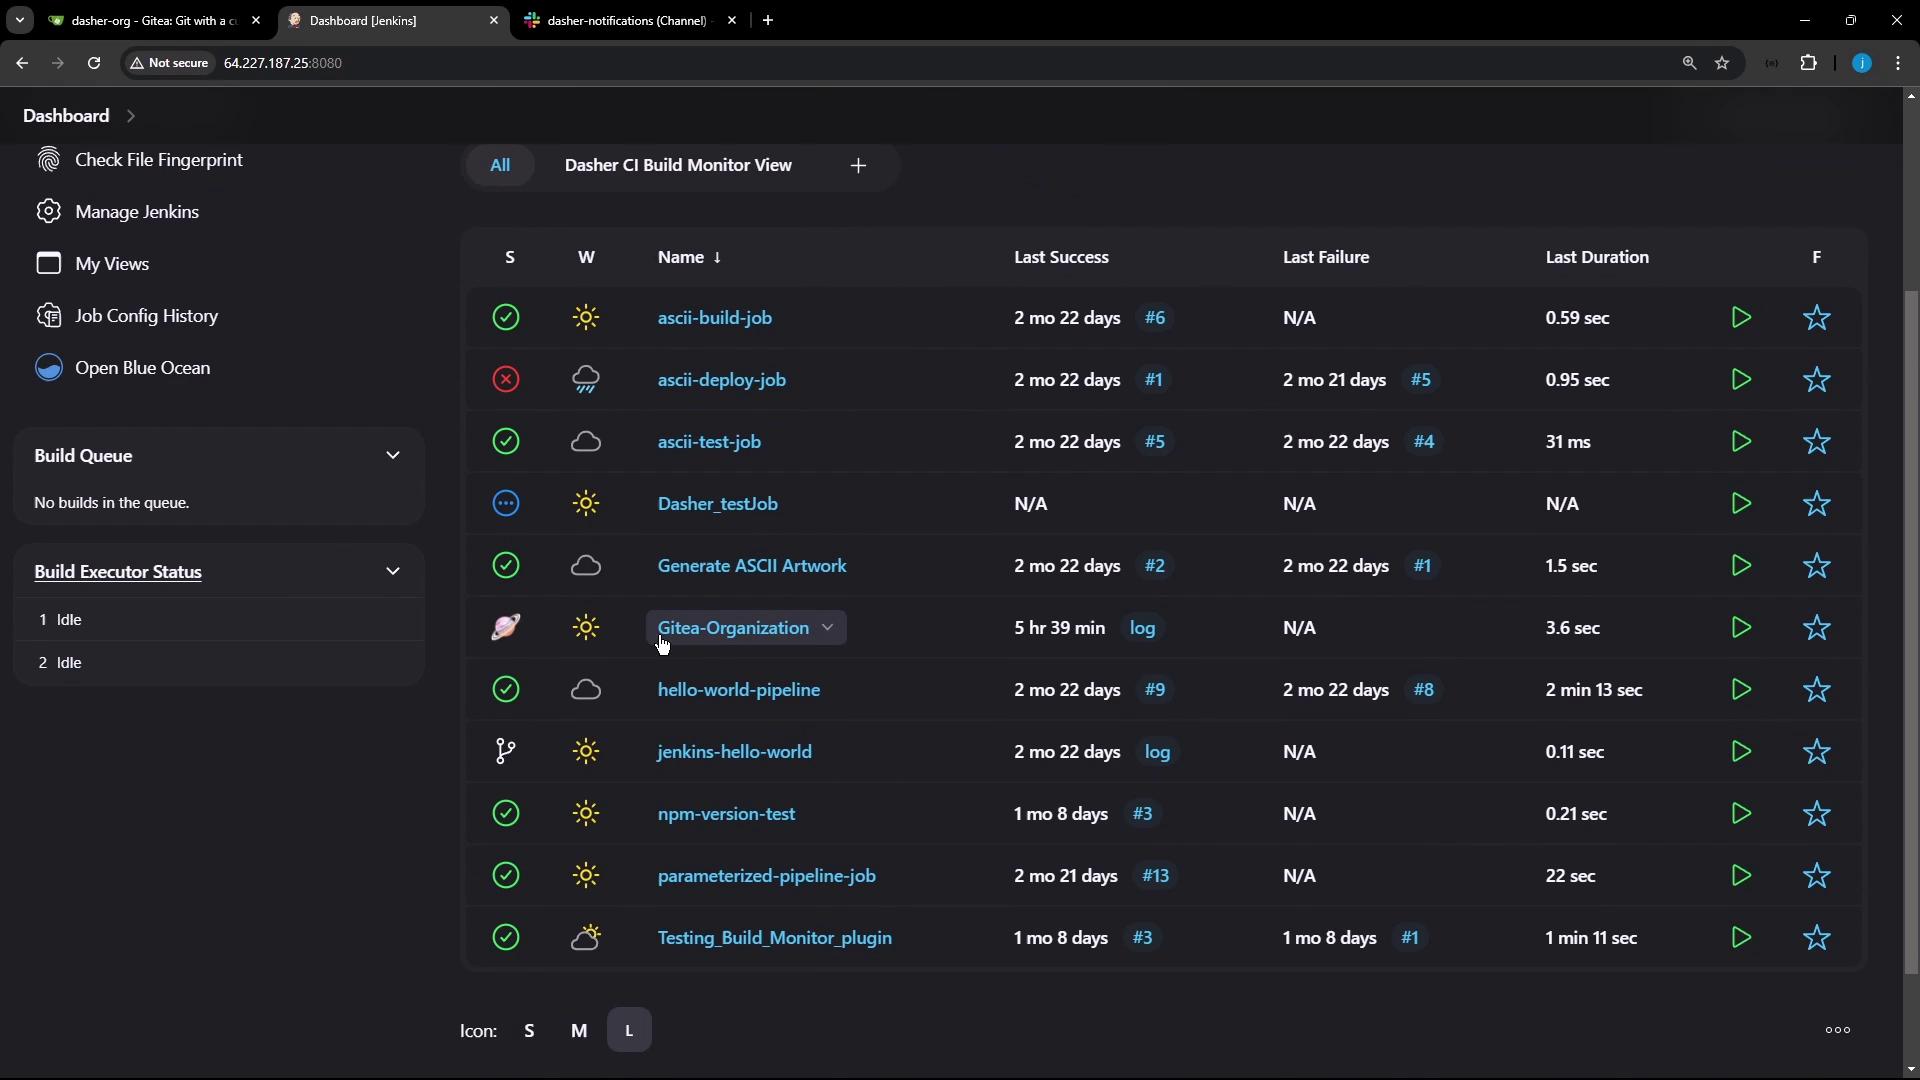
solar-system organization folder, multiple branches are listed. Last time, our focus was feature/enabling-flag.
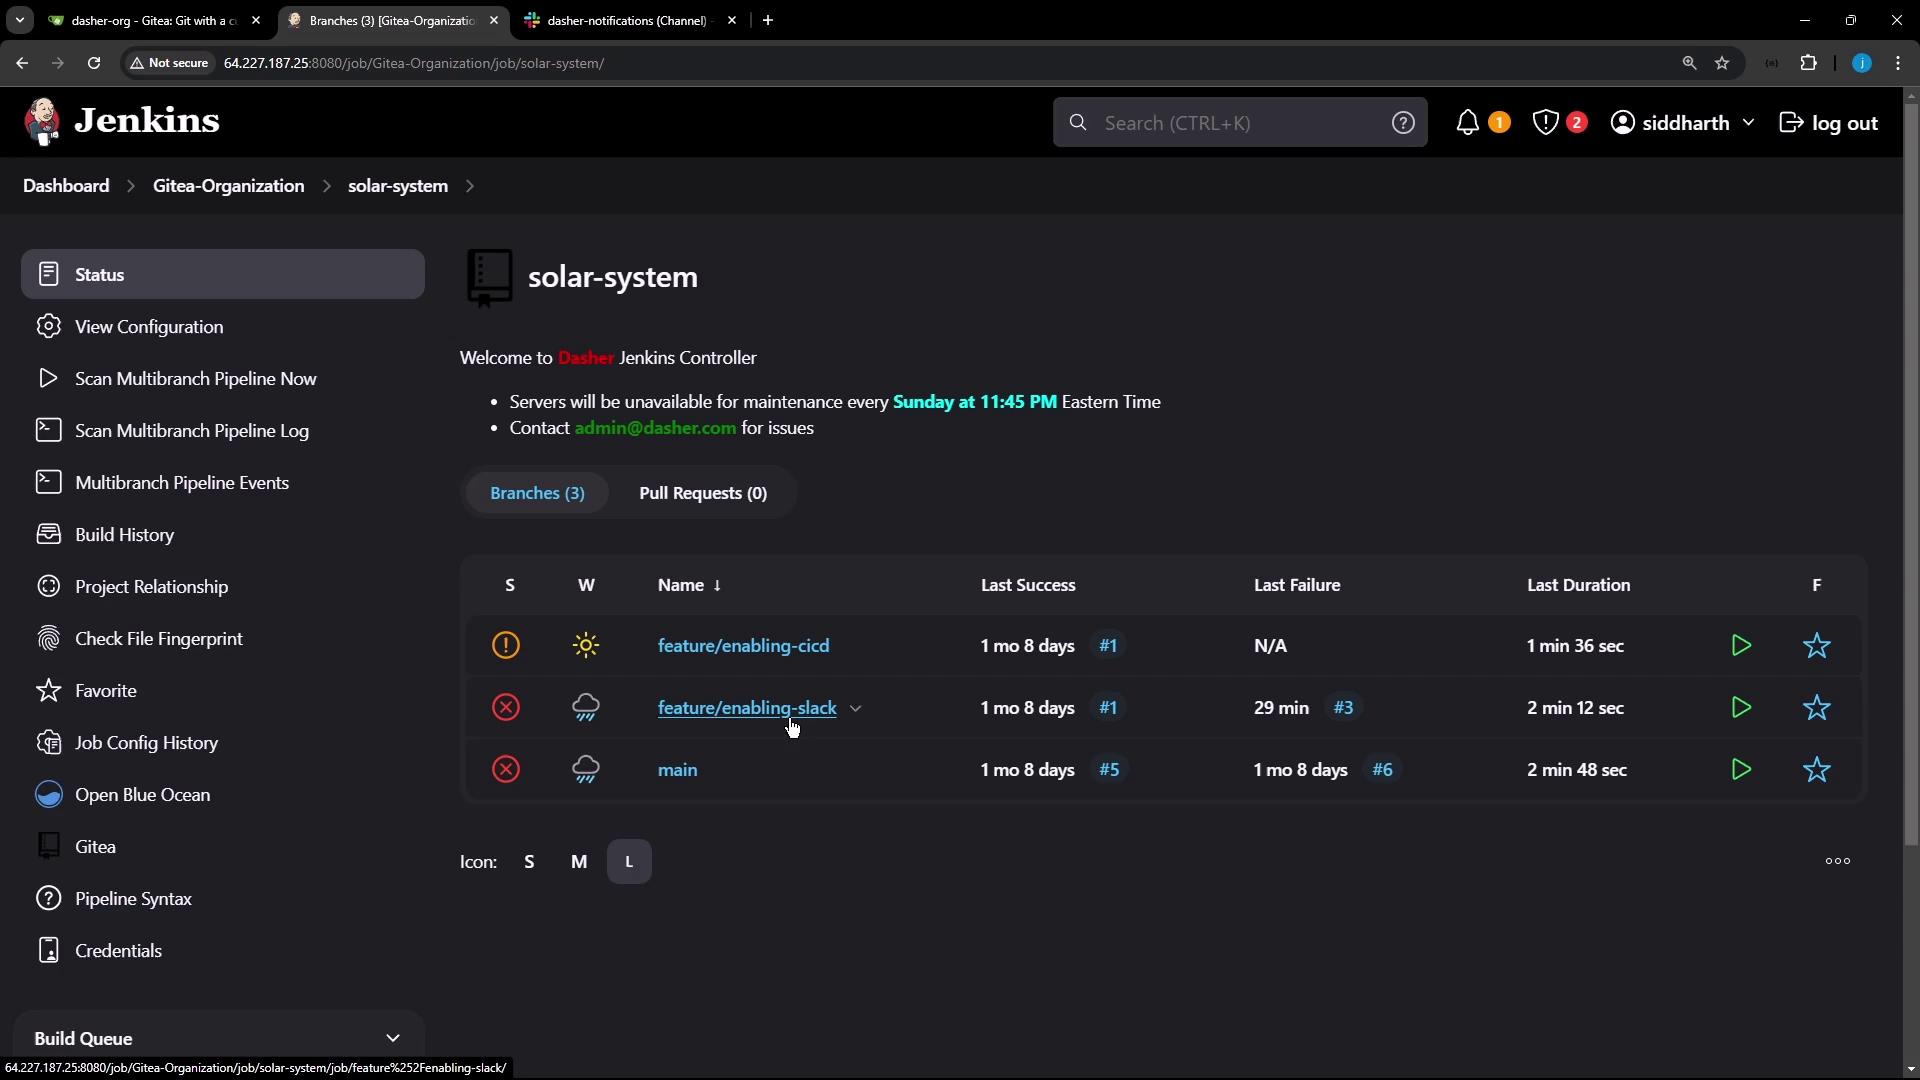
dasher-org organization and currently has three branches, including feature/enabling-slack.
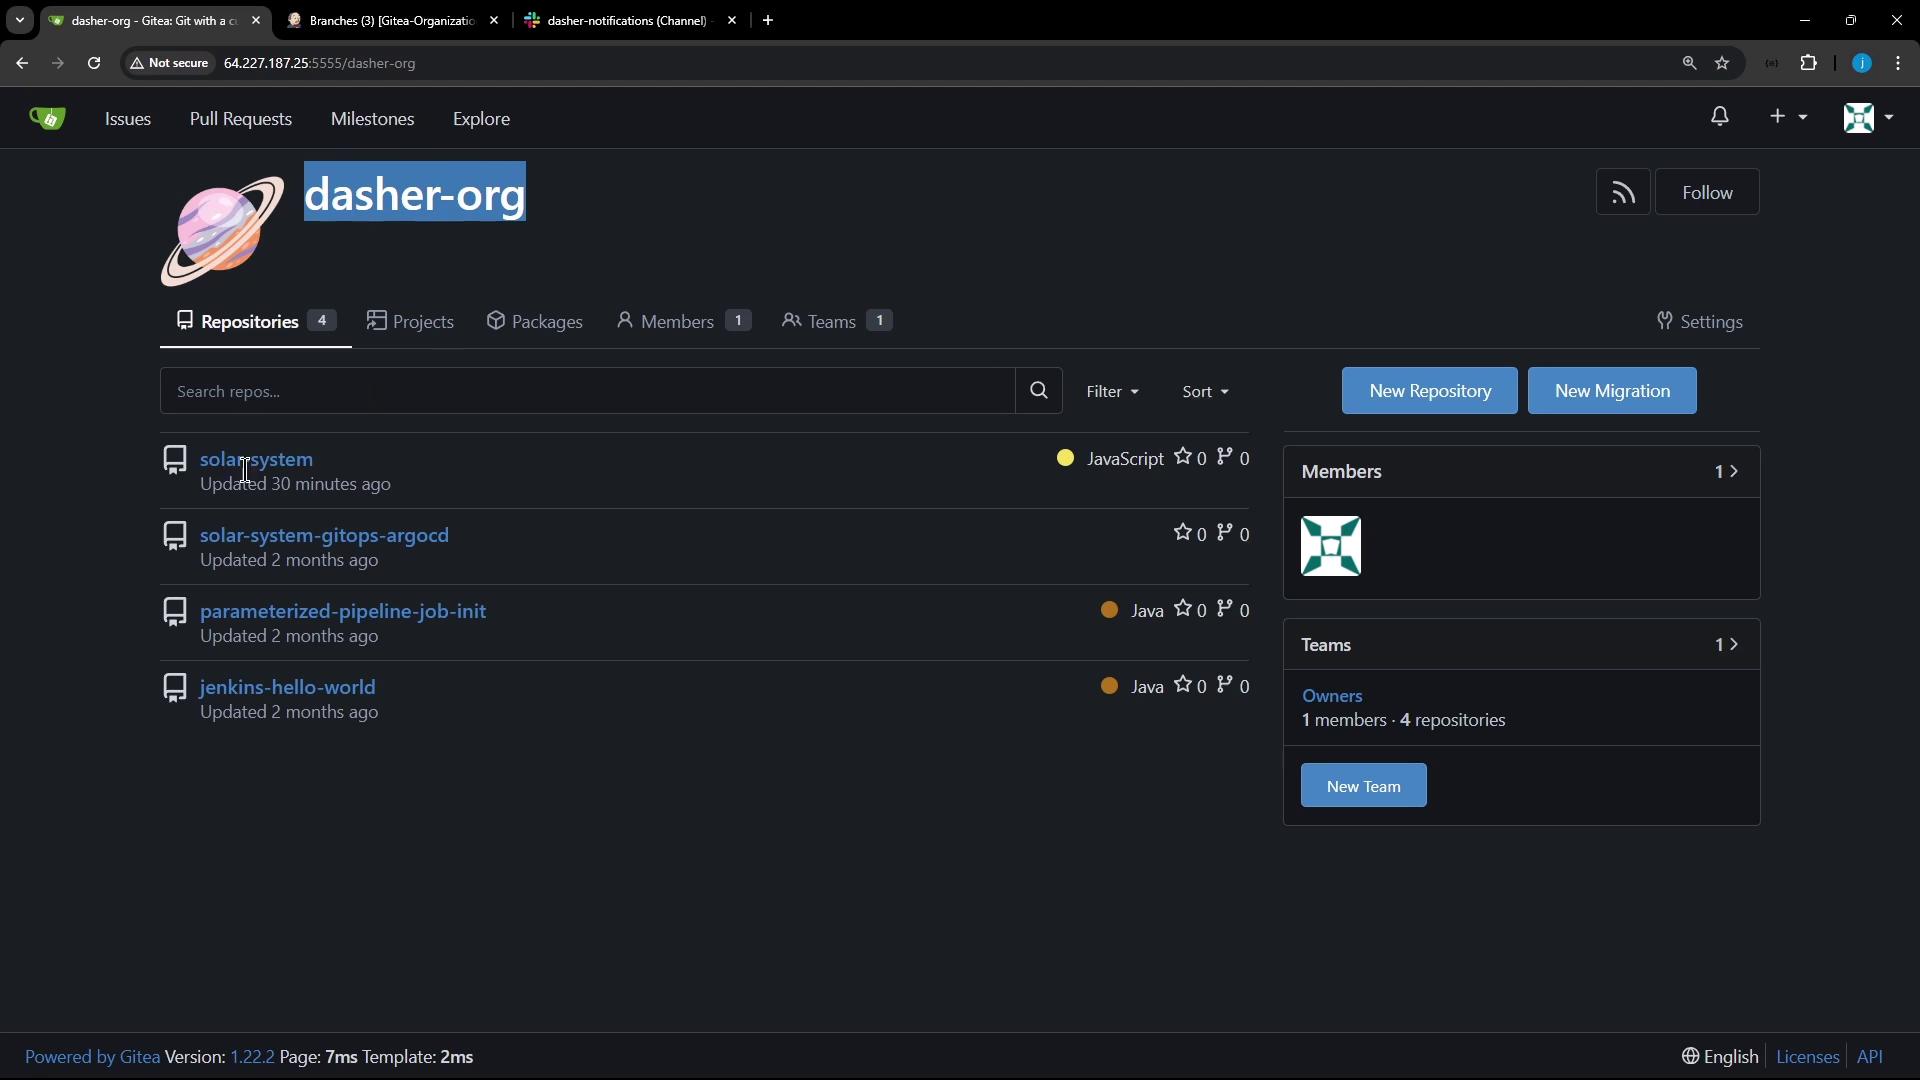
feature/enabling-slack branch, showing recent commits and file structure.
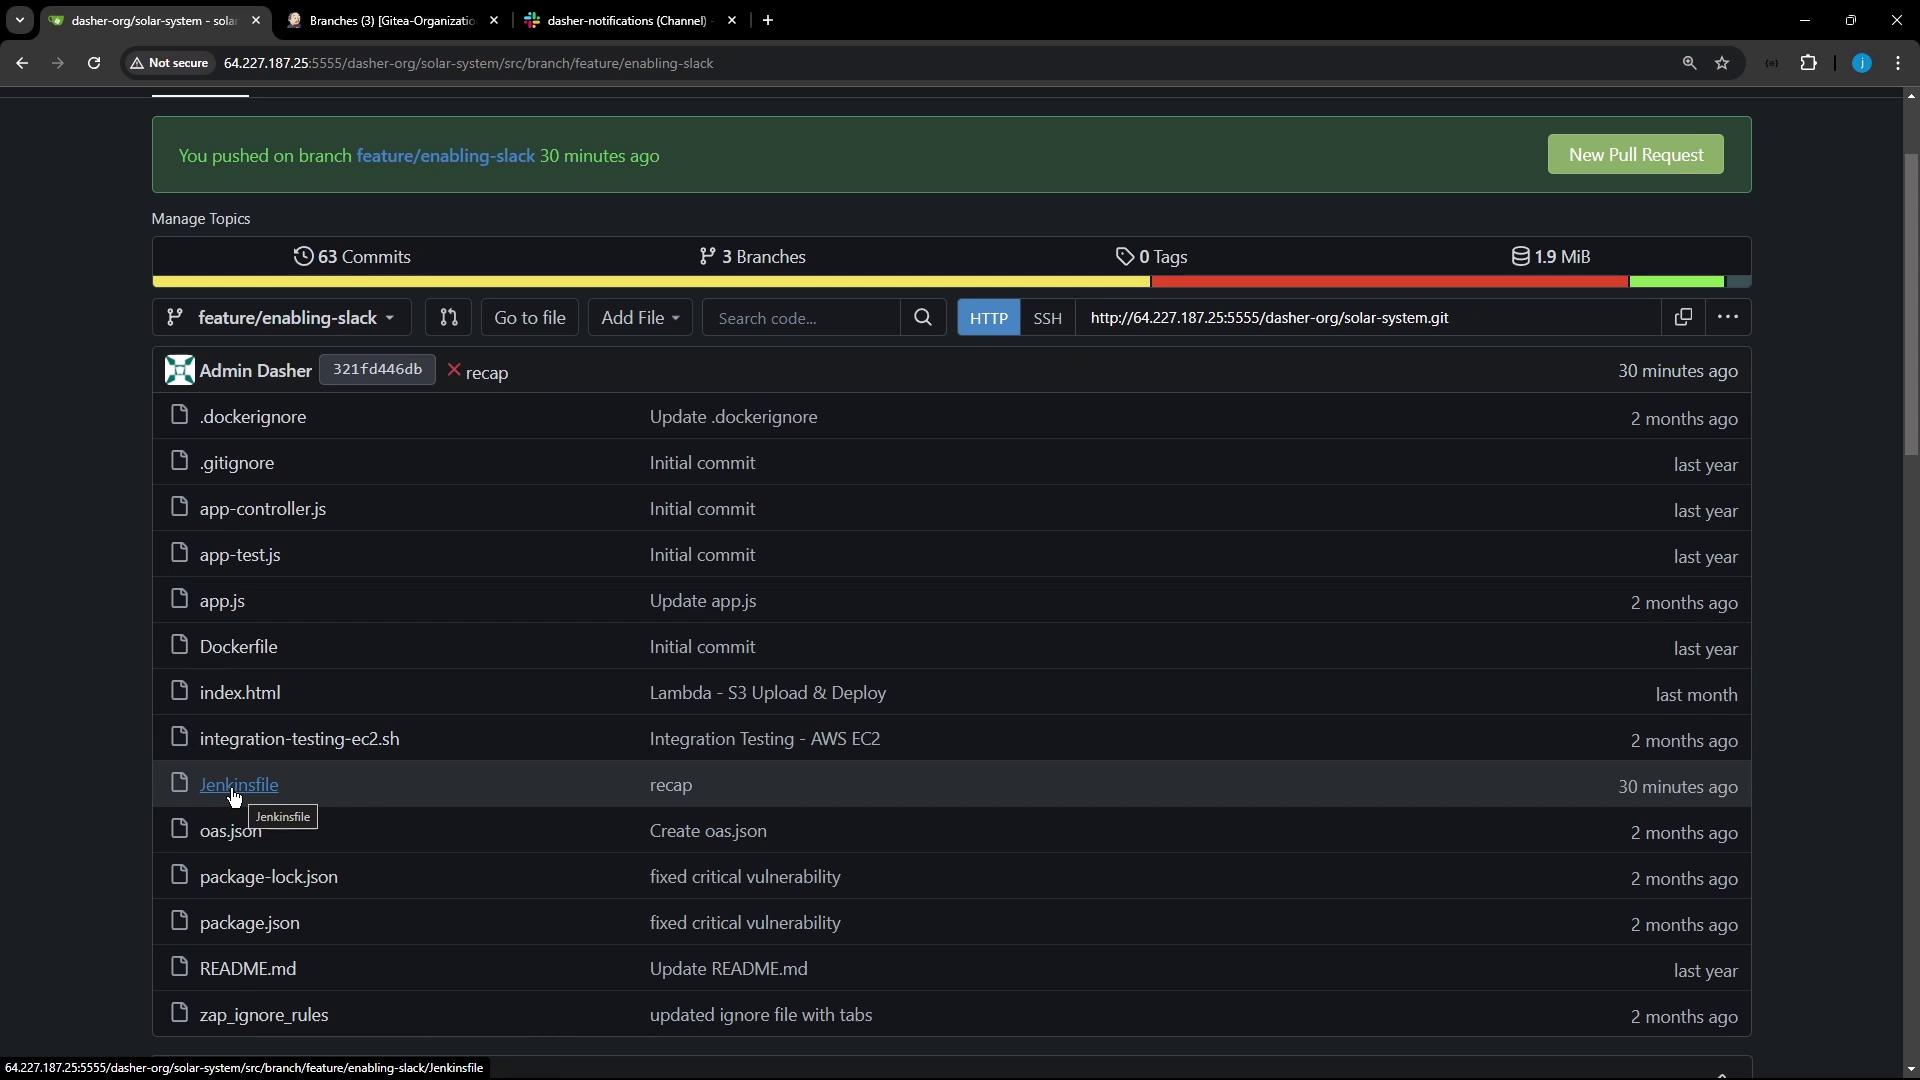
Editing the Jenkinsfile
Switch to your localsolar-system directory and check out the feature/enabling-slack branch:
We’re removing all other stages (e.g., OWASP Dependency Check, deployment) by commenting them out. This keeps the pipeline focused and faster to iterate.
Original Notification and Pipeline Block
Below is the initial portion of theJenkinsfile, including the Slack notification logic and full pipeline definition:
Refactored Jenkinsfile
Comment out unused stages and update thestages block:
Creating a New Branch for Advanced Demos
Rather than committing directly tofeature/enabling-slack, spin off a dedicated branch:
- Push any local changes on
feature/enabling-slack. - In your Git UI, create
feature/advanced-demofromfeature/enabling-slack. - Jenkins detects the new branch and automatically triggers a build.
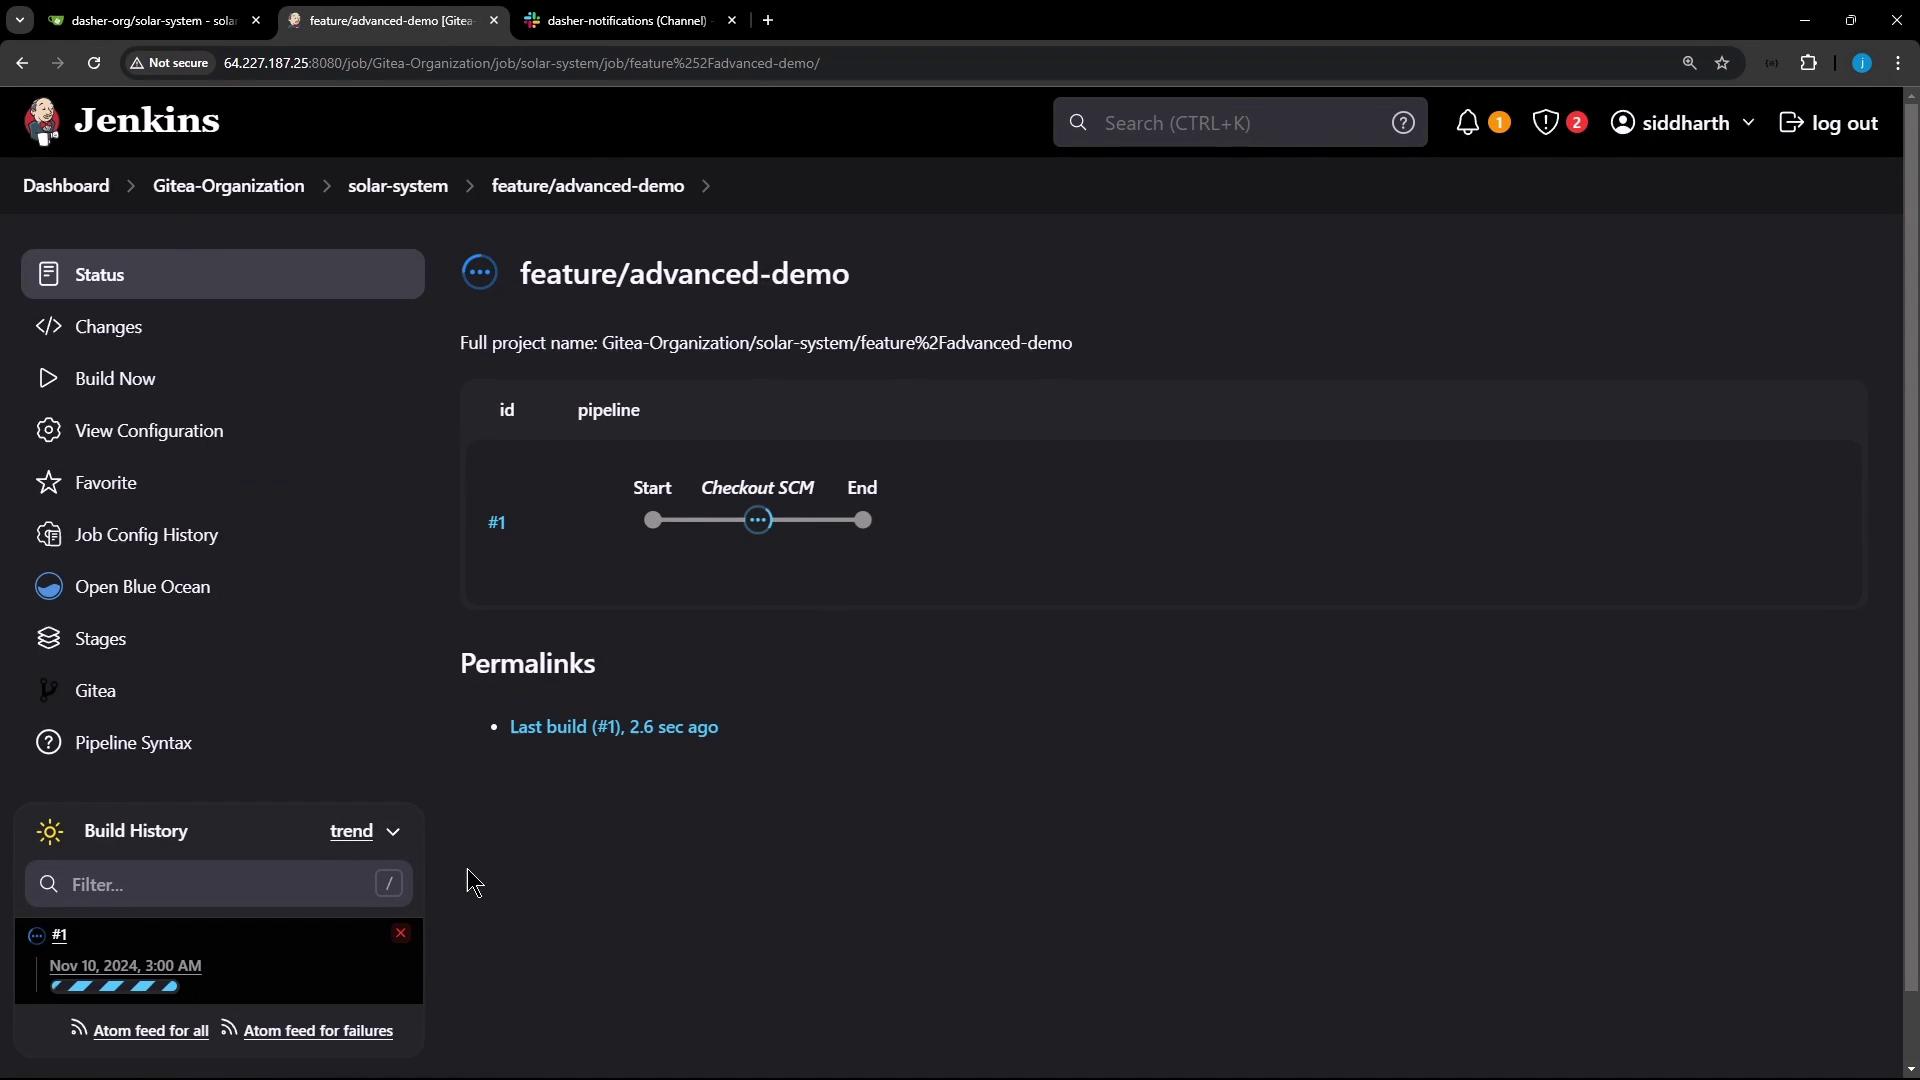
feature/advanced-demo and start a new build.
Verifying the Streamlined Pipeline
Open Blue Ocean or the classic Jenkins UI to inspect your build stages. You should see only the simplified stages in sequence.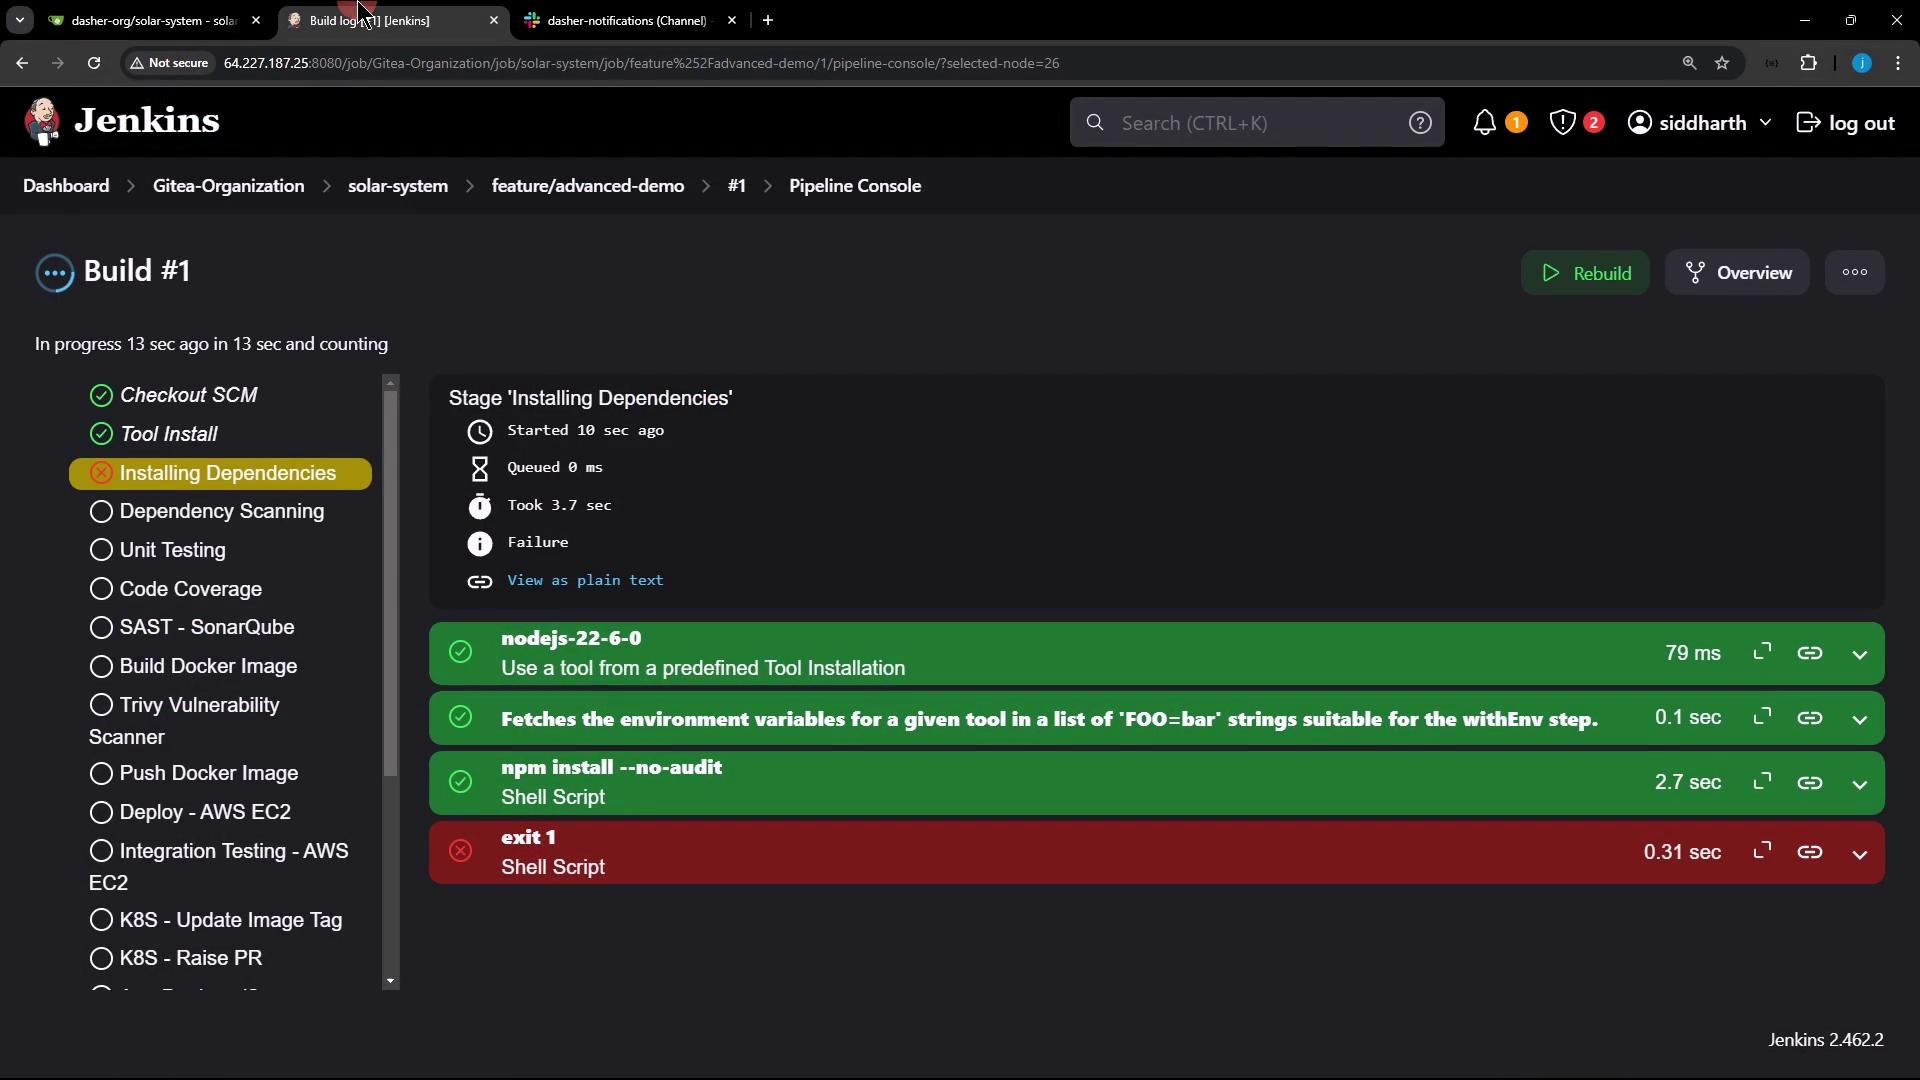
The
Installing Dependencies stage may fail because of the --no-audit flag. This is intentional. Subsequent Slack notifications will still provide build status updates in your channel.Example Trivy Rate-Limit Error
When running the Trivy scanner, you might encounter a rate-limit error:feature/advanced-demo branch now has a clean, focused Jenkins pipeline ready for advanced demos.