This guide covers configuring authentication and authorization in Jenkins, including user management and security settings.
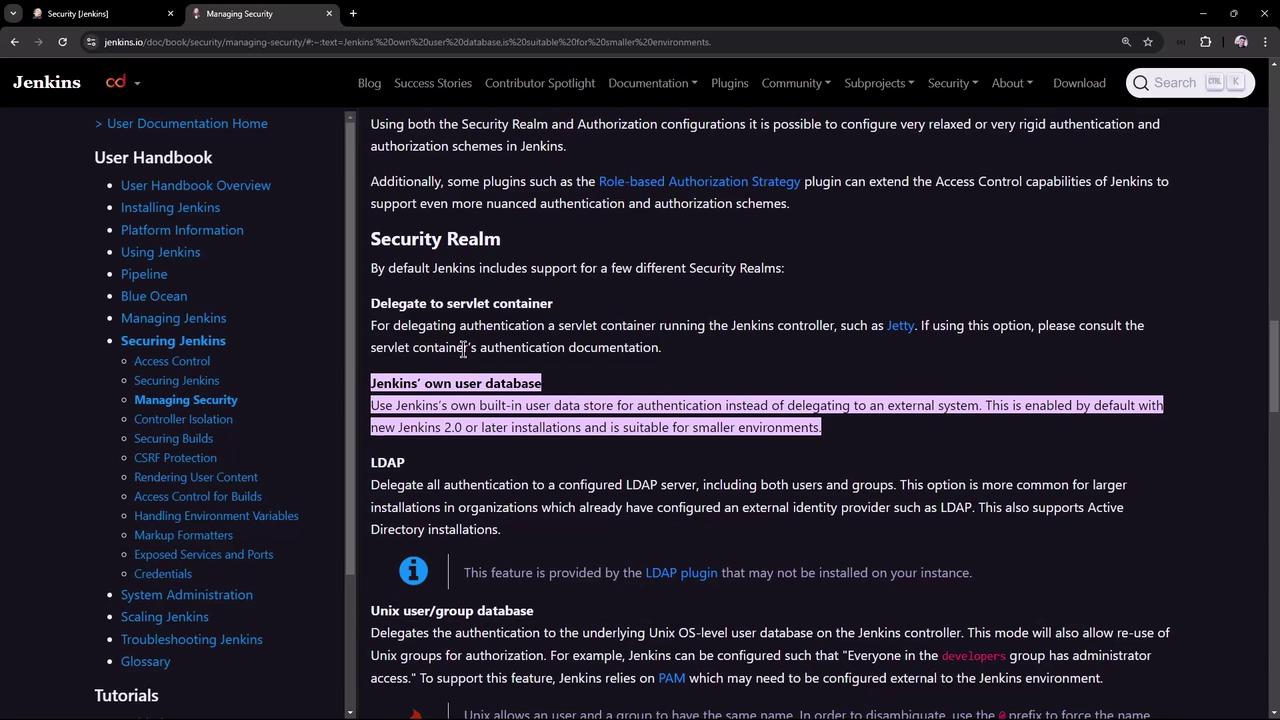
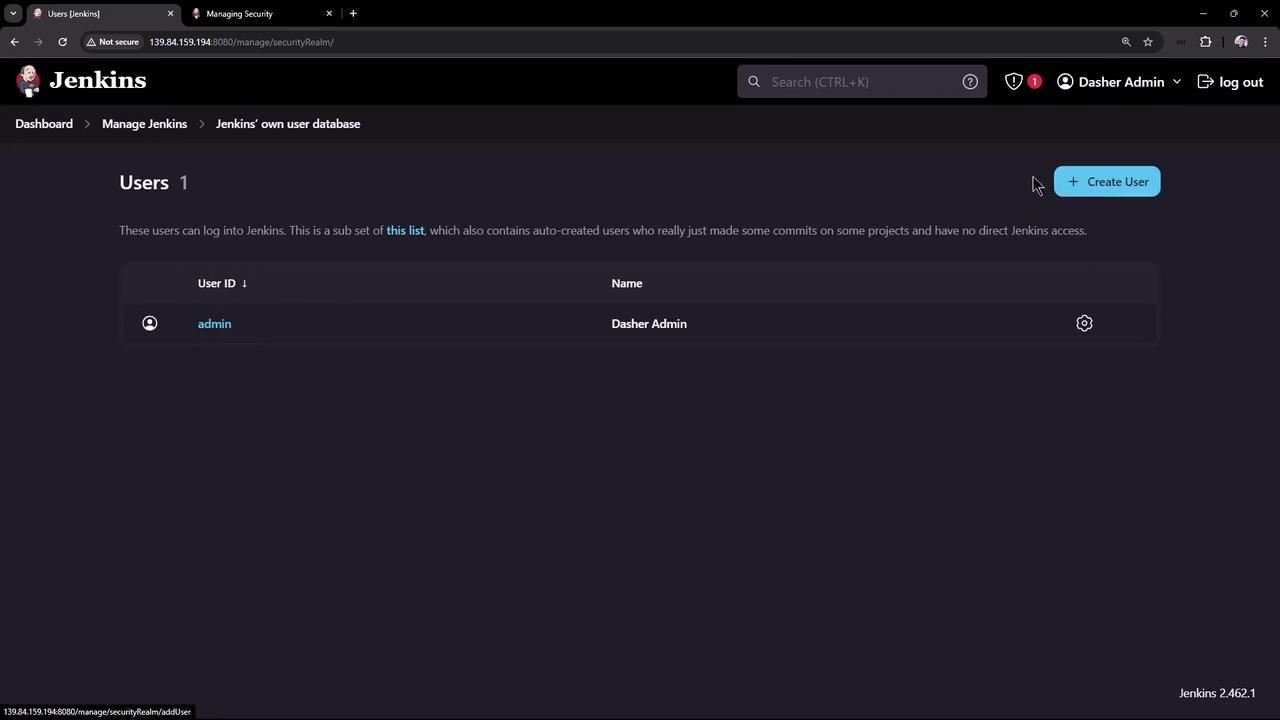
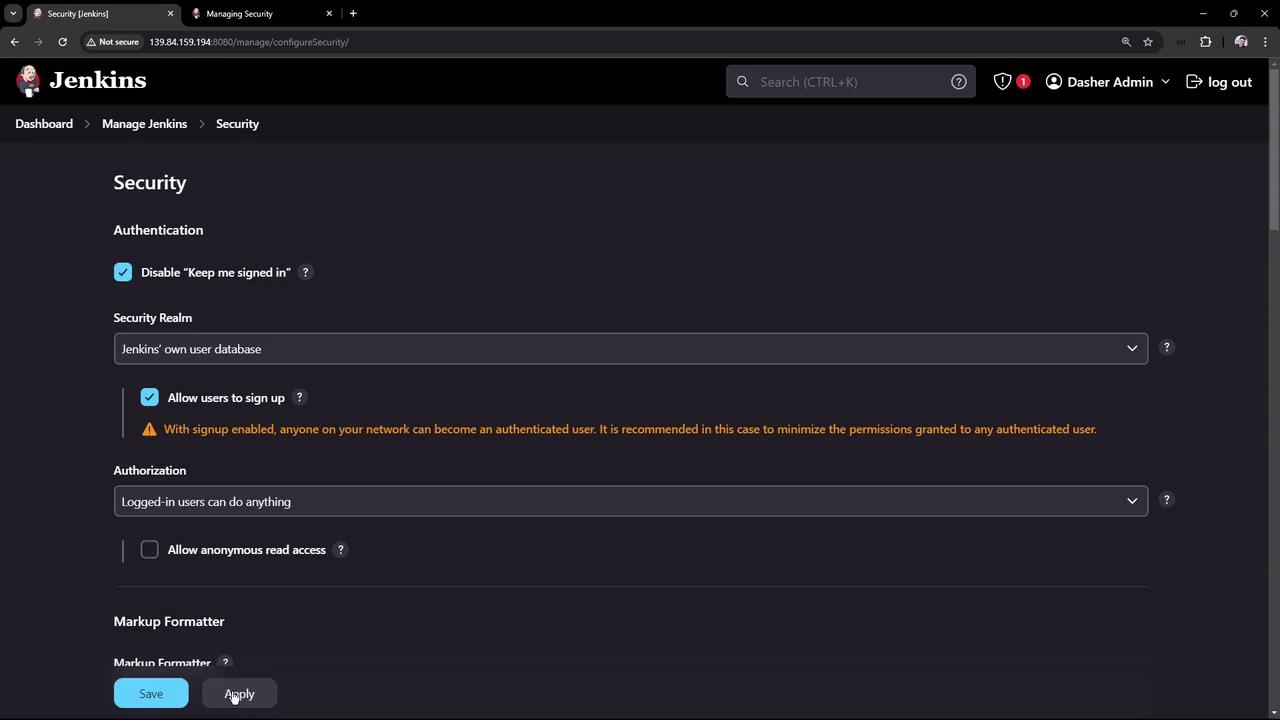
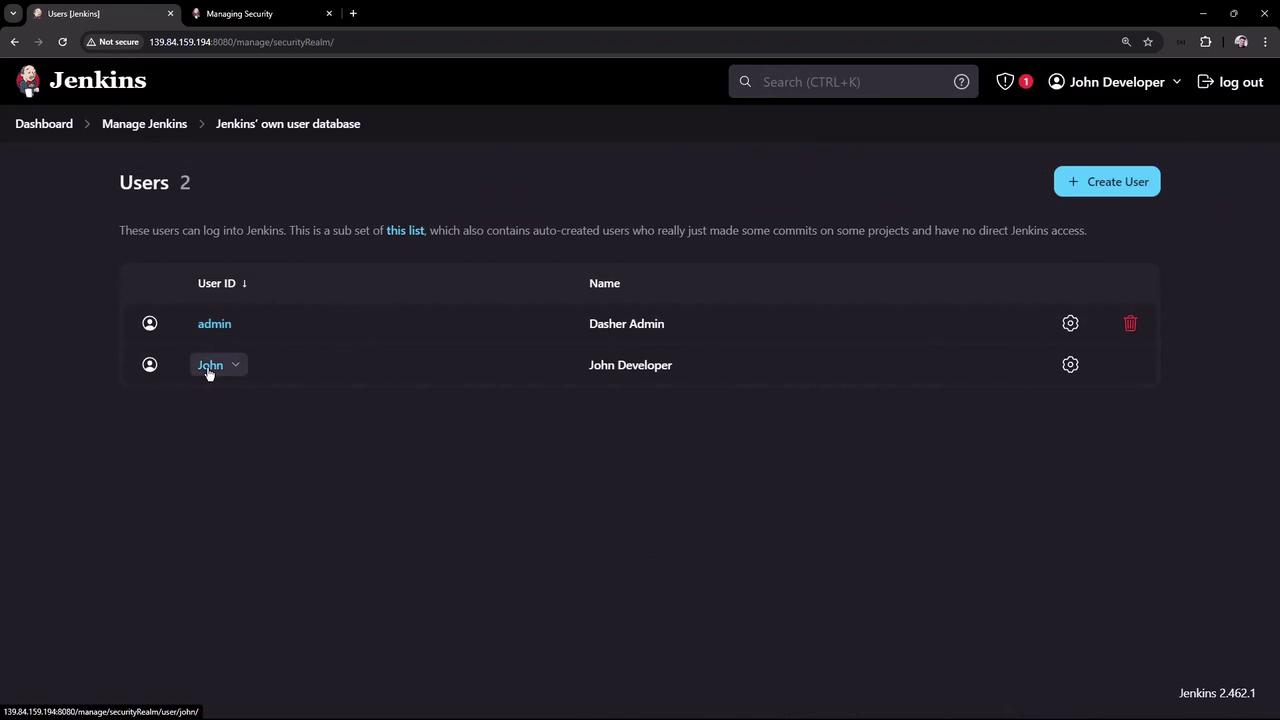
In this guide, we’ll dive into configuring authentication and authorization in Jenkins. By default, Jenkins creates a single admin user and doesn’t allow team members to self-register. You can integrate with external identity systems (LDAP or Active Directory) or use the built-in database. Follow these steps to secure your Jenkins instance.
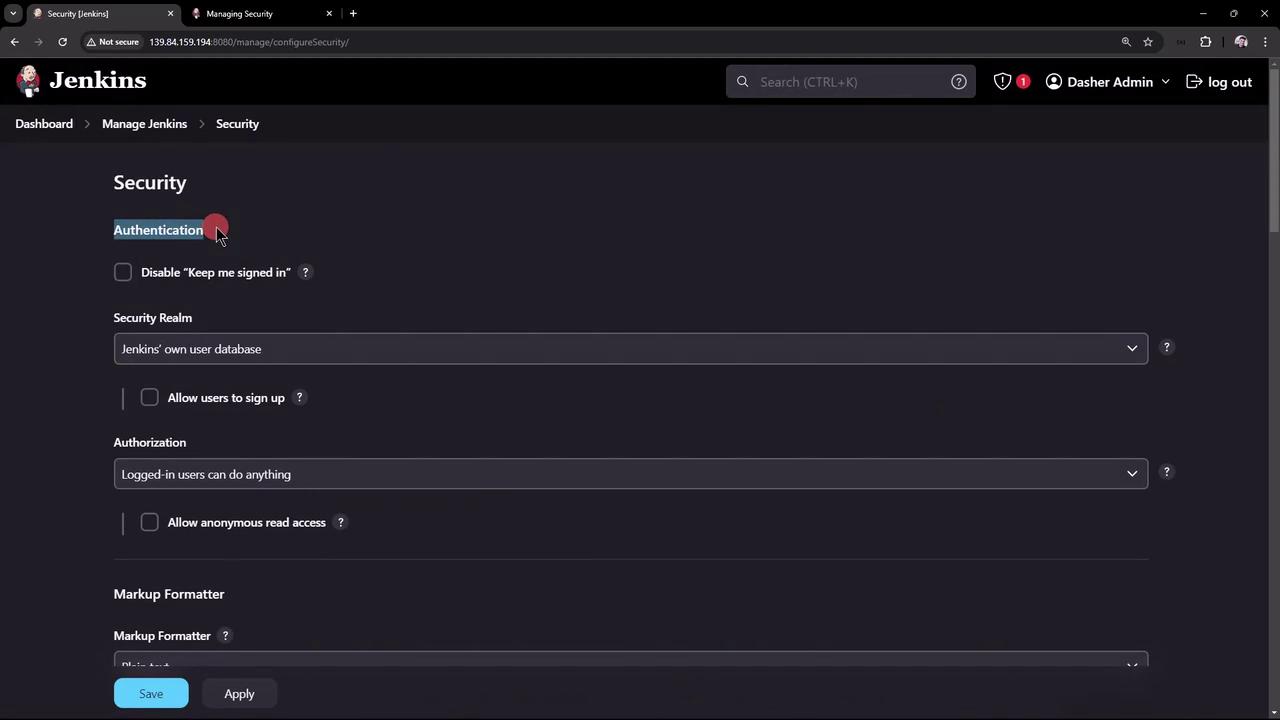
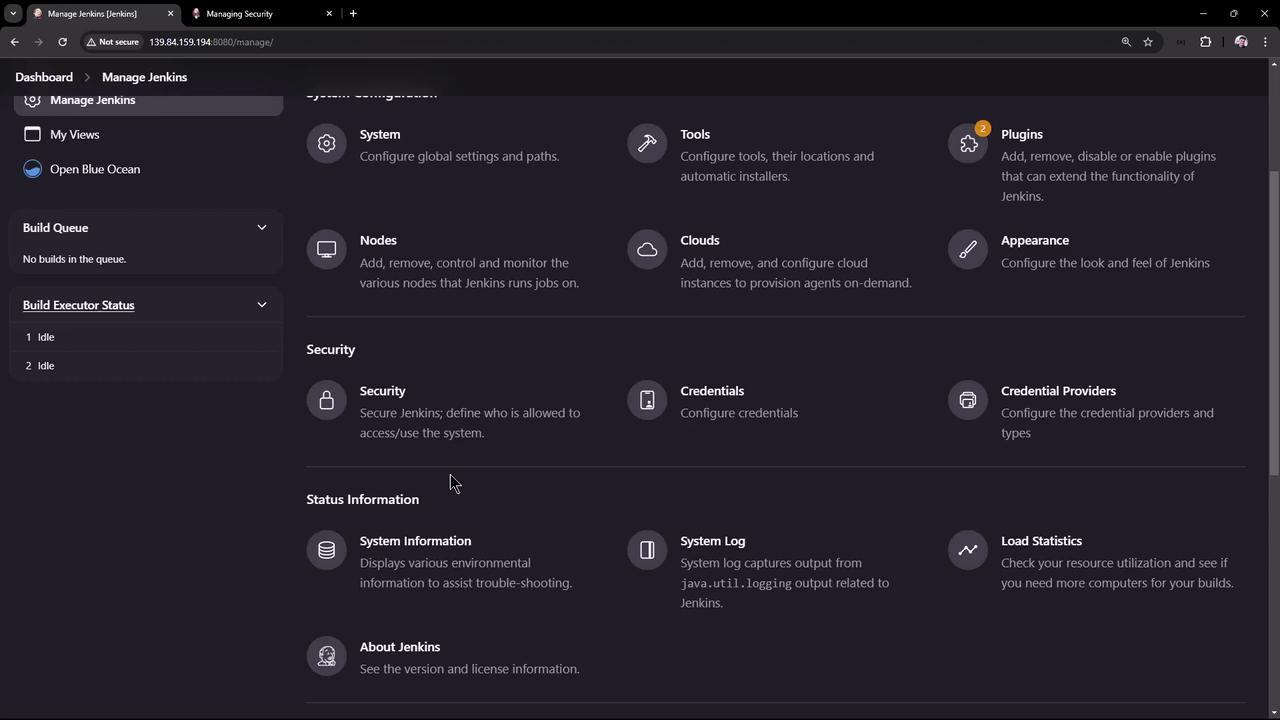
Authorization controls who can view, build, or configure jobs. In Configure Global Security, scroll to Authorization. The default is Logged-in users can do anything—only authenticated users have full access. Another setting is Anyone can do anything:
Authorization Strategy
Description
Logged-in users can do anything
Only authenticated users have full access.
Anyone can do anything
Public access to all actions without login.
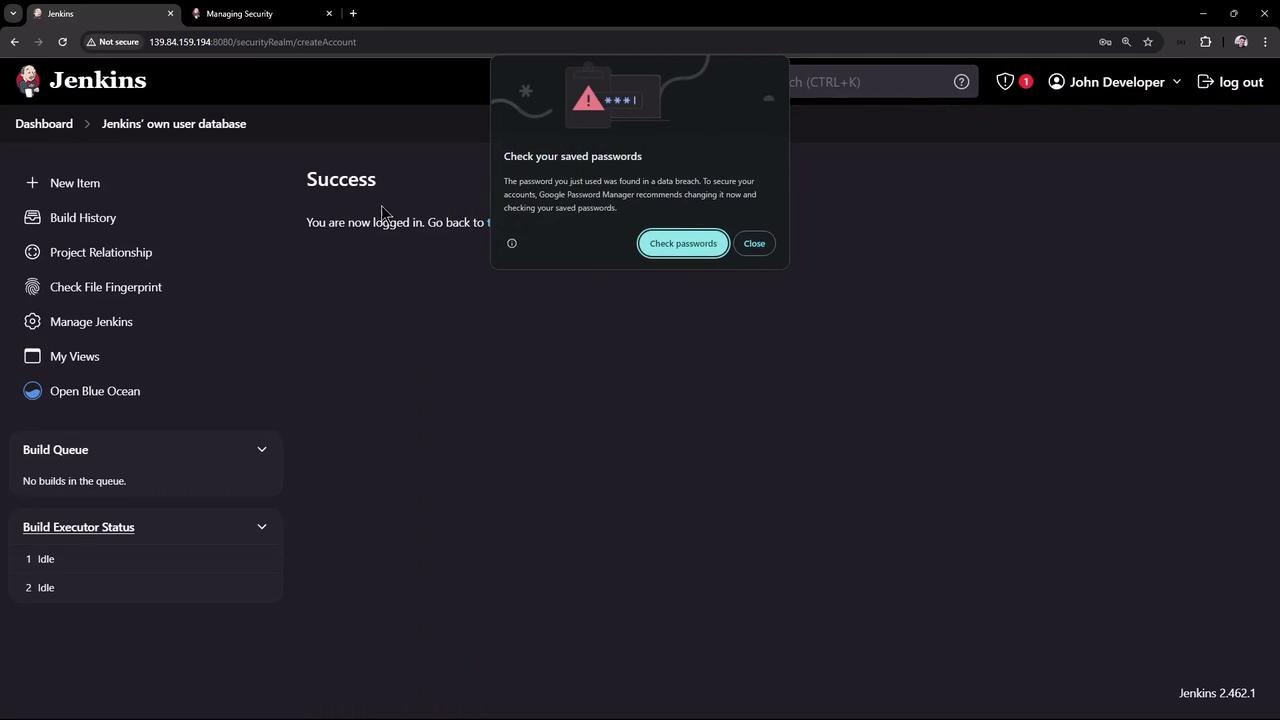
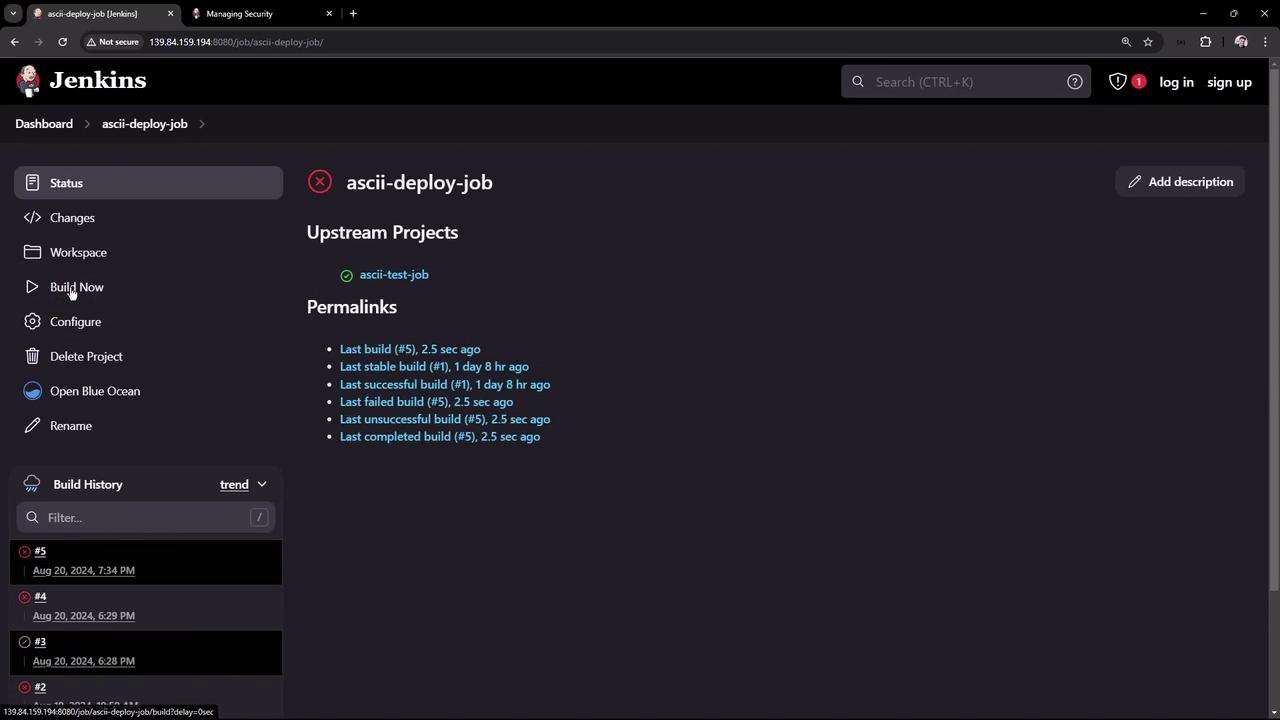
Select Anyone can do anything, click Save, then log out. Now you can view and trigger builds anonymously:
Started by user unknown or anonymousRunning as SYSTEMBuilding in workspace /var/lib/jenkins/workspace/ascii-deploy-jobCopied 1 artifact from "ascii-test-job" build number 5[ascii-deploy-job] $ /bin/sh -xe /tmp/jenkins37422262028379197254.sh+ exit 1Build step 'Execute shell' marked build as failureFinished: FAILURE
Allowing anonymous users to trigger builds is a serious security risk. Unauthenticated users should never run jobs on a production Jenkins master.
Log back in as admin, set Authorization to Logged-in users can do anything, and enable Anonymous users read access. Click Save and log out. Visitors can now view jobs but cannot create or manage them.
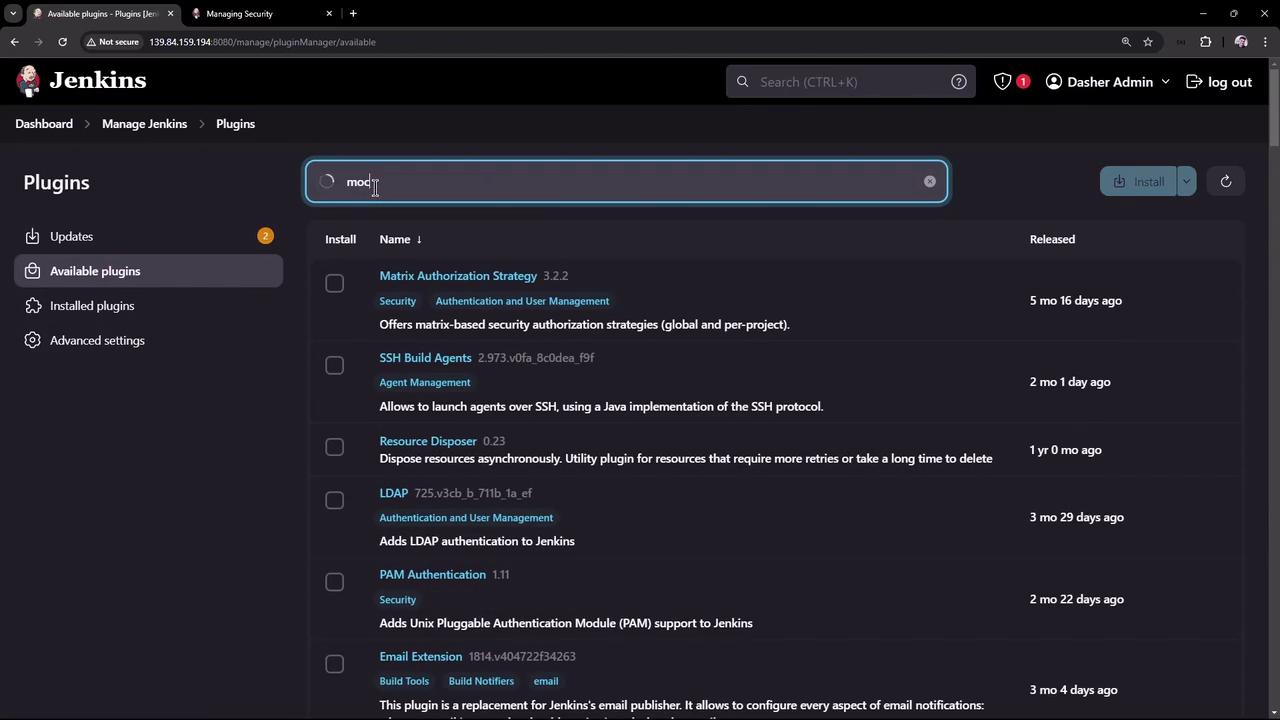
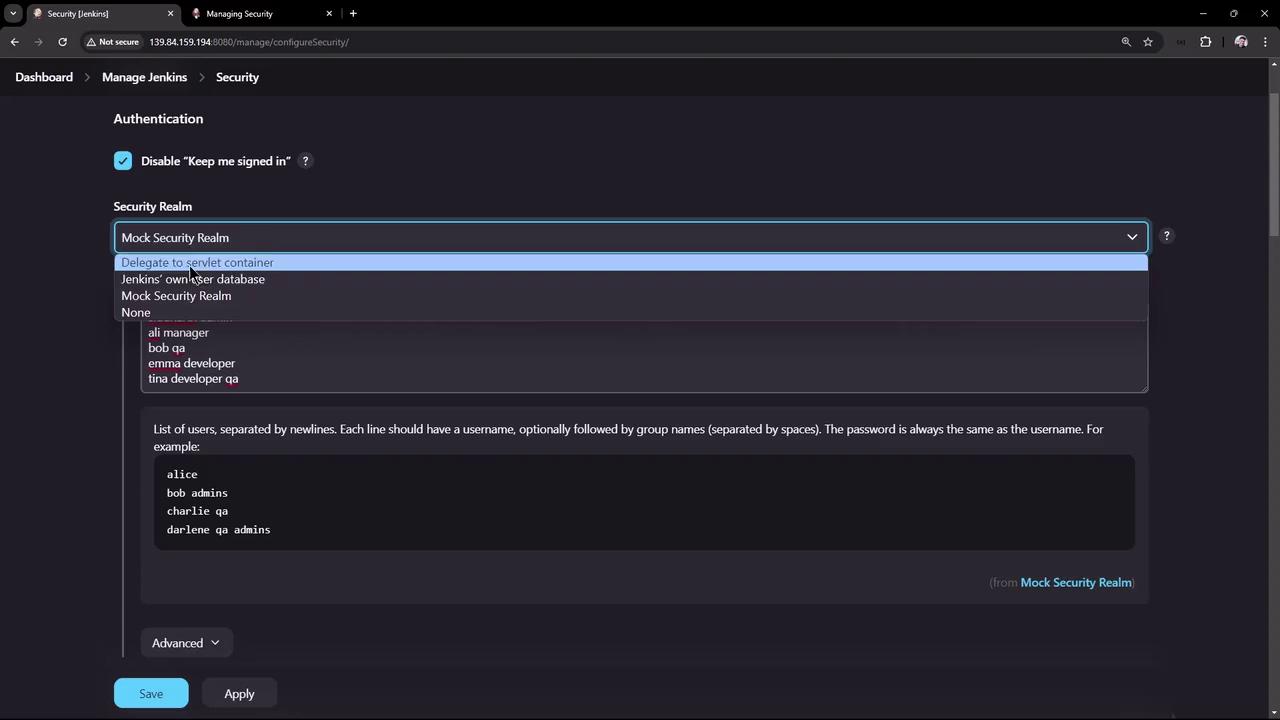
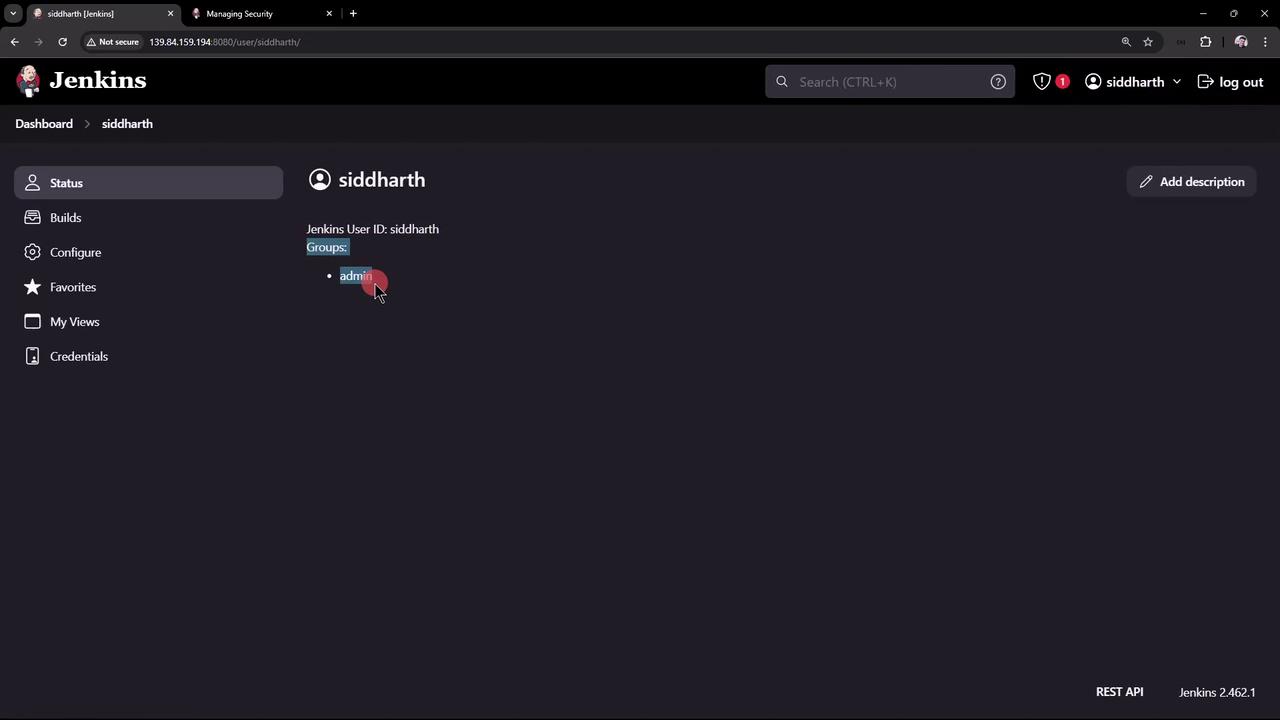
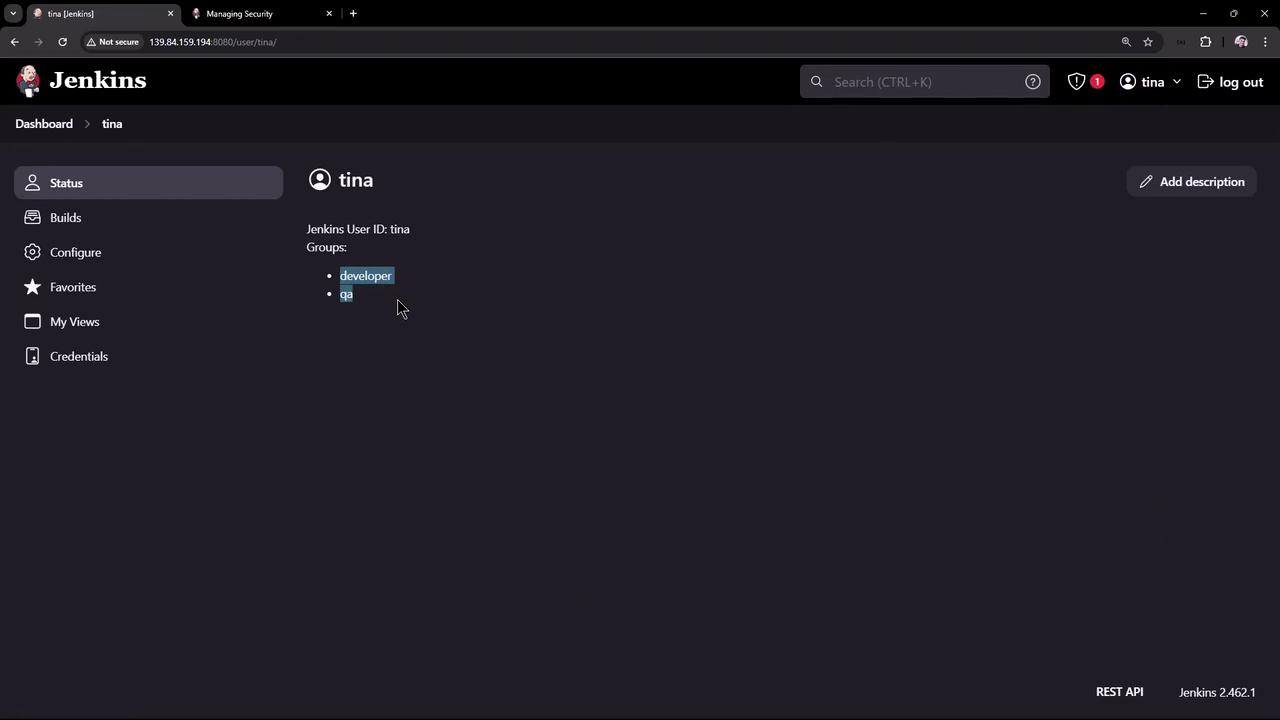
The Mock Security Realm handles authentication and group assignments only; it doesn’t enforce permissions. Next, explore role-based authorization to grant the admin group exclusive rights to delete or configure jobs.