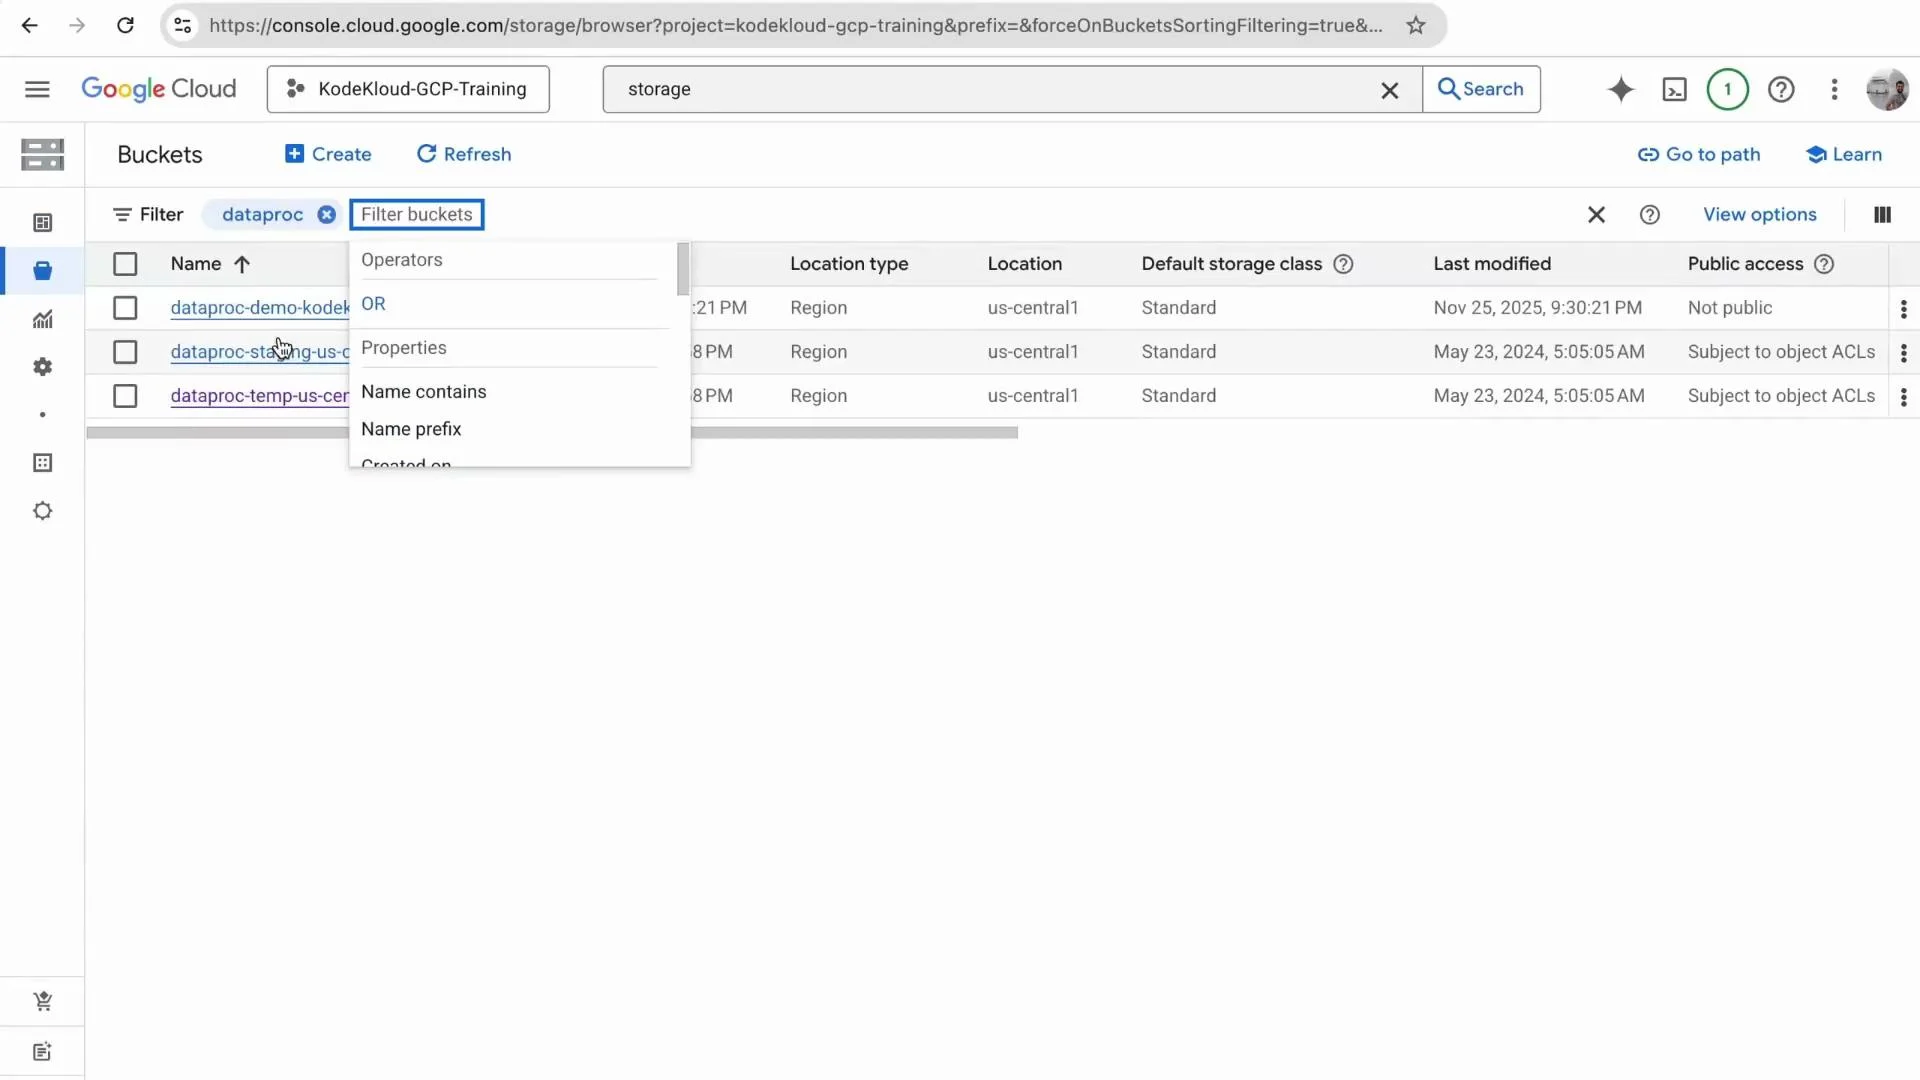
- Create a Cloud Storage bucket and upload input data plus a PySpark script.
- Create a Dataproc cluster (single-node or multi-node).
- Submit a PySpark job to the cluster that reads from Cloud Storage, aggregates totals per customer, and writes results back to Cloud Storage.
- Inspect the job using the Dataproc Console and Spark History Server, then verify output in Cloud Storage.
- A GCP project with billing enabled.
- Permissions to create Storage buckets and Dataproc clusters (roles like Storage Admin and Dataproc Editor are helpful).
- Cloud SDK (
gcloud) installed if you plan to submit jobs from the CLI.
Create a Cloud Storage bucket
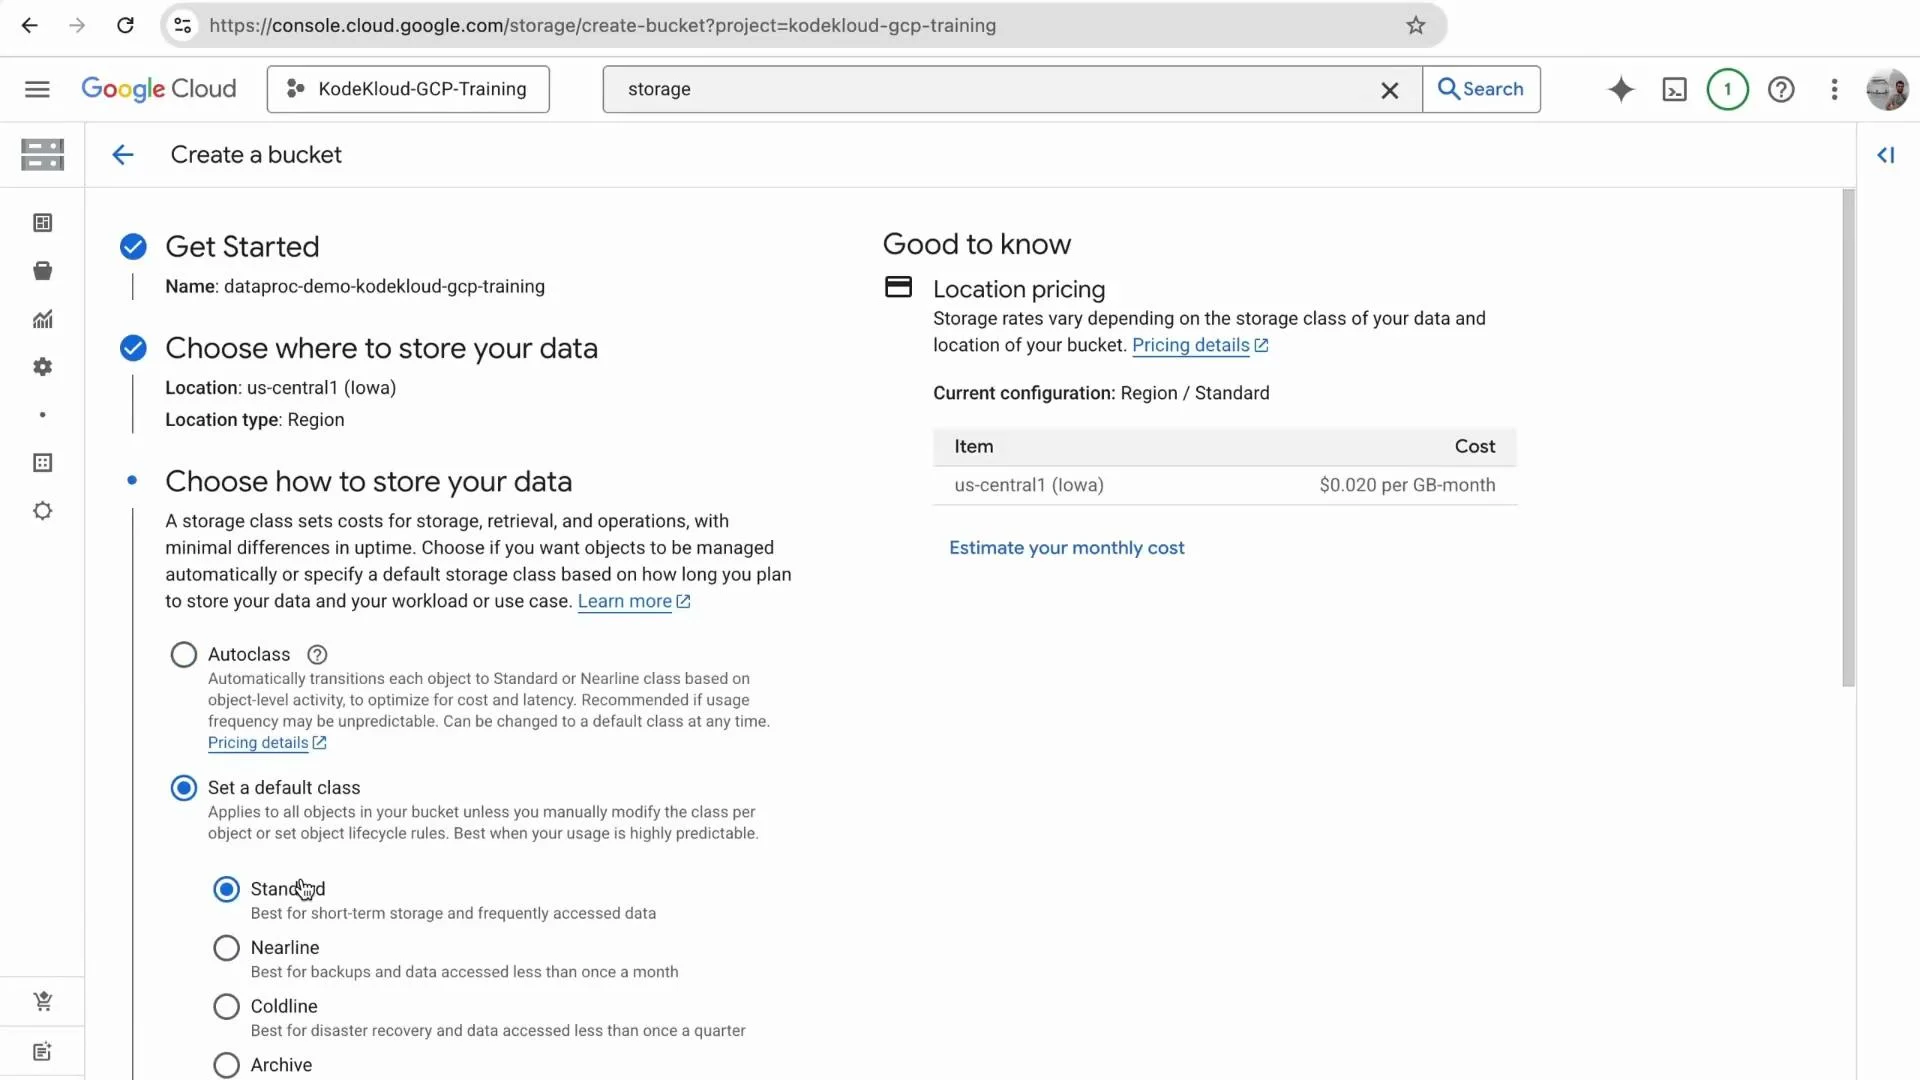
Open the GCP Console, search for “Storage”, and create a new bucket. Choose a globally unique name and a region (this demo usesus-central1). Configure the storage class and other options as needed, then create the bucket.
Prepare the input data
Create a small CSV file namedorders.csv with order data. Example contents:
orders.csv to the bucket you created (e.g., gs://<your-bucket>/orders.csv).
PySpark job (process_orders.py)
Create a PySpark scriptprocess_orders.py. The script below reads a CSV from Cloud Storage, aggregates total spend per customer, and writes the result back to Cloud Storage as CSV.
- The script expects two arguments: the input GCS path (CSV) and the output GCS folder path where Spark will write part files.
- It uses
SparkSessionto read the CSV, group bycustomer_id, sumamount, and write CSV output.
Upload files to Cloud Storage
Upload bothorders.csv and process_orders.py to your bucket. If you uploaded the wrong file name, delete and re-upload the corrected files.
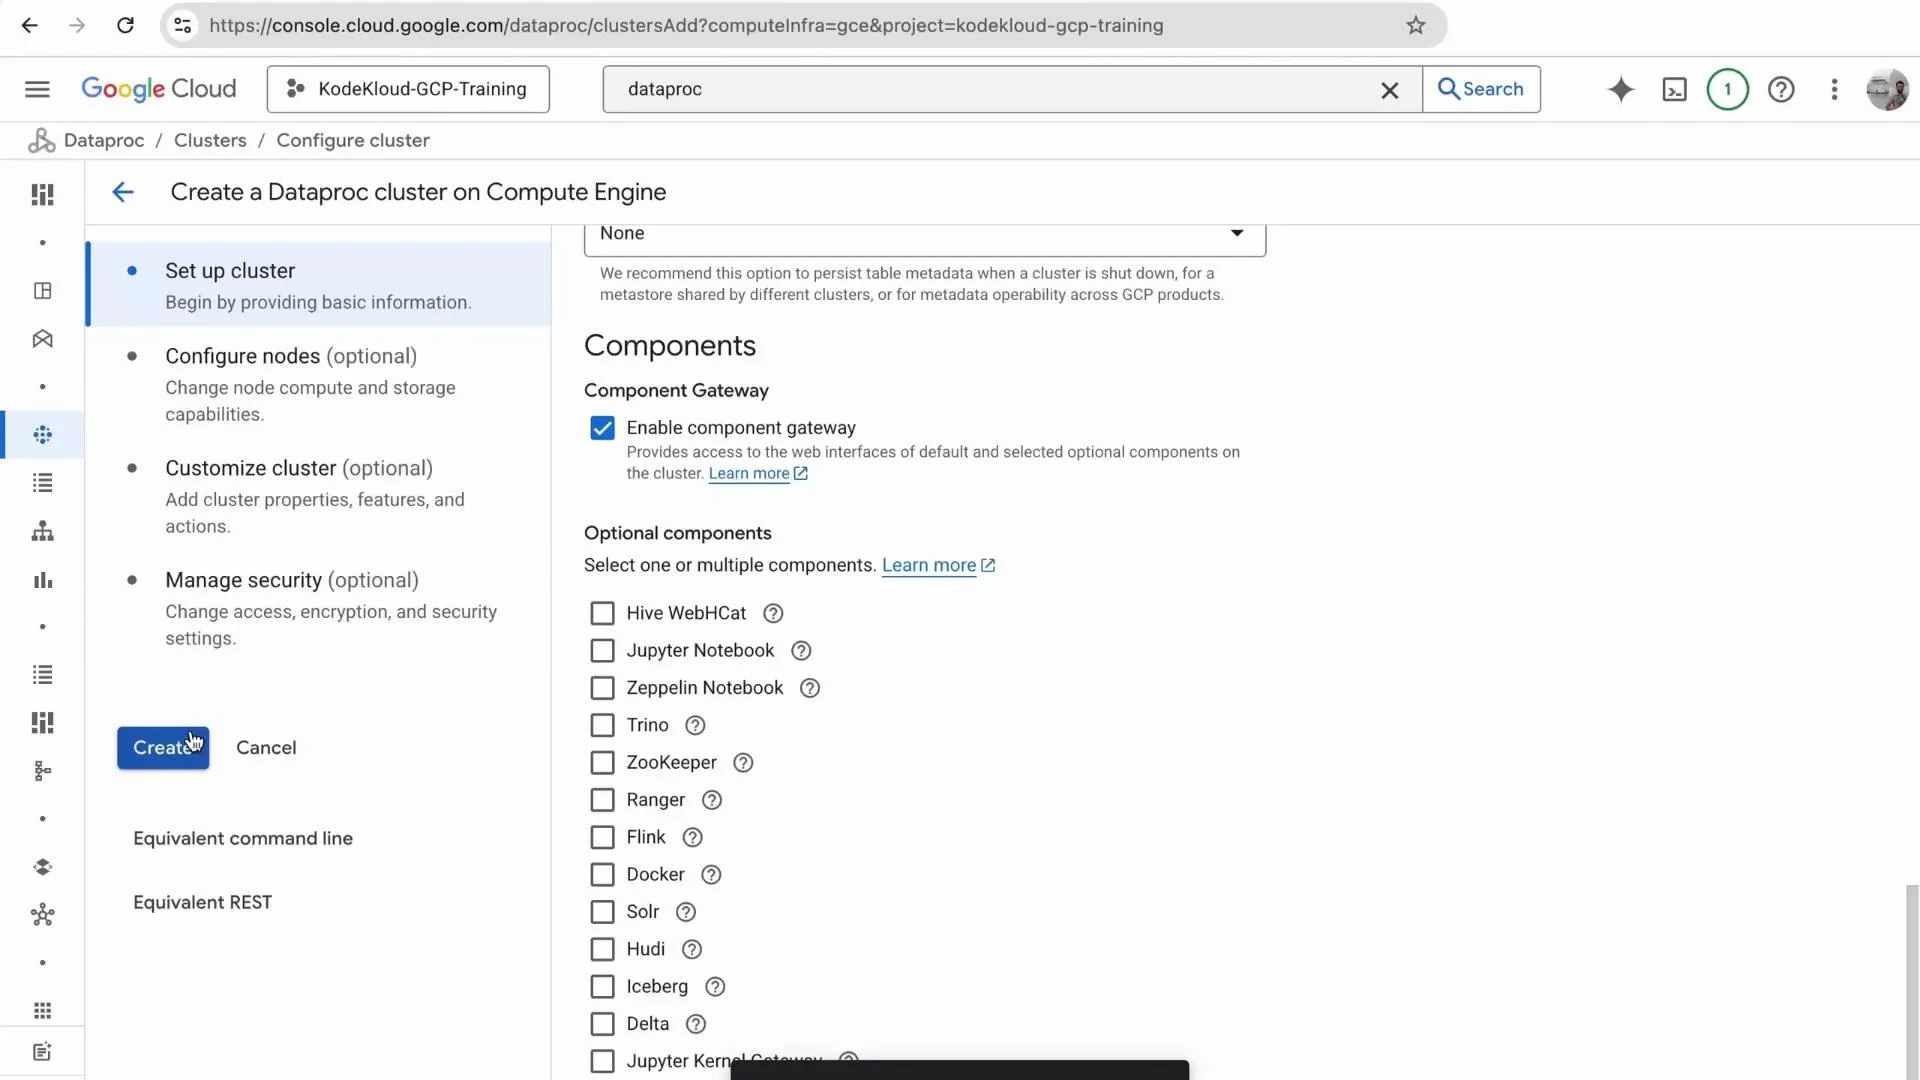
Create a Dataproc cluster
Open Dataproc in the GCP Console (search for “Dataproc”), go to Clusters, and click Create cluster. For this demo you can choose:- Standard cluster (1 master + workers) for distributed workloads.
- Single-node cluster (master-only) to save cost for small tests.

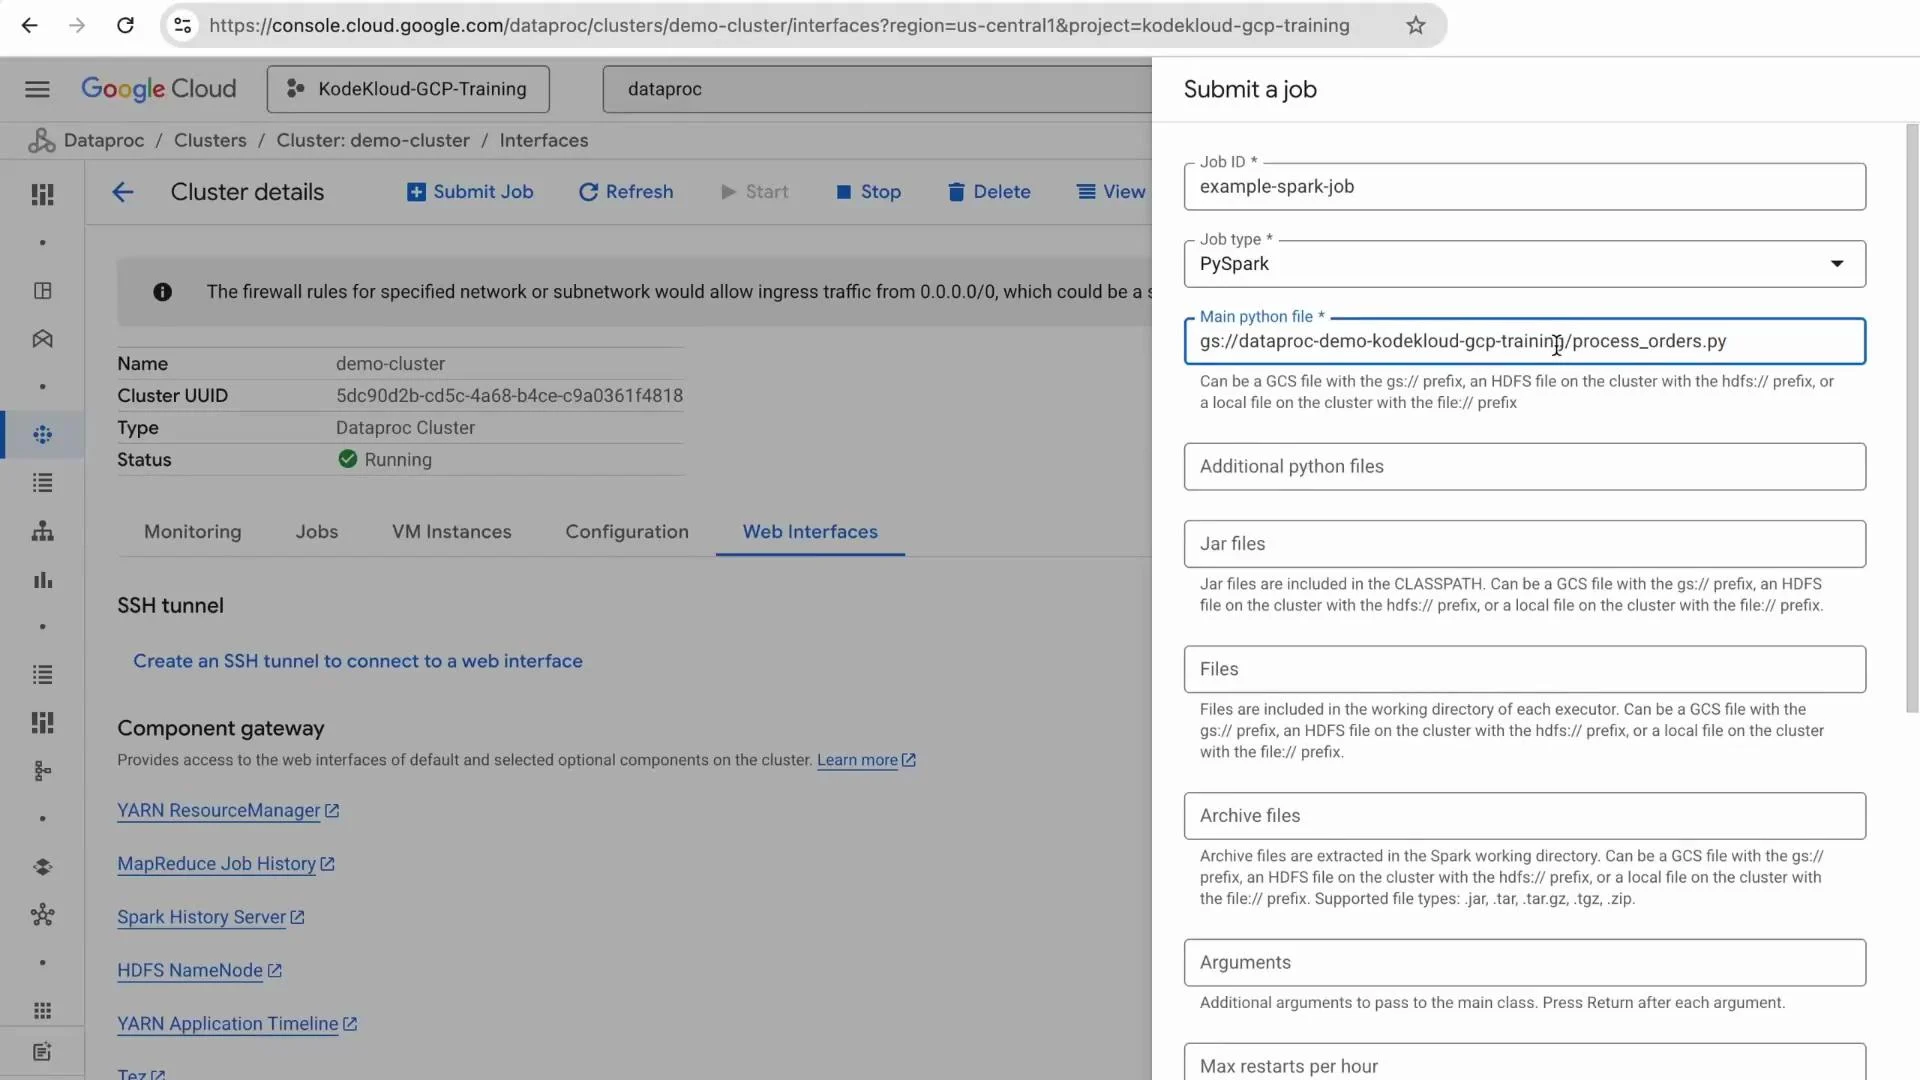
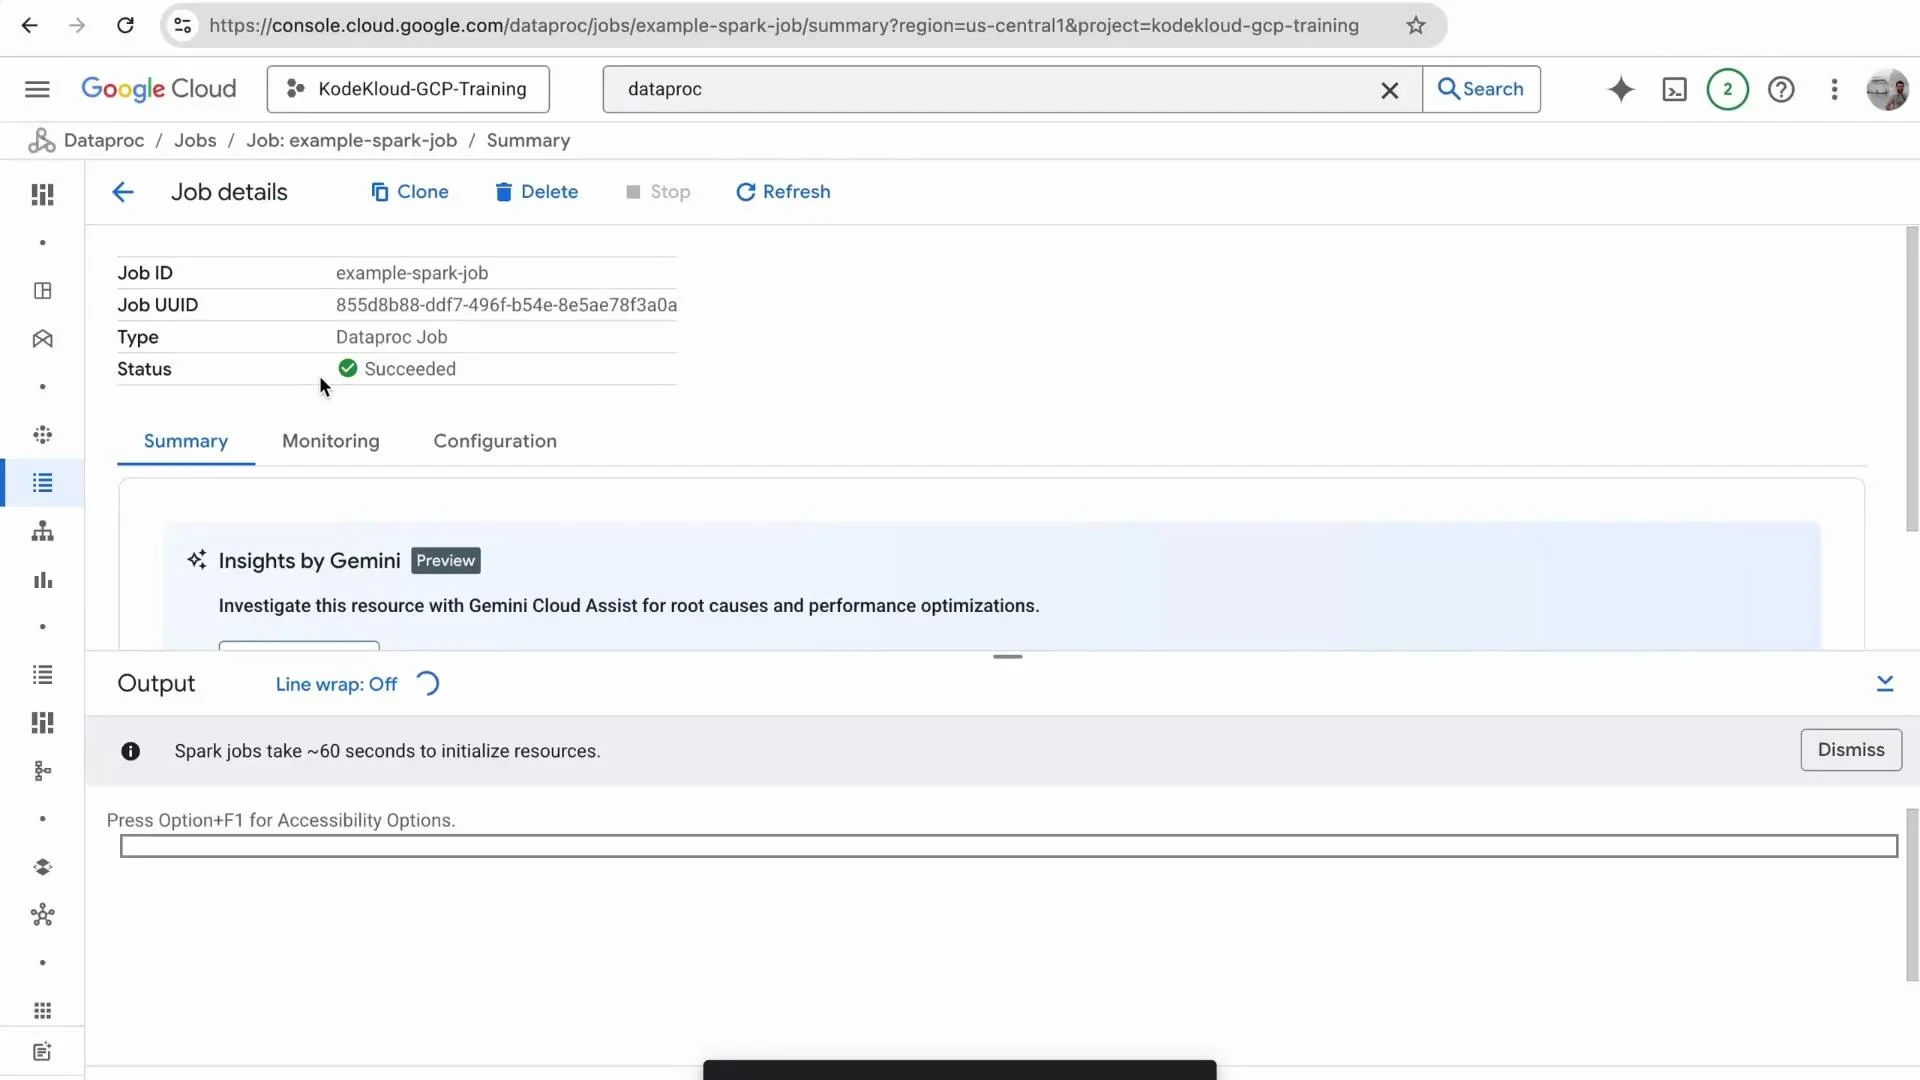
Submit the PySpark job from the Console
From the Dataproc cluster details page, click Submit job. Set the job type to PySpark, provide a job name (for exampleexample-spark-job), and set the main Python file path to your uploaded script (for example gs://your-bucket/process_orders.py). Provide the two required arguments, each on its own line:
Example arguments (each on a separate line):
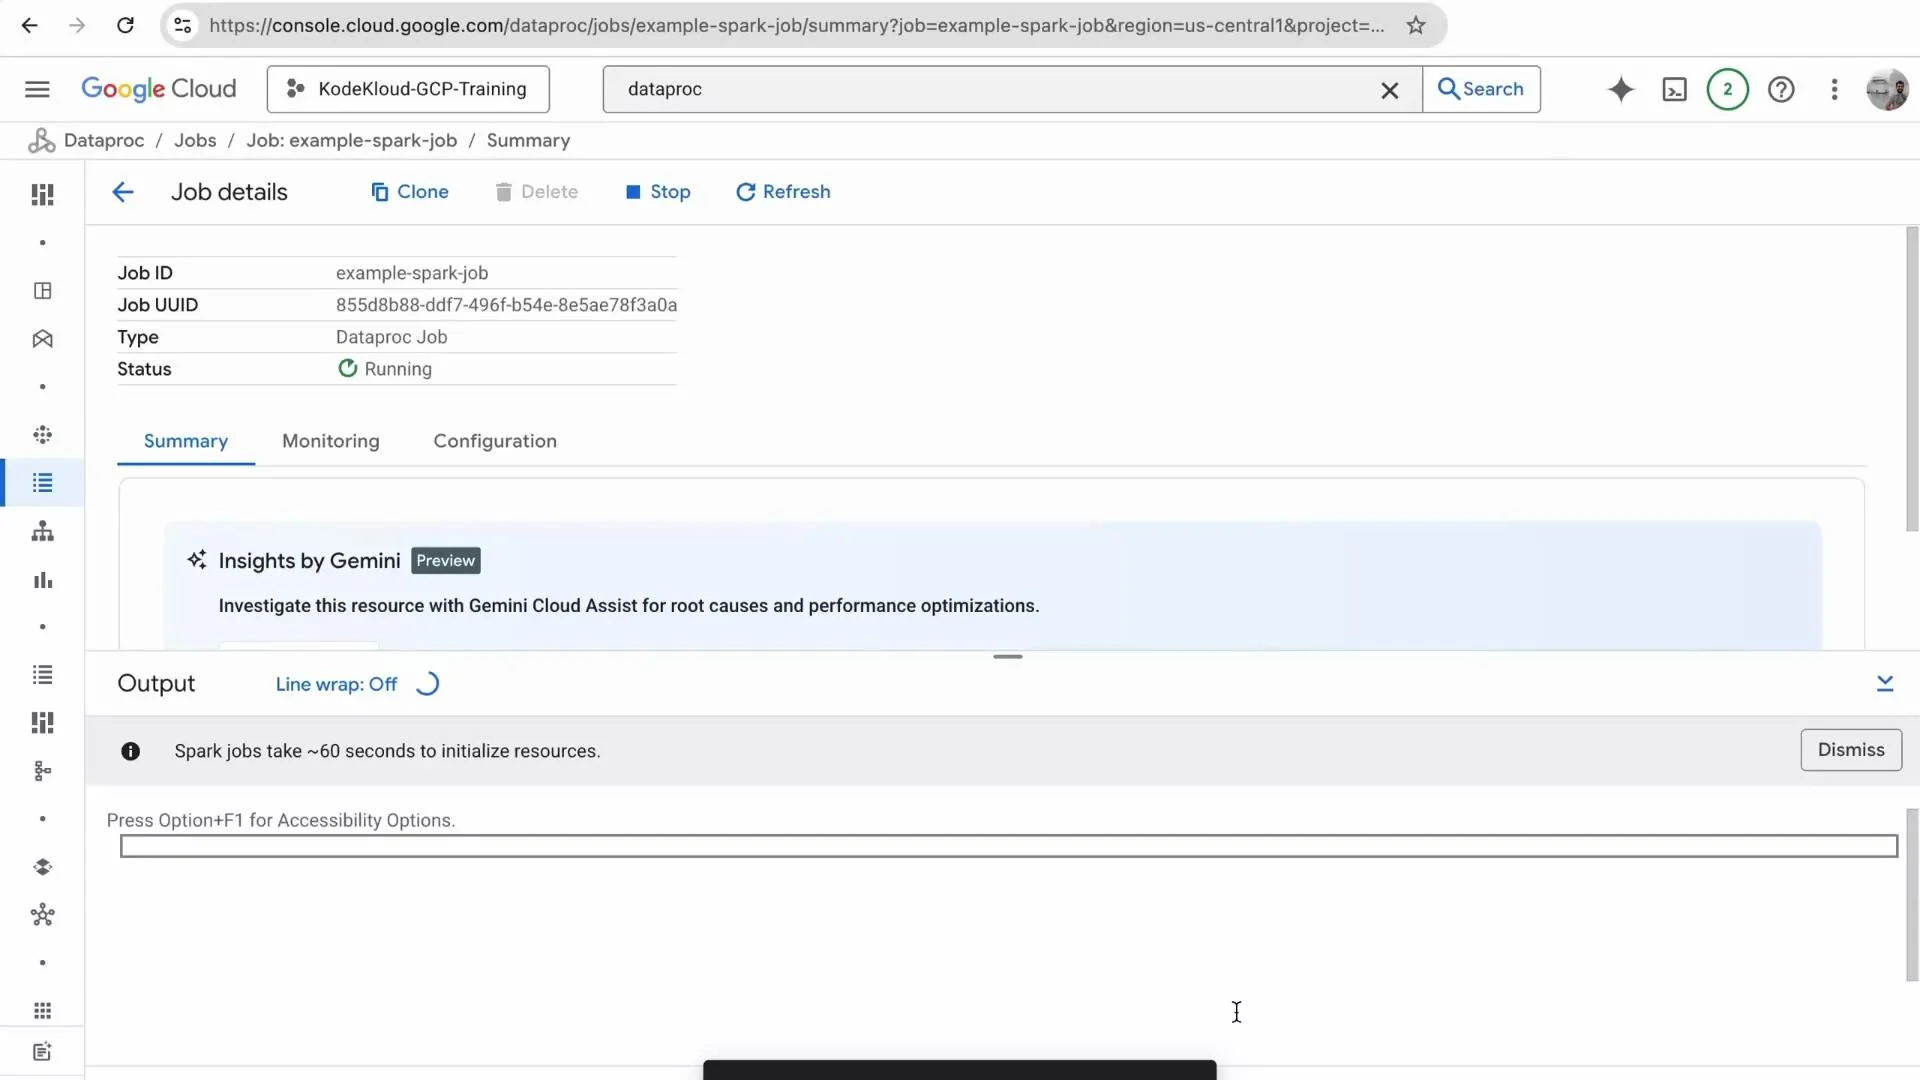
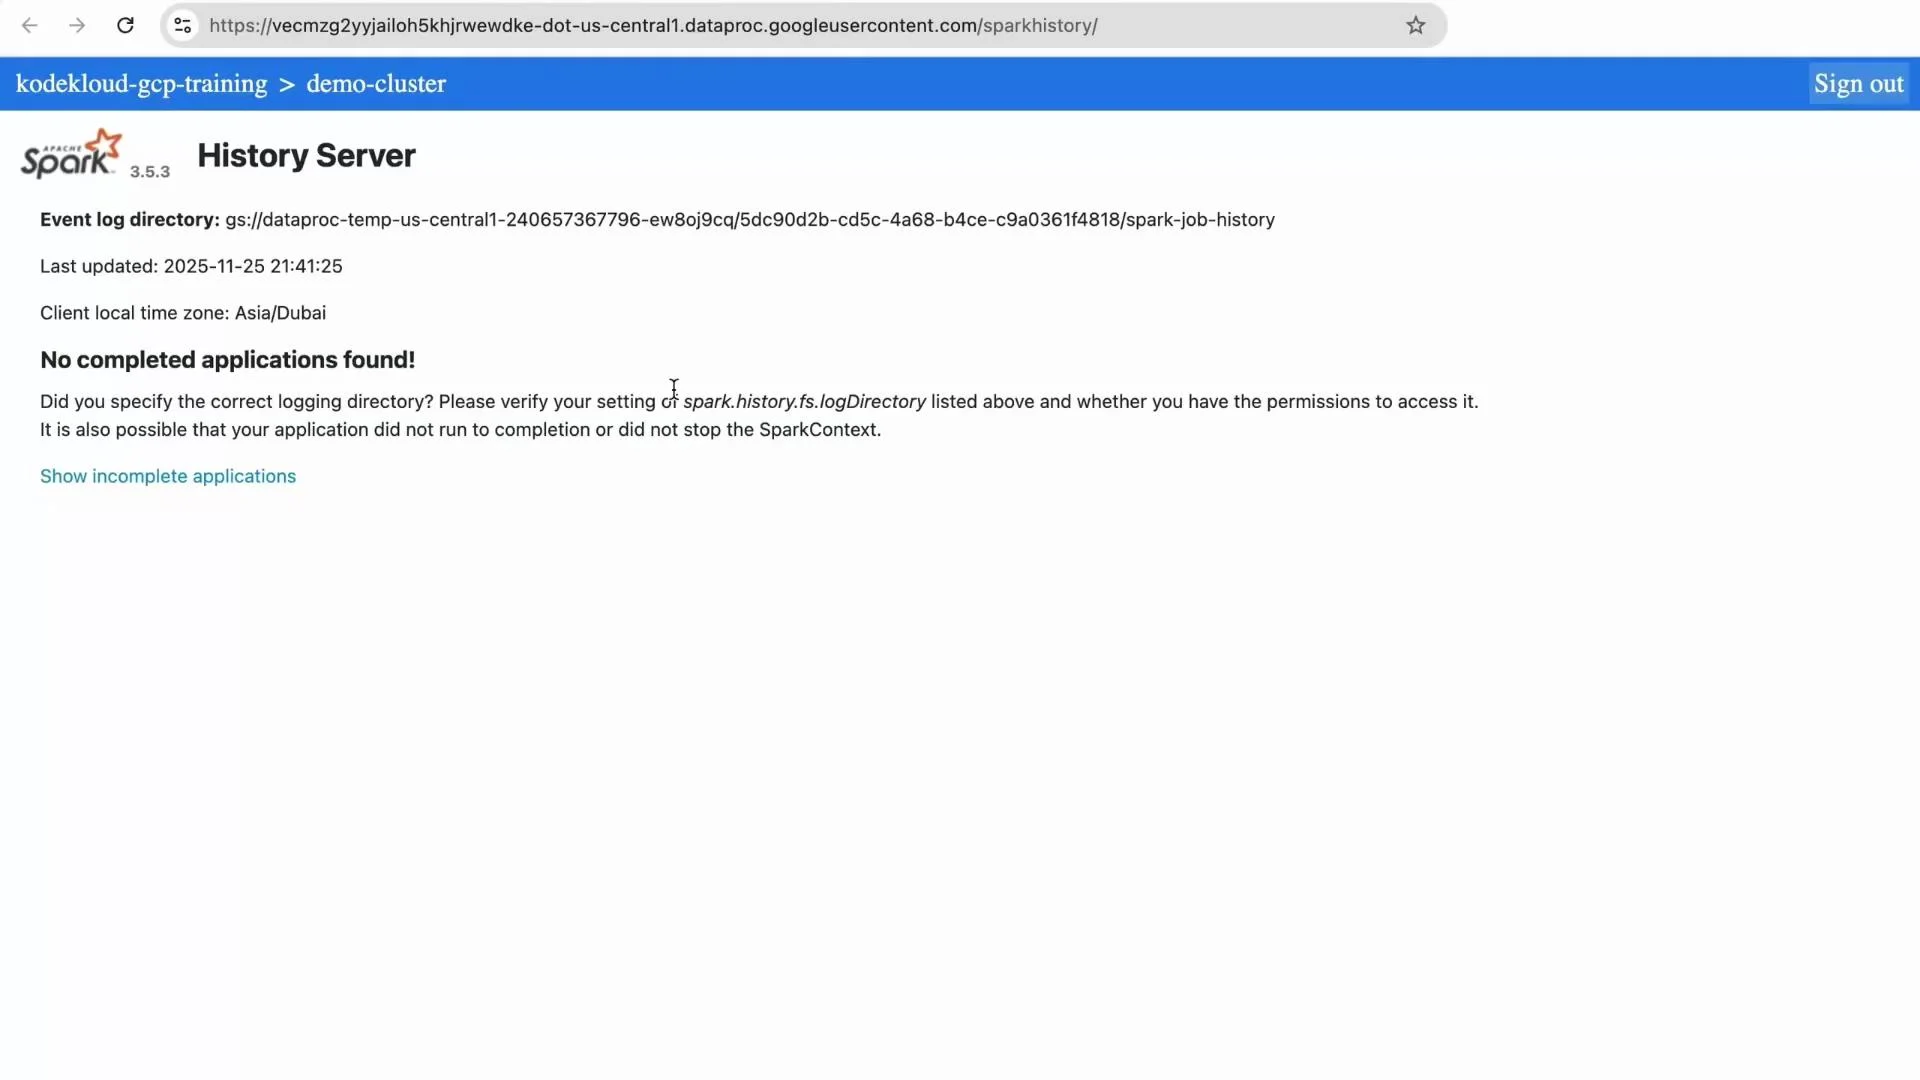
Inspect the job via Spark History Server and Console
From the cluster details, open Web Interfaces and launch the Spark History Server to inspect completed applications, stages, and executors. If the job has not finished you may initially see “No completed applications found.” After completion the History Server lists the application and stages for deeper debugging and performance analysis.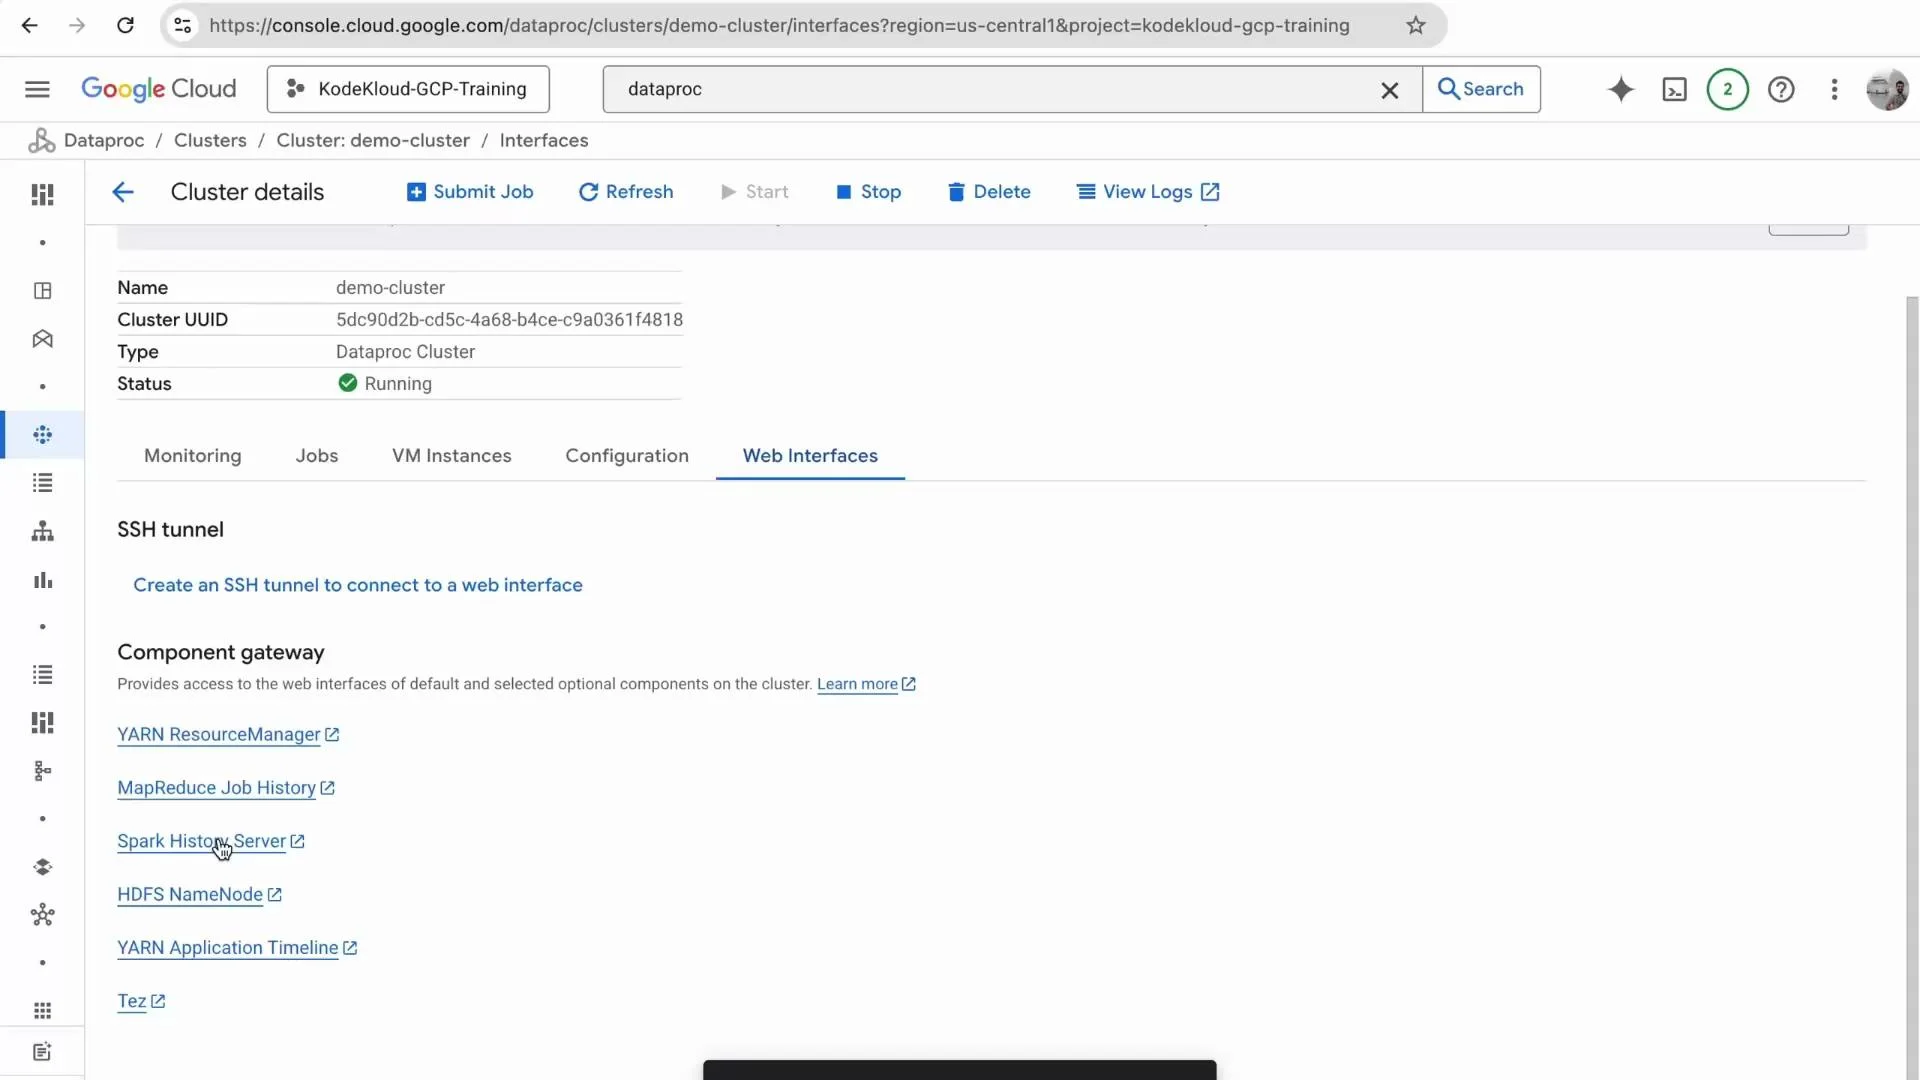
Note: alternatives to console submission
You can also submit Dataproc jobs using the
gcloud CLI, Dataproc REST or client libraries (Python, Java), or orchestrate them via Airflow operators for production workflows. See the Dataproc docs for examples and best practices: https://cloud.google.com/dataproc/docs/referenceDataproc clusters incur compute and networking costs while running. For demos, delete or stop clusters when not in use to avoid unexpected charges. Consider using single-node clusters or autoscaling for cost savings.
Verify the output in Cloud Storage
After the job succeeds, refresh your Cloud Storage bucket. The output folder contains Spark’s CSV part files (for examplepart-00000-*.csv) and a _SUCCESS file indicating completed write.

Typical production pipeline considerations
In production you’ll commonly separate storage layers (raw, processed, analytics). A typical flow:- Raw data ingested into a raw-data bucket.
- ETL/processing Spark jobs write to a processed bucket.
- Final aggregated results loaded into BigQuery or an analytics store for reporting.
Links and references
- Dataproc: https://cloud.google.com/dataproc
- Cloud Storage: https://cloud.google.com/storage
- Apache Spark: https://spark.apache.org/
- Spark History Server: https://spark.apache.org/docs/latest/monitoring.html#spark-history-server
- BigQuery: https://cloud.google.com/bigquery