- What BigQuery Time Travel is and how its retention window works
- How to query historical snapshots
- How to restore data into a new or existing table using SQL and the
bqCLI - Best practices to reduce the risk of accidental data loss
How BigQuery Time Travel works
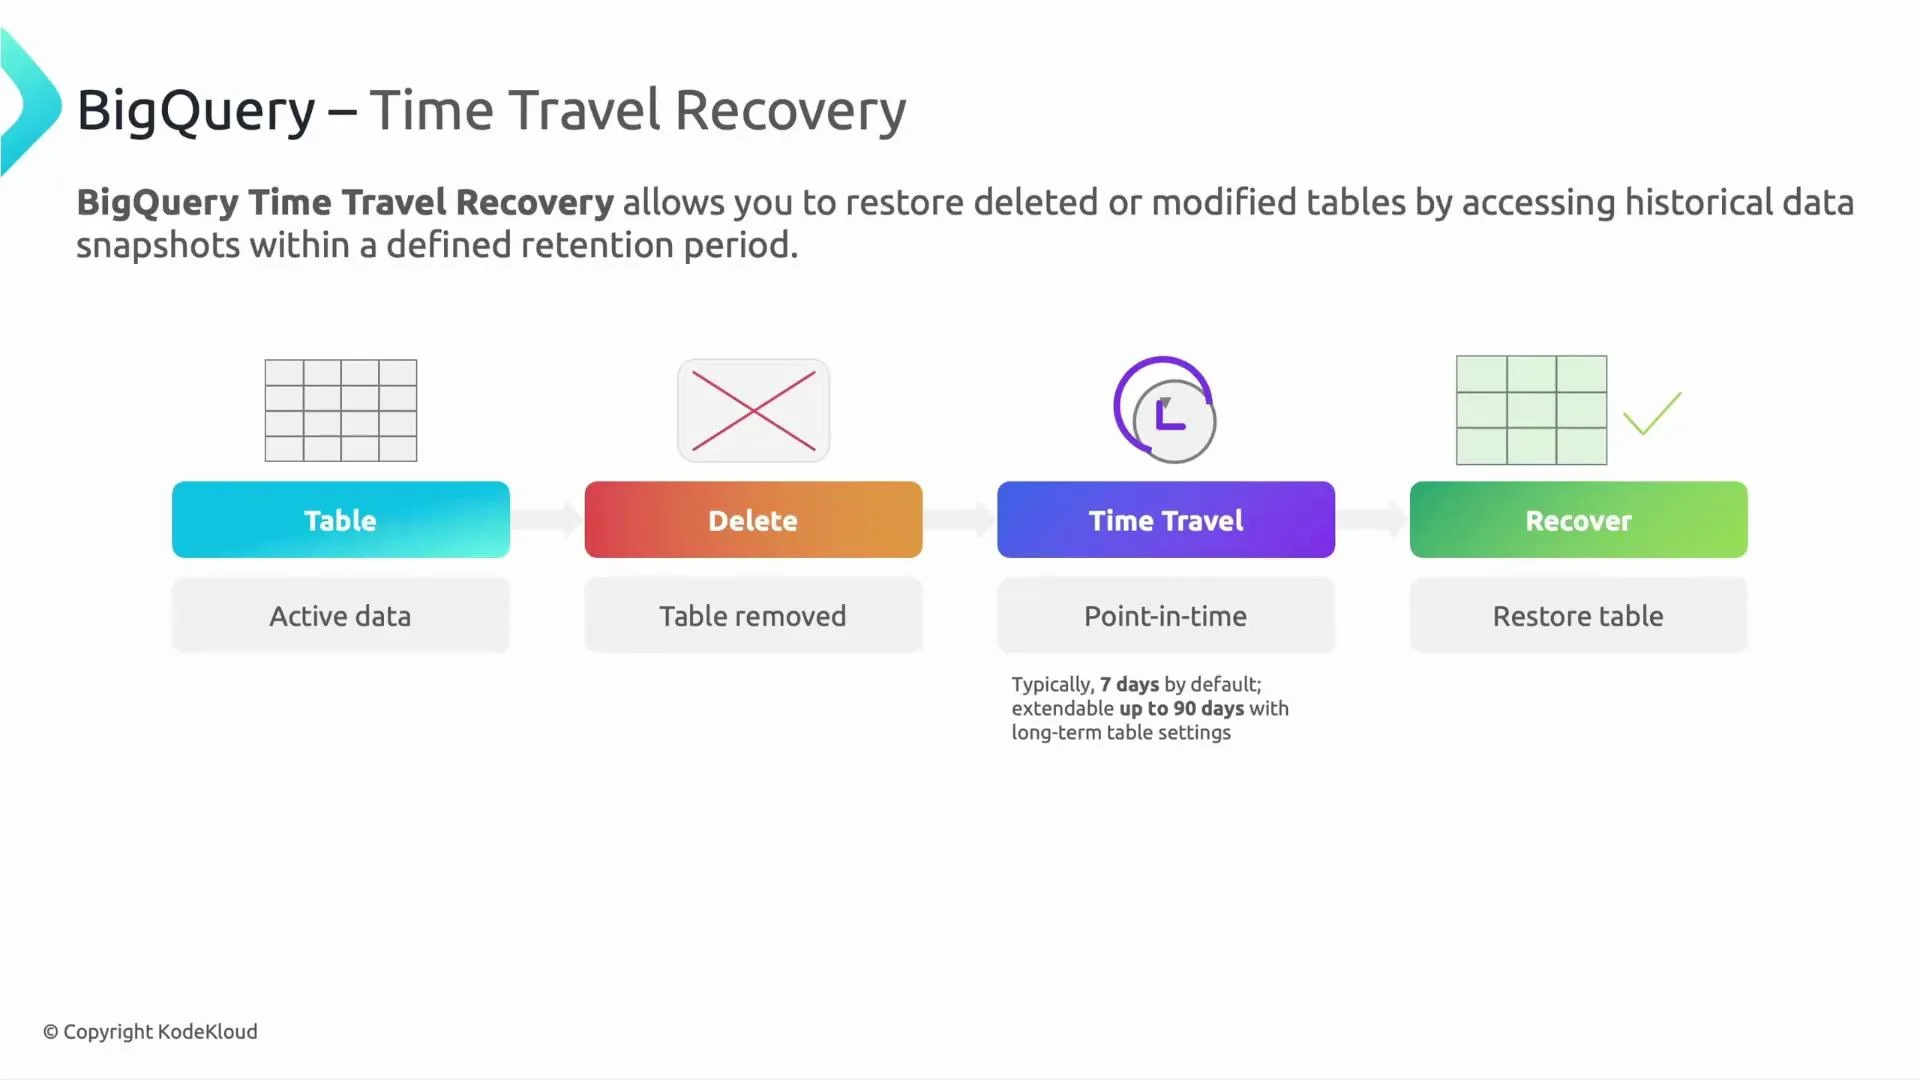
BigQuery keeps historical snapshots of table data for a configurable retention window. This enables you to query a table as it existed at a previous point in time and recover data without complex backups.- The active table is the live version used by your applications.
- If that table is deleted or modified accidentally, Time Travel lets you go back to any point in time within the table’s retention window and restore the table to that state.
- By default, the retention window is 7 days. You can extend this up to 90 days per table.
Quick exam-style question
A common exam question is: What is the default time travel retention period in BigQuery?- Options might include: 24 hours, 7 days, 30 days, 90 days.
- Correct answer: 7 days by default. You can increase this to up to 90 days by configuring the table’s time travel retention.
Time Travel retains snapshots only for the table’s configured retention window (default 7 days). Once that window expires, historical snapshots are no longer available for recovery.
Accessing historical data and restoring tables
Note: Time Travel can be used even if the table was deleted, provided the required point-in-time snapshot is still within the retention window. Below are the most common, practical approaches to access historical data and recover tables.1) Query a table as of a past time (SQL)
UseFOR SYSTEM_TIME AS OF to query the table state at a specific timestamp or relative time.
Example — query the table as it existed 1 day ago:
TIMESTAMP_SUB(...) to target an exact point in time.
2) Create a new table from a historical snapshot (SQL)
If you need a permanent restoration, create a new table from the historical snapshot:3) Copy a historical snapshot using table decorators and the bq CLI
BigQuery supports table decorators to refer to a table at a specific timestamp (milliseconds since epoch) or a relative time. Use bq cp to copy a decorated snapshot to a new table.
Example using an absolute timestamp (milliseconds since epoch):
-86400000 milliseconds):
Methods summary
Notes and best practices
- Act quickly if a table is accidentally deleted: recovery is only possible while the required point-in-time snapshot remains inside the retention window.
- Extend retention for critical production tables if your recovery policy needs more than the default 7 days (configurable up to 90 days).
- For large restores, copying a snapshot into a new table (
CREATE TABLE ... AS SELECTorbq cp) is typically faster and avoids re-running expensive queries. - Use IAM controls, audit logs, and dataset/table-level policies to reduce the likelihood of accidental deletions.
- Combine Time Travel with regular export snapshots (e.g., export to GCS) for long-term archival beyond 90 days.
If your recovery window requires more than 90 days of historical data, you must implement an external archival or backup strategy (for example, scheduled exports to Cloud Storage). Time Travel retention cannot exceed 90 days.
Hands-on demo idea
Try this workflow in a sandbox project:- Create a table and insert sample rows.
- Delete or overwrite some rows (or delete the table).
- Query the table using
FOR SYSTEM_TIME AS OFto confirm historical data availability. - Restore the data by creating a new table from the snapshot or using
bq cp.
Links and references
- BigQuery Time Travel (official docs)
- bq command-line tool reference
- Managing table-level properties (retention)