Hey everyone — welcome back. In this lesson we explore Cloud Build, Google Cloud’s serverless CI/CD platform. Cloud Build automates the process of turning source code into deployable artifacts (container images, binaries, or other packages) using a fully managed, serverless pipeline. That means no build servers to provision or maintain — you describe the steps and Google Cloud runs them.
Cloud Build is a fully managed CI/CD service: Google Cloud handles the infrastructure, and you only describe the pipeline steps.
Platform overview (text description):
A Cloud Build diagram showing Source Code (green) flowing into CloudBuild (blue) and producing Build Output (orange). Below it notes the process is fully serverless so no servers are managed.
At a glance
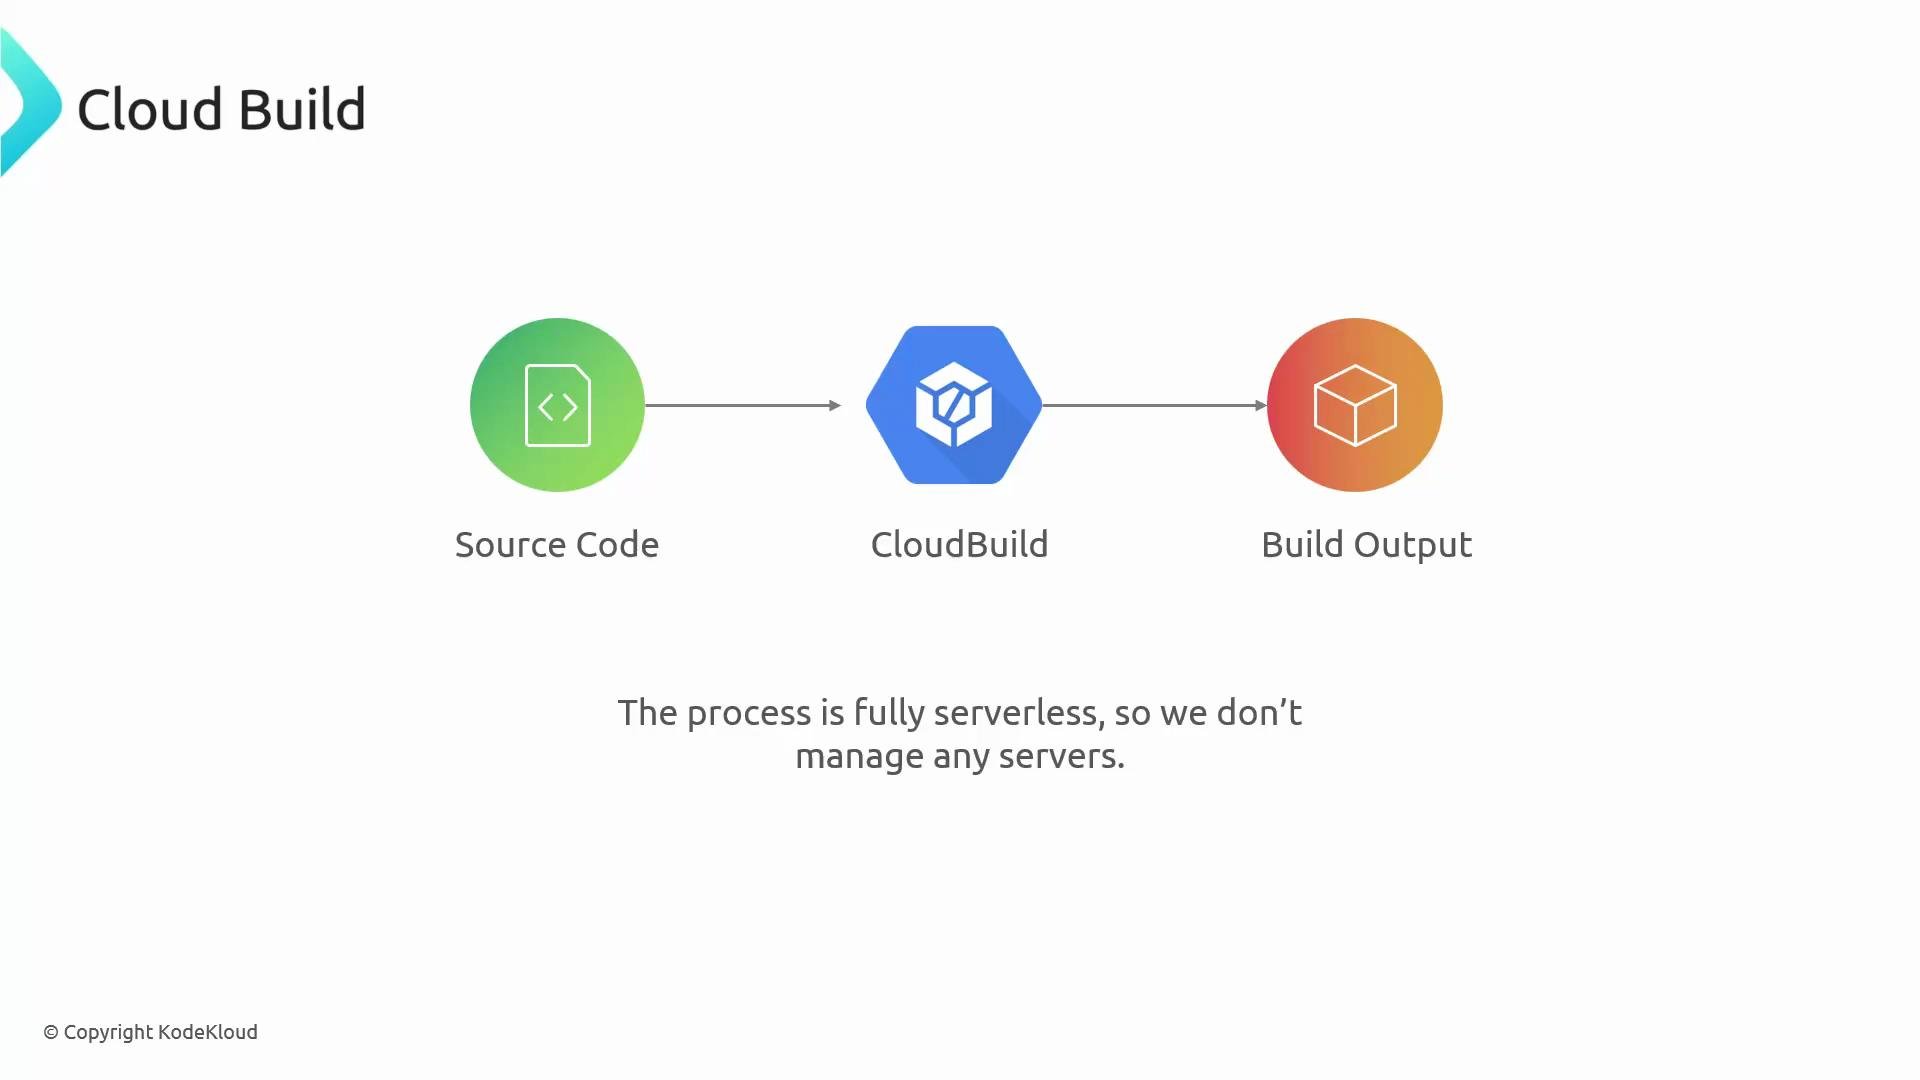
  • Cloud Build executes builds as an ordered sequence of steps.
  • Each step runs in its own container image for isolation and reproducibility.
  • The pipeline converts source into deployable artifacts (container images, archives, binaries).
  • Pipelines are defined with configuration files (cloudbuild.yaml or JSON), letting you mix tools, languages, and commands.
Core capabilities
FeatureWhat it provides
Serverless, fully managed buildsNo infrastructure to provision or scale; Google Cloud runs and scales build execution.
Container-native executionEach build step runs inside a container image for consistent environments.
Flexible configurationDefine ordered steps in cloudbuild.yaml or a JSON equivalent.
Integrations & triggersConnect to GitHub, GitLab, or Cloud Source Repositories; trigger builds on commits, PRs, or tags.
Artifact storage & registryPush artifacts to Artifact Registry or Cloud Storage for later deployment.
Built-in testing supportRun unit/integration tests as build steps to validate changes early.
Why use Cloud Build (benefits)
BenefitNotes
Fast setup & executionStart builds in seconds and pay only for build time.
Improved code qualityAutomate builds and tests to catch problems earlier.
Secure-by-defaultSteps run in isolated containers on Google-managed infrastructure.
Automatic scalingRun many parallel jobs without managing runners or VMs.
Now, the tradeoffs.
A slide titled "Cloud Build – Pros and Cons" with two columns. The left column lists pros (faster development, better code, lower costs, strong security, scalable) and the right column lists cons (learning curve, vendor lock-in, customization limits).
Pros and Cons
ProsCons
Fast to set up; minimal operational overhead.Learning curve if migrating from systems like Jenkins.
Improves code quality via automated testing and builds.Vendor lock-in risk when tightly coupled to Google Cloud services.
Cost-effective: billed per build minute.Extremely custom or legacy build environments may be hard to reproduce.
Secure, isolated execution in containers.Some customization limits compared to self-managed runners.
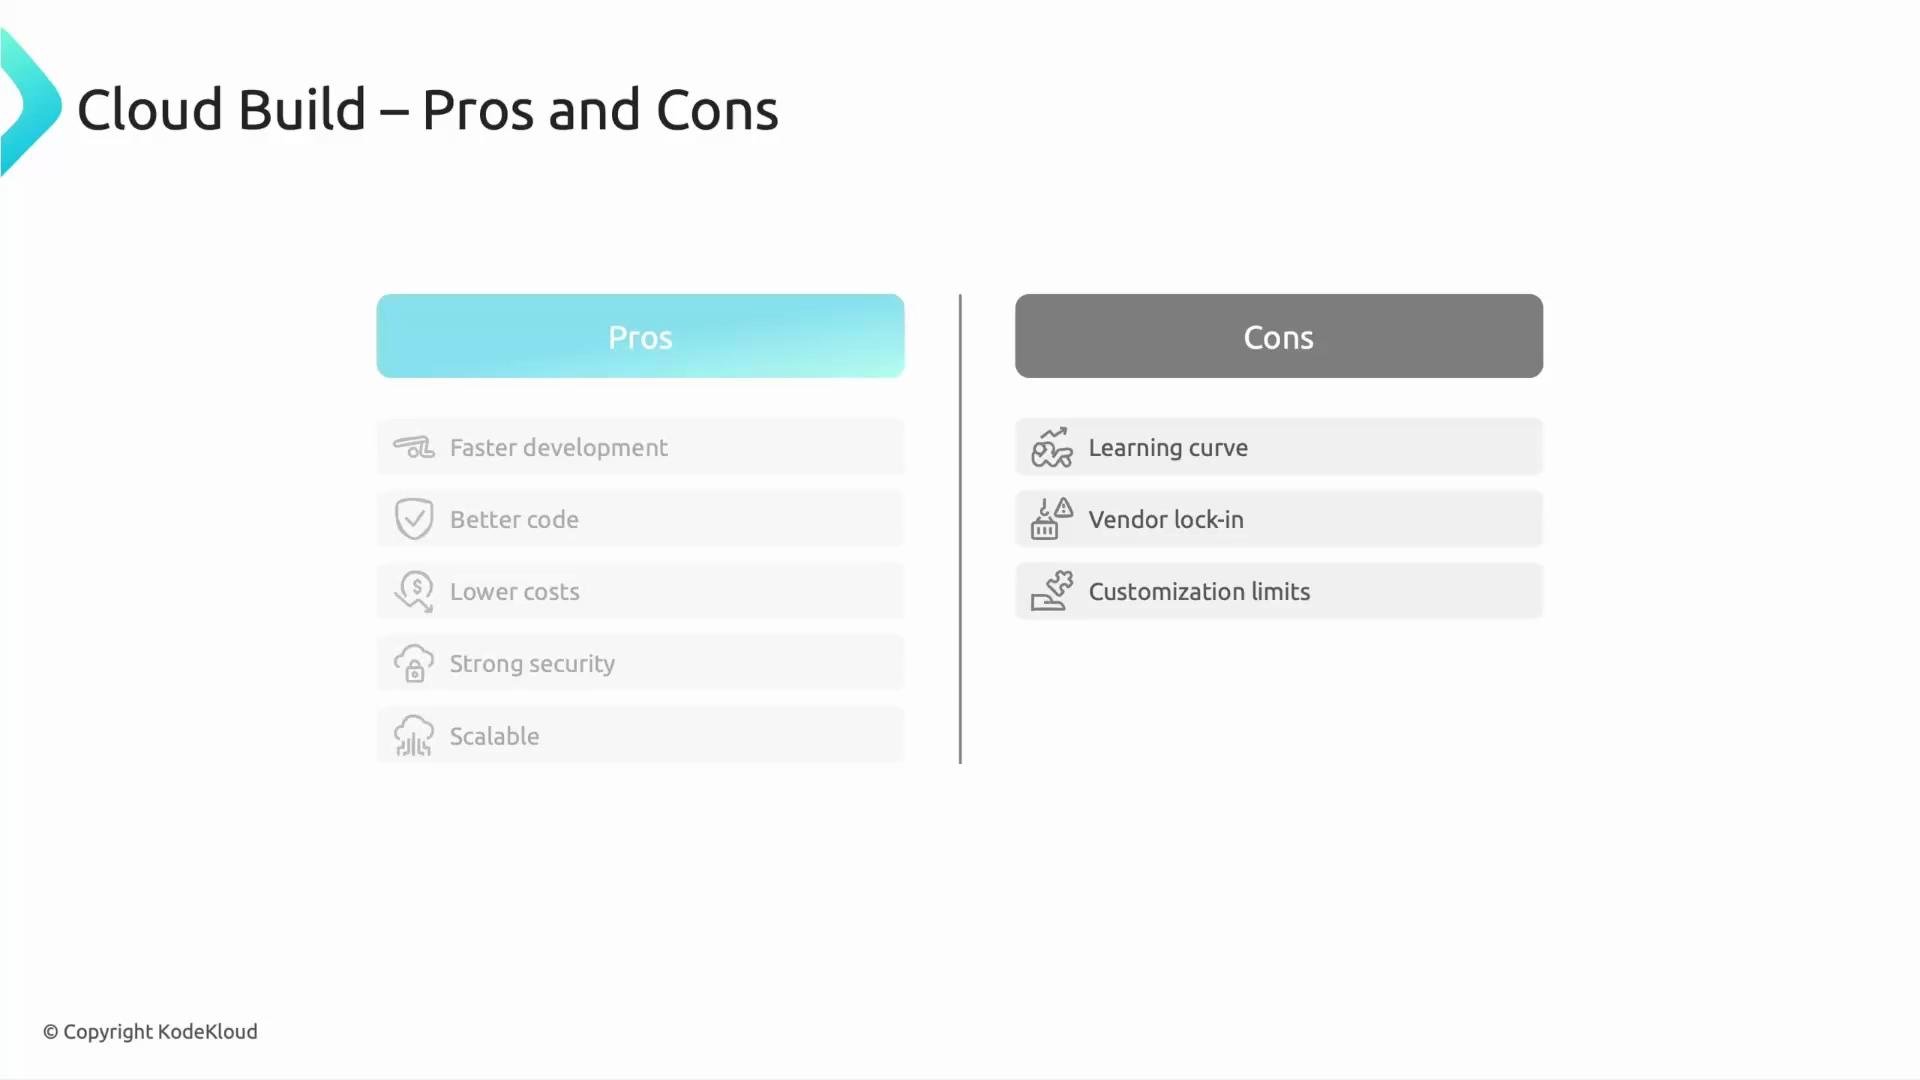
If you rely on very specialized or legacy build environments, evaluate whether those requirements can be containerized before committing to a fully managed solution.
Typical Cloud Build pipeline flow
  1. Connect the source repository (GitHub, GitLab, Cloud Source Repositories, etc.).
  2. Define a build configuration file (cloudbuild.yaml or JSON) listing ordered build steps and images.
  3. Create build triggers to run on commits, pull requests, or tags — or start builds manually.
  4. Cloud Build runs each step inside the specified container image (examples: install deps, run tests, build image).
  5. Store build outputs in Artifact Registry or Cloud Storage.
  6. Deploy artifacts to targets such as GKE, Cloud Run, or App Engine.
  7. Monitor build logs and status in the Cloud Console for troubleshooting and observability.
An infographic titled "How Cloud Build Works" showing a colored timeline/arrow with labeled CI/CD steps. It outlines: connect to source repo, define build config, trigger build, execute build steps, store artifacts, deploy artifacts, and monitor build status.
Sample cloudbuild.yaml (minimal example) This example shows a simple workflow: install dependencies, run tests, build a Docker image, and push it to Artifact Registry. Adjust images, steps, and substitutions for your project.
steps:
  - name: 'gcr.io/cloud-builders/npm'
    args: ['install']
  - name: 'gcr.io/cloud-builders/npm'
    args: ['test']
  - name: 'gcr.io/cloud-builders/docker'
    args:
      [
        'build',
        '-t',
        'LOCATION-docker.pkg.dev/PROJECT_ID/REPO/my-app:$SHORT_SHA',
        '.'
      ]
  - name: 'gcr.io/cloud-builders/docker'
    args:
      [
        'push',
        'LOCATION-docker.pkg.dev/PROJECT_ID/REPO/my-app:$SHORT_SHA'
      ]
images:
  - 'LOCATION-docker.pkg.dev/PROJECT_ID/REPO/my-app:$SHORT_SHA'
Tips for authoring build configs
  • Keep steps small and composable — each container should do one focused task.
  • Use official builder images (gcr.io/cloud-builders/*) or your own images for reproducibility.
  • Use substitutions (_VAR) and built-in variables ($SHORT_SHA, $BRANCH_NAME) to parameterize builds.
  • Store secrets securely (Secret Manager + build substitutions) instead of embedding credentials in the config.
Monitoring and troubleshooting
  • Use the Cloud Console’s Build History and Logs to inspect step output and timings.
  • Enable build notifications (Pub/Sub, Slack, or email) for CI feedback.
  • Leverage build artifacts and logs retention policies for auditability.
Links and references That summarizes what Cloud Build is, how it works, and where it fits in a serverless CI/CD strategy. A deeper walkthrough covering advanced cloudbuild.yaml patterns, build triggers, and deployments is covered later in the course. See you in the next lesson.

Watch Video