Learn to configure and deploy an Auto Scaling group on AWS with an Nginx web server, including load balancer setup and scaling policies.
In this lesson, you will learn how to configure and deploy an Auto Scaling group on AWS by launching a simple Nginx web server. The demo walks you through creating a launch template, setting up network and load balancer configurations, establishing scaling policies, and testing auto scaling behavior under high CPU load.
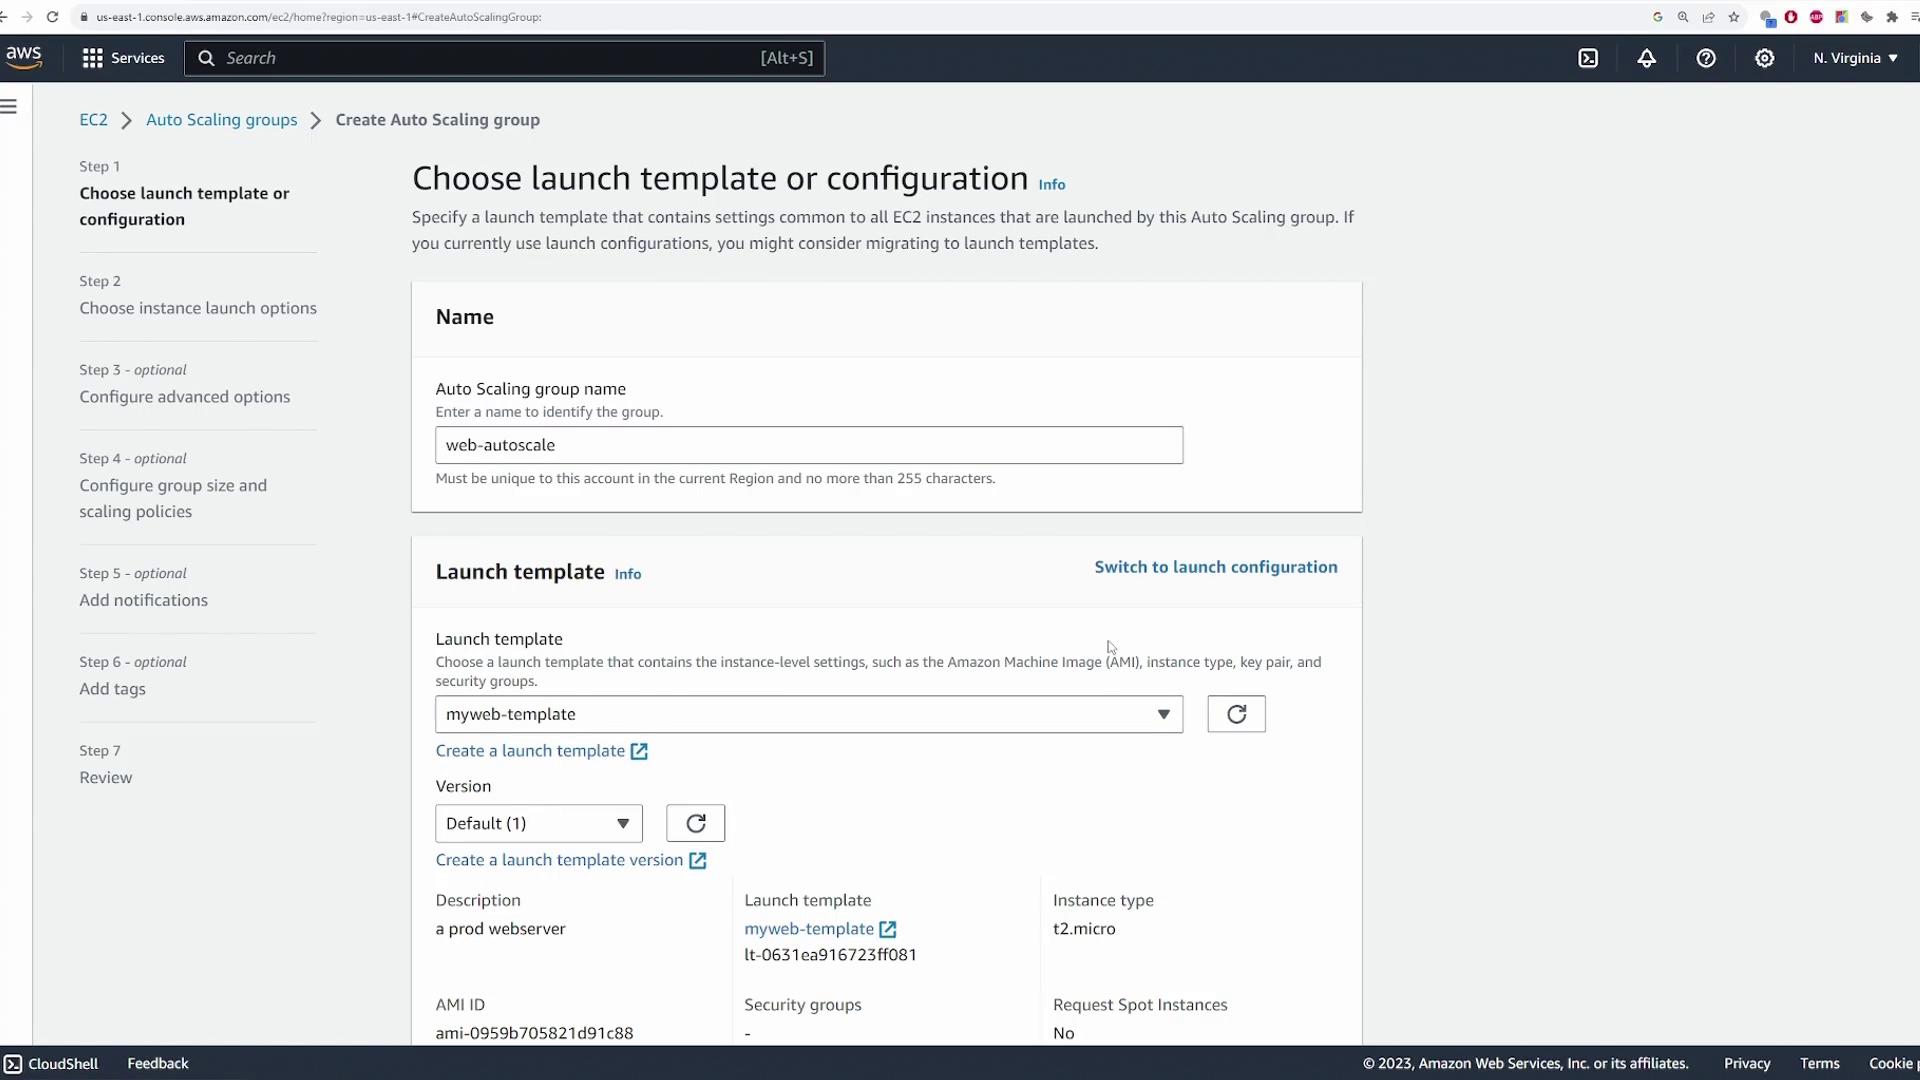
Start by logging into the AWS EC2 console and navigating to the EC2 service. Scroll down to find the “Auto Scaling Groups” section.Next, click on “Create Auto Scaling Group” and provide a descriptive name such as “web-auto scale.” You will be prompted to choose between a launch template or a launch configuration. Launch templates offer enhanced customization, making them preferable. In the launch template, you will specify the following:
AMI to use
Instance type
Key pair
Security groups
Since a launch template is not yet available, select the option to create one. A new tab will open for creating the launch template.
In the new tab, complete the settings for your EC2 instances. For example, set the template name to “my web template” and add a brief description like “prod web server.” While you can add tags or start with a source template, this demo builds the template from scratch.At the AMI selection section, choose your specific AMI. In this demonstration, we use a custom Linux AMI called “web ASG demo” that runs an Nginx server.
Next, set the instance type. For this demo, select “t2.micro” as it qualifies for the free tier. Choose your key pair (e.g., “main”). In the network settings, specify a security group (such as “web SG”) that allows port 80. Leave the subnet settings blank to ensure flexibility when using the template in multiple auto scaling groups.
Review the storage, resource tags, and advanced settings, retaining the defaults. Then click “Create launch template.” Your new launch template (“my web template”) will appear with version 1. Remember, you can update the template settings (like the AMI) and generate new versions later.Return to the Auto Scaling Group tab, refresh the page, and select your newly created launch template. If multiple versions exist, pick the default (version one).
Select the appropriate VPC for your auto scaling group. In this demo, a demo VPC is used and instances are deployed in private subnets (with a load balancer later placed in public subnets). While you have the option to override launch template settings (e.g., different instance types), the default values are used here.Proceed to the next configuration step.
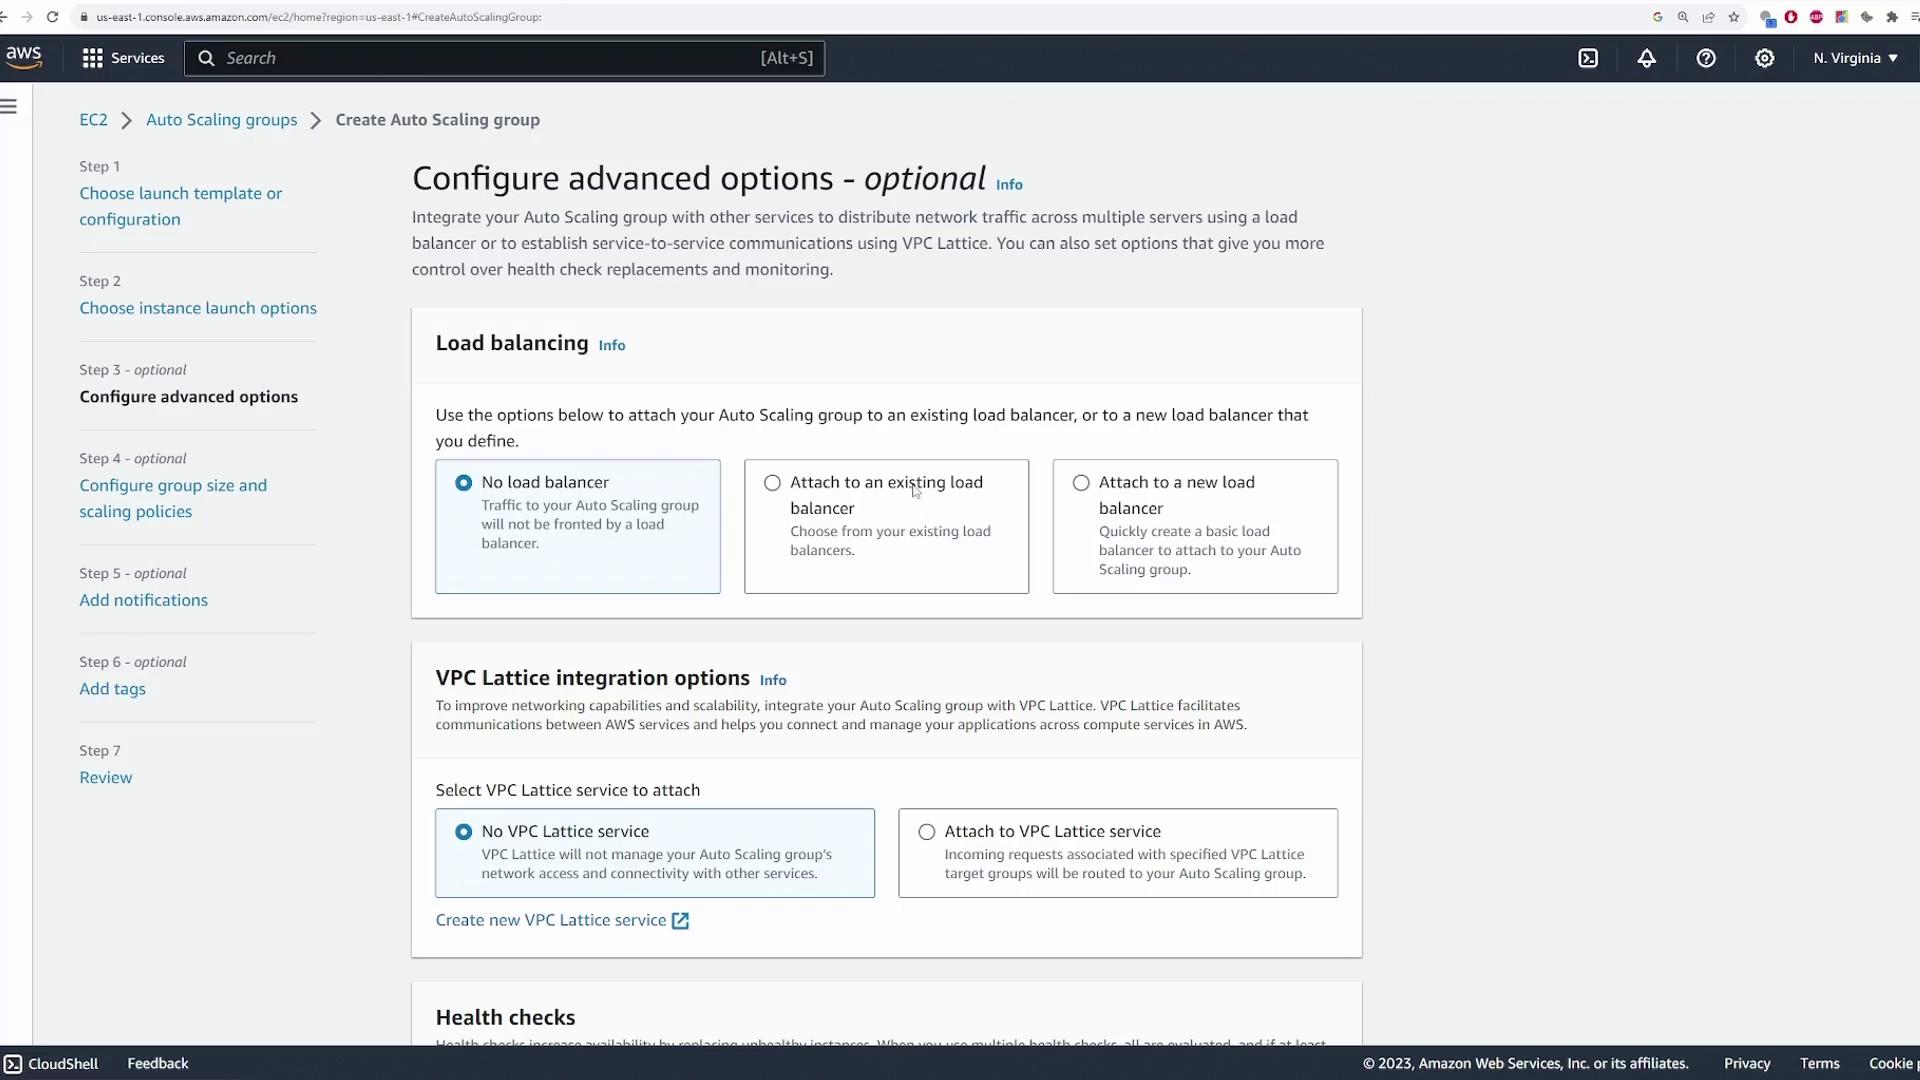
Decide if you want to associate a load balancer with your auto scaling group. For this demonstration, choose to create a new load balancer. An Application Load Balancer (ALB) is recommended because it is well-suited for web servers. Keep the default load balancer name (e.g., “web autoscale one”), set the scheme to “internet-facing,” and assign it to public subnets. Ensure that the listener is configured for port 80.Now, create a target group to route requests from the load balancer to the EC2 instances. For example, name the target group “web autoscale one tg.” You may add optional tags and specify VPC Lattice integration options. Enable the Elastic Load Balancing health checks with a 300-second grace period and retain the default CloudWatch metrics settings.
Define the capacity settings for your auto scaling group. For instance, you might use:
Desired capacity: 1
Minimum capacity: 1 (ensuring at least one instance remains active)
Maximum capacity: 3 (to handle increased load)
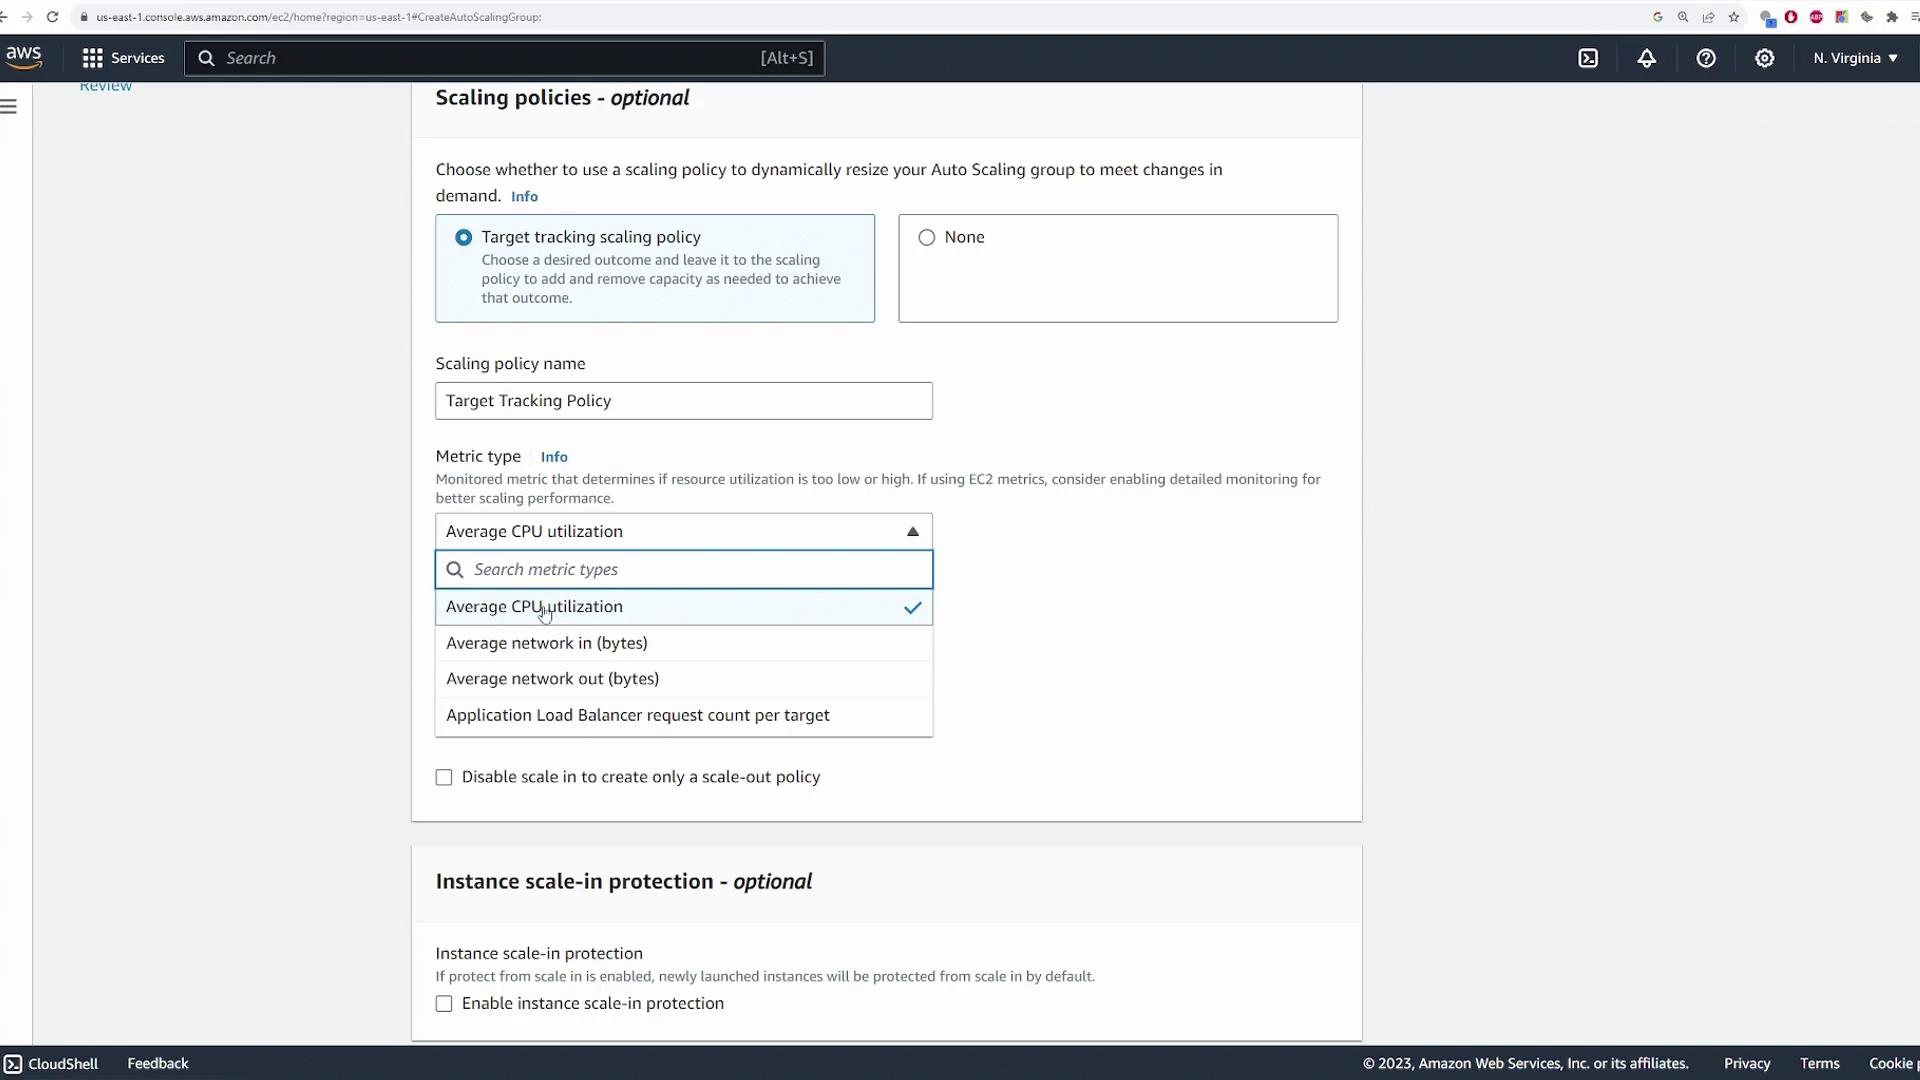
Next, establish a target tracking scaling policy based on average CPU utilization. For the demo, set the target CPU utilization to 40%. In a production scenario, you might choose a different threshold (such as 70% or lower) depending on your traffic tolerance. Optionally, configure an instance warm-up period and enable instance scaling protection. Leave additional notification settings as default, review all configurations, and create the auto scaling group.
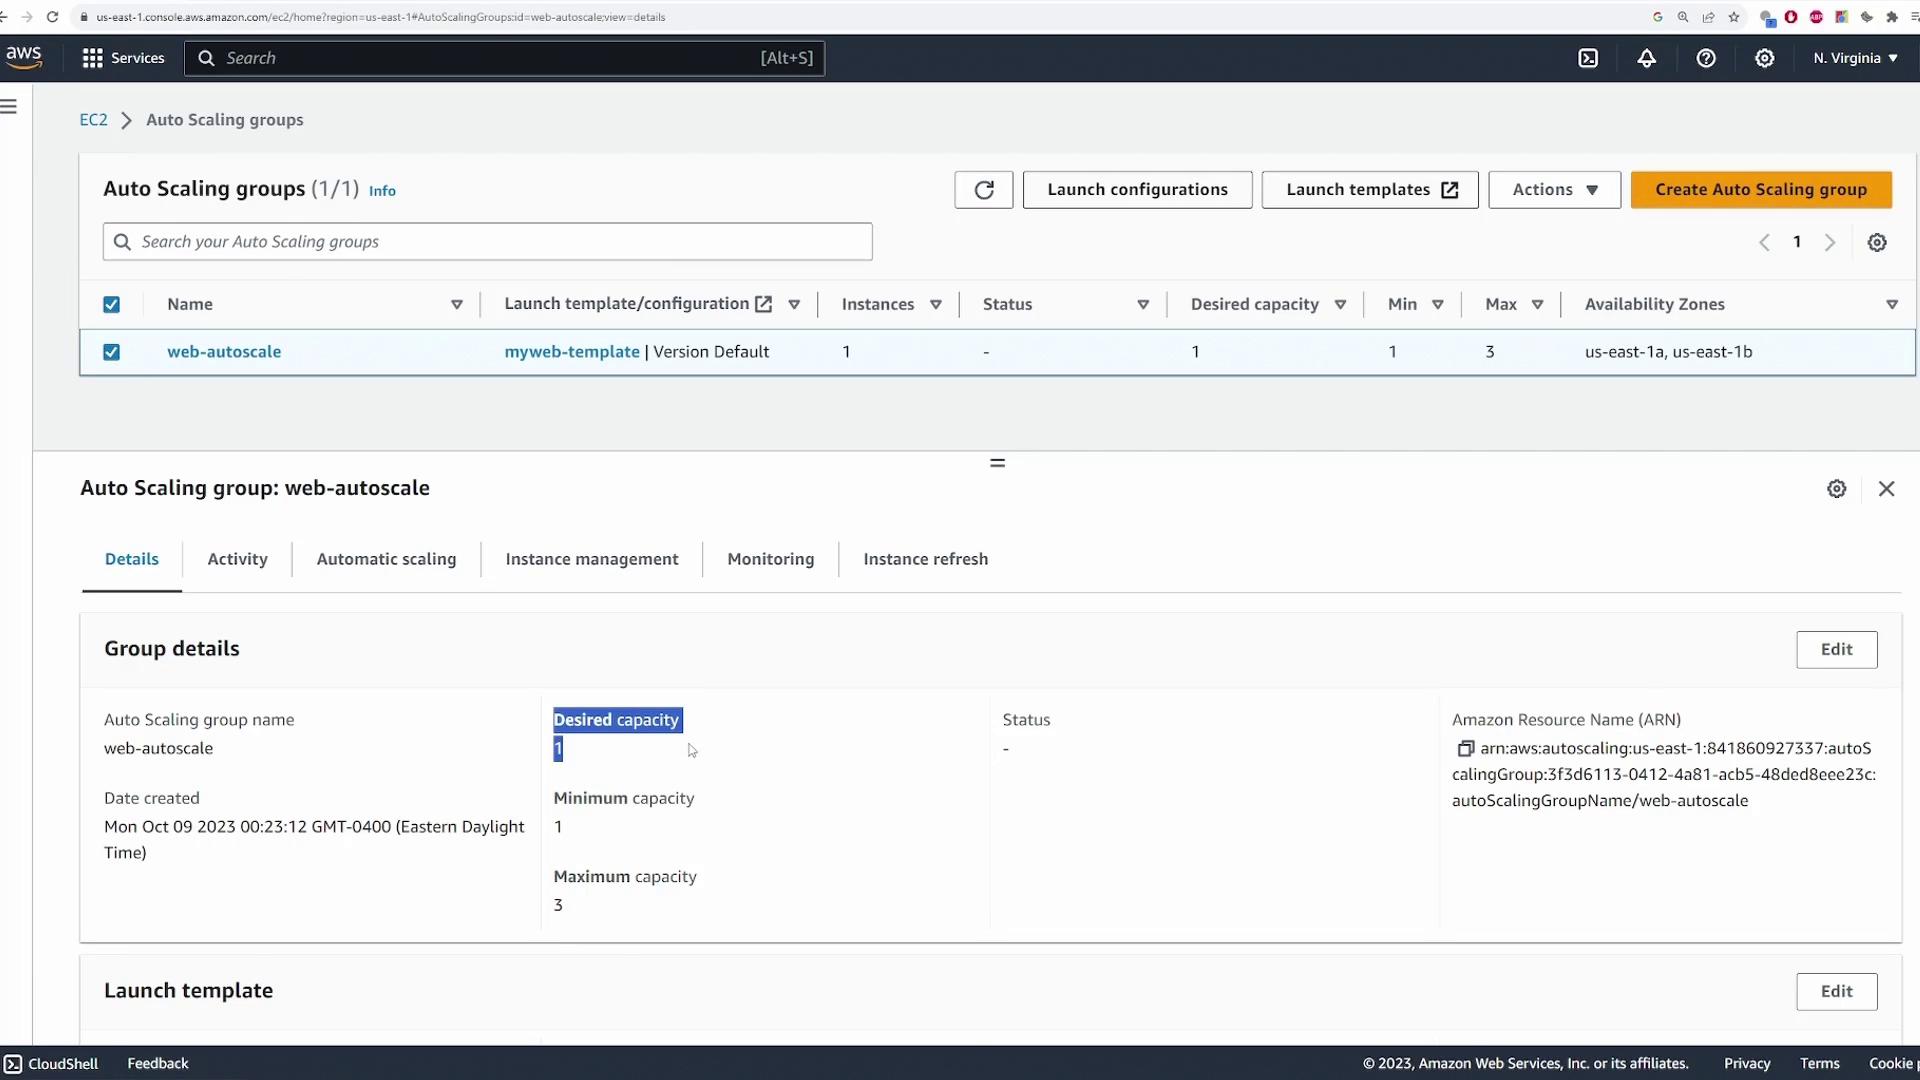
Once the auto scaling group is created, AWS deploys the desired number of EC2 instances (in this case, one), sets up the load balancer, and configures the target group.
After deployment, verify the auto scaling group’s configuration. Confirm that:
Desired capacity: 1
Minimum capacity: 1
Maximum capacity: 3
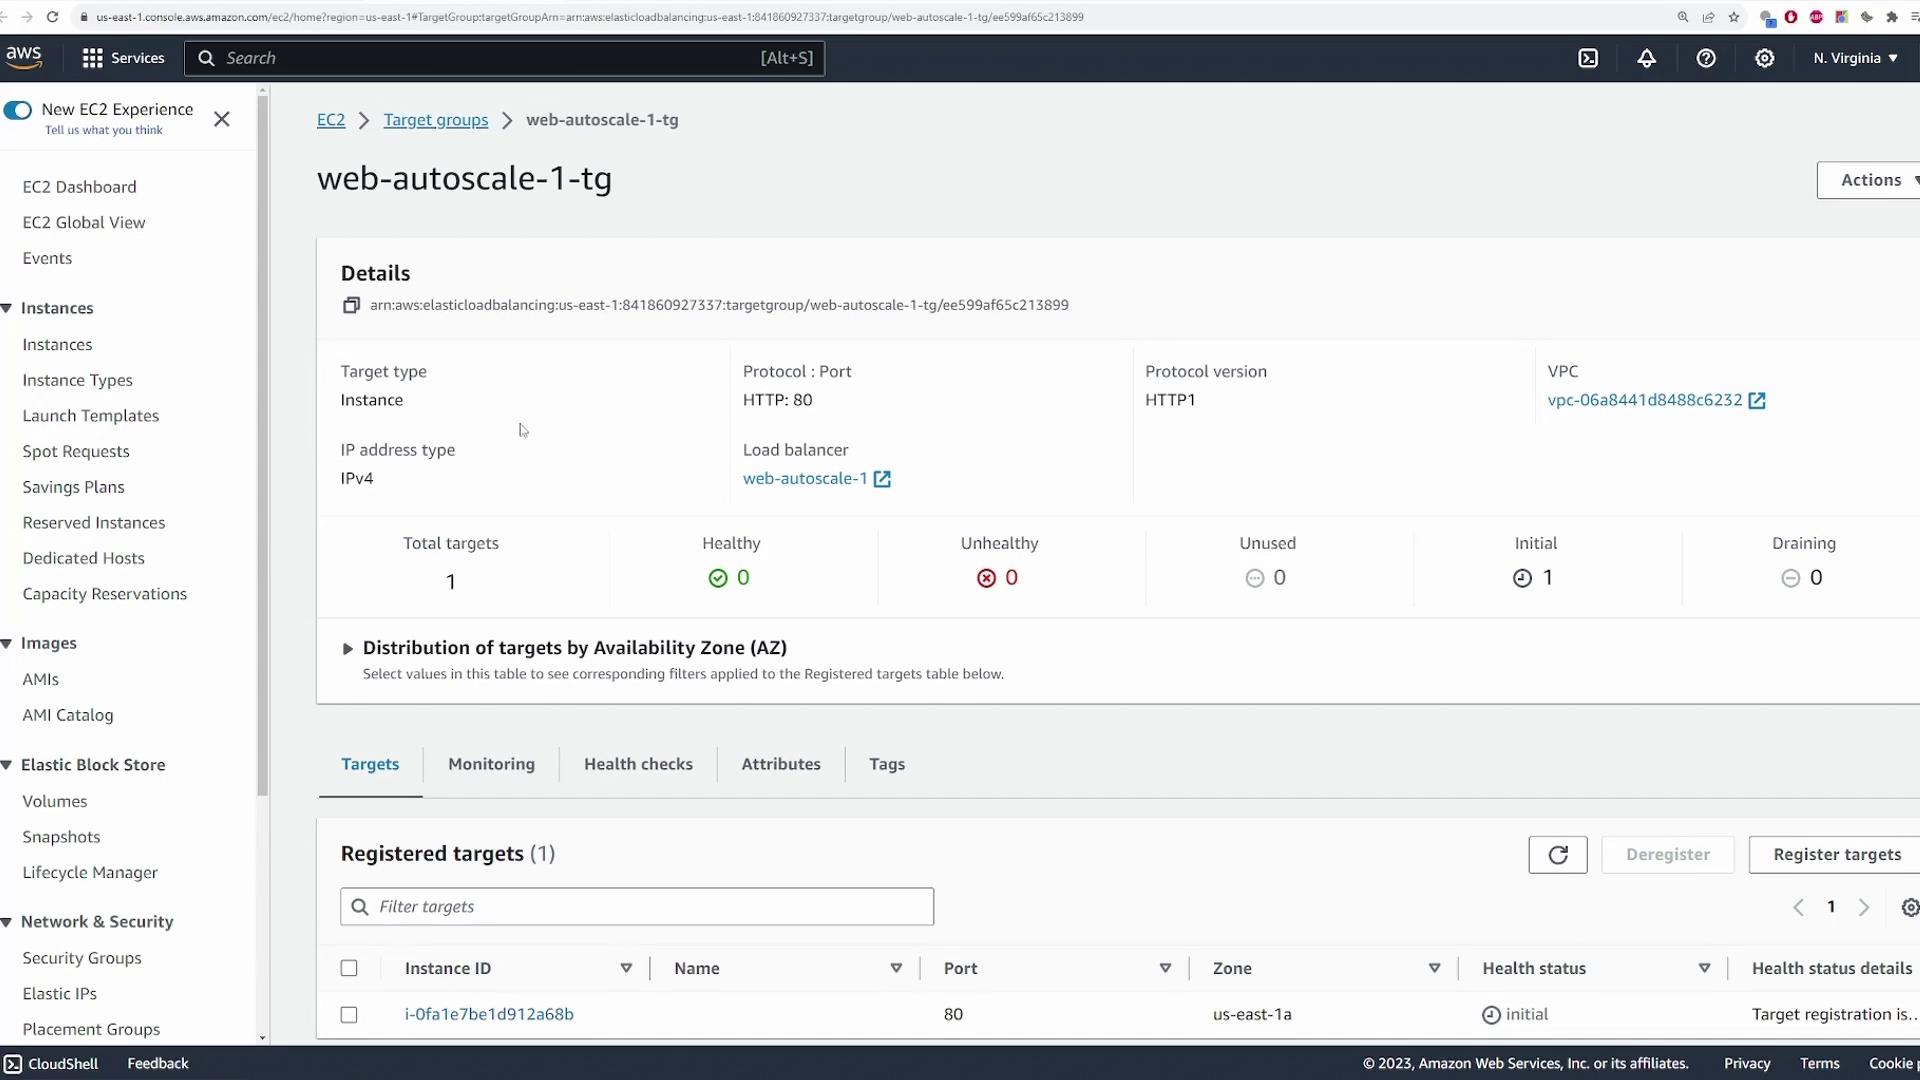
Ensure that the launch template, network settings, and load balancer details display correctly. For example, clicking on the load balancer should show the target group with the deployed instance.
At the load balancer level, double-check the security settings. Then, inspect the EC2 instances list to confirm that the instance from the auto scaling group is running—it may initially be in the “initialization” or “status check initialization” phase.
To test the setup, copy the load balancer’s DNS name, paste it into a new browser tab, and verify that you see a welcome message (e.g., “Welcome to KodeKloud”). This confirms that the EC2 instance was deployed correctly and the load balancer is properly forwarding requests.
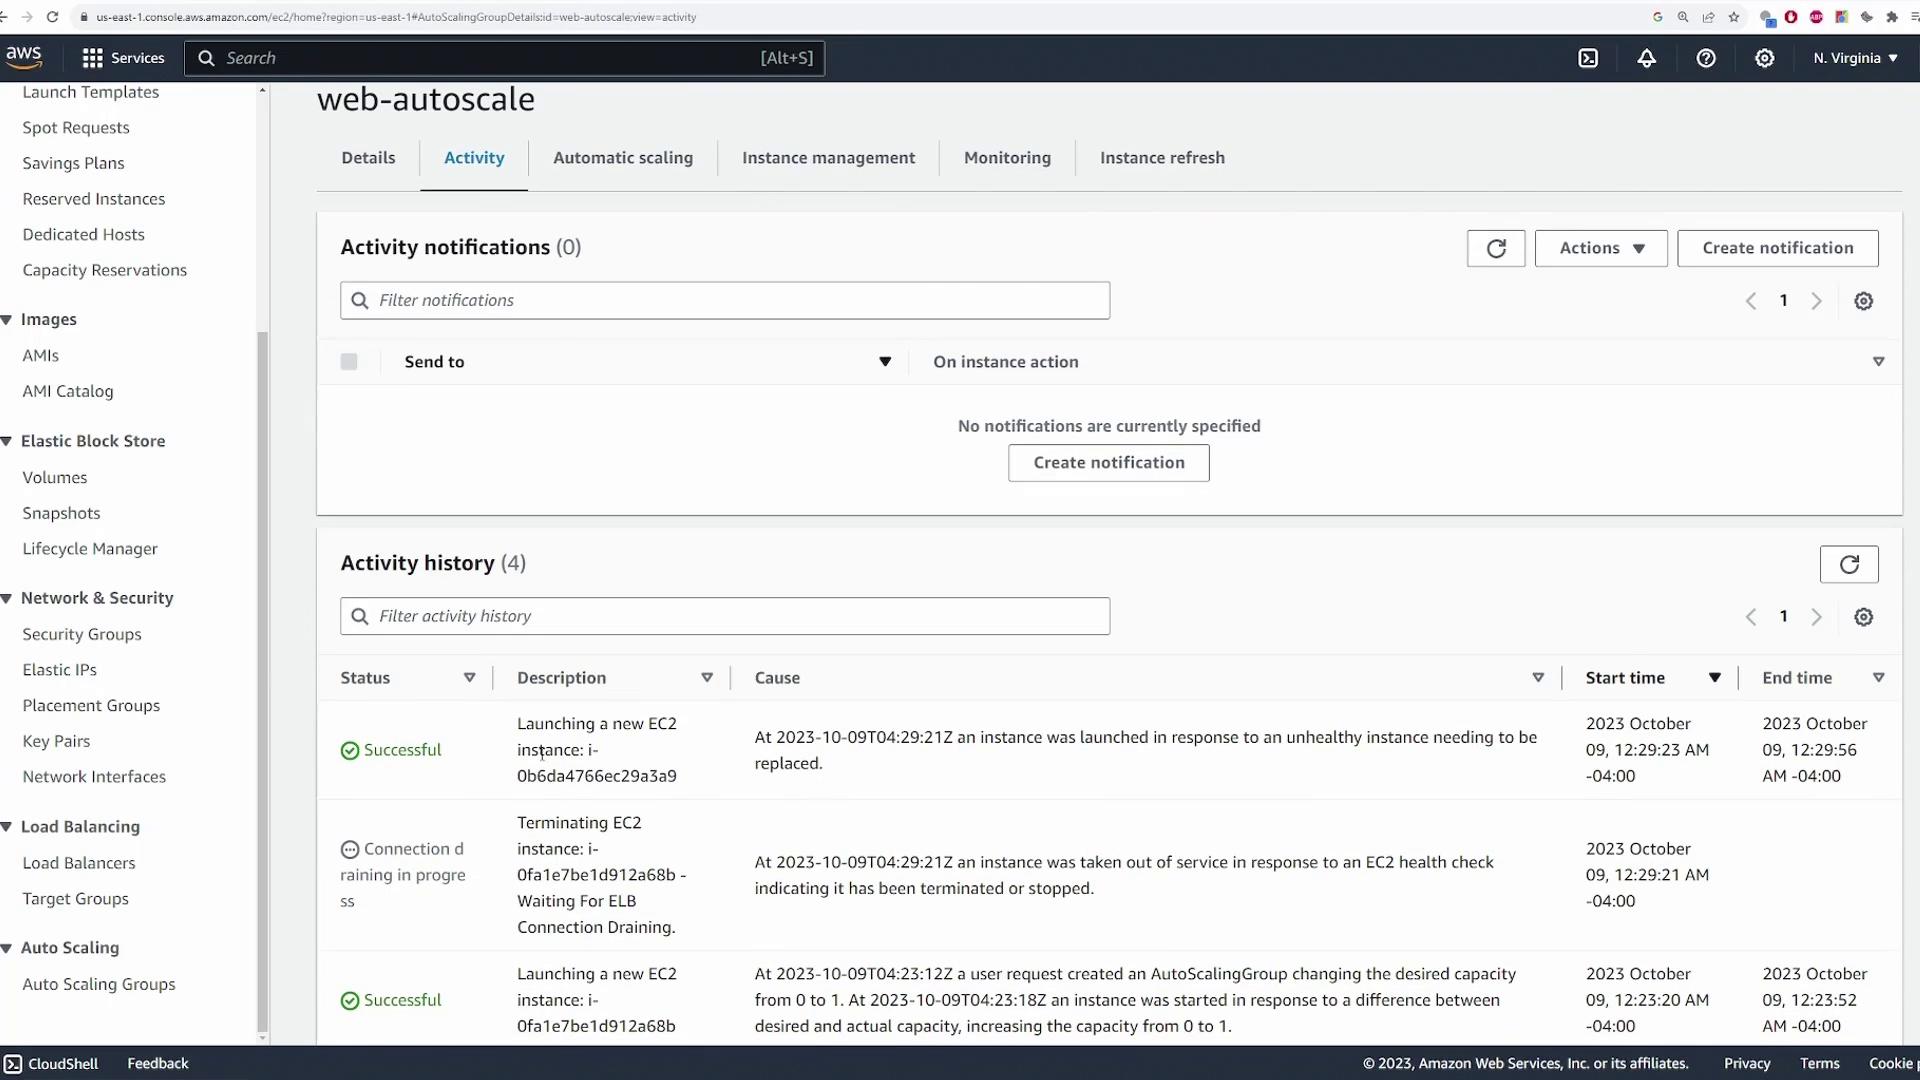
To confirm that the auto scaling group operates as expected, manually terminate the EC2 instance. The auto scaling group should detect the termination and automatically launch a new instance to maintain the desired capacity.Wait a few moments and then check the auto scaling group’s activity log. You should see an entry for an instance being removed due to a failed health check, followed by an entry for the launch of a new instance.
Return to the EC2 instances list to verify that a new instance is running.
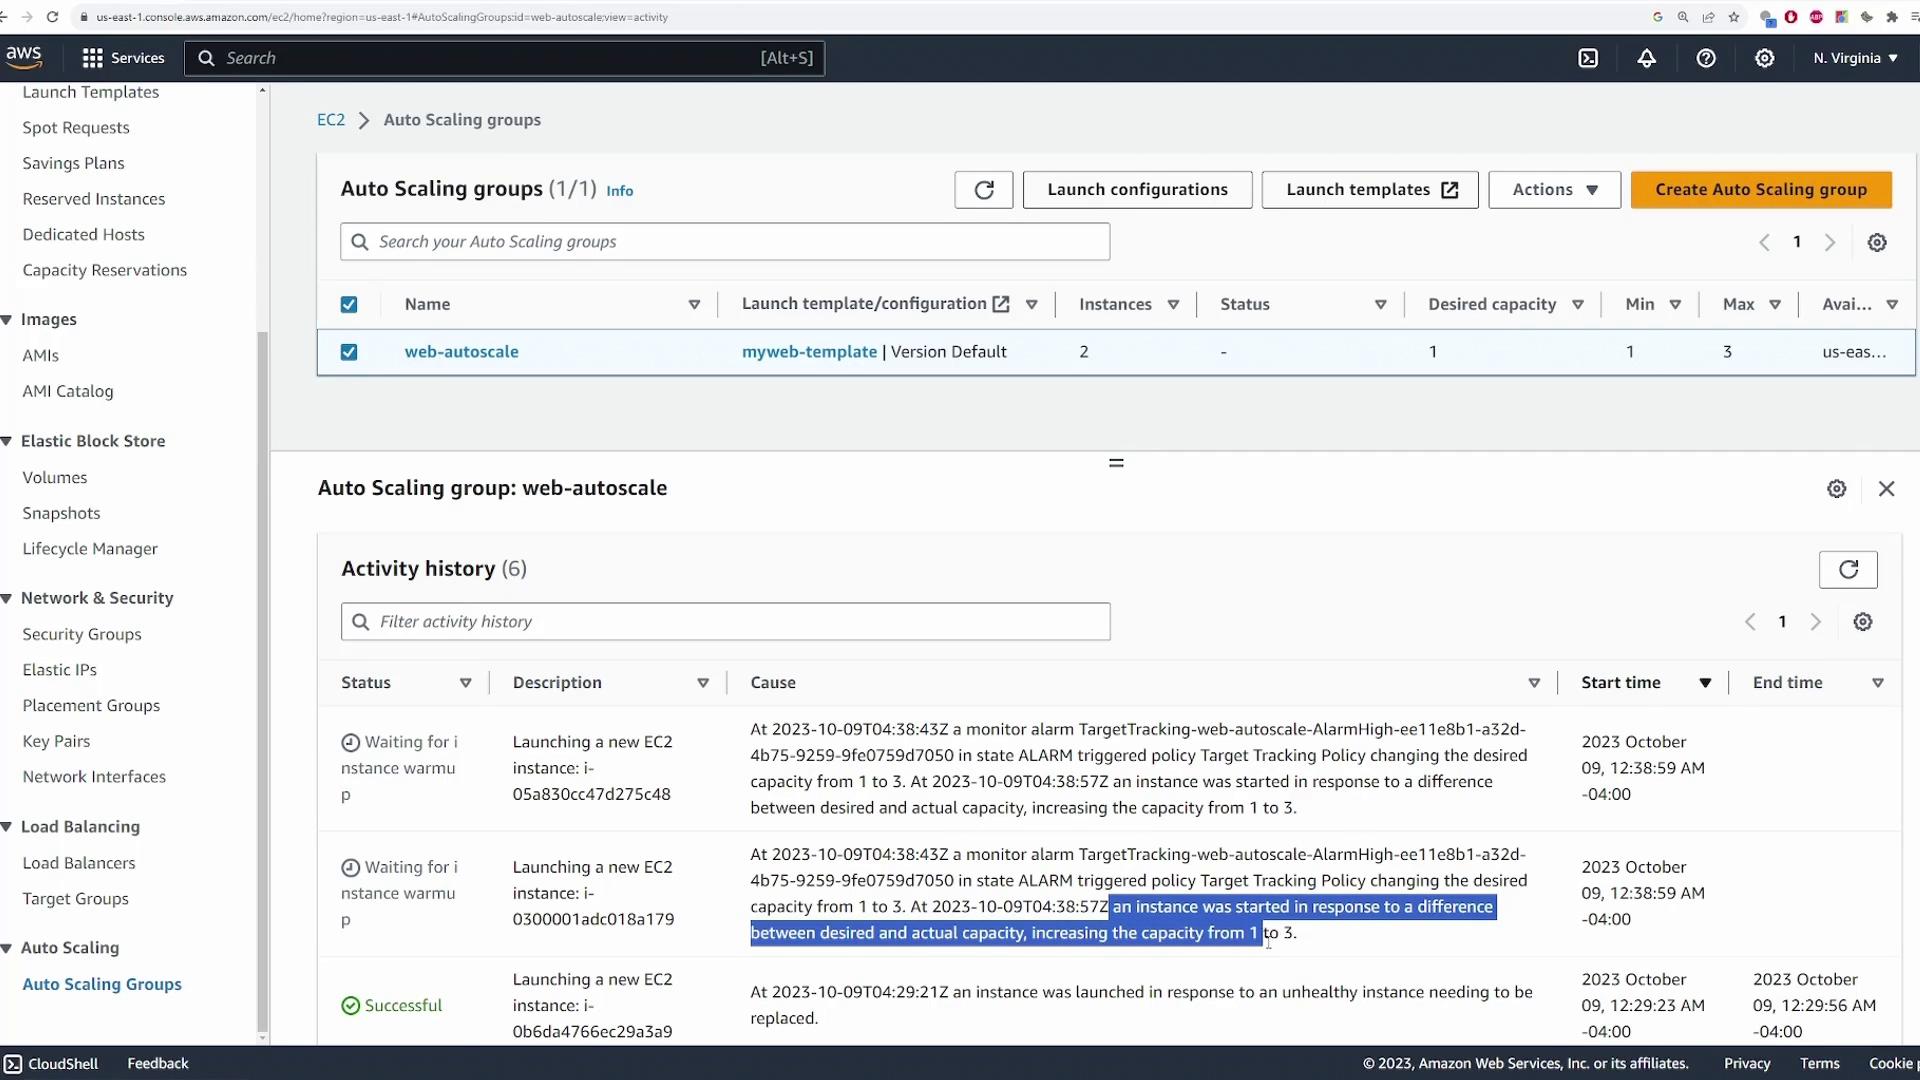
Allow the stress test to run until the average CPU utilization exceeds 40%. This triggers the auto scaling group’s target tracking policy, which scales the instance count from one to three.Examine the auto scaling activity log in the AWS console. You should see entries detailing the triggered alarm and the launch of additional instances.
Refresh the EC2 instances list; you should now see three instances running in the auto scaling group. Despite any further CPU load, the maximum capacity remains capped at three as configured.
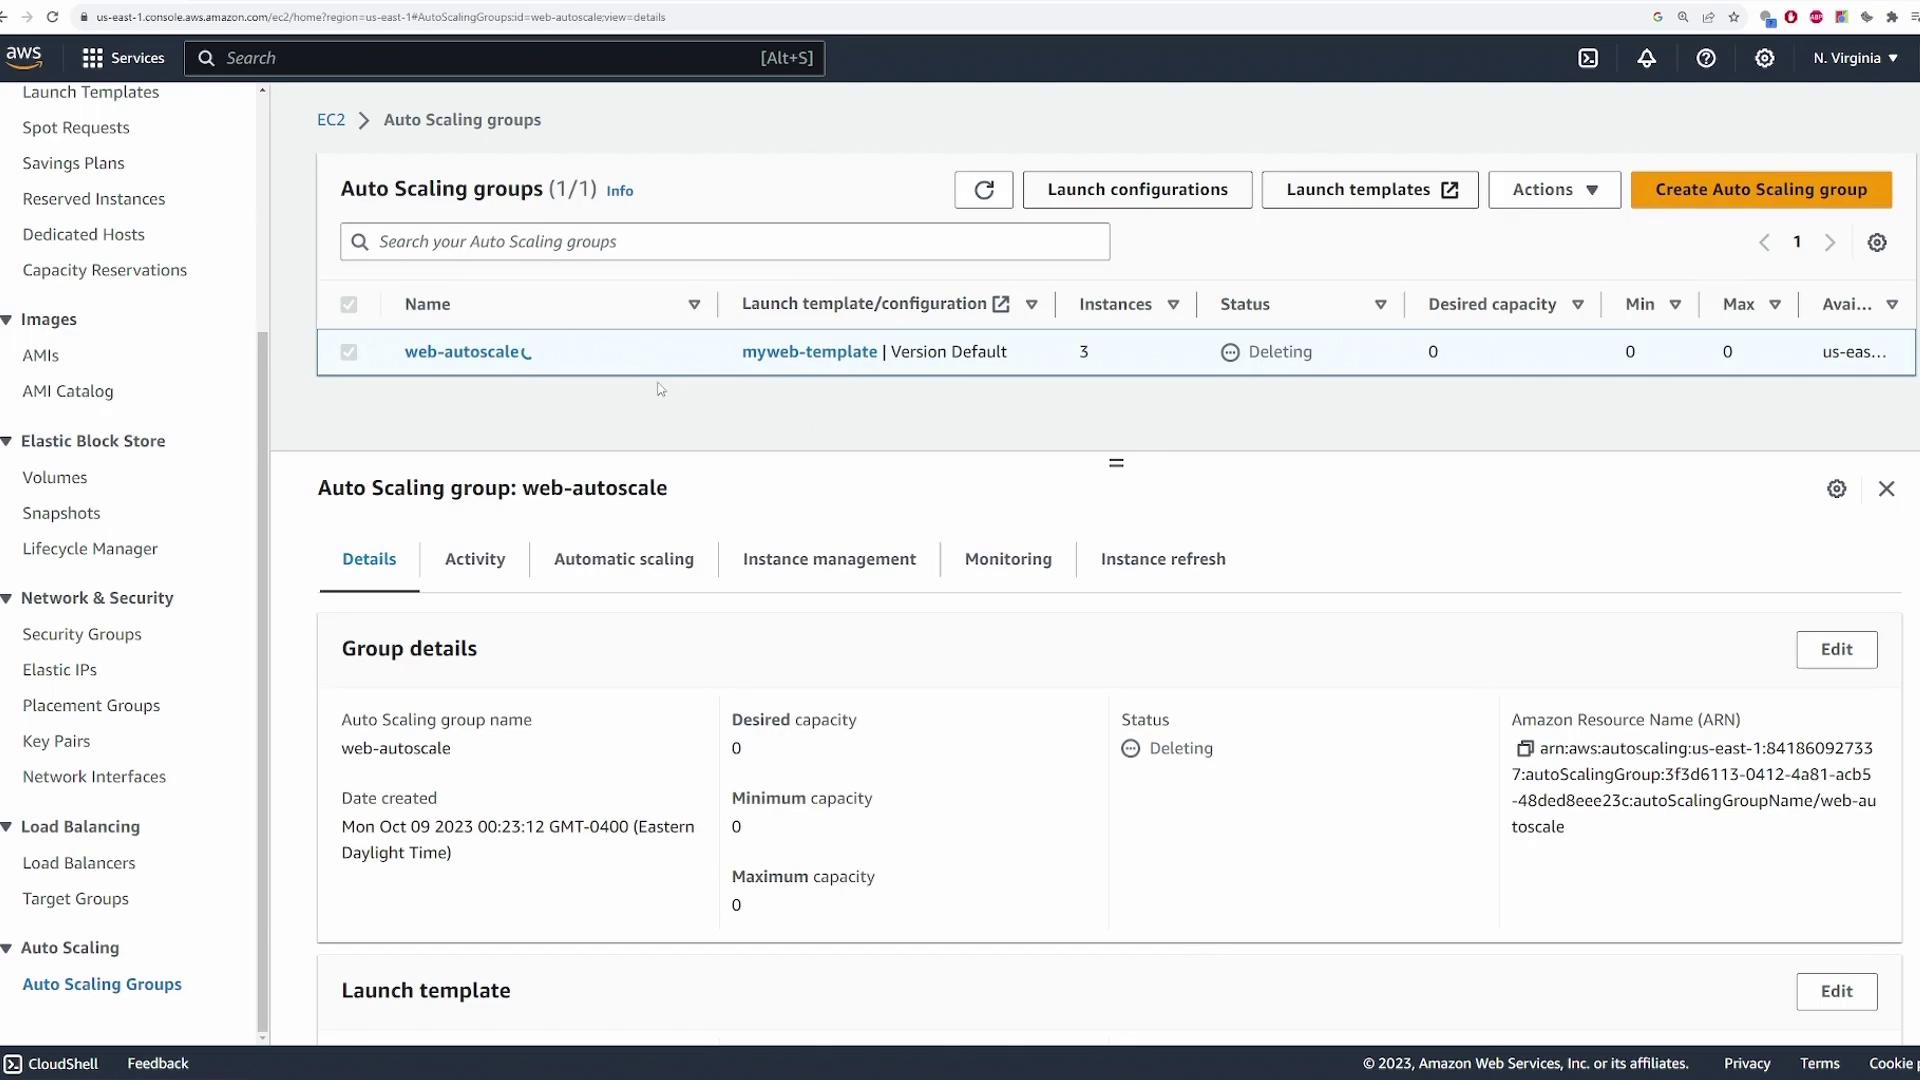
After completing this demo, ensure you delete the auto scaling group to terminate all associated resources (EC2 instances and load balancer configurations) and avoid extra charges.
To clean up, select the auto scaling group and choose “Delete.” This action terminates the auto scaling group along with its associated resources.