1. Creating an Application in Elastic Beanstalk
First, log in to the AWS Management Console and search for “Elastic Beanstalk.” Under Applications, click Create an Application. Assign a name (e.g., “Node.js app”), optionally add a description and tags, then click Create. This will take you to the application dashboard, where you can manage multiple environments, such as development, staging, or production.2. Creating a New Environment
Click to create a new environment. Since you are deploying a web application rather than a background task, select the Web Server Environment option.- The application name will be pre-populated.
- Name your environment (e.g., “environment-prod” for production).
- Optionally, assign a custom domain or use the auto-generated one.
- Provide a description if needed.
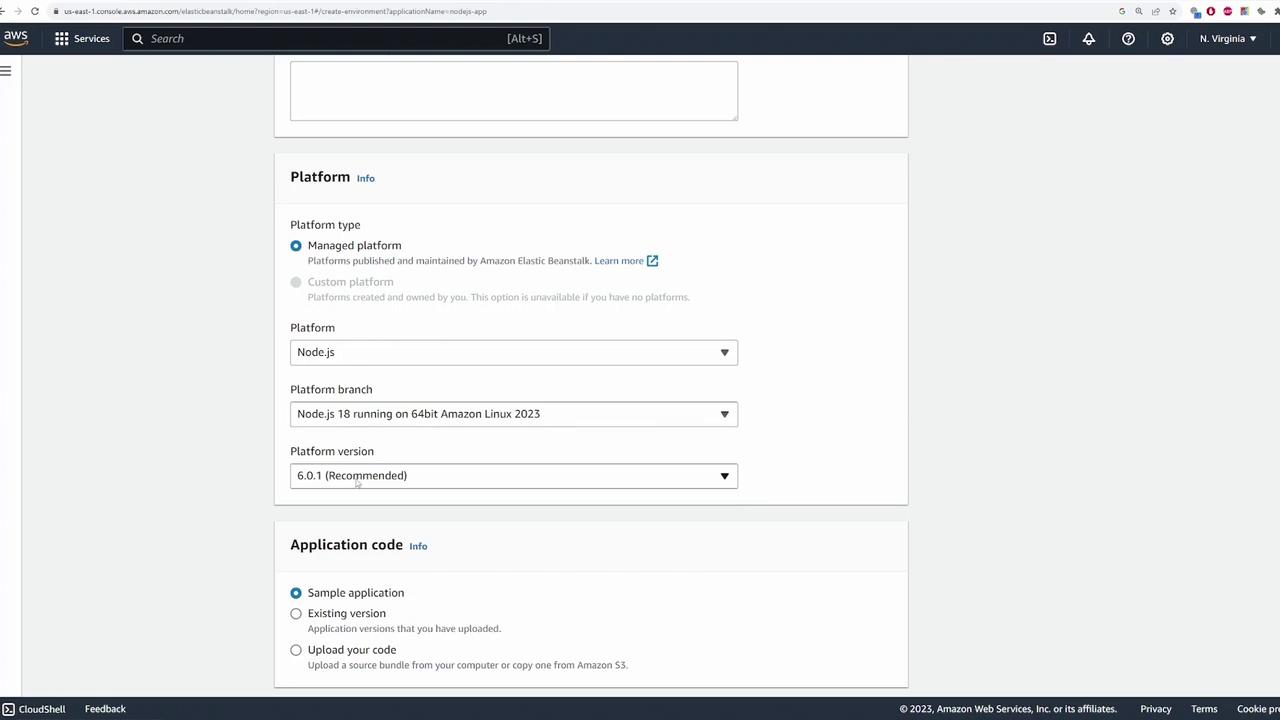
- Select Node.js as your platform and choose the appropriate version.
3. Uploading Application Code
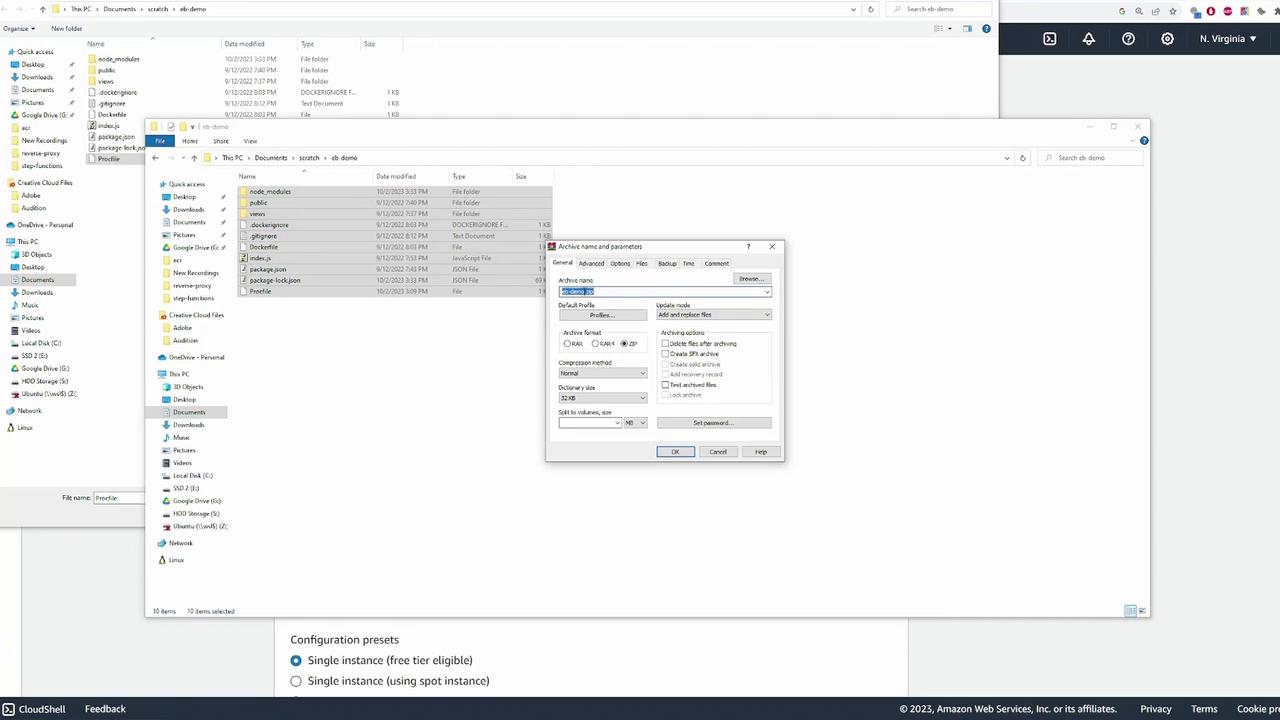
Under the Application Code section, choose to upload your code. You can either store your code in Amazon S3 or upload it directly from your computer. For this demonstration, click Choose file. Note that Elastic Beanstalk requires a ZIP archive containing your application’s source code. To prepare your deployment package:- Copy all necessary files.
- Create a ZIP archive (e.g., “EB demo-v1.zip”).
4. Configuration and Presets
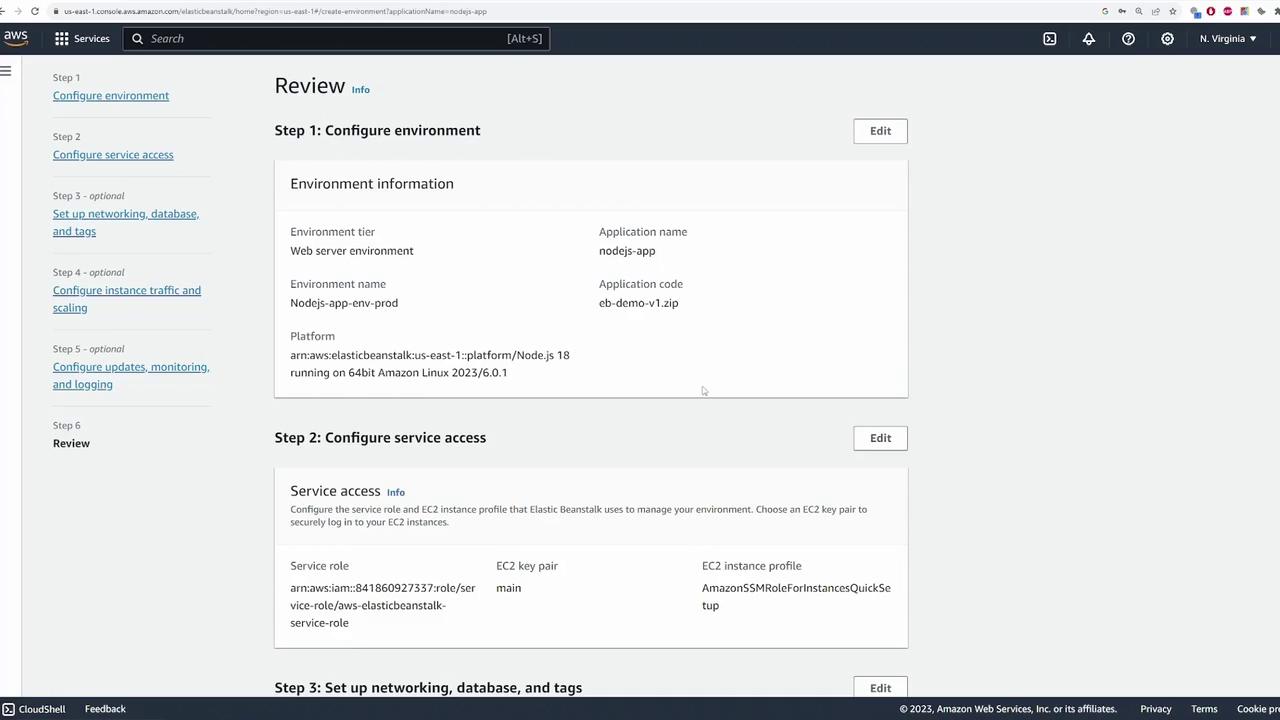
Proceed through the configuration wizard. Elastic Beanstalk automatically populates many settings from presets. For this demo, choose a high availability deployment using multiple EC2 instances behind a load balancer. Even when using presets, you can adjust the settings later. Before moving to the next step, assign a version label for your application code (e.g., “1.0.0”) and click Next.5. Setting Up Service Roles and EC2 Key Pairs
Elastic Beanstalk requires an IAM service role to perform AWS operations. If you do not have an existing role:- Select Create and use new service role to have one generated automatically.
- Alternatively, choose an existing role if available.

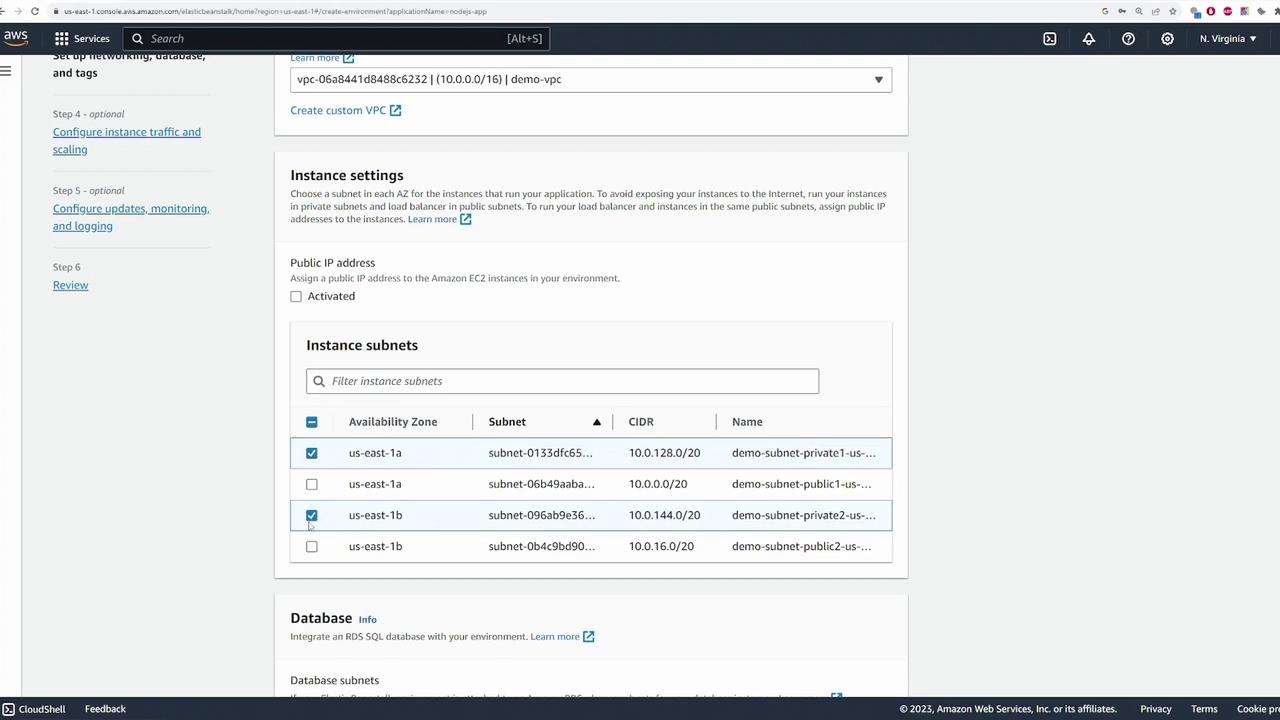
6. Configuring VPC, Subnets, and Database
Choose the Virtual Private Cloud (VPC) and subnets for your deployment:- Use two private subnets for EC2 instances (which don’t require direct public access).
- Deploy the load balancer on two public subnets.
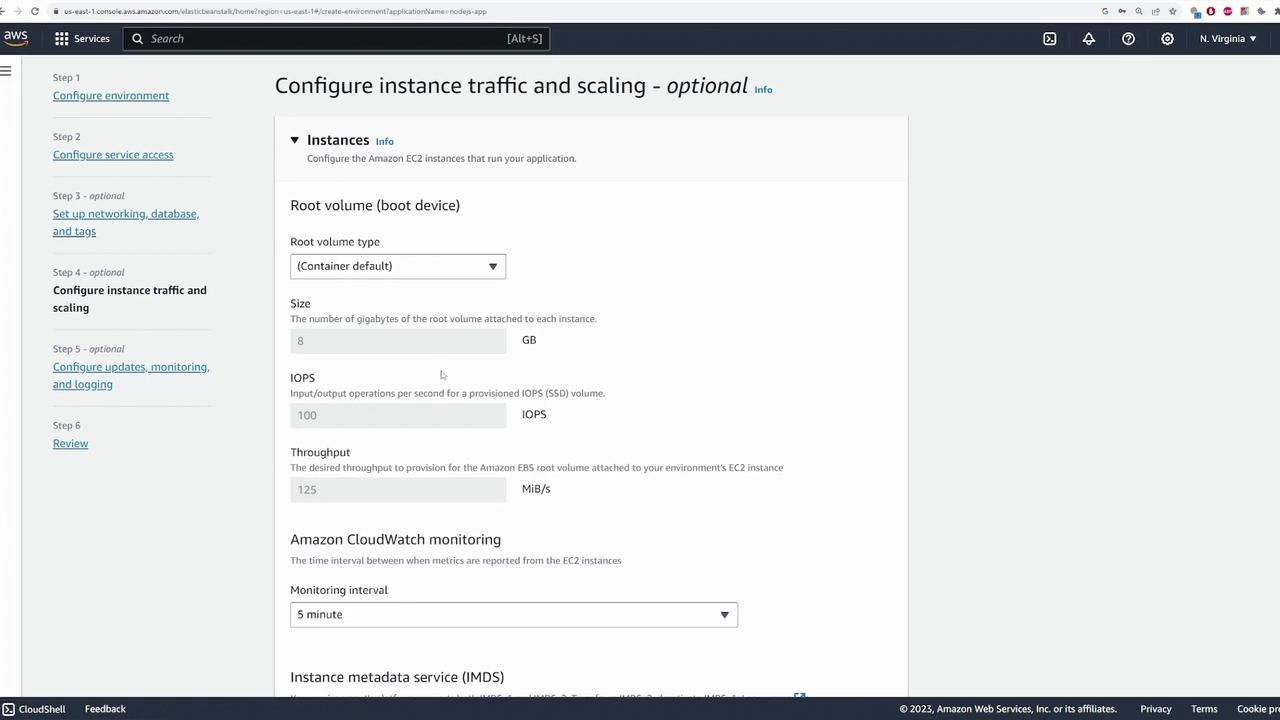
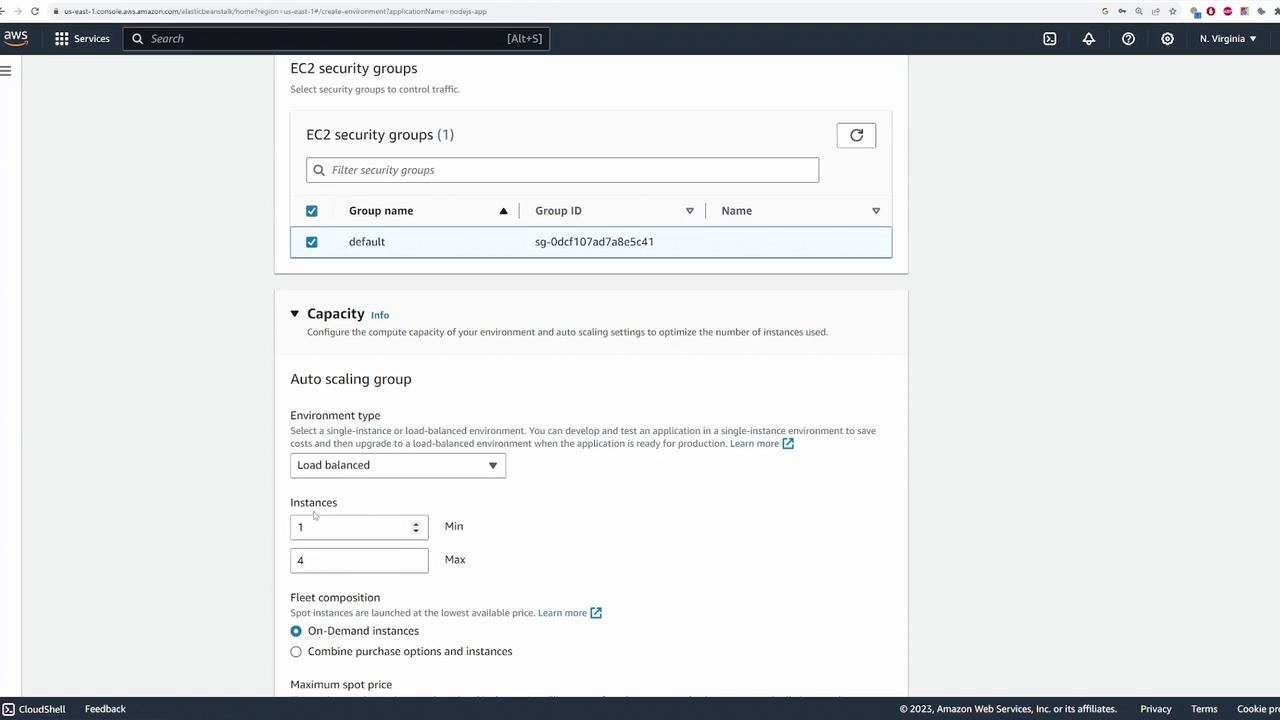
7. Configuring Security Groups and Auto Scaling
Next, configure the security measures and scaling preferences:- Select the security group provided by your VPC.
- Configure the auto scaling group by setting:
- The minimum number of instances (e.g., one instance).
- The maximum number of instances (e.g., four instances) based on anticipated load.
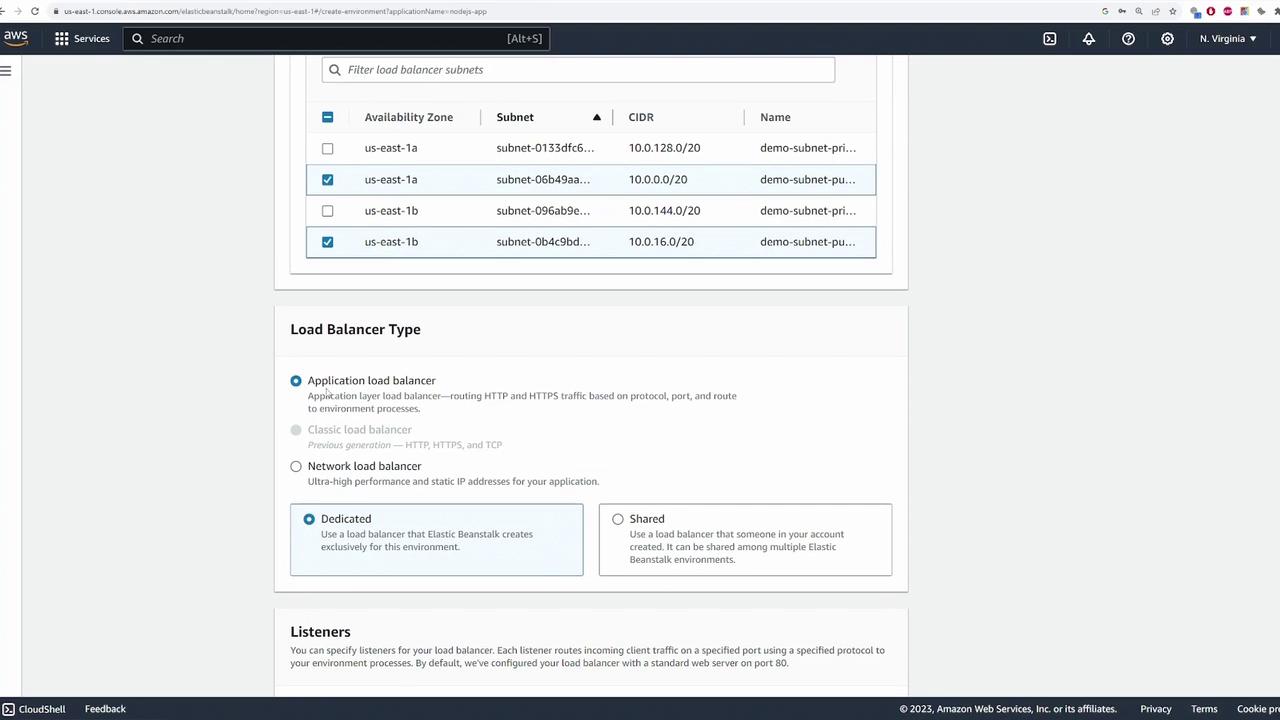
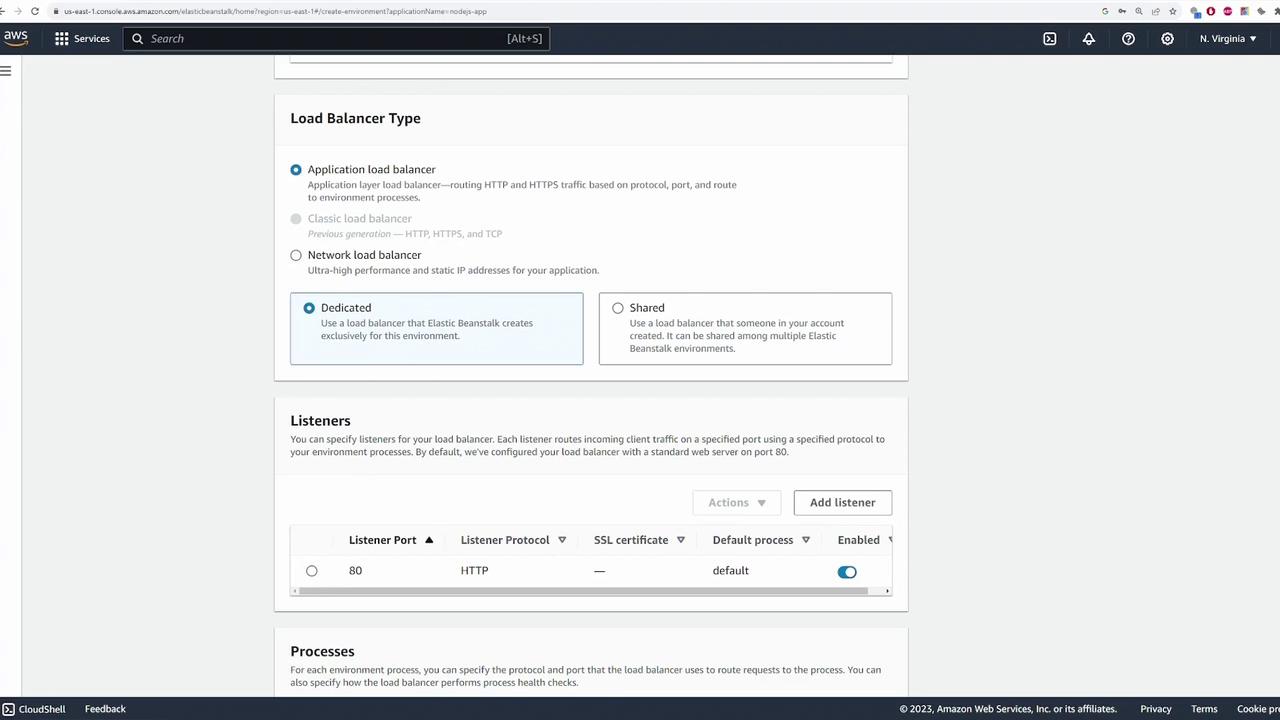
8. Configuring the Load Balancer
Configure your load balancer to ensure proper distribution of incoming traffic:- Deploy it on public subnets.
- Choose the Application Load Balancer type with a dedicated load balancer.
- Update the listener settings:
- The load balancer listens on port 80 by default.
- Since the Node.js application listens on port 3000, modify the listener configuration to forward HTTP traffic accordingly.
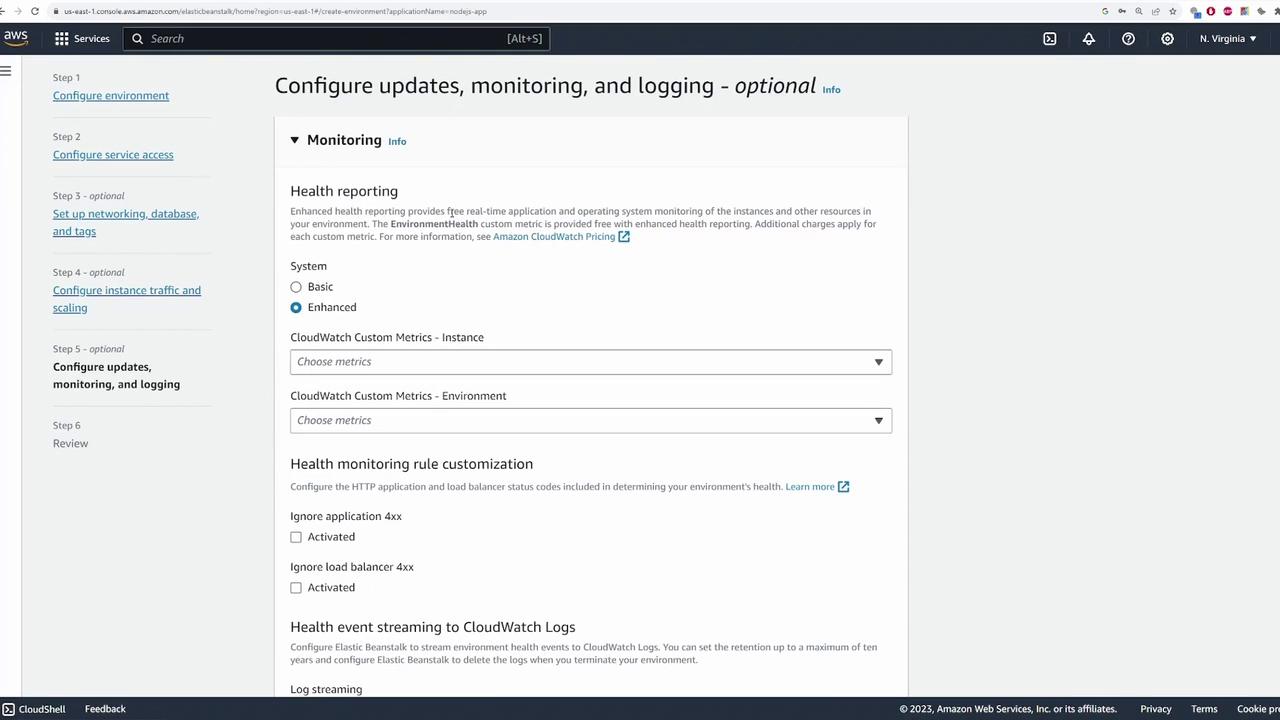
9. Monitoring and Deployment Settings
Head to the monitoring section and adjust settings based on your requirements:- Customize options for health reporting, CloudWatch custom metrics, and managed updates if needed.
- For this demo, the default configuration is retained, and managed updates are disabled.
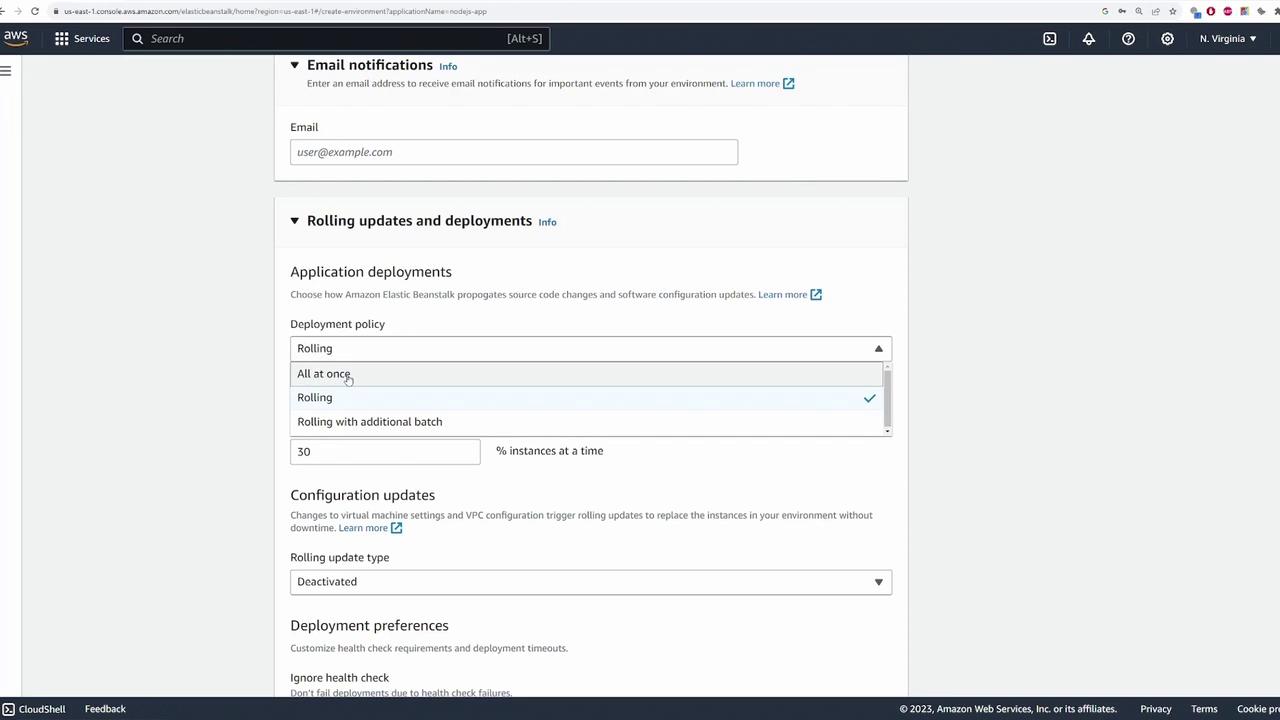
- Configure email notifications and set deployment policies, such as choosing a rolling update to minimize user impact during code deployment.
10. Verifying the Deployment
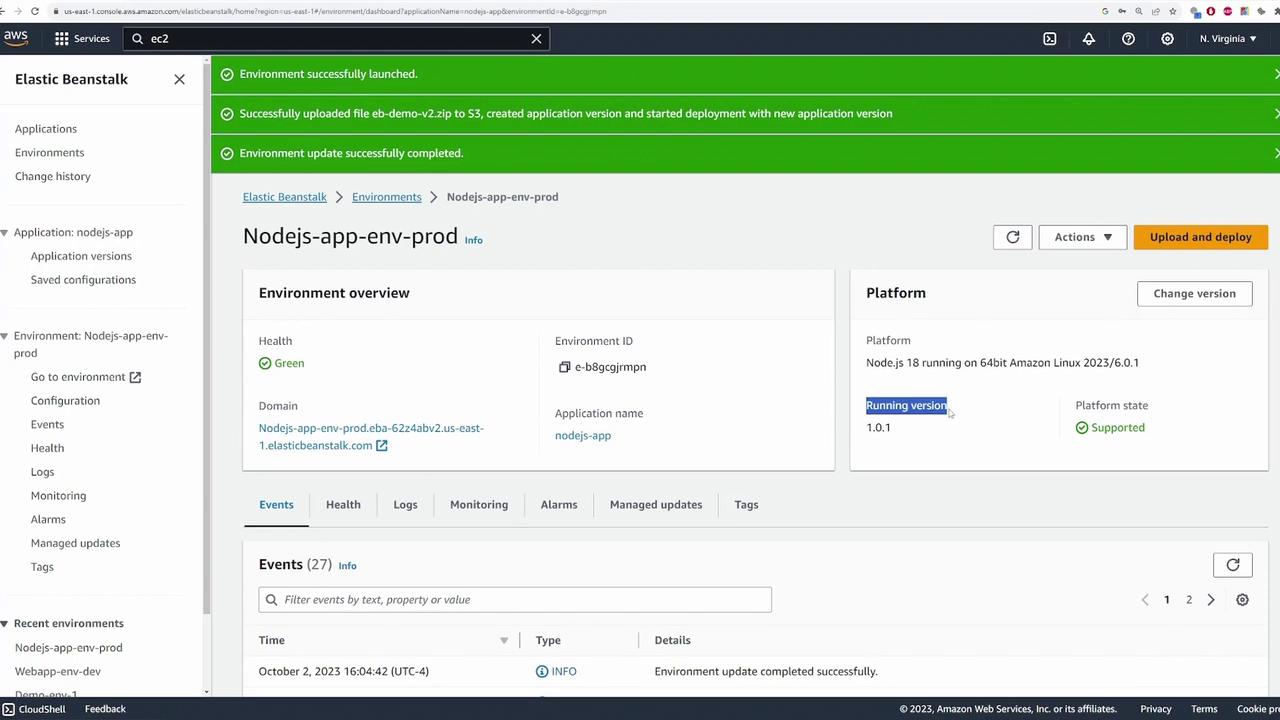
After the environment shows a successful deployment, click the provided domain name to access your application. You should see that version 1.0.0 of your application is running.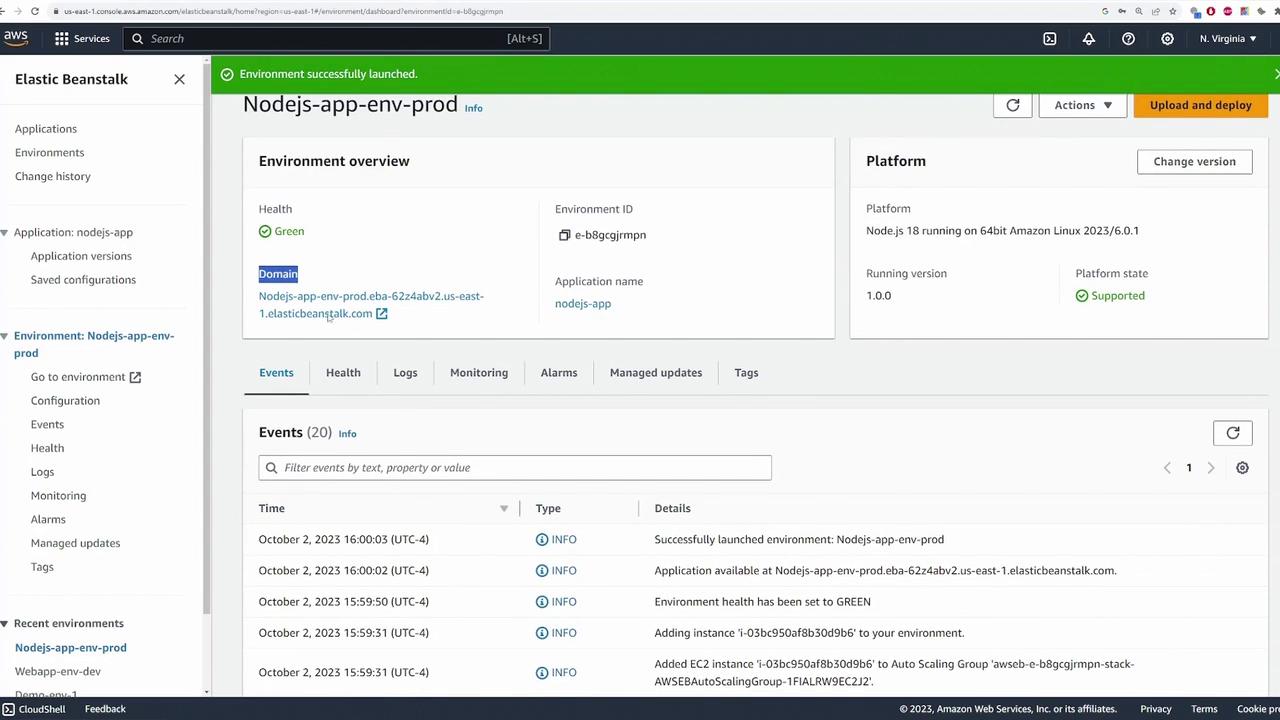
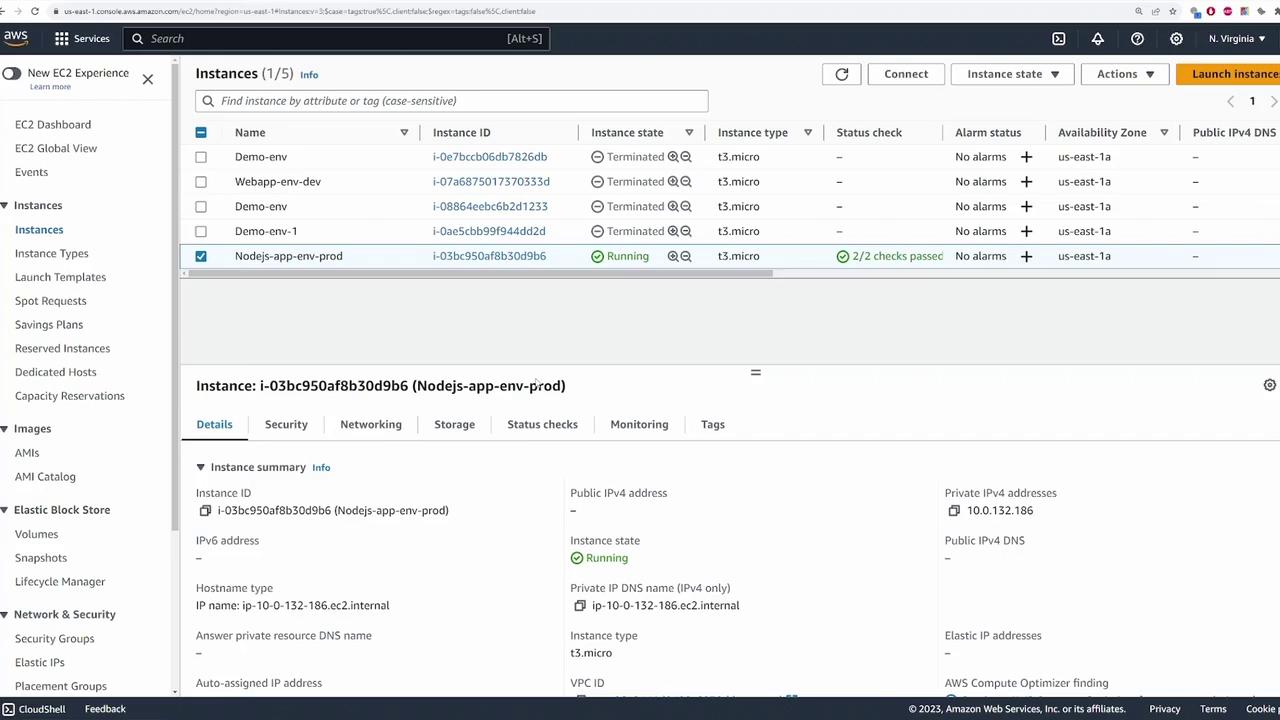
- Under Instances, locate the running Node.js app environment instance (e.g., “Nodejs-app-env-prod”).
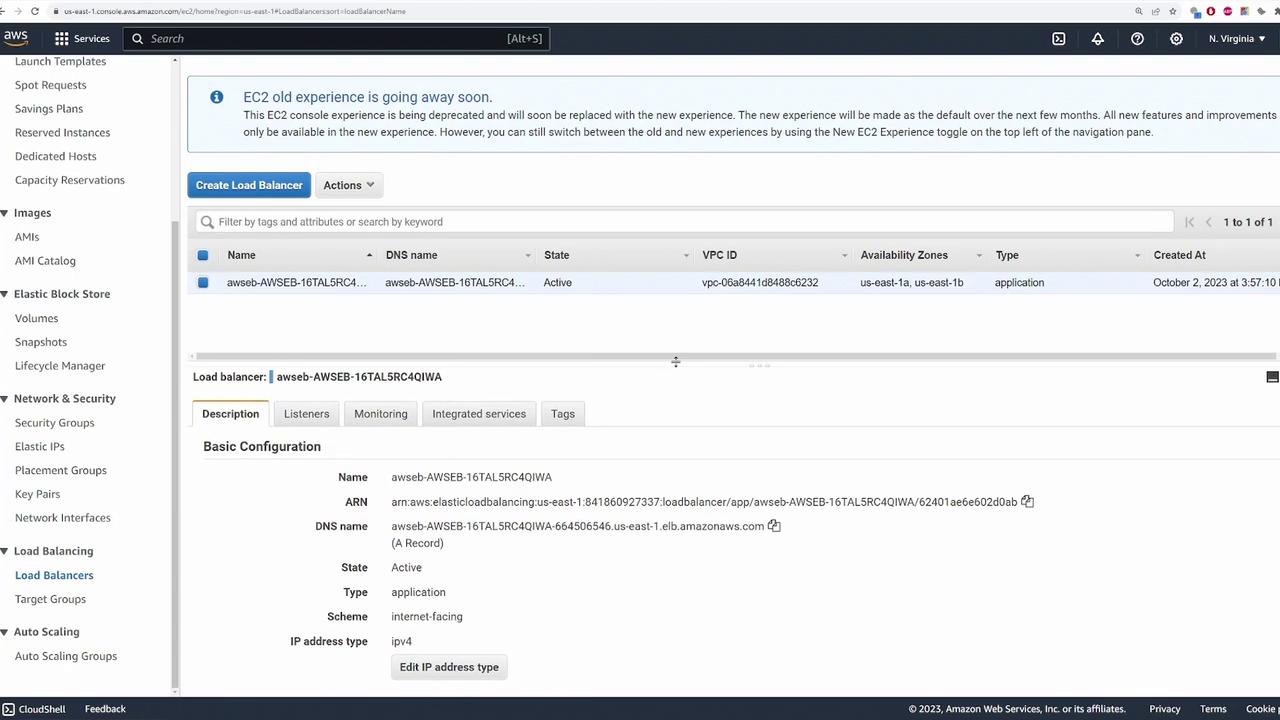
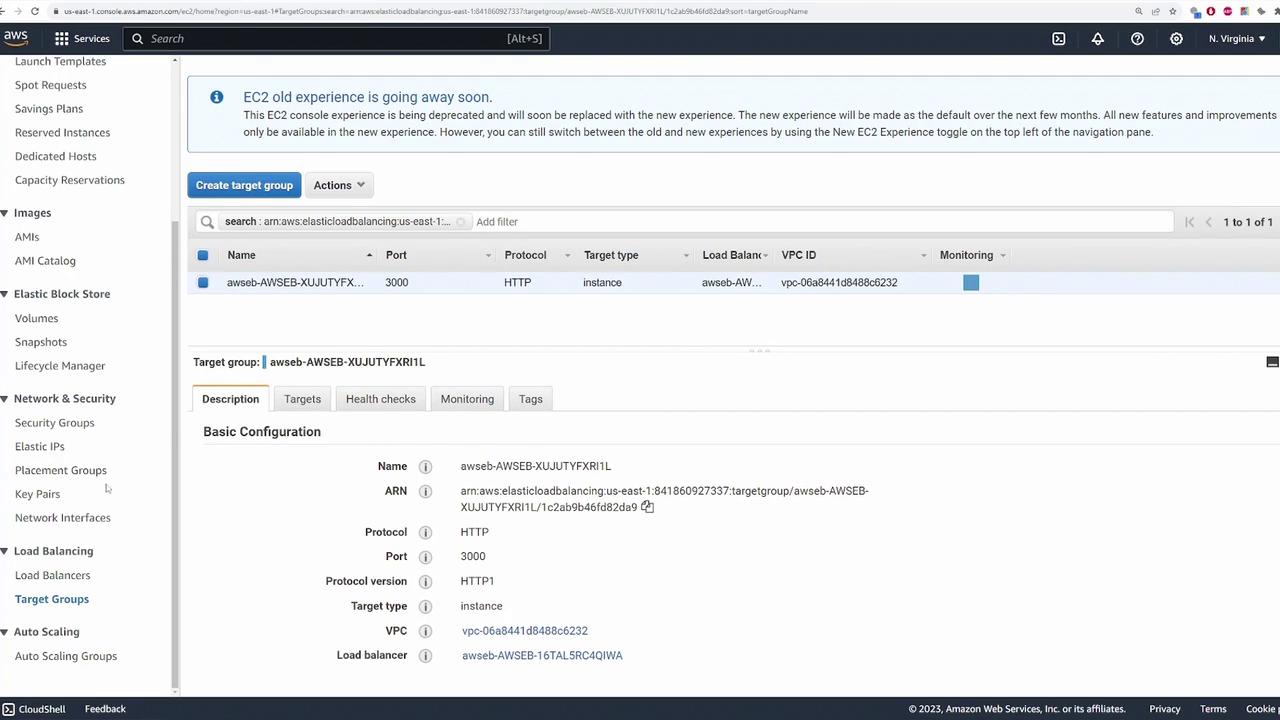
- The load balancer and its forwarding rules, along with target groups, are also visible in the console.
11. Updating the Application
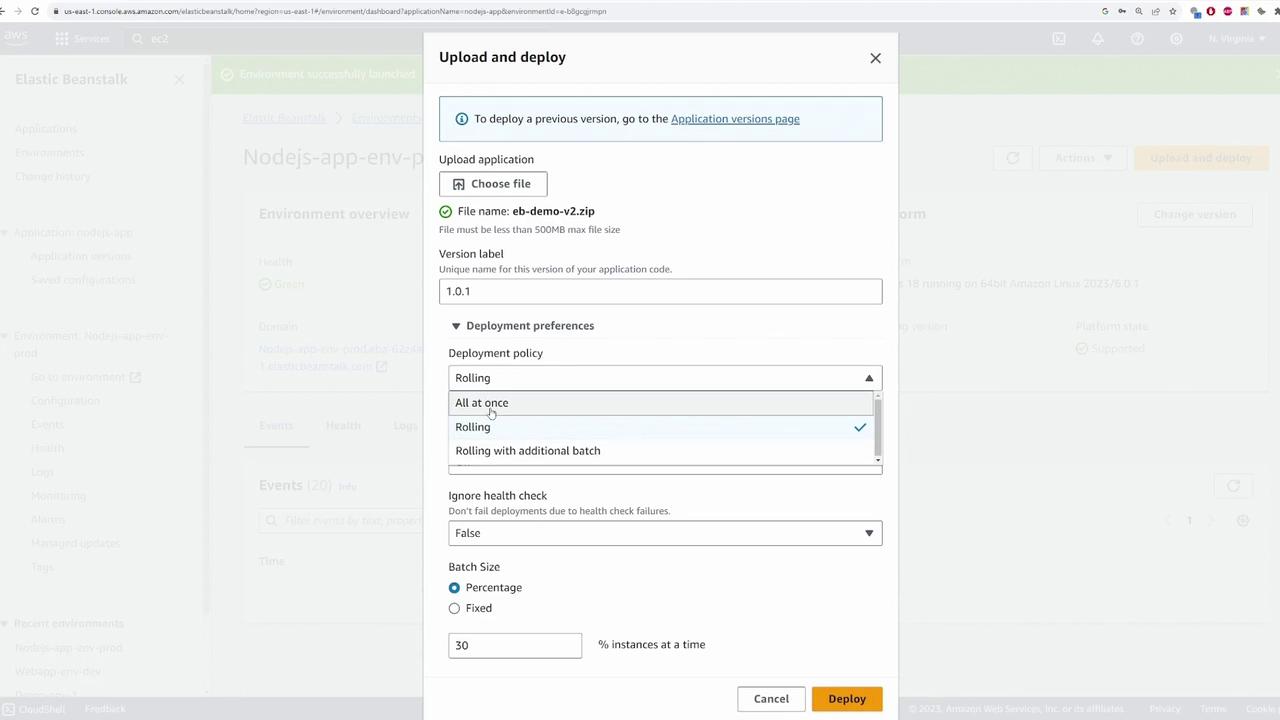
Once your application is running, updates and new releases are straightforward. Suppose you add new features or bug fixes that require redeployment. Follow these steps to update your application:- Navigate back to the Elastic Beanstalk environment dashboard.
- Click Upload and Deploy to load the new version of your code.
- Create a new version label (e.g., “1.0.1”) for the updated code.
Conclusion
In this tutorial, we demonstrated how to deploy and update a simple Node.js application using AWS Elastic Beanstalk. We covered essential steps, including:- Creating an application and environment.
- Uploading and packaging application code.
- Configuring key resources such as EC2 instances, load balancers, security groups, and auto scaling.
- Updating the application with new code revisions.
Elastic Beanstalk simplifies the deployment process, making it ideal for developers who want to focus on coding rather than managing servers.