

1. Creating an ECR Repository
Begin by searching for “ECR” in the AWS console. Select Create a repository or navigate to the Repositories section and click Create repository.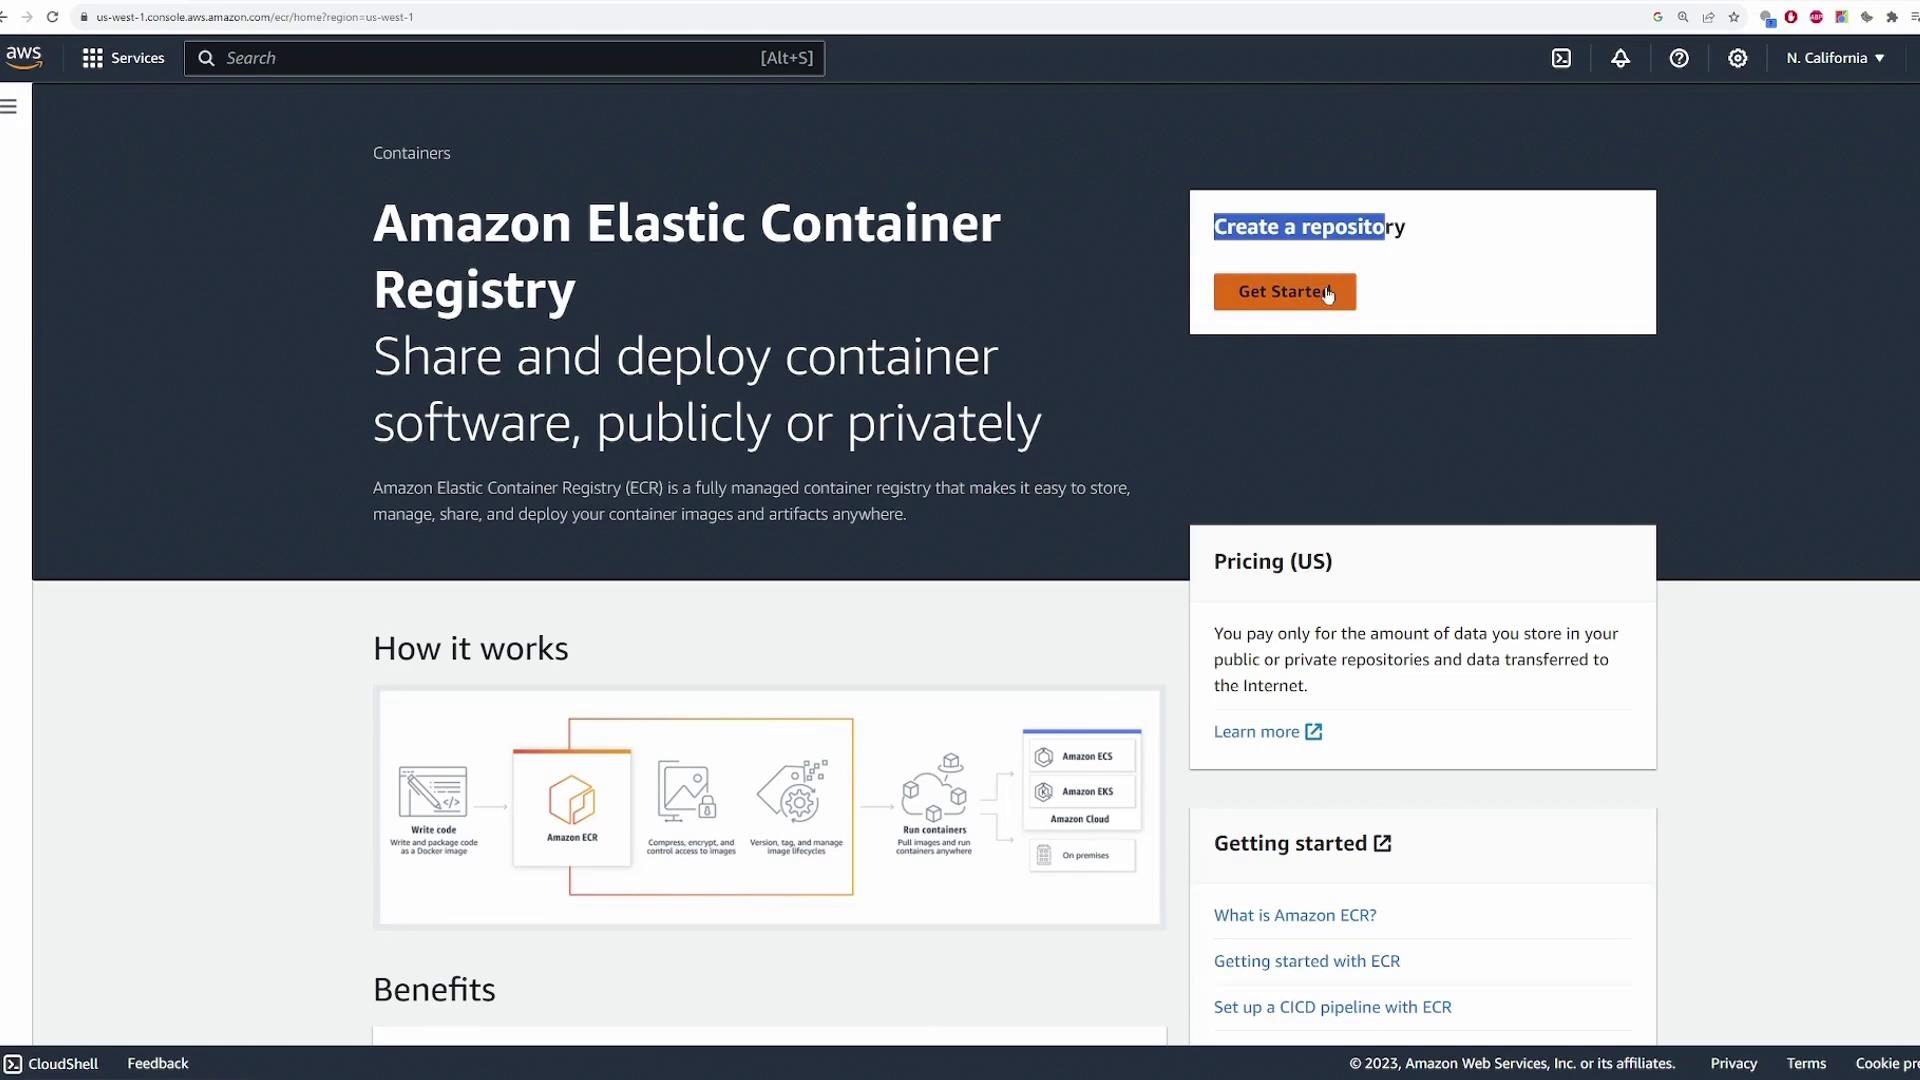
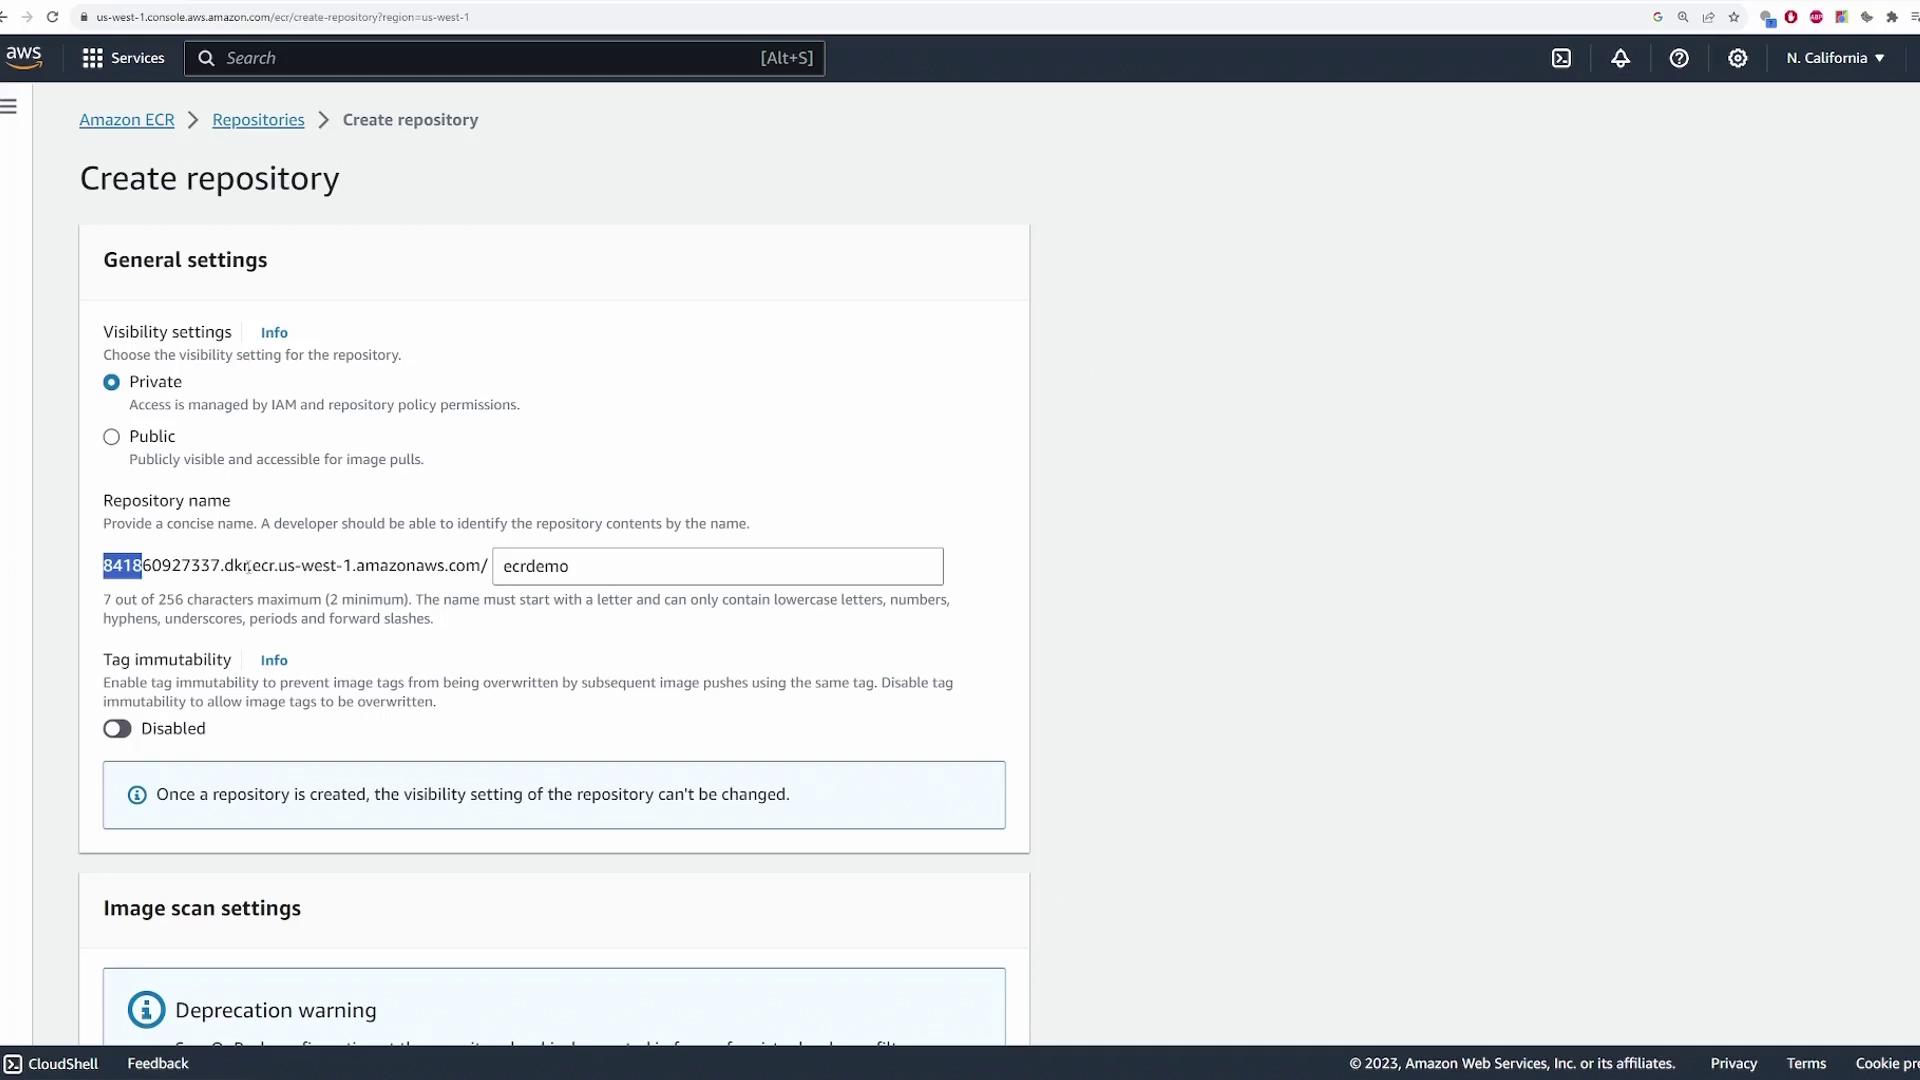
- Public Repository: Anyone can pull the image without authentication (push rights remain restricted).
- Private Repository: Authentication is required to pull the image.
Once you create a repository, its visibility setting cannot be changed.
2. Authenticating, Building, Tagging, and Pushing an Image
AWS provides commands to push an image to your new ECR repository. Start by authenticating Docker to your AWS account using the AWS CLI command below. This command retrieves an authentication token for Docker:Ensure that the AWS CLI is installed and configured with your access key and secret key. If you haven’t set it up yet, run:
3. Deploying a Container from Your ECR Image
To confirm that the image in your ECR can be pulled and run as a container, start by removing the local image. This step ensures Docker pulls the latest image from the repository during deployment. List your images and remove the local one:4. Important Naming Conventions and Permissions
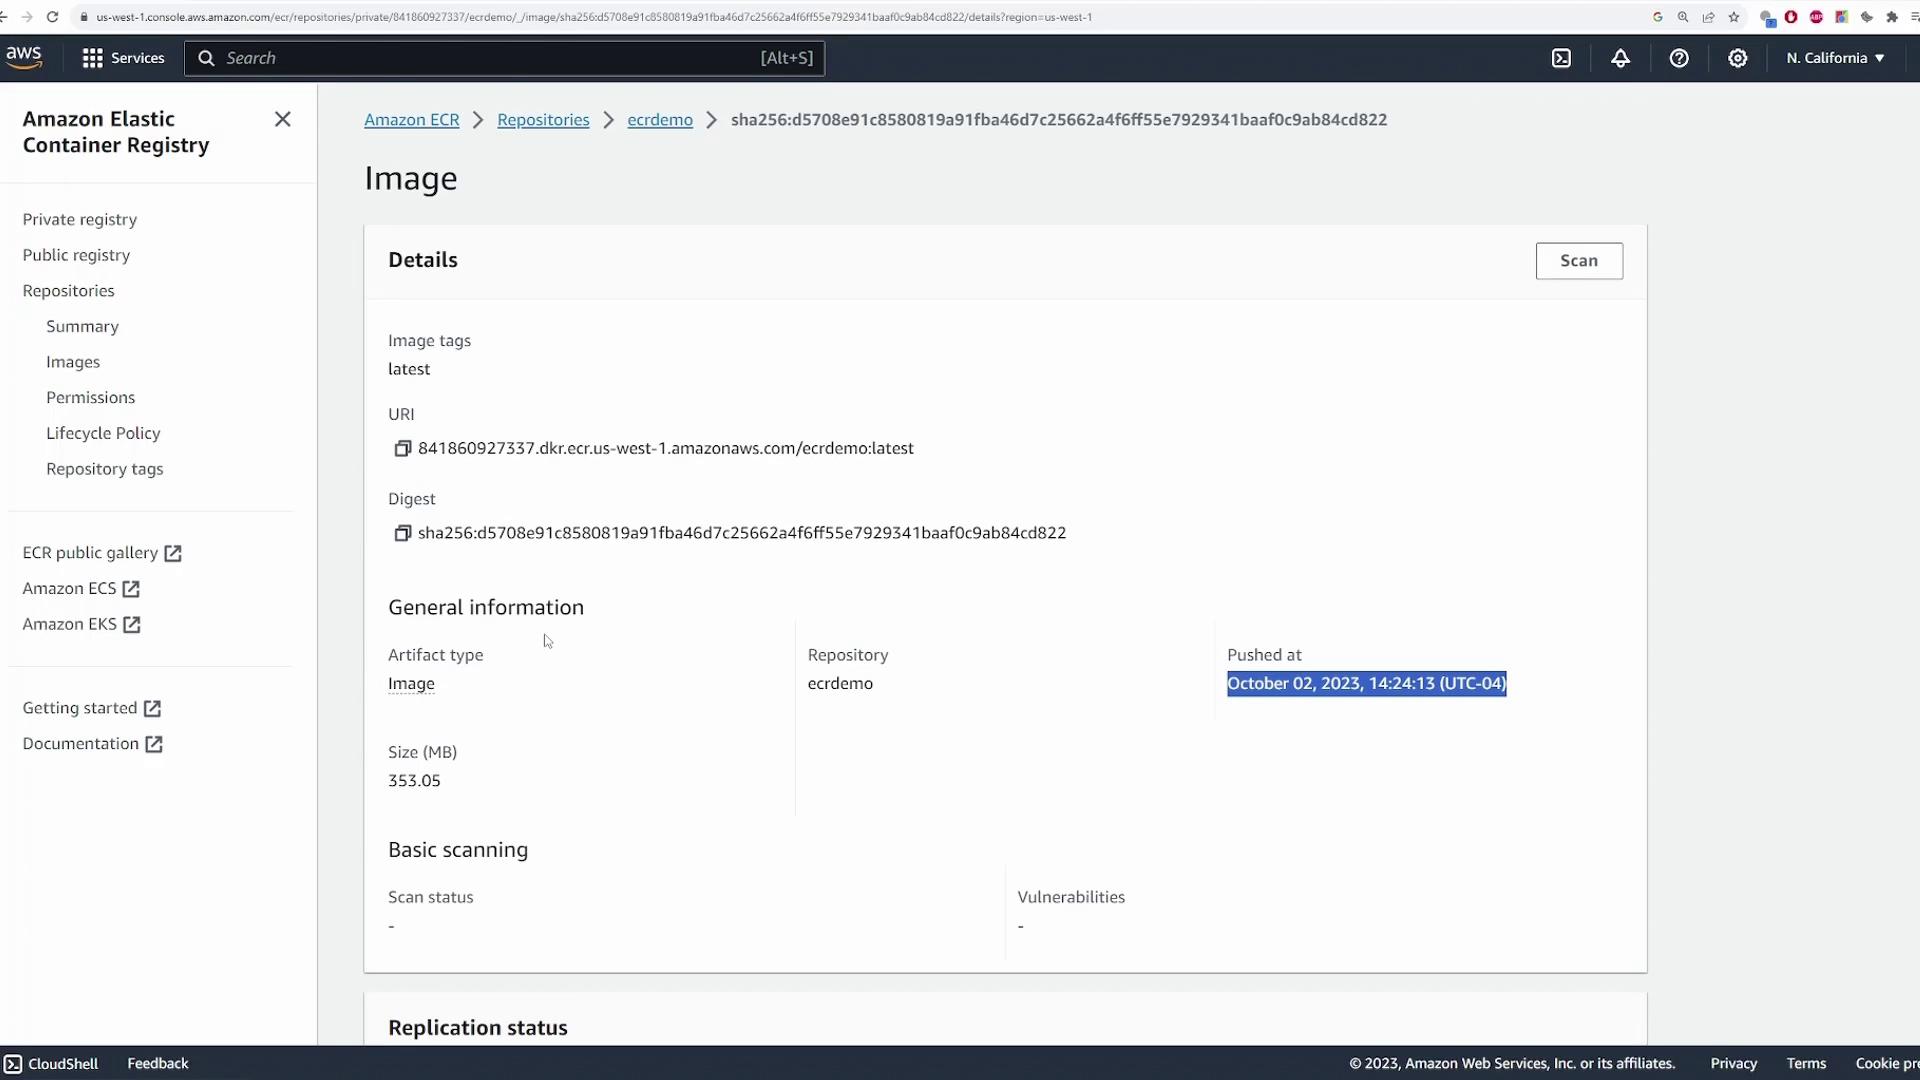
When pushing and pulling images from ECR, always use the full repository URI in the following format: ACCOUNT_ID.dkr.ecr.REGION.amazonaws.com/REPOSITORY_NAME For example, if your account ID is 841860927337, your region is us-west-1, and your repository is named “ecrdemo”, then the full image URI is: 841860927337.dkr.ecr.us-west-1.amazonaws.com/ecrdemo:latest Make sure that any platform (EC2, ECS, Kubernetes, etc.) that uses this image has the proper IAM permissions or roles to pull images from ECR, ensuring a seamless deployment experience.That concludes the lesson on using AWS ECR. You’ve successfully learned how to create a repository, push a Docker image, and deploy a container. Continue exploring AWS container services for advanced deployment strategies and best practices. Happy coding!