

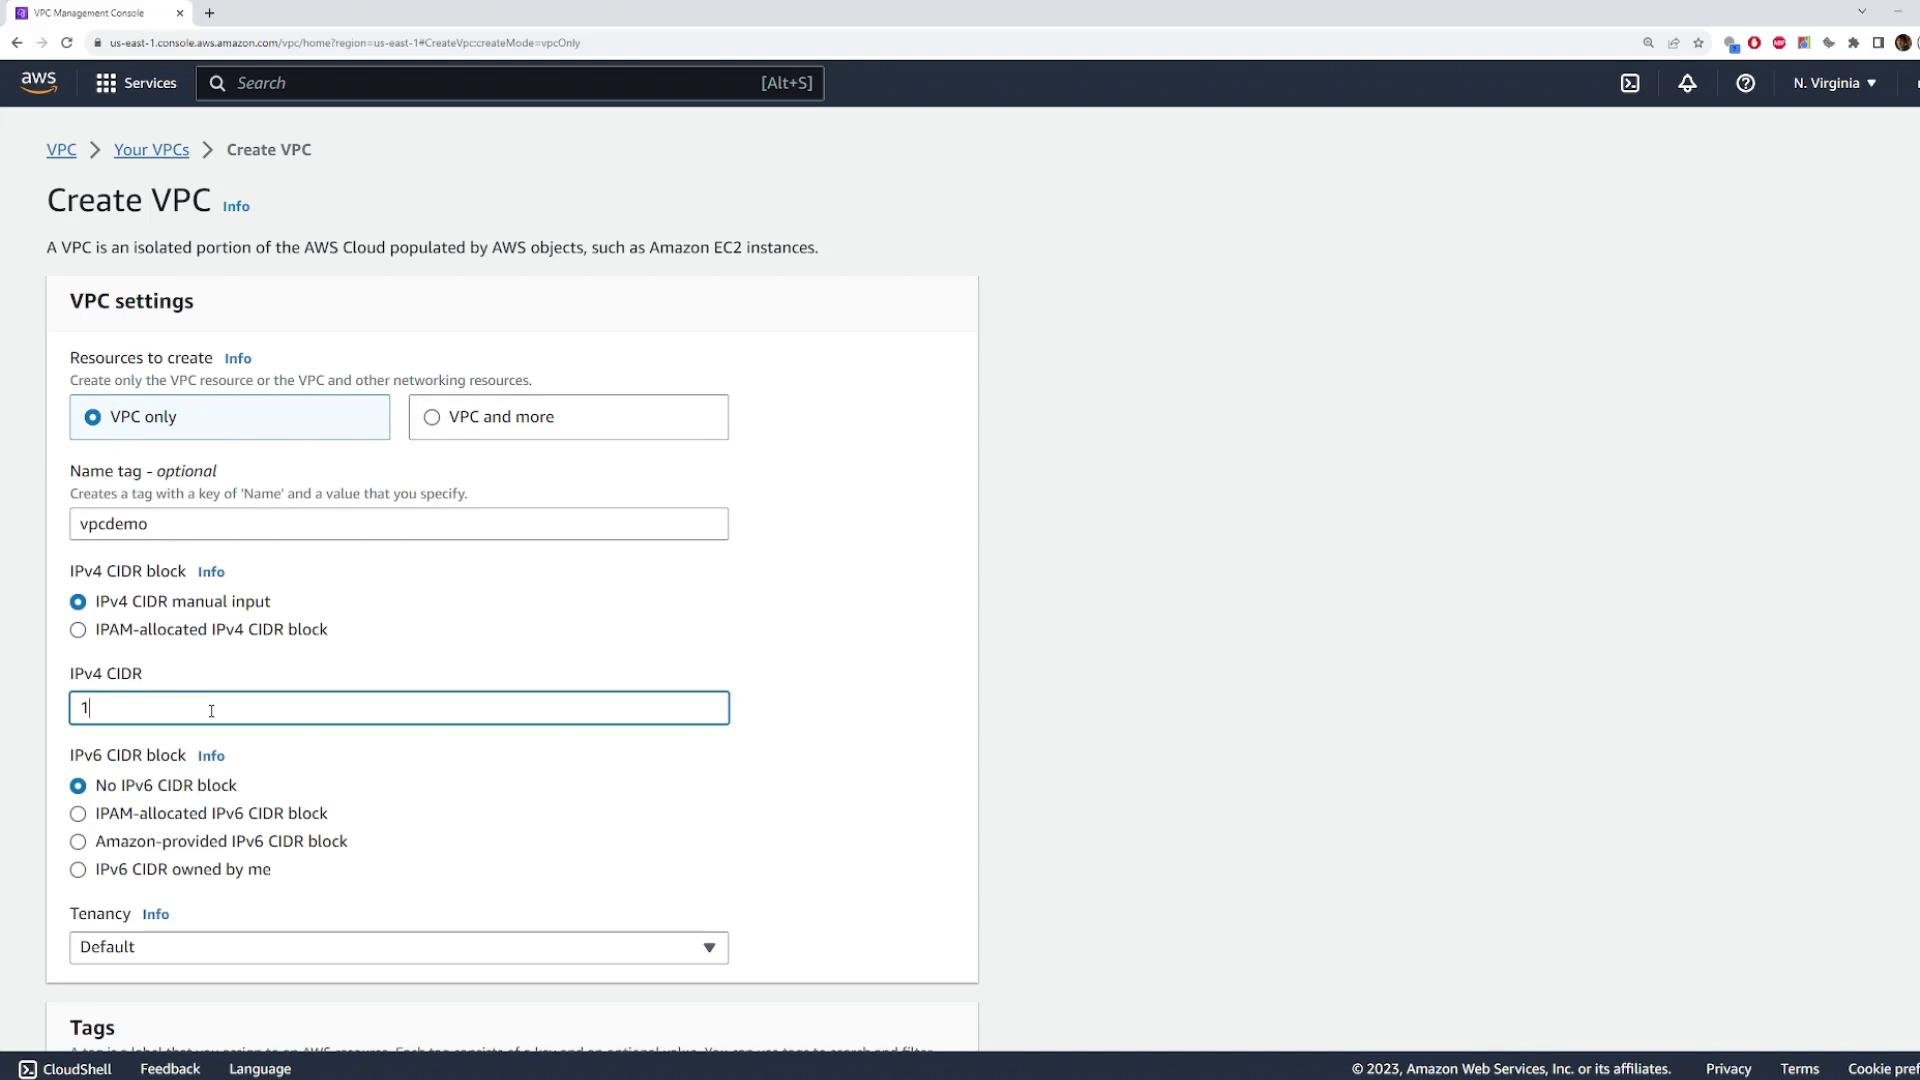
1) Create a VPC (with IPv6 enabled)
Start by creating a demo VPC (for example, namedvpcdemo) and enable IPv6 if you need dual-stack addressing.
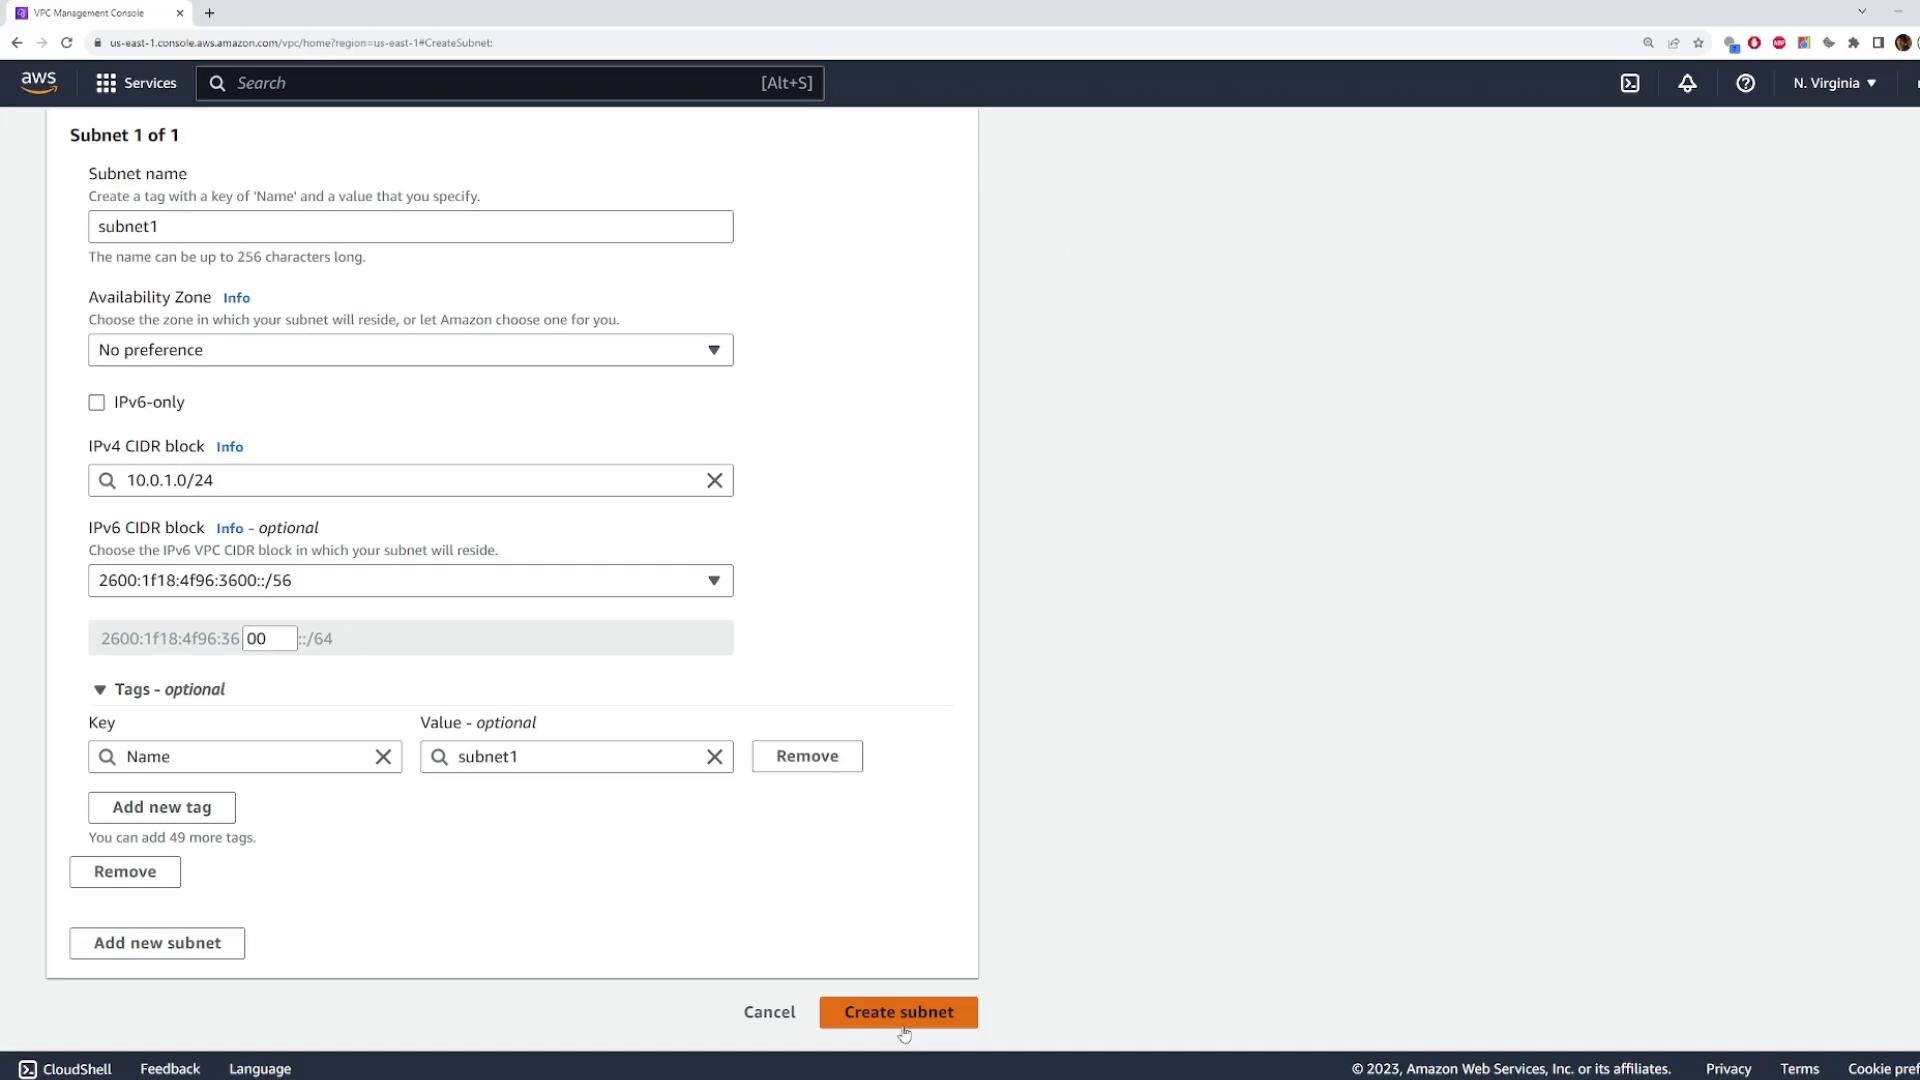
2) Create subnets in the VPC
Create two subnets inside the VPC. For example:- Subnet A:
10.0.1.0/24(with corresponding IPv6 block if using IPv6) - Subnet B:
10.0.2.0/24
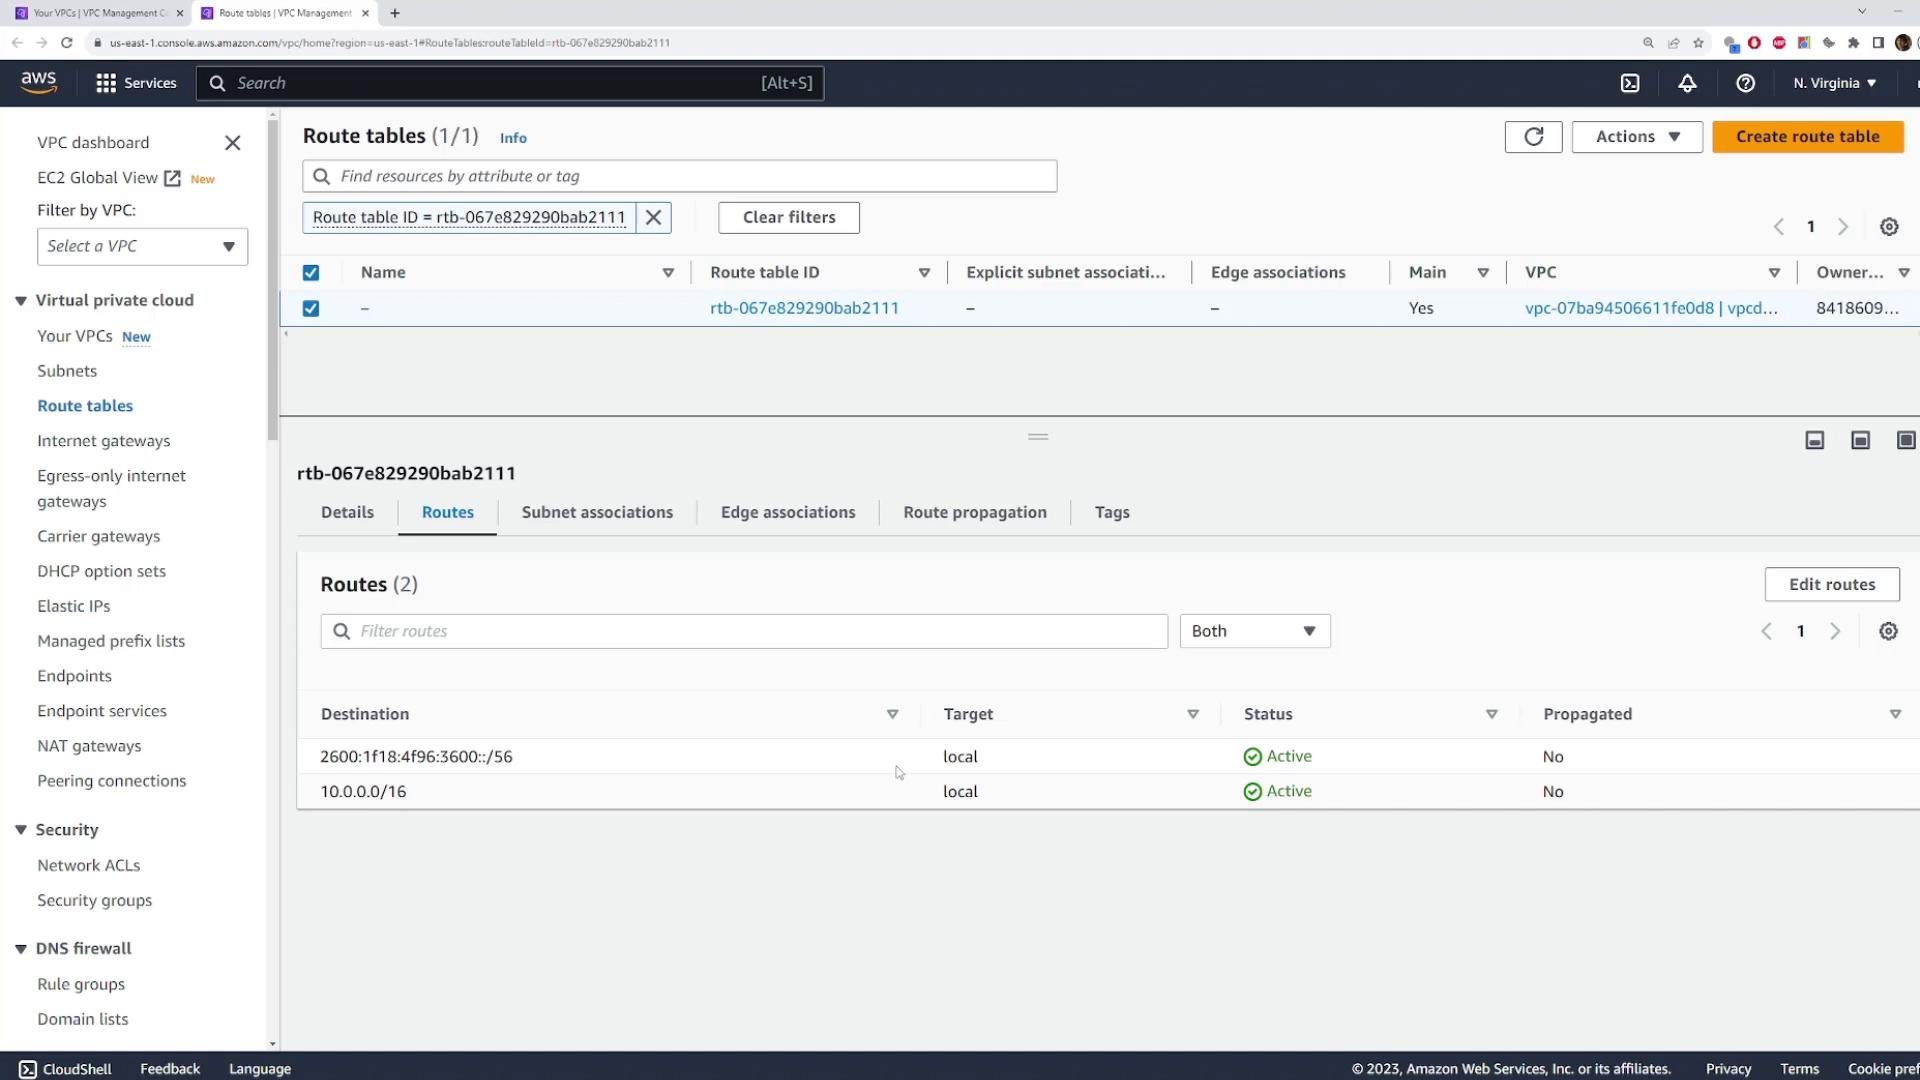
3) Inspect the main route table
When a VPC is created, AWS automatically creates a main (default) route table for that VPC. Any subnet without an explicit association uses this main route table implicitly. Open the main route table to view its default entries. You will typically see:- The VPC-local IPv4 route (example:
10.0.0.0/16) - The VPC-local IPv6 prefix (if IPv6 is enabled)
4) Subnet associations and implicit behavior
If you view the subnet associations for the main route table, AWS will show any subnets that are implicitly associated. These subnets inherit all routes from the main route table until you explicitly associate them with a different route table. When an instance sends a packet, VPC routing looks up the route table associated with that subnet and selects a route using longest-prefix (most specific) match based on the destination IP. Example of prefix specificity:10.0.1.0/24is more specific than10.0.0.0/16, so traffic destined for10.0.1.5will match the/24route first.
5) Create a custom route table and associate subnets
To apply custom routing behavior to a particular subnet, create a new route table for the VPC (for example,my-route-table-01) and then associate a subnet with it.
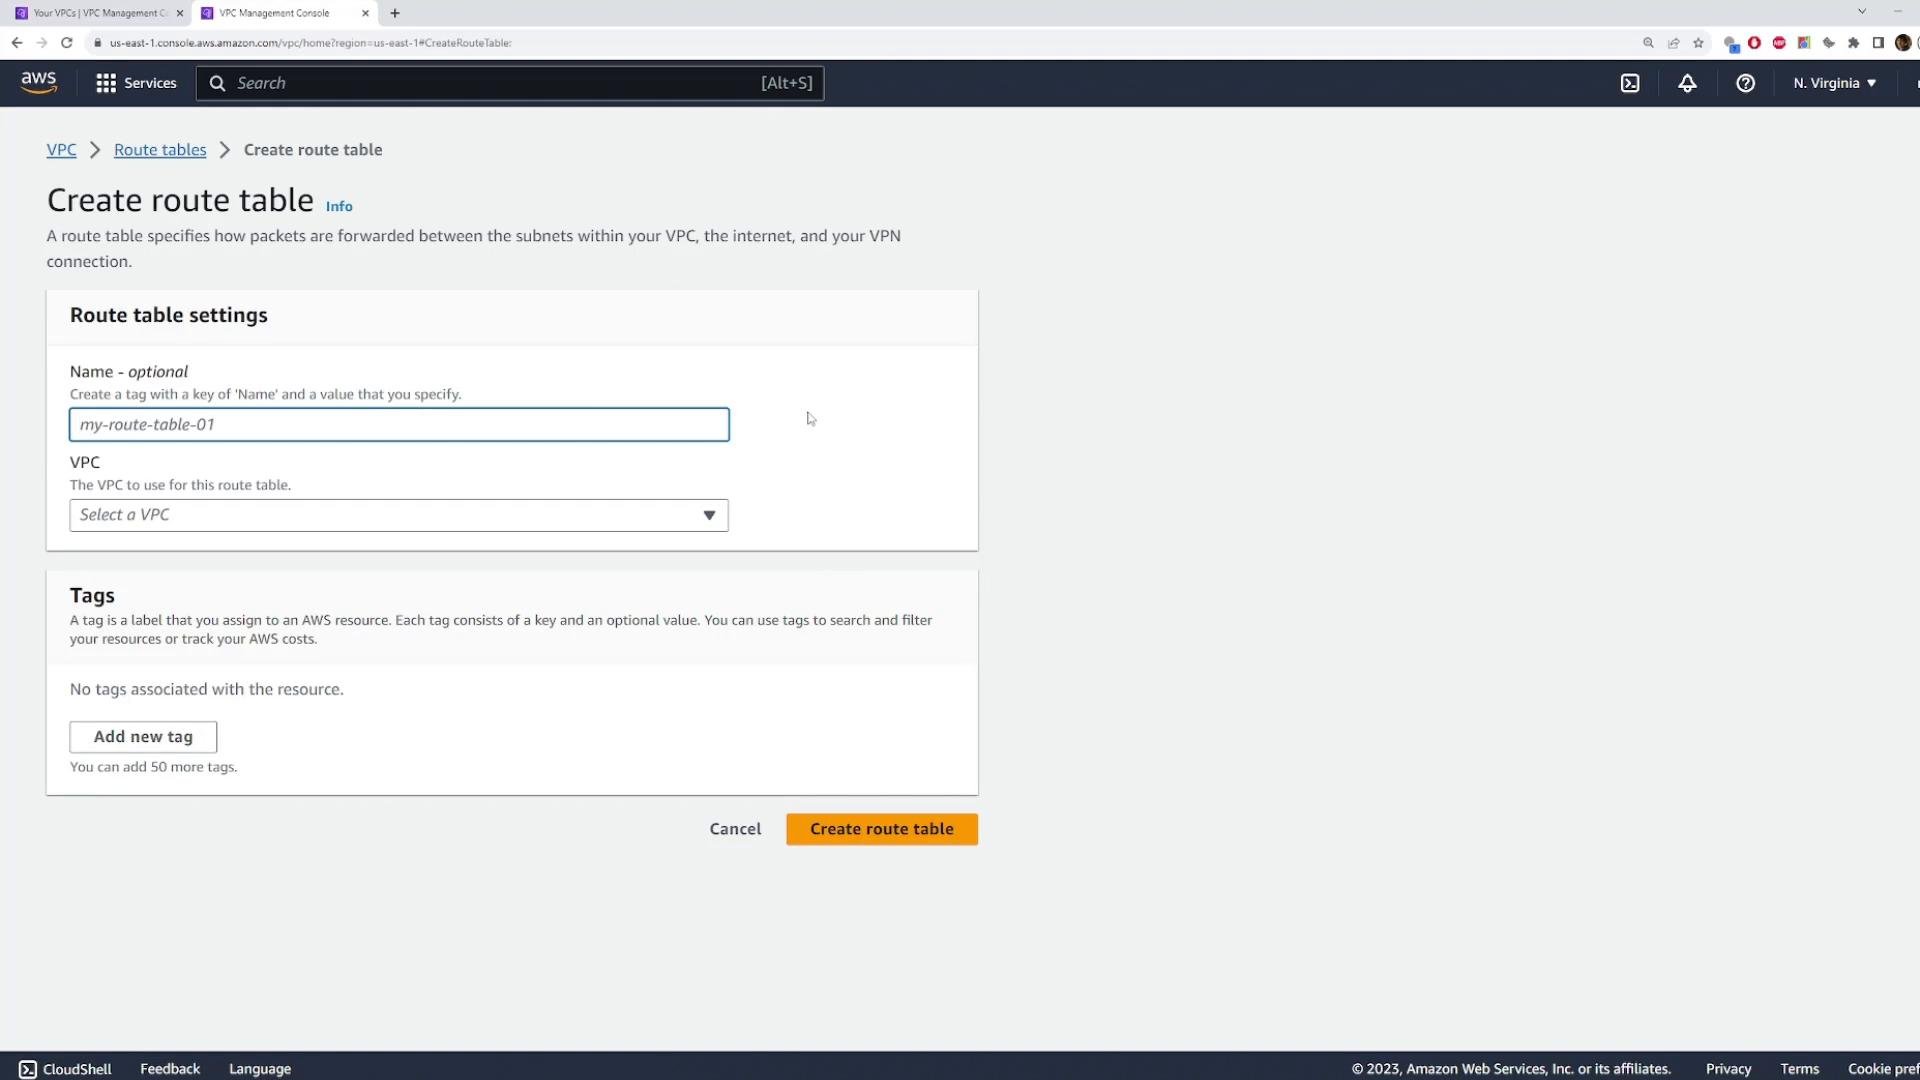
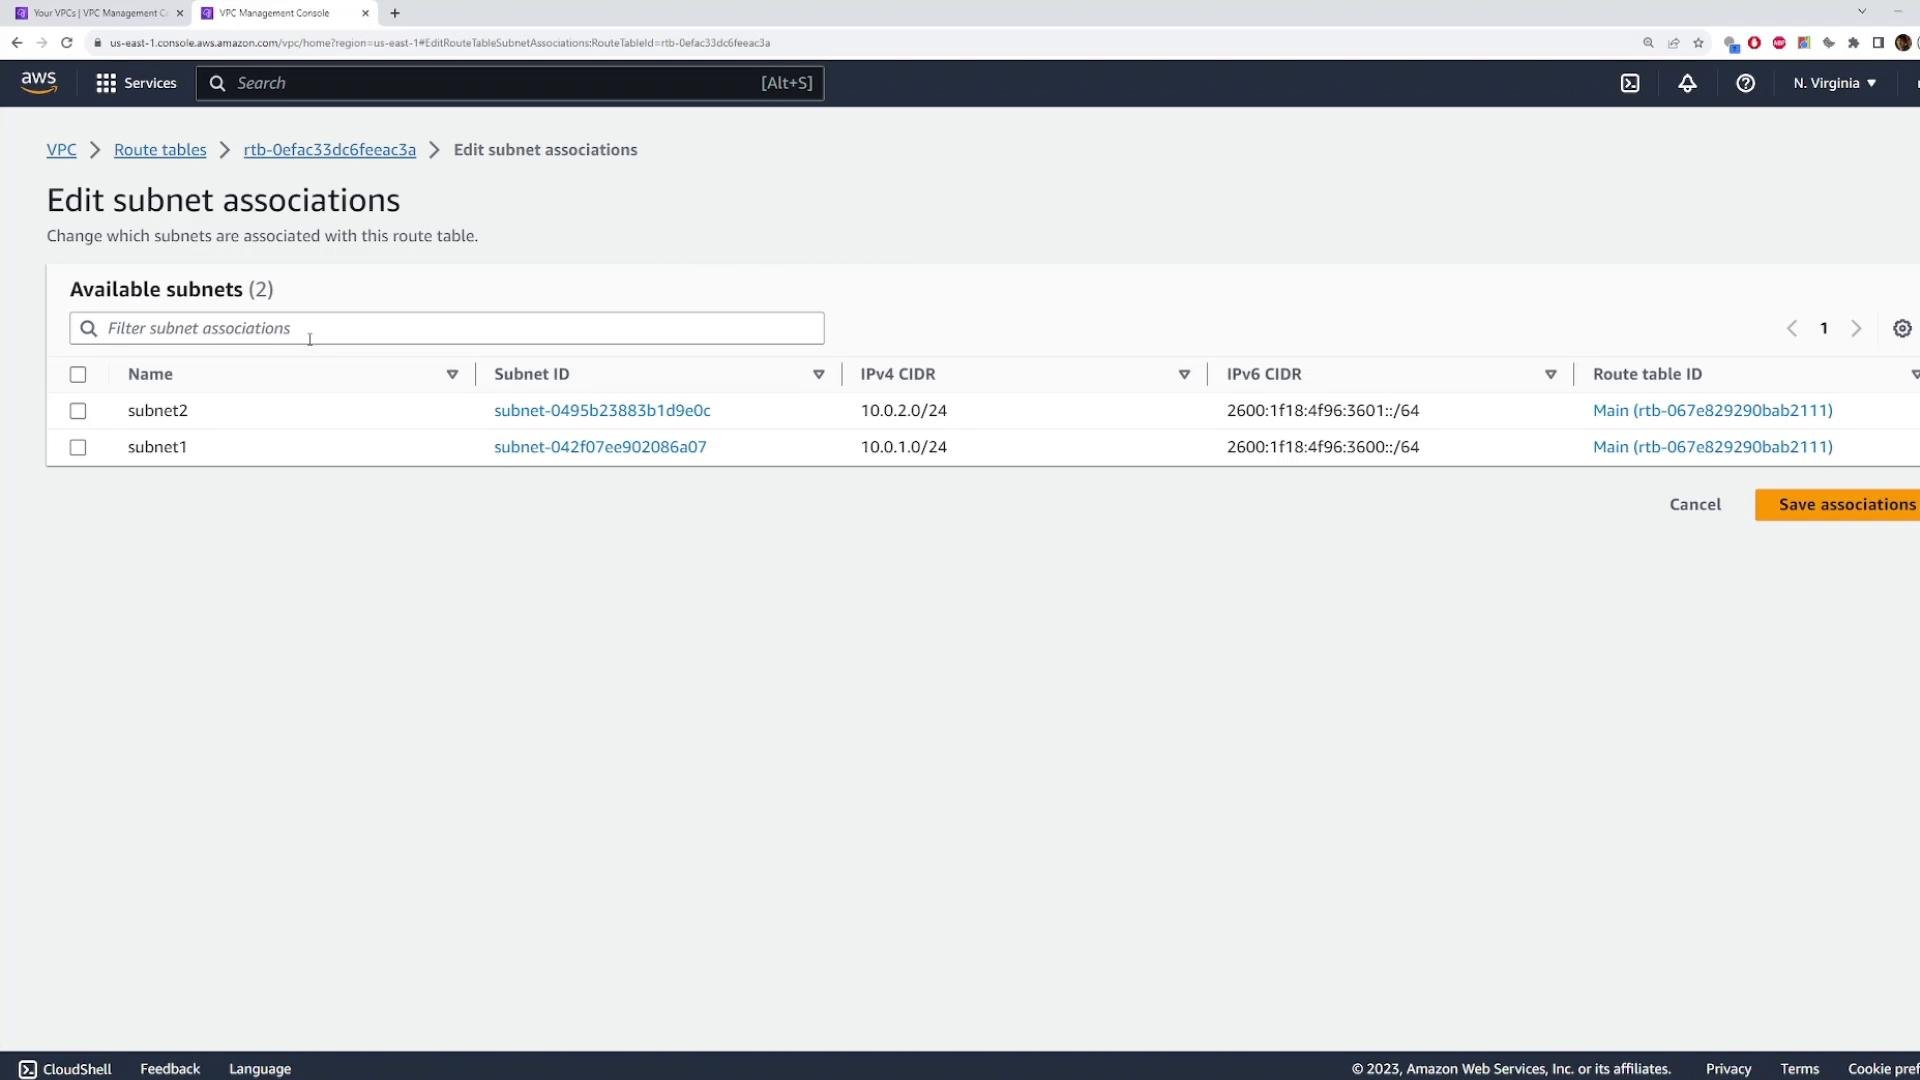
subnet1 with my-route-table-01. From that point, instances in subnet1 use my-route-table-01 for routing decisions. You can create and share route tables across multiple subnets — a 1:1 relationship is not required.
6) Common route edits and targets
Key points:- VPC local routes are created automatically and cannot be removed.
- To enable internet access from subnets, add these routes:
- IPv4 default route: Destination
0.0.0.0/0-> targetInternet Gateway (igw-...) - IPv6 default route: Destination
::/0-> targetInternet Gateway(or other IPv6-capable target)
- IPv4 default route: Destination
- Other common targets: NAT Gateway, Virtual Private Gateway (VGW), VPC peering connection, Transit Gateway (TGW), Network Interface (ENI), or an instance (via instance ID in very specific scenarios).
7) Important note
A subnet can be associated with only one route table at a time. If a subnet has no explicit association, it uses the VPC’s main route table. Route selection uses the most specific (longest-prefix) match for the destination IP.
8) Cleanup (avoid charges)
When you finish the demo, delete the VPC to avoid ongoing charges. Deleting a VPC will also remove many associated resources (subnets, route tables created for that VPC, etc.). Always review the deletion confirmation to verify which resources will be removed.Deleting a VPC is destructive and irreversible. Confirm which resources (NAT gateways, VPNs, peering connections, EC2 instances) will be deleted or remain before you proceed.
9) Links and references
- VPC route tables — AWS Documentation
- Working with route tables — AWS Console guide
- For general VPC concepts: Amazon VPC User Guide