Domain Registration
First, search for “Route 53” in the AWS console and open the Route 53 service. In the Domains section, select “Registered domains.” Since no domains are registered in your account yet, you can choose to either transfer an existing domain or register a new one. In this demonstration, we will register a new domain.- Check Domain Availability:
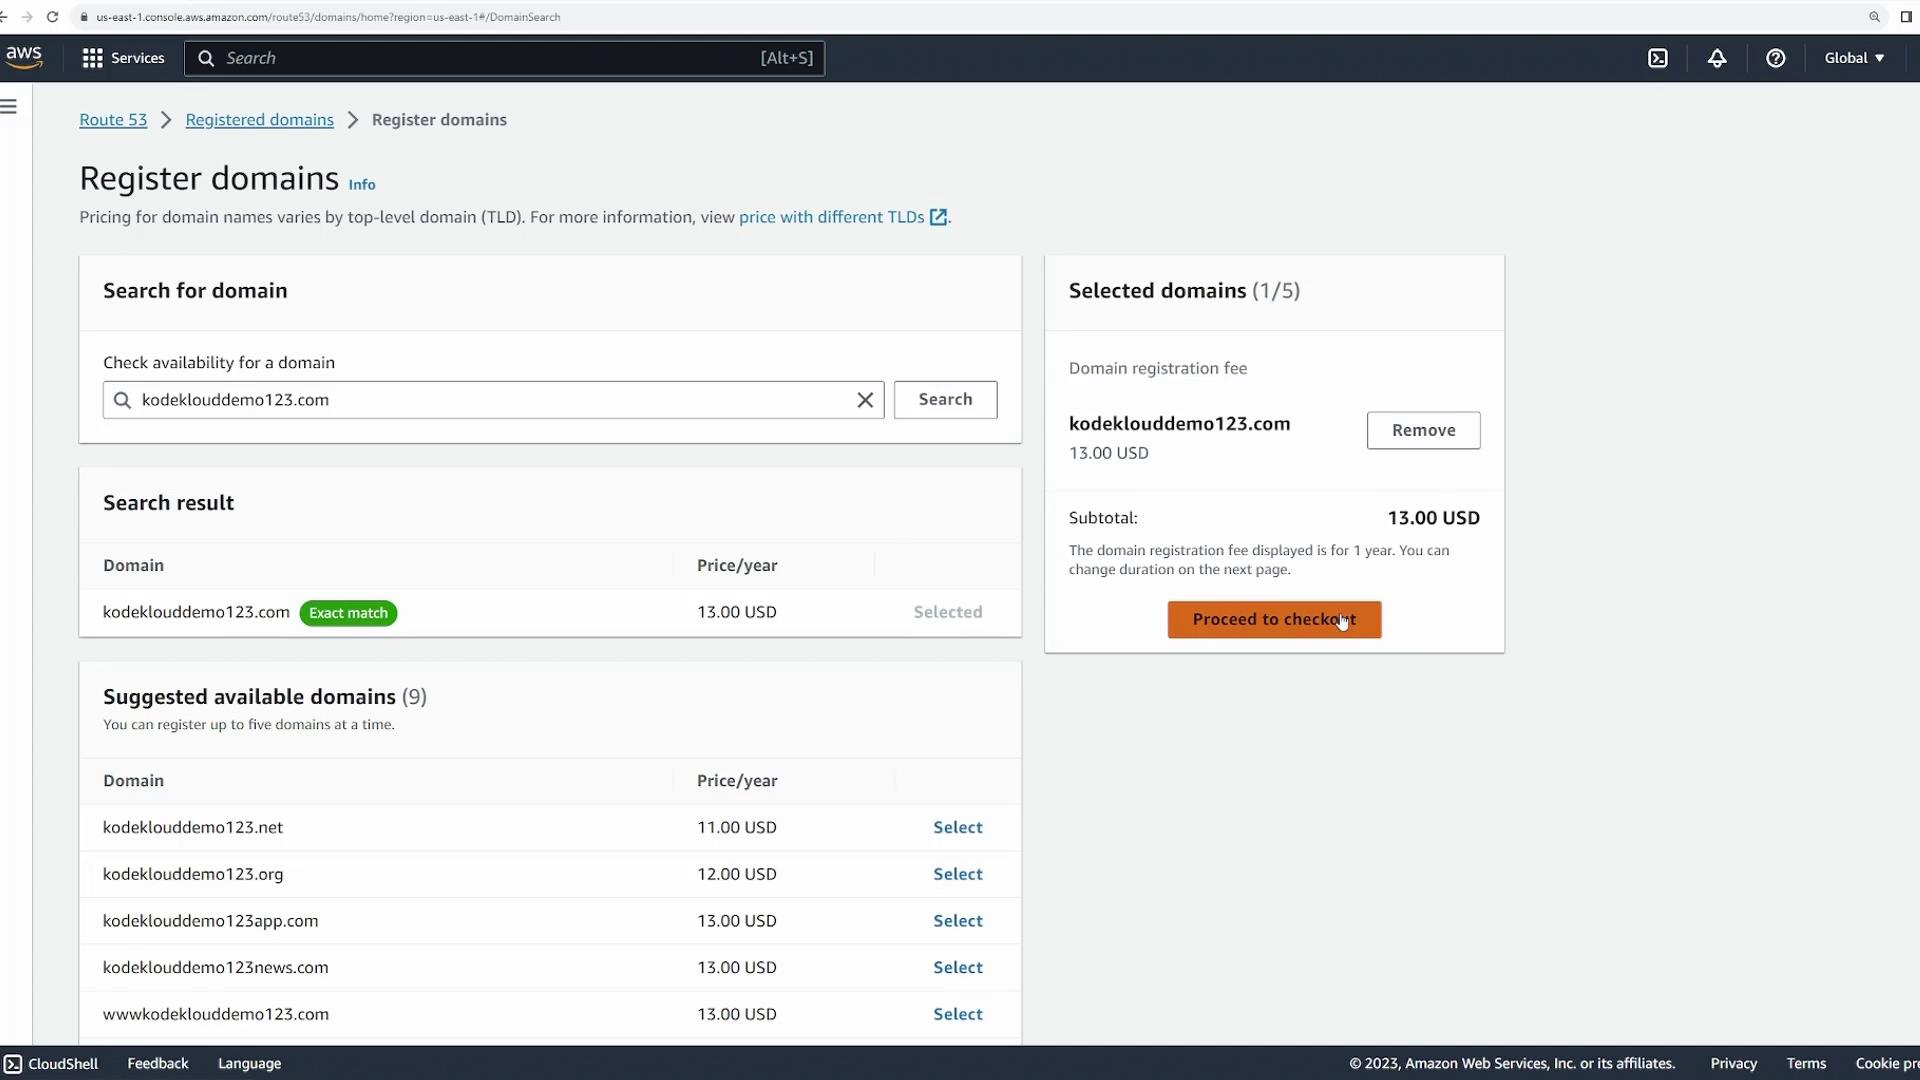
Enter a domain name to see if it is available. For demonstration purposes, we will use a dummy name such as “KodeKloudDemo123.com” (alternatively, “KodeKloudDemo123.link”). In this example, we select the .com option, priced at $13 per year. Click on the domain and then click “Proceed”.
- Checkout Process:
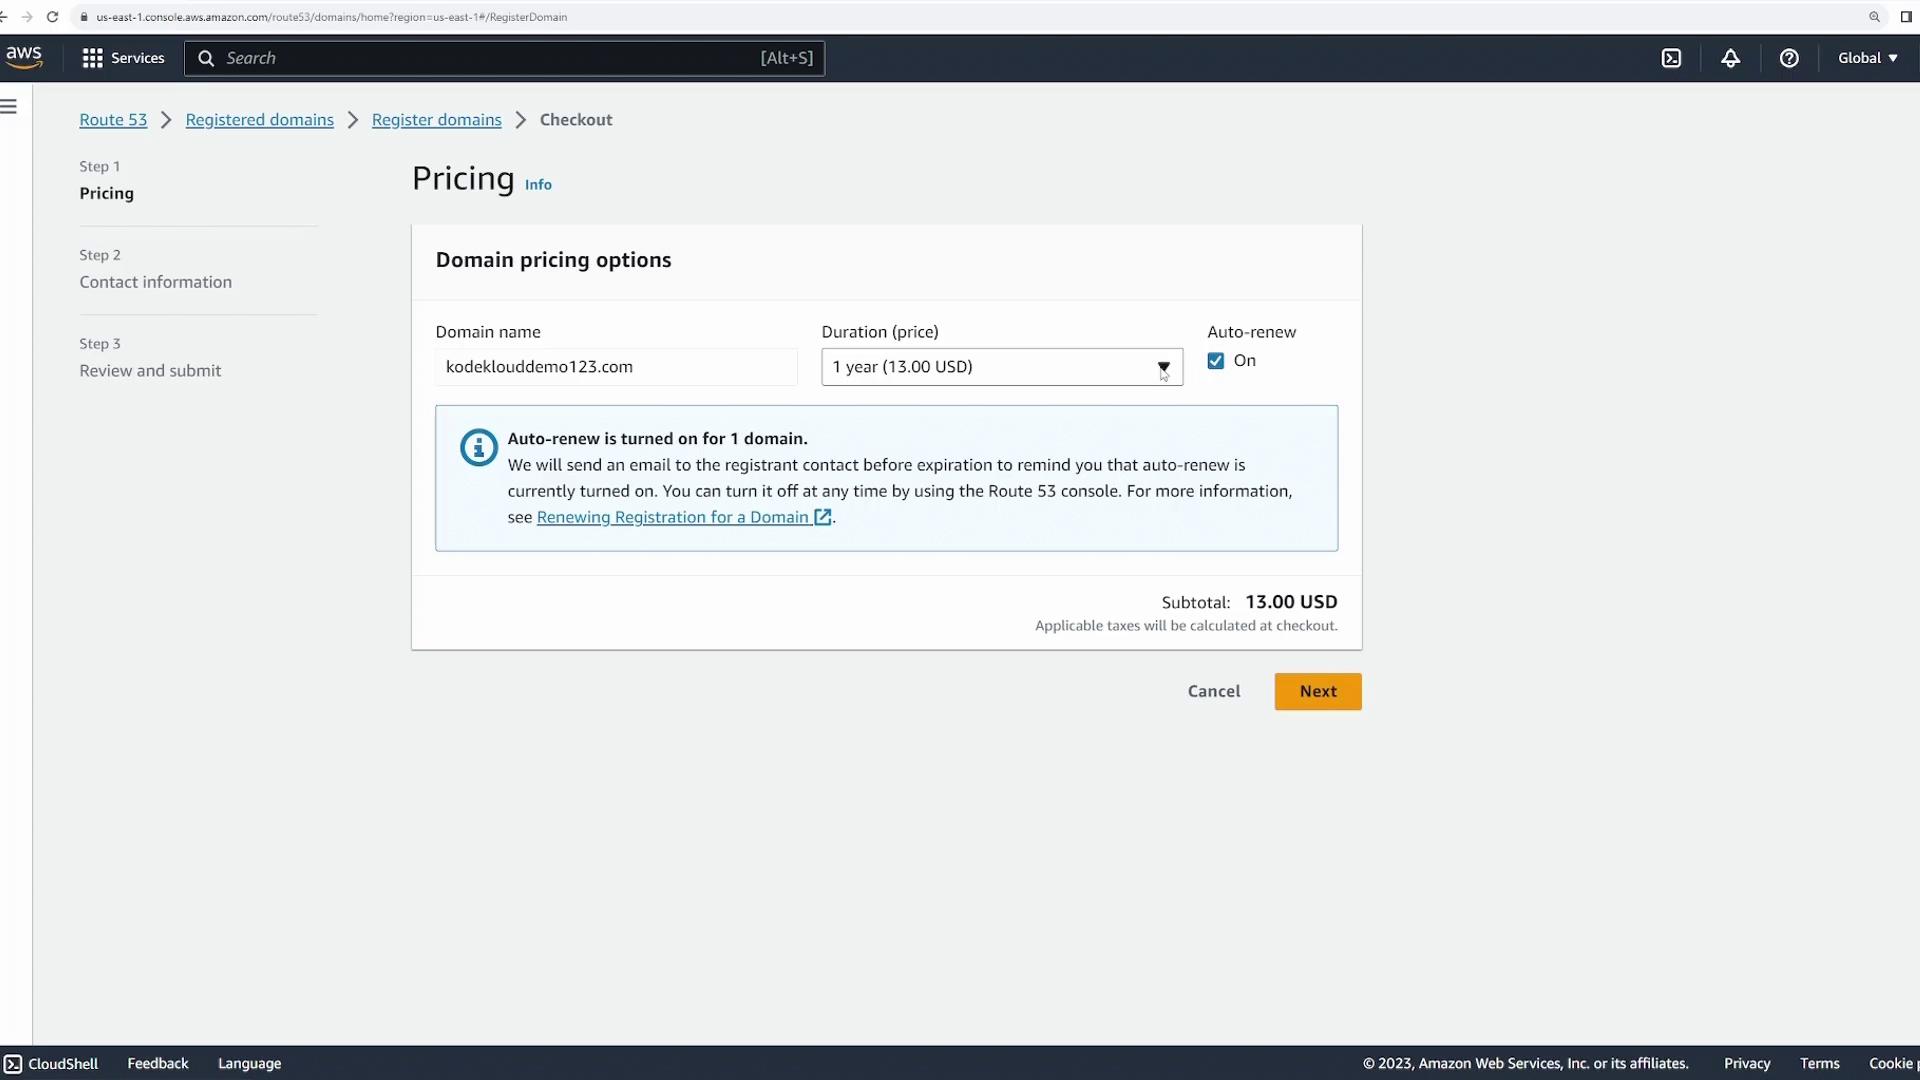
At checkout, you’ll see an option to enable auto renew, which automatically renews your domain after one year, ensuring uninterrupted ownership.
If auto renew is deselected, you must manually renew the domain—a process that can easily be overlooked.
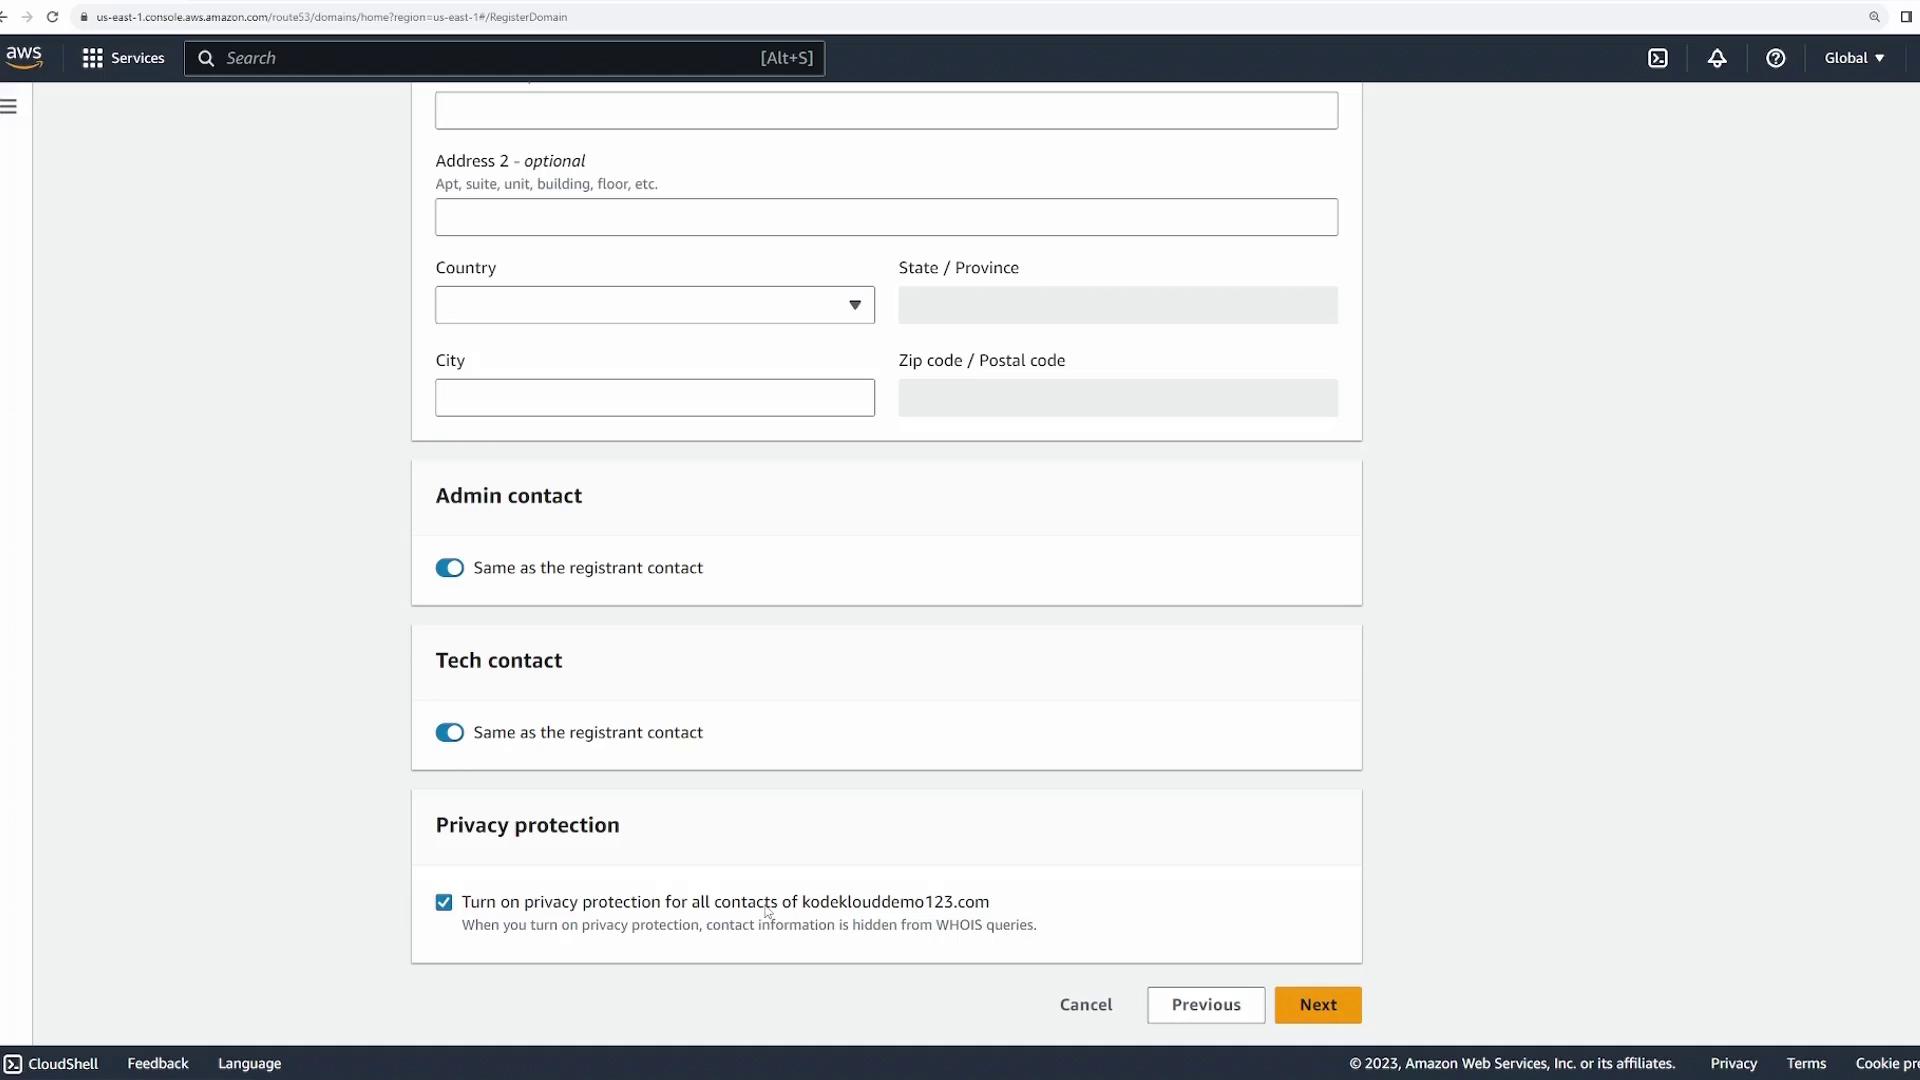
- Provide Contact Information:
Fill out the form with your details and be sure to enable privacy protection for all contacts associated with your domain.
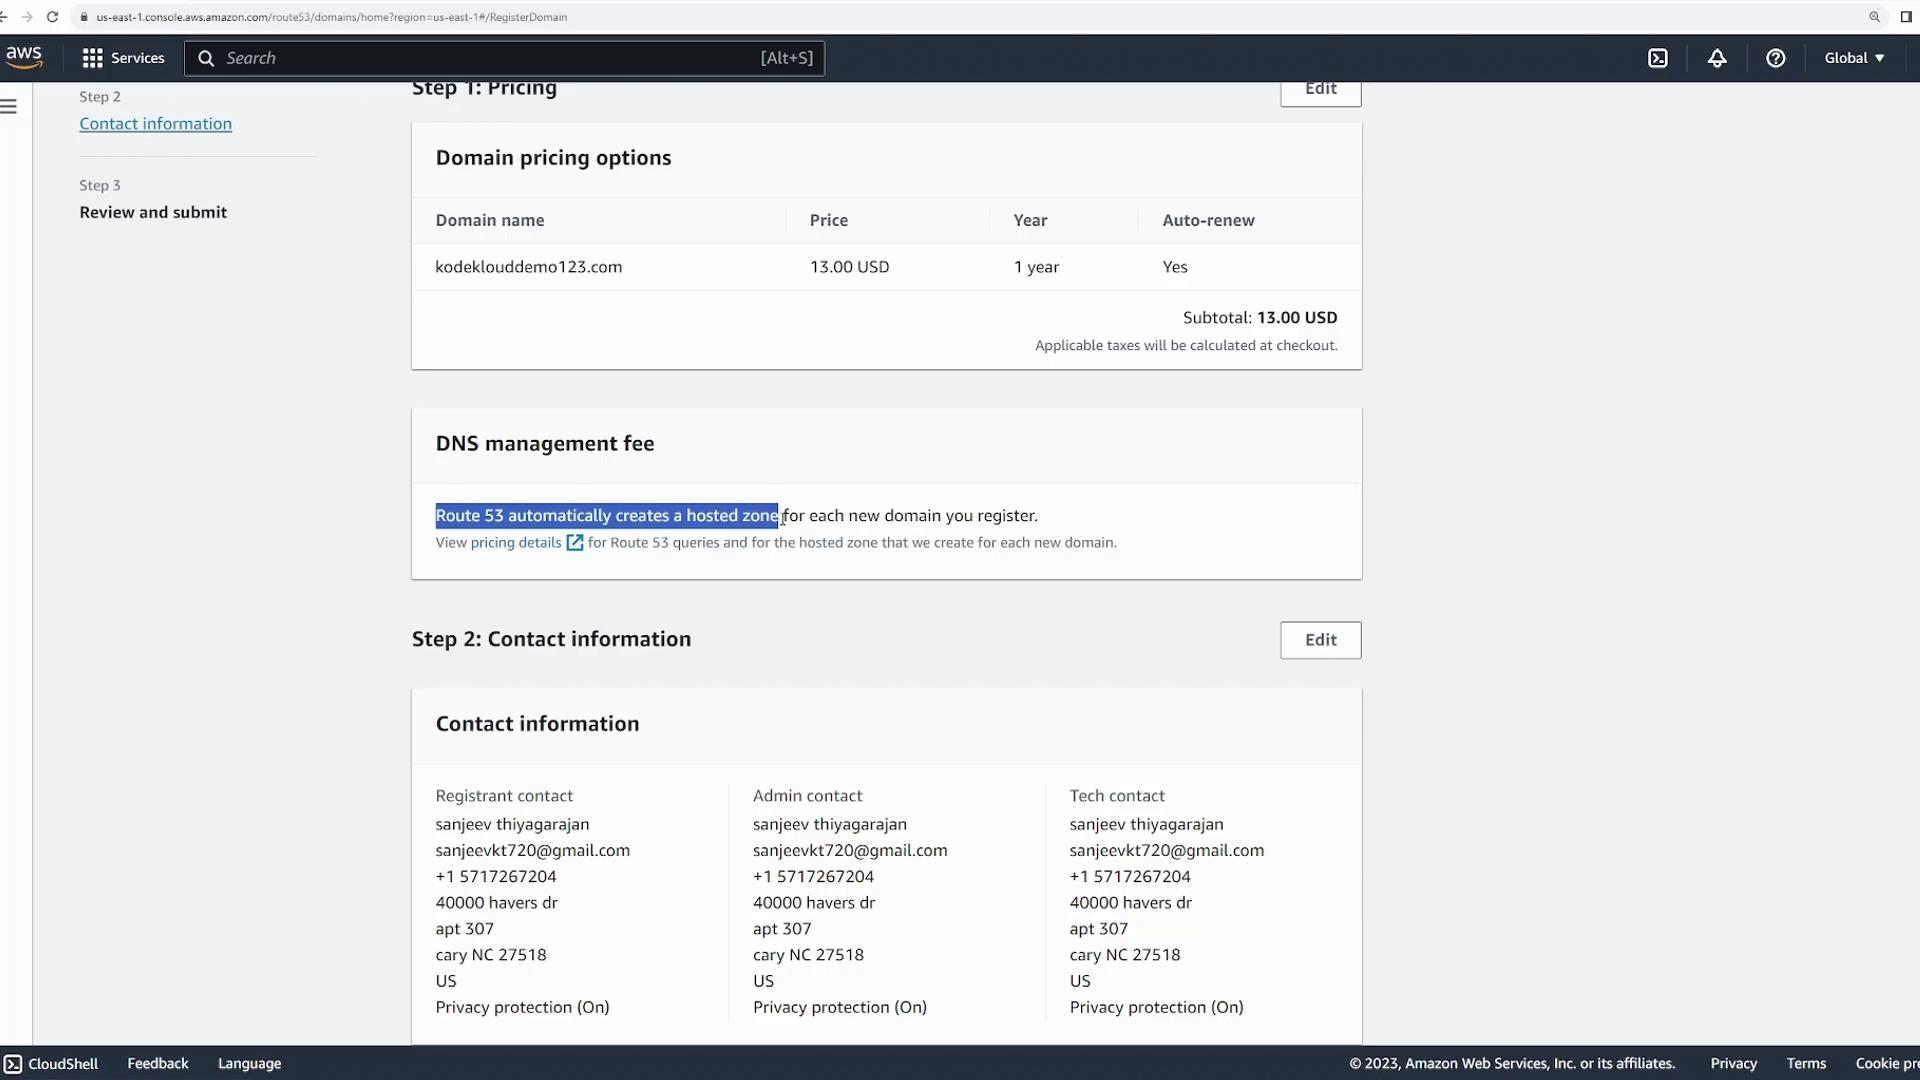
- Review & Submit:
Click “Next” to review your registration details. On the recap page, you’ll see the purchase summary along with a note on a small hosted zone management fee charged in addition to the registration fee.
- Post-Registration Details:
Once registered, your domain listing will display details such as the registration date, expiration date (typically one year out), and the auto renew setting. Clicking on your domain provides additional info including the four name servers assigned by AWS. These name servers identify the hosted zone where your DNS records are stored.

DNS Management
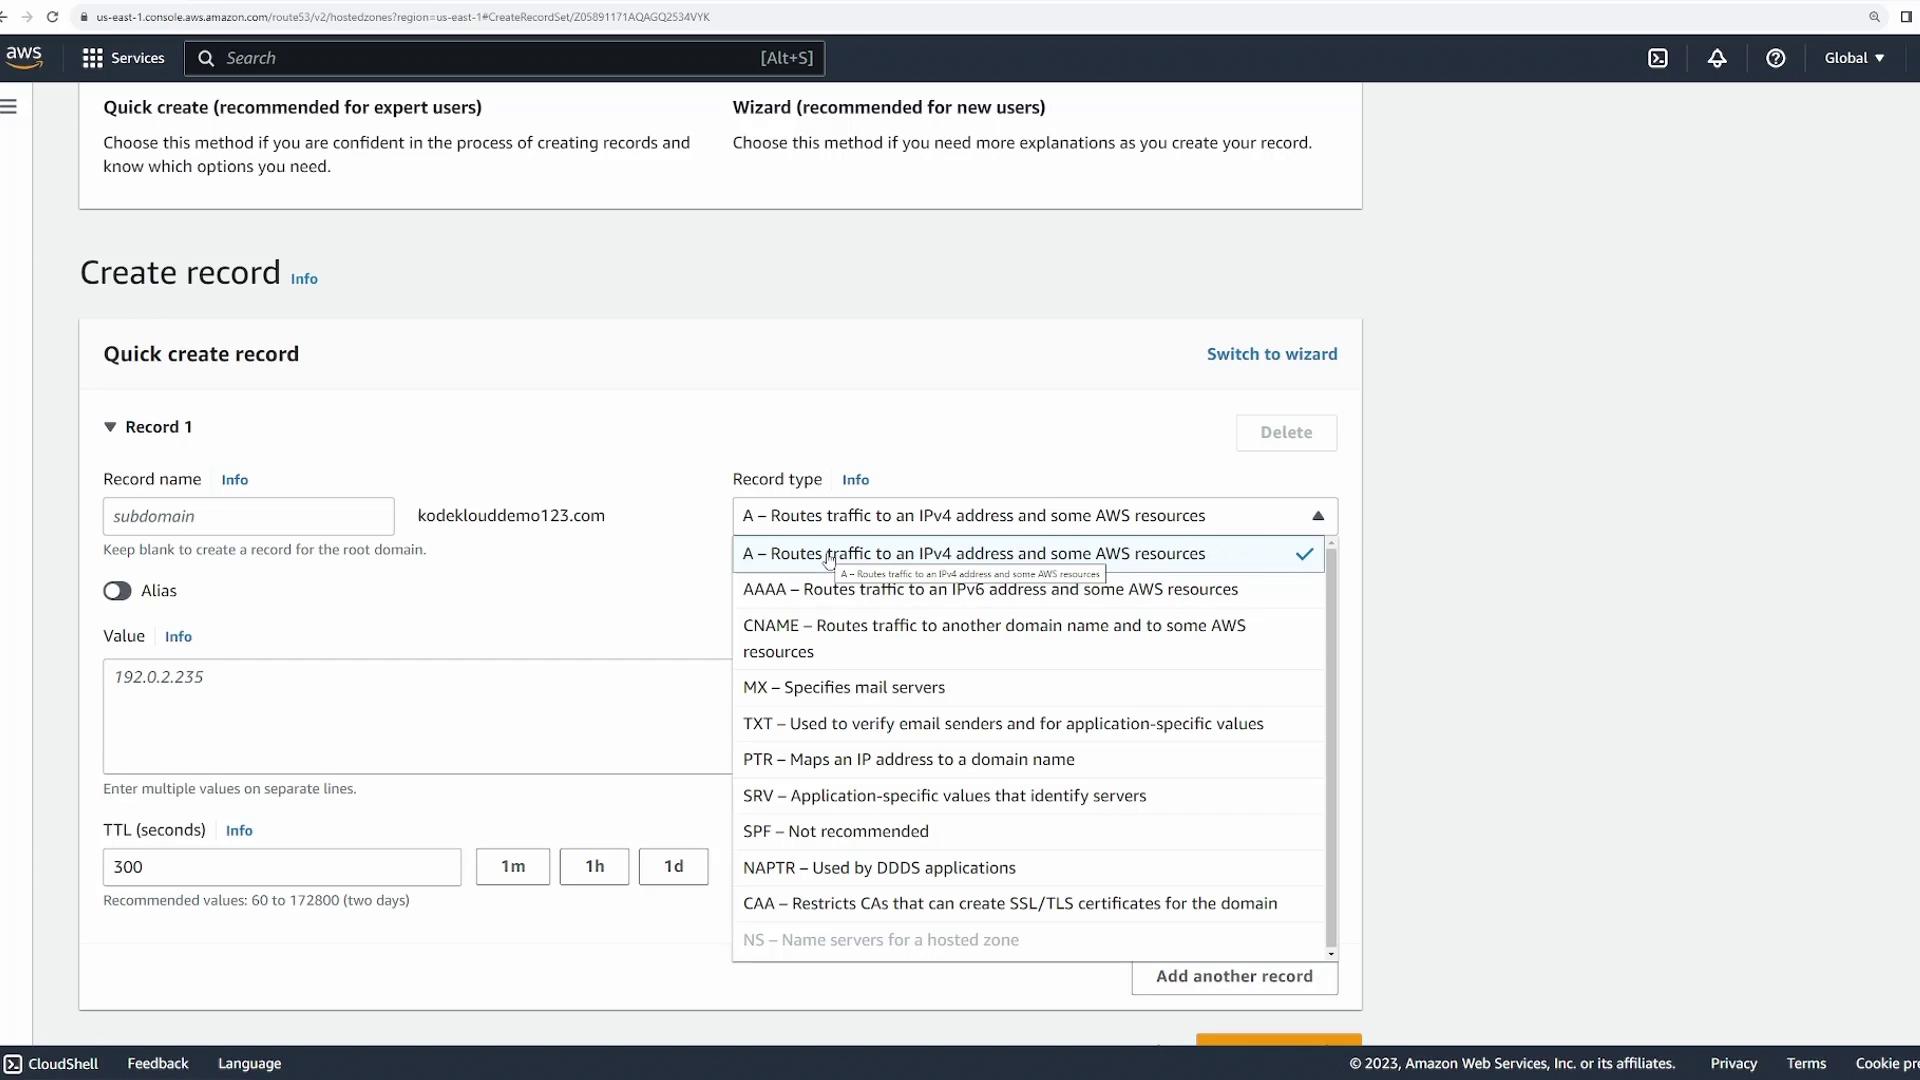
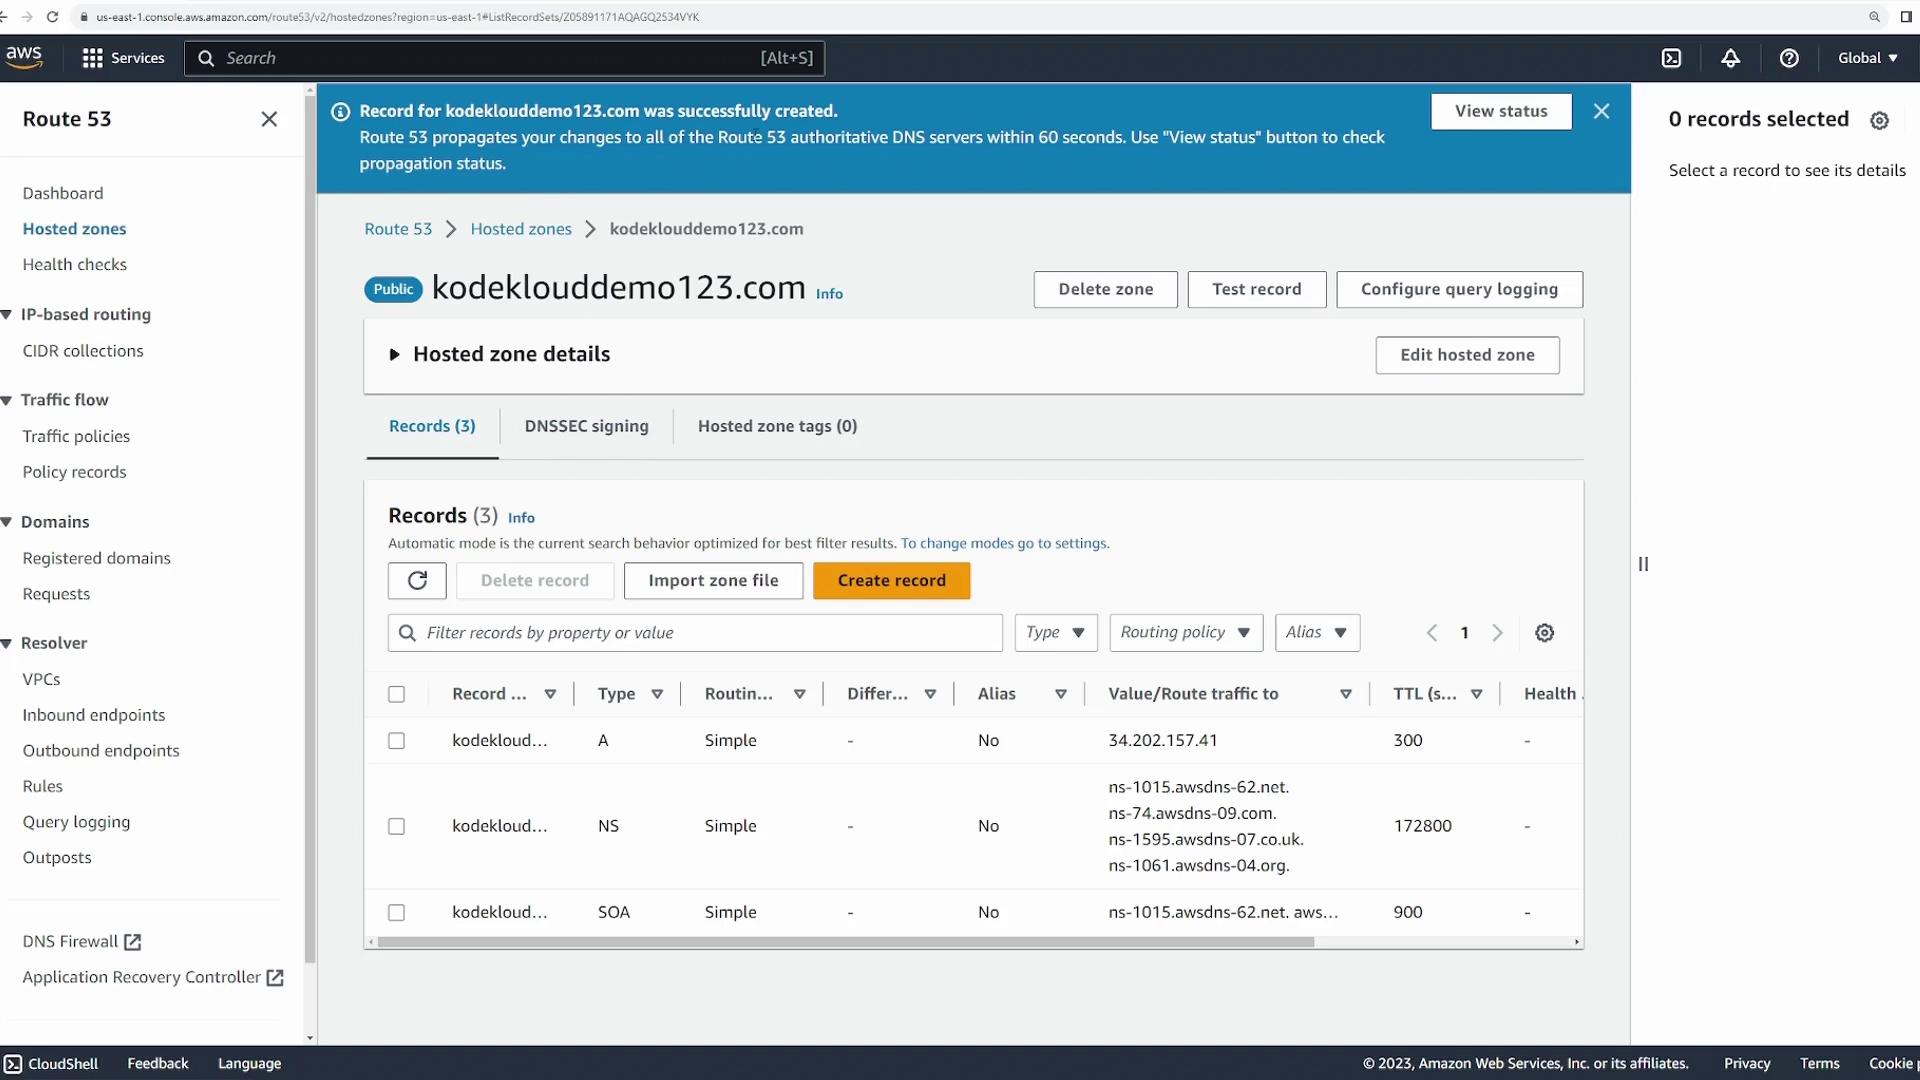
After domain registration, manage your DNS records by navigating to the “Hosted zones” section. Here you will find a hosted zone for your newly registered domain. Clicking on the hosted zone reveals details like the reserved DNS servers and the default DNS records configured by AWS. To add a new DNS record, click on “Create records.”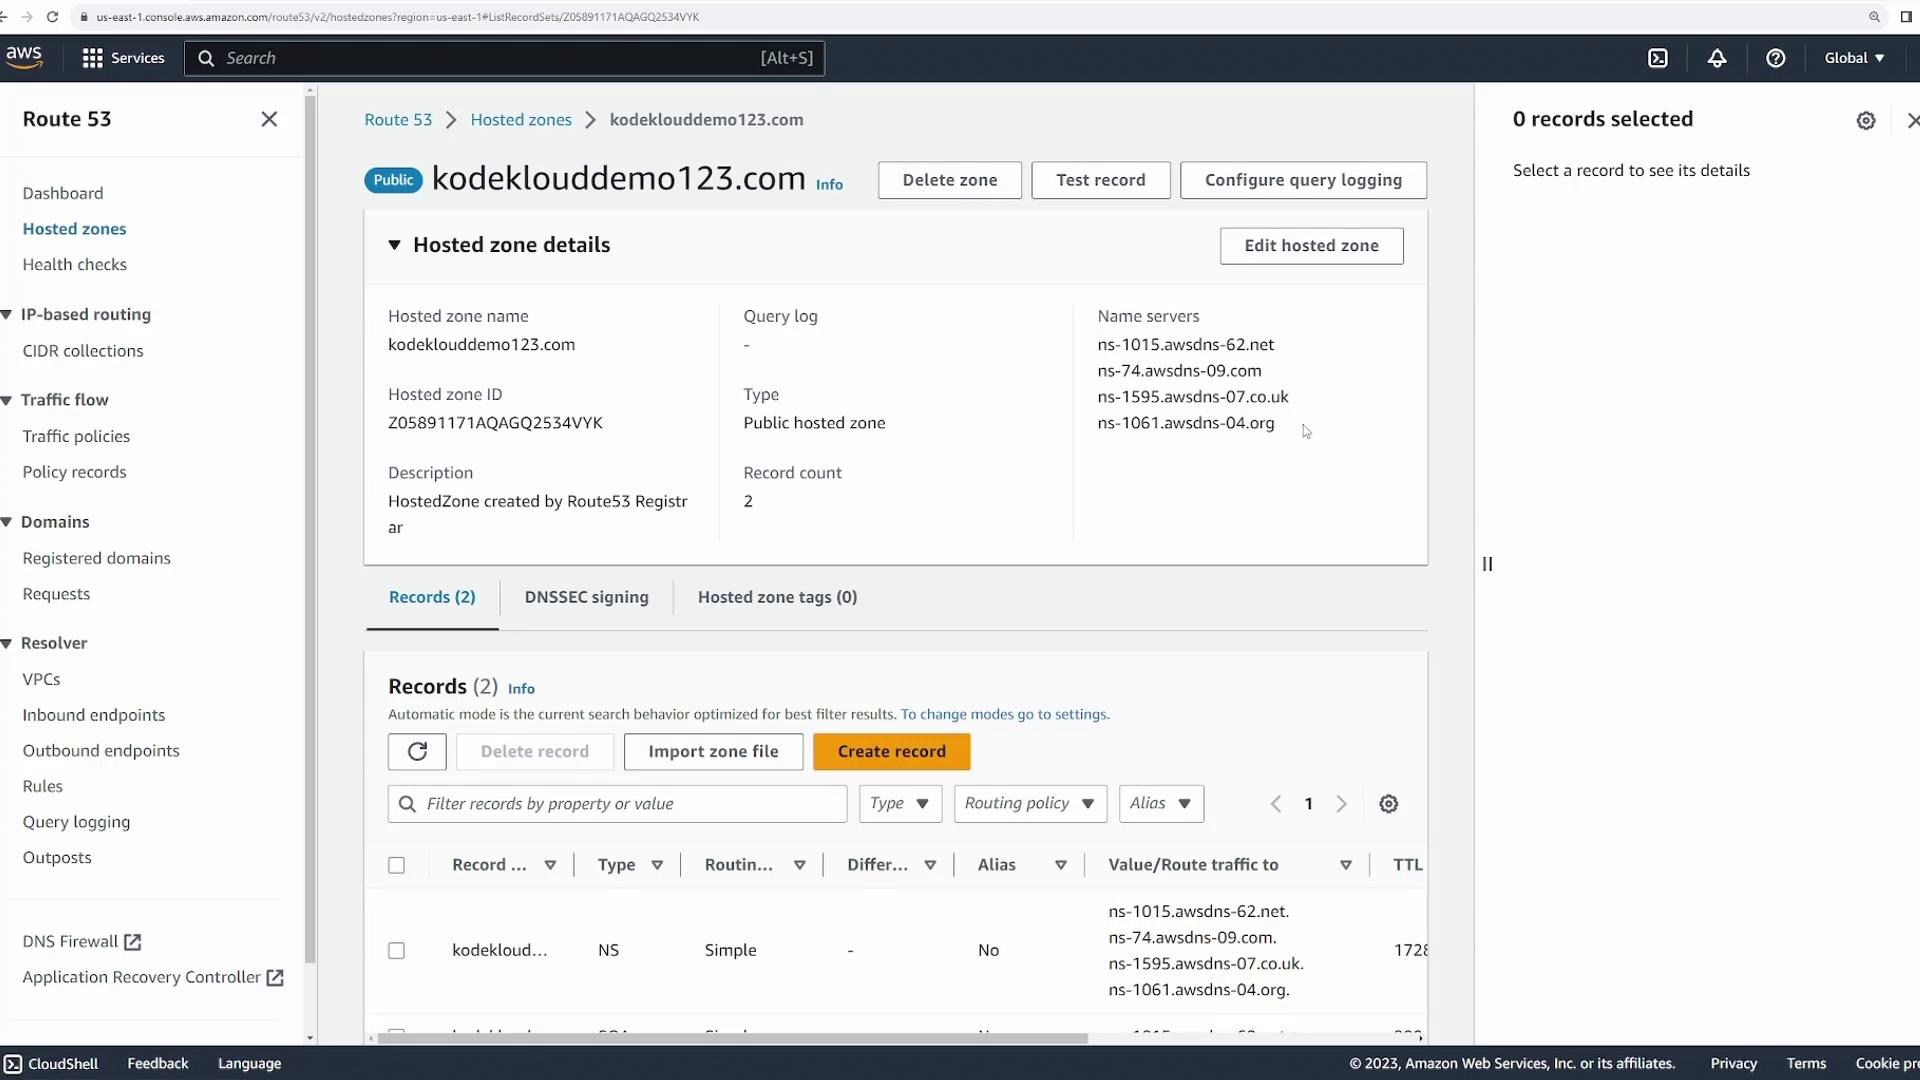
- In the “Create record” menu, select the A record type.
- Specify whether the record applies to the root domain (e.g., “kodeklouddemo123.com”) or a subdomain (e.g., “www.kodeklouddemo123.com”).
- Paste the server’s IP address, set the desired TTL (Time To Live), and create the record.