

This demo shows the difference between an ephemeral public IPv4 address (assigned from the Amazon pool) and an Elastic IP (a static address you allocate to your account). You can follow the steps in the EC2 console or automate them using the AWS CLI or SDKs. See the References section for links.
What happens to a regular public IP on stop/start?
Ephemeral public IPv4 addresses assigned by AWS are not permanent. The typical behavior for a single-ENI instance:- The instance keeps the same private IPv4 address across stop/start.
- The public IPv4 address assigned from Amazon’s pool is released when the instance is stopped and a new public IPv4 address may be assigned when it is started again.
- Initial public IP:
52.90.159.117 - Stop the instance (Instance state → Stop).
- After stopping, the Public IPv4 address field becomes blank.
- Start the instance (Instance state → Start) and wait until it returns to running.
- After restart the public IPv4 changed (in the demo it got a
3.*.*.*address).
- After restart the public IPv4 changed (in the demo it got a
Elastic IP overview
- Elastic IP = a static public IPv4 address you allocate to your AWS account.
- You can associate an Elastic IP to an instance or a network interface.
- As long as you keep the Elastic IP allocated to your account, the address remains yours and can be reassigned at will.
- AWS may charge for Elastic IPs that are allocated but not associated with a running instance — release any addresses you don’t need.
Allocate an Elastic IP
- In the EC2 console, open Elastic IPs.
- Click Allocate Elastic IP address.
- Leave the default (Amazon pool of IPv4 addresses) and click Allocate.
35.173.92.86). That address is now reserved for your account.
Associate the Elastic IP with an instance
- Select the Elastic IP, then choose Actions → Associate Elastic IP address.
- Choose to associate to an Instance (or to a specific network interface).
- If the instance has multiple private IPs, select the private IP to associate. In this demo there is only one private IP, so select the instance and click Associate.
35.173.92.86 in this demo). Make sure security groups and network ACLs allow the traffic you plan to test (for example, allow ICMP for ping or TCP/22 for SSH).
Verify reachability from your local machine:
35.173.92.86) because the Elastic IP is associated with the instance and remains allocated to your account.
Clean up: disassociate and release
When you’re finished, disassociate the Elastic IP from the instance first:- Select the Elastic IP → Actions → Disassociate Elastic IP address.
- Select the Elastic IP → Actions → Release Elastic IP addresses.
Quick comparison
Console view
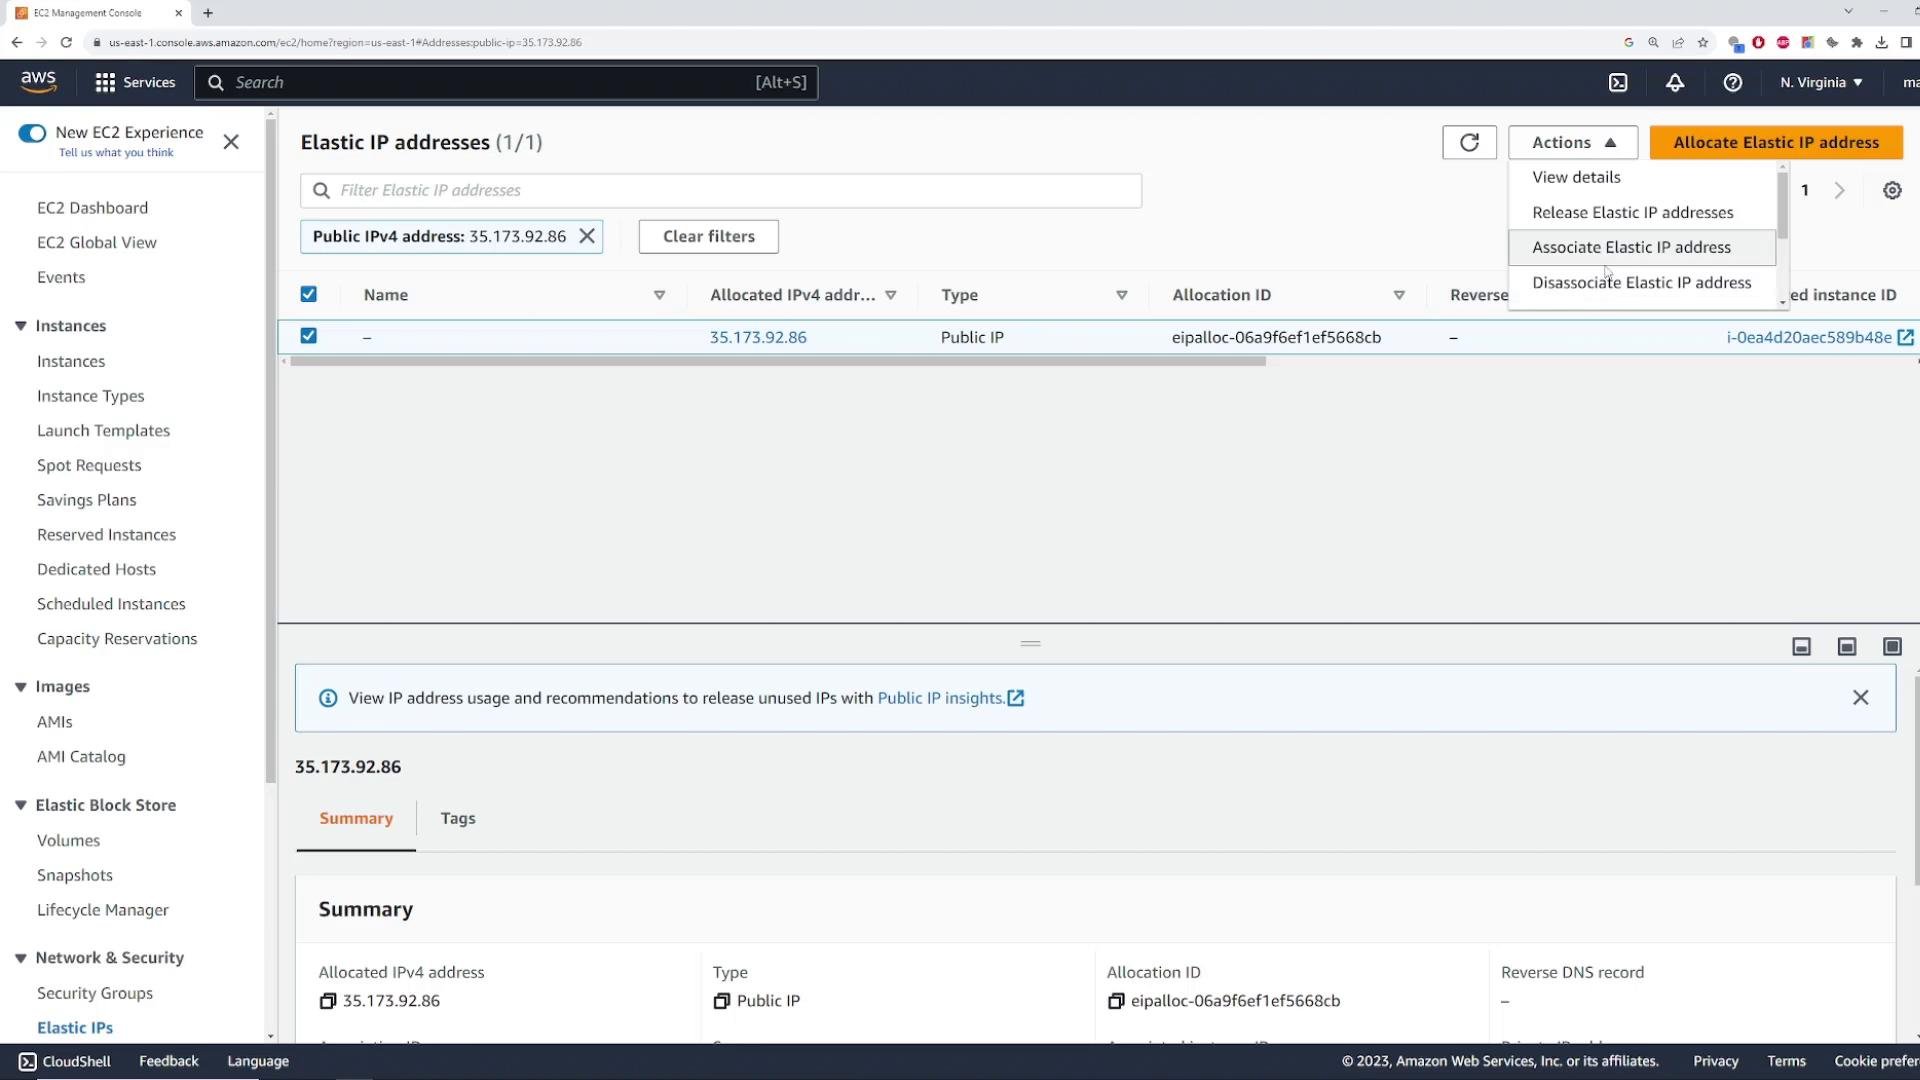
Remember: You cannot release an Elastic IP while it is still associated with a resource. Disassociate it first, then release it. Also note AWS may charge for allocated Elastic IP addresses that are not associated with a running instance — release any addresses you no longer need.