This demonstration involves uploading the CSV file to an S3 bucket and then querying the data using Amazon Athena. All steps—from uploading data to executing SQL queries—are covered in this guide.
Uploading the CSV to S3 and Configuring Athena
Once you have uploaded your CSV file to an S3 bucket, the next step is to set up Amazon Athena to query the data. Follow these steps:- Navigate to the Amazon Athena Console.
-
Clean up any default databases or test queries by removing unnecessary test databases. For example, you can drop a pre-existing test database using:
-
Click on “Create Table” and follow the on-screen prompts to define a new table linked to your CSV data. During the set-up, you need to provide:
- Table name and database name (either an existing one or a new one).
- S3 location of your CSV file.
- File format, which in this case is CSV.
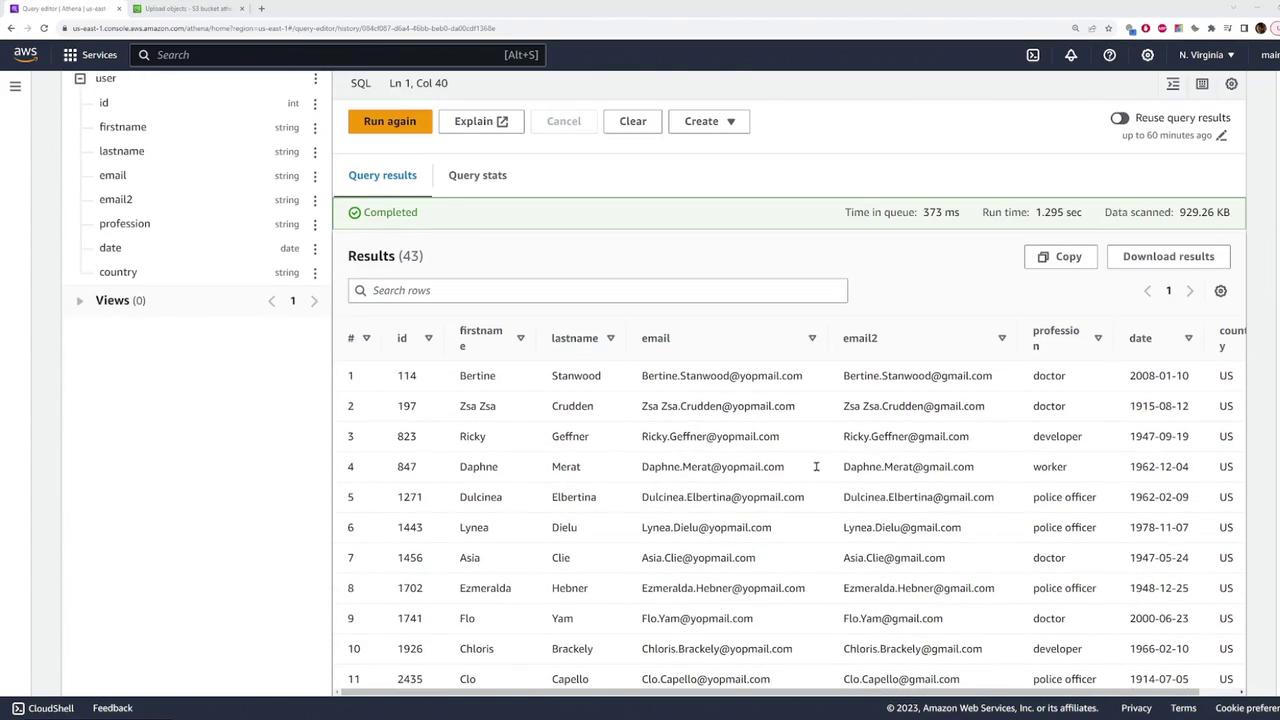
- Specify the details of the CSV such as the field delimiter (a comma) and configure each column’s data type. For example, map the ID to an integer type, text fields such as first name, last name, and emails to string types, and the join date to a date type.

Querying Data with Amazon Athena
To execute queries on your newly created table, follow these guidelines:- Open a new query tab in the Athena console.
-
To retrieve all the records from the table, use the following SQL statement:
This query will return over 10,000 results corresponding to all the CSV entries.
-
To limit output for testing purposes, use the SQL LIMIT clause:
This query returns only 10 rows, providing a quick preview of your data.
-
To filter data (for example, to display only users from the United States), run:
Cleaning Up Resources
After you’ve completed your queries, it’s a good practice to clean up your Athena environment by removing any tables or databases you no longer need. To delete the table, execute:Cleaning up your resources helps prevent unnecessary charges and keeps your AWS environment organized.