Remember that VPCs are region-specific. Ensure you select the appropriate AWS region before proceeding.
Step 1: Select Your AWS Region
First, log in to your AWS Management Console and choose the region where you want to deploy your VPC. For example, if you select the US East (N. Virginia) region, your VPC will be created there. If your deployment requires a different region, simply select the one that fits your needs.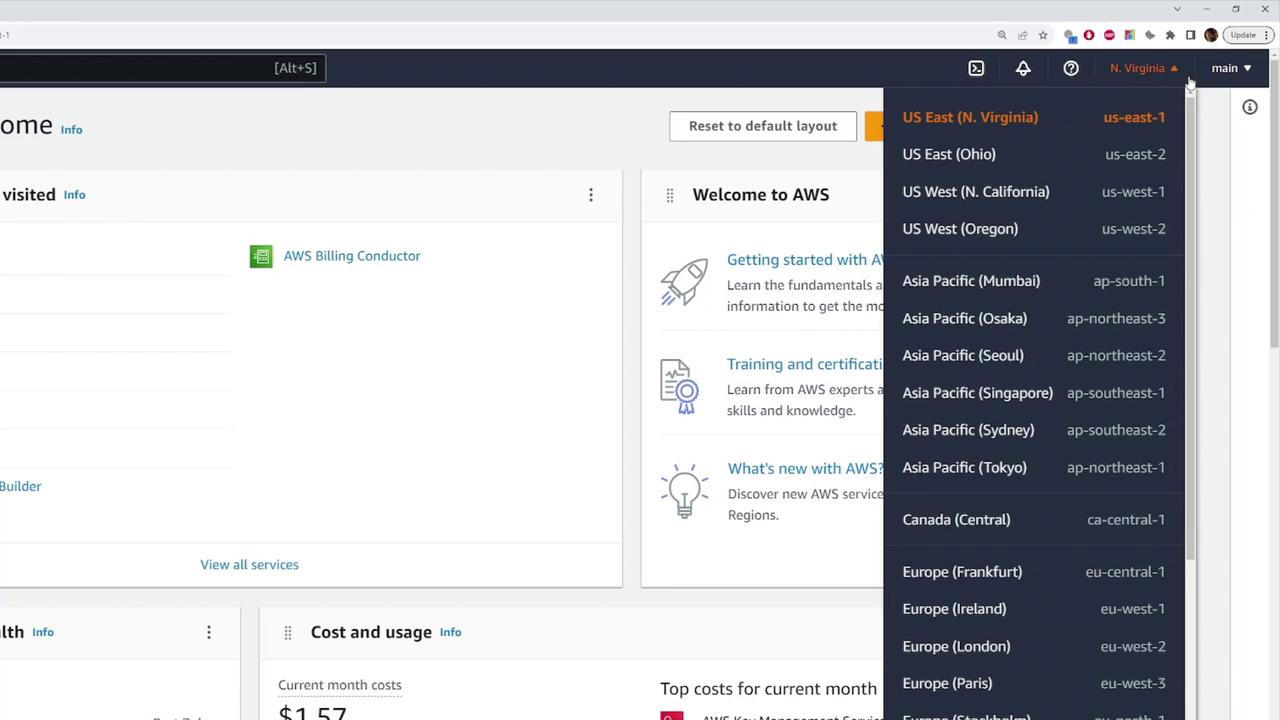
Step 2: Navigate to the VPC Dashboard
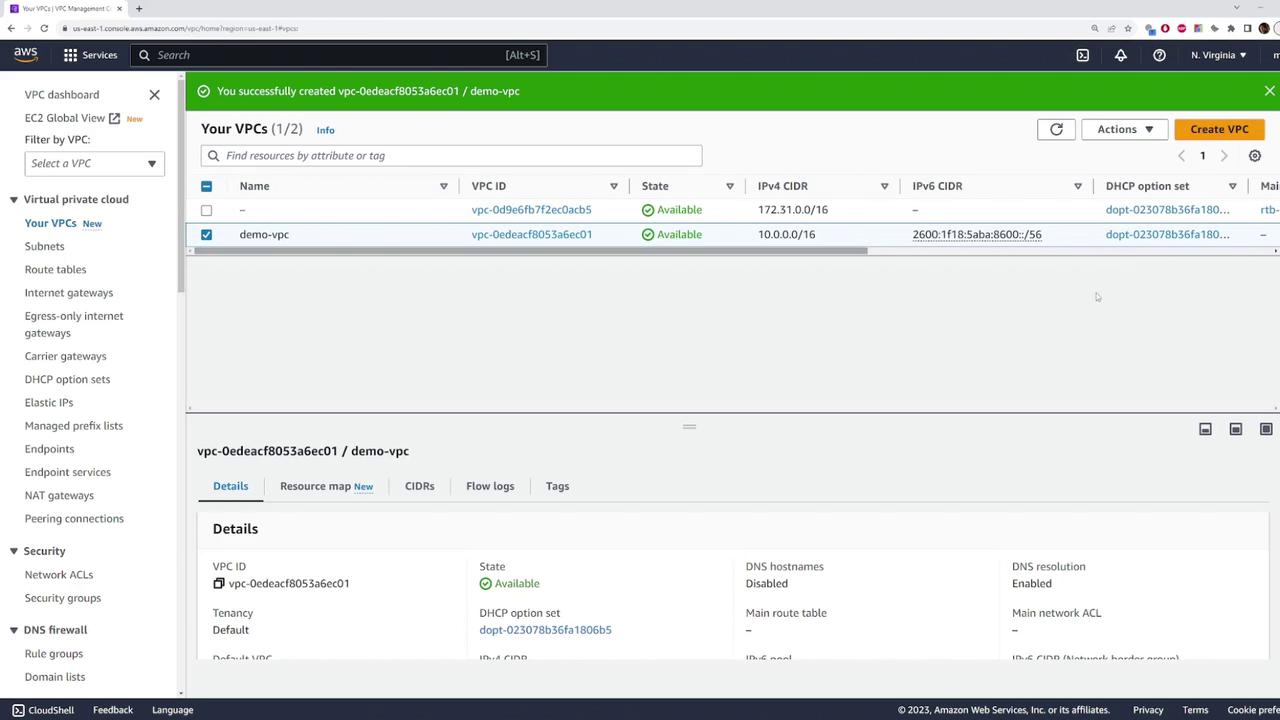
Use the search bar at the top of the AWS console to search for “VPC.” This action will direct you to the VPC page where you can view all VPC-related networking resources. To see an overview of your VPCs, click on “Your VPCs” in the left-hand navigation panel.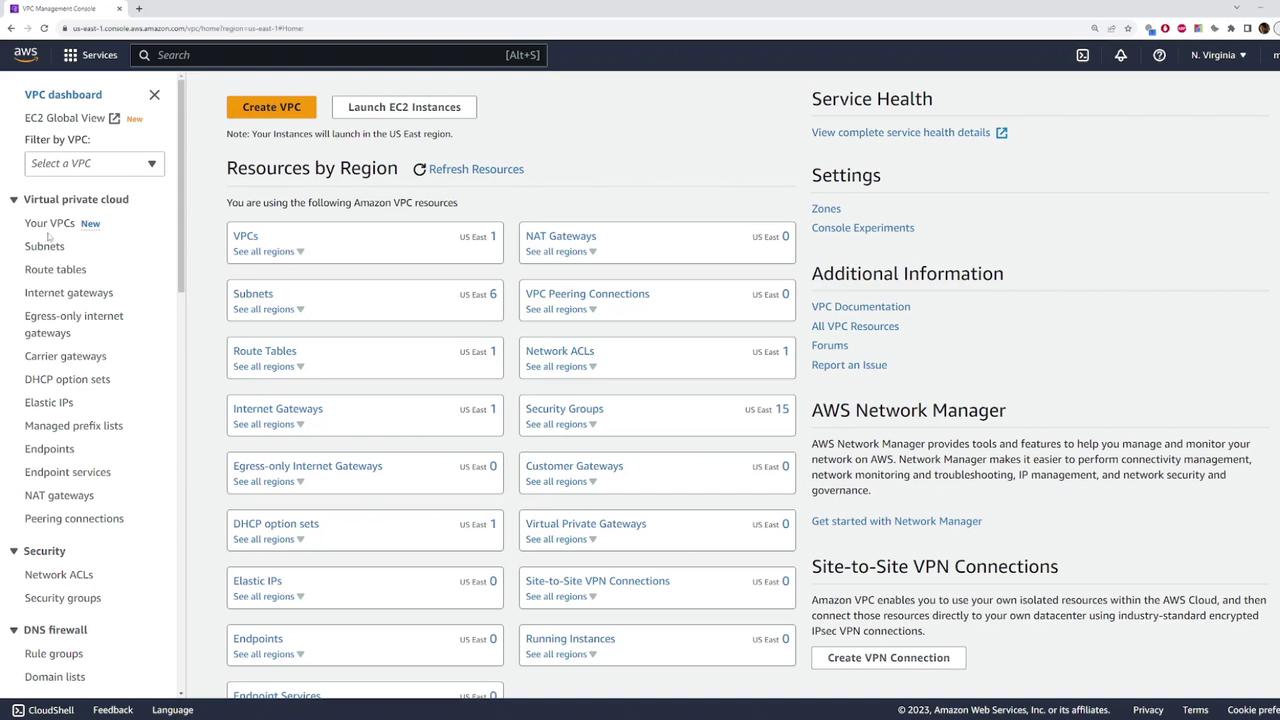
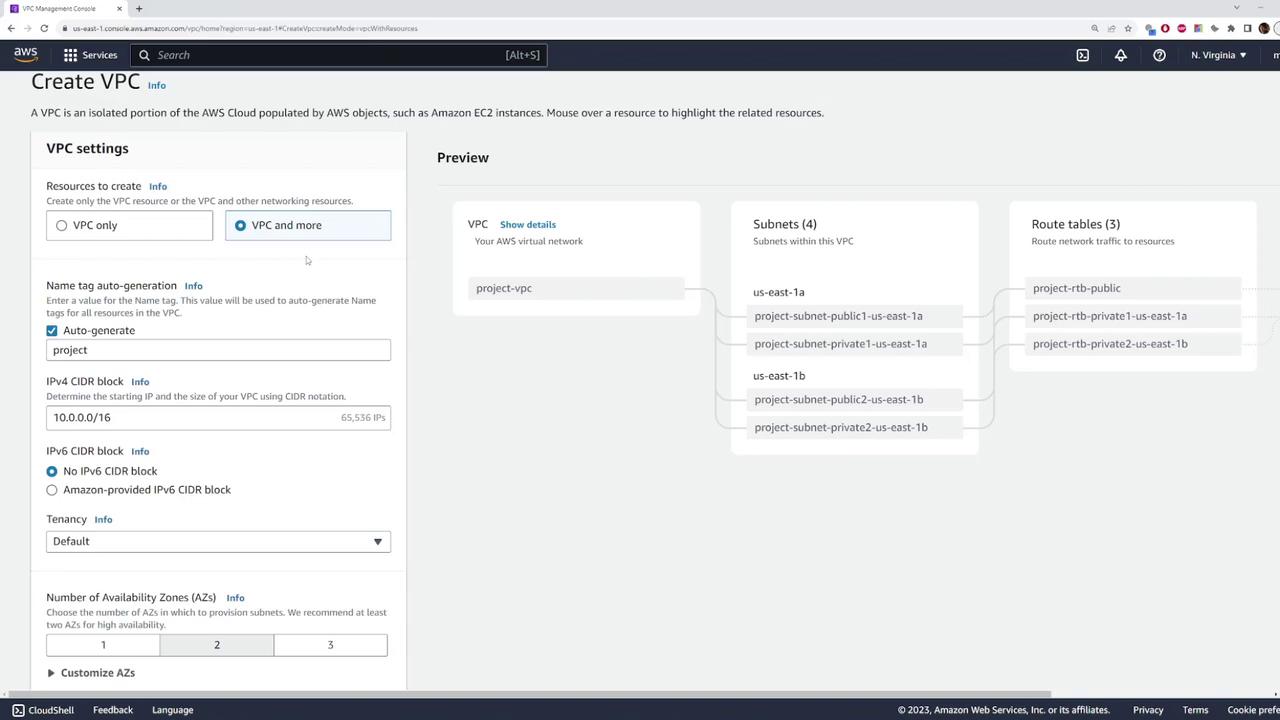
Step 3: Create a Custom VPC
- Click the Create VPC button.
- AWS now provides two options:
- Create a standalone VPC
- Deploy a VPC along with a full set of networking resources (subnets, route tables, Internet Gateways, and NAT Gateways)
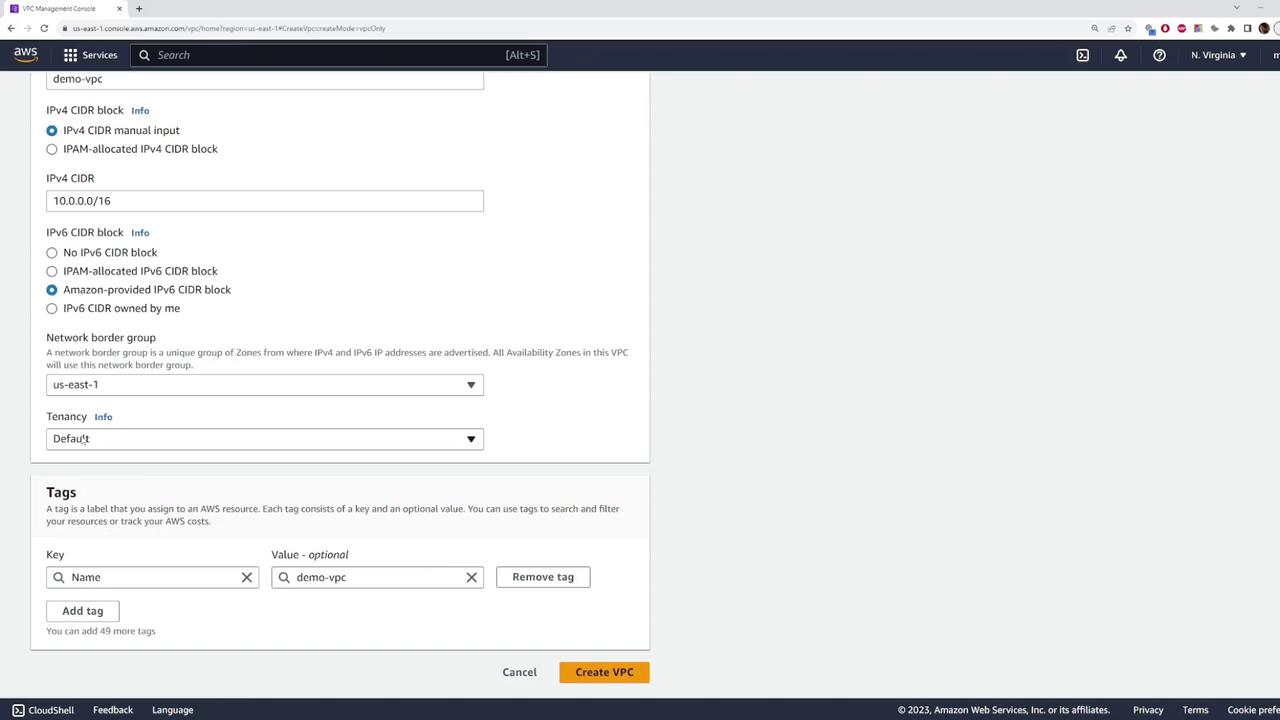
- Name Tag: Enter a descriptive name for your VPC (e.g., “demo VPC”).
- IPv4 CIDR Block: Set the CIDR block to
10.0.0.0/16for this demonstration. - IPv6 CIDR Block: Optionally, add an IPv6 CIDR block. You can either use one that you own or let AWS auto-provide one. For this lesson, the default settings for IPv6 will be used.
- Tenancy: Keep the tenancy option at its default value unless you have specific requirements.
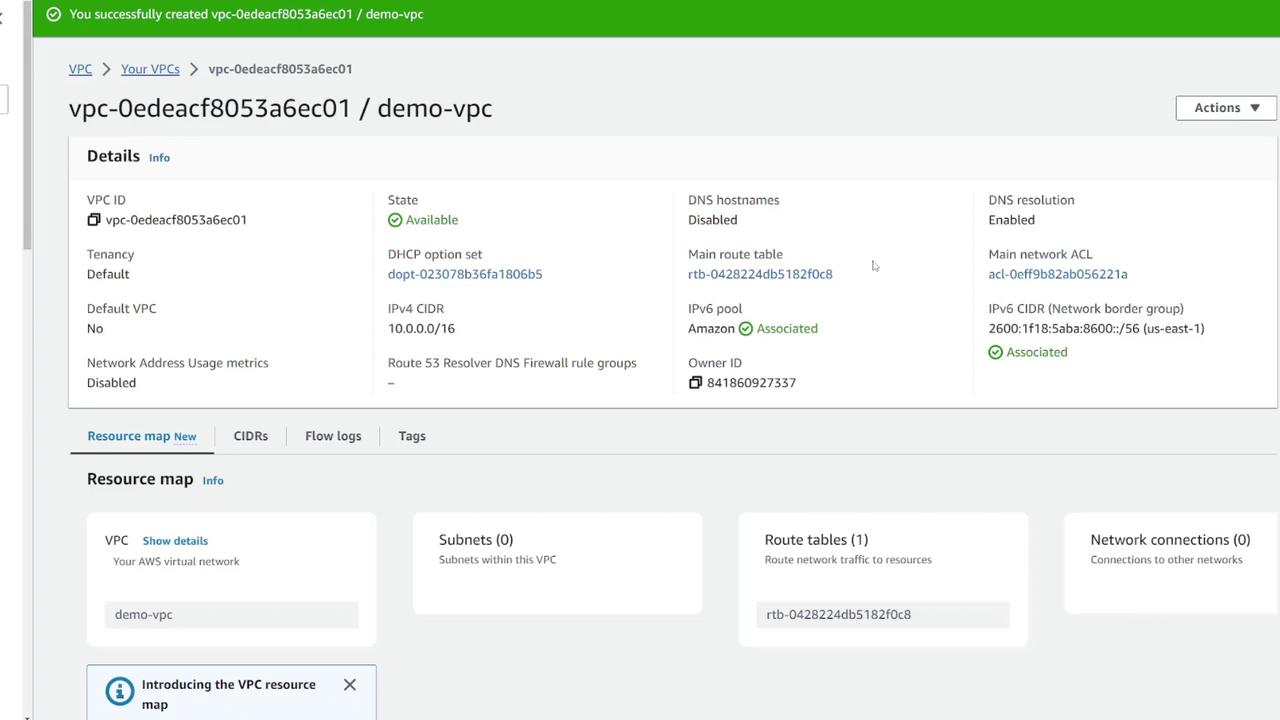
Step 4: Review the VPC Details
Once the custom VPC is created, inspect its details on the VPC information page. Here you’ll find valuable information such as:- VPC ID
- Current State: Usually marked as “available”
- DNS Settings
- IPv4 and IPv6 CIDR Blocks
- Tenancy Status
Step 5: Delete the Custom VPC
When you are ready to clean up, you can delete your custom VPC by following these steps:- Select your custom VPC from the “Your VPCs” list.
- Click the Actions button.
- Choose Delete VPC.
- Confirm the deletion by typing the word “delete.” This action will permanently remove the custom VPC from your account.
Deleting a VPC is permanent. Ensure that you have backed up any necessary configurations or data before proceeding.