Setting Up the Landing Zone
Begin by searching for the AWS Control Tower service in your AWS console. Click the designated button to start configuring your landing zone. During this process, you will see detailed information about the actions performed and associated pricing details. With AWS Control Tower, you only pay for the AWS resources that are created—Control Tower itself is provided at no extra charge. Under the “Home Region” section, select your preferred region (US East 1 is the default for this demo). You will also notice a “region deny” setting that restricts access to AWS services in regions not governed by Control Tower. For this demo, we leave the region deny setting disabled, but you can enable it if necessary. All these settings can be updated later.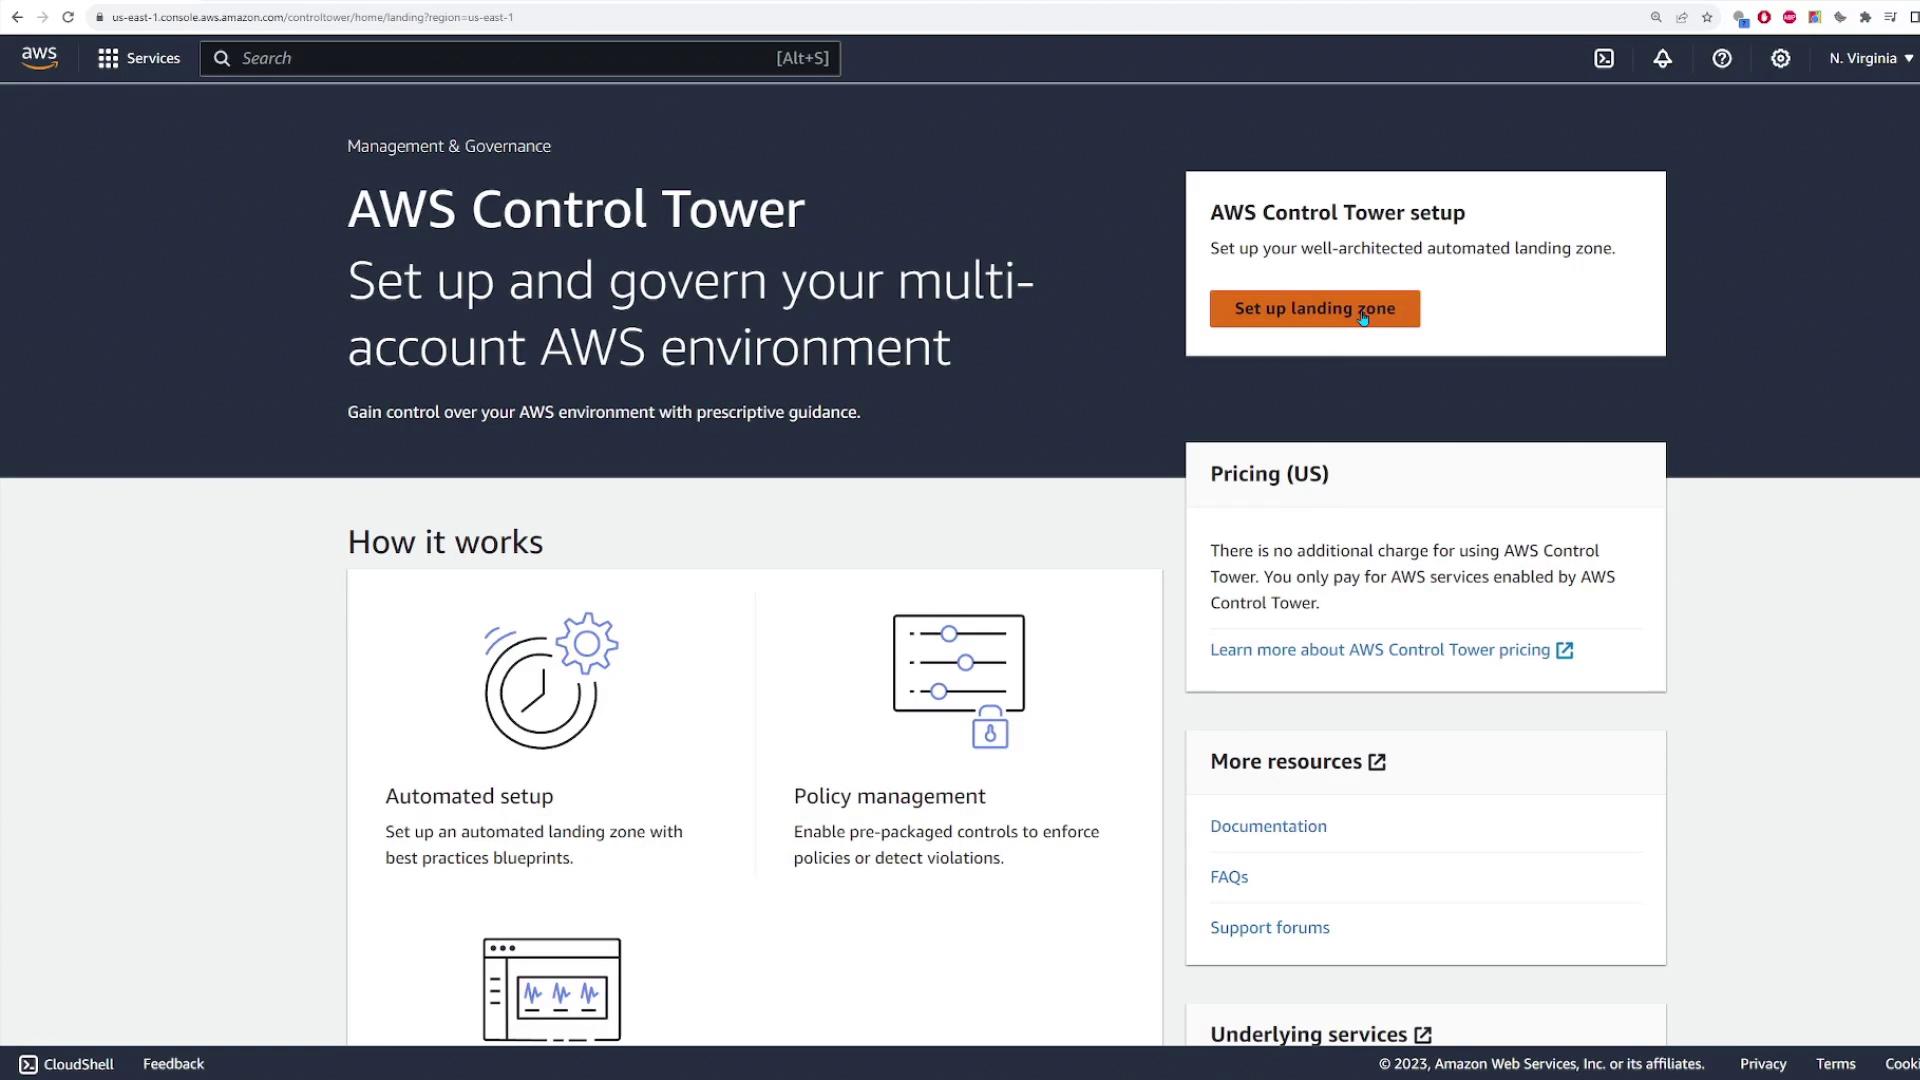
Configuring Regions for Control Tower
Proceed by specifying which AWS regions will be managed by Control Tower. Although your home region is pre-selected, you have the option to add other regions (such as Europe and the Middle East) if required. For this demonstration, these additional regions remain unchecked. Click “Next” to move forward. Control Tower then prompts you to define the organizational units (OUs) to create. Typically, a primary OU for log archives and security audits is pre-defined (here, labeled “Security”). You can also create an additional “sandbox” OU for development or testing accounts. In our demo, we create a sandbox OU and click “Next” to continue.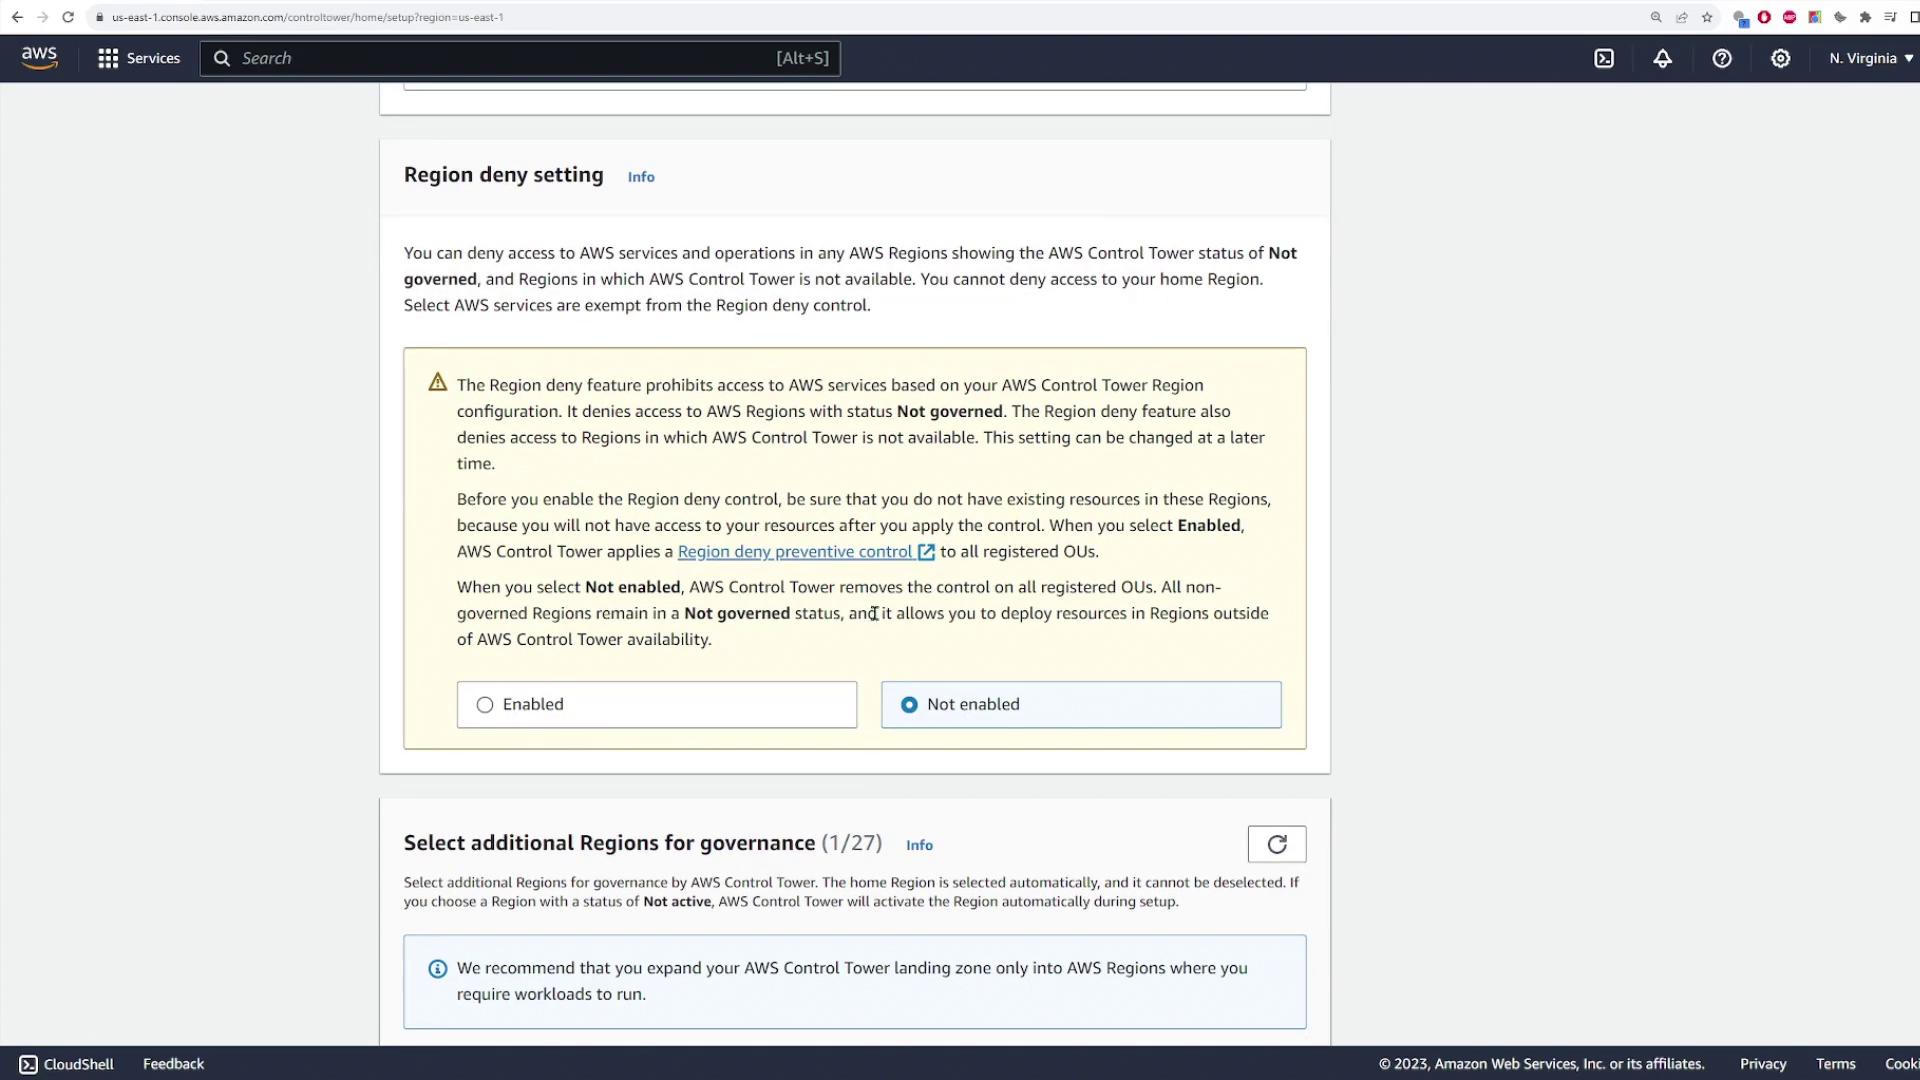
Creating Service Accounts
Set up your management and service accounts in the next step. Since you are already logged into the management account, you only need to create new accounts for the log archive and security audit functions. Provide a unique email address and account name for each account. If you already have an existing log archive account, you can opt to select it.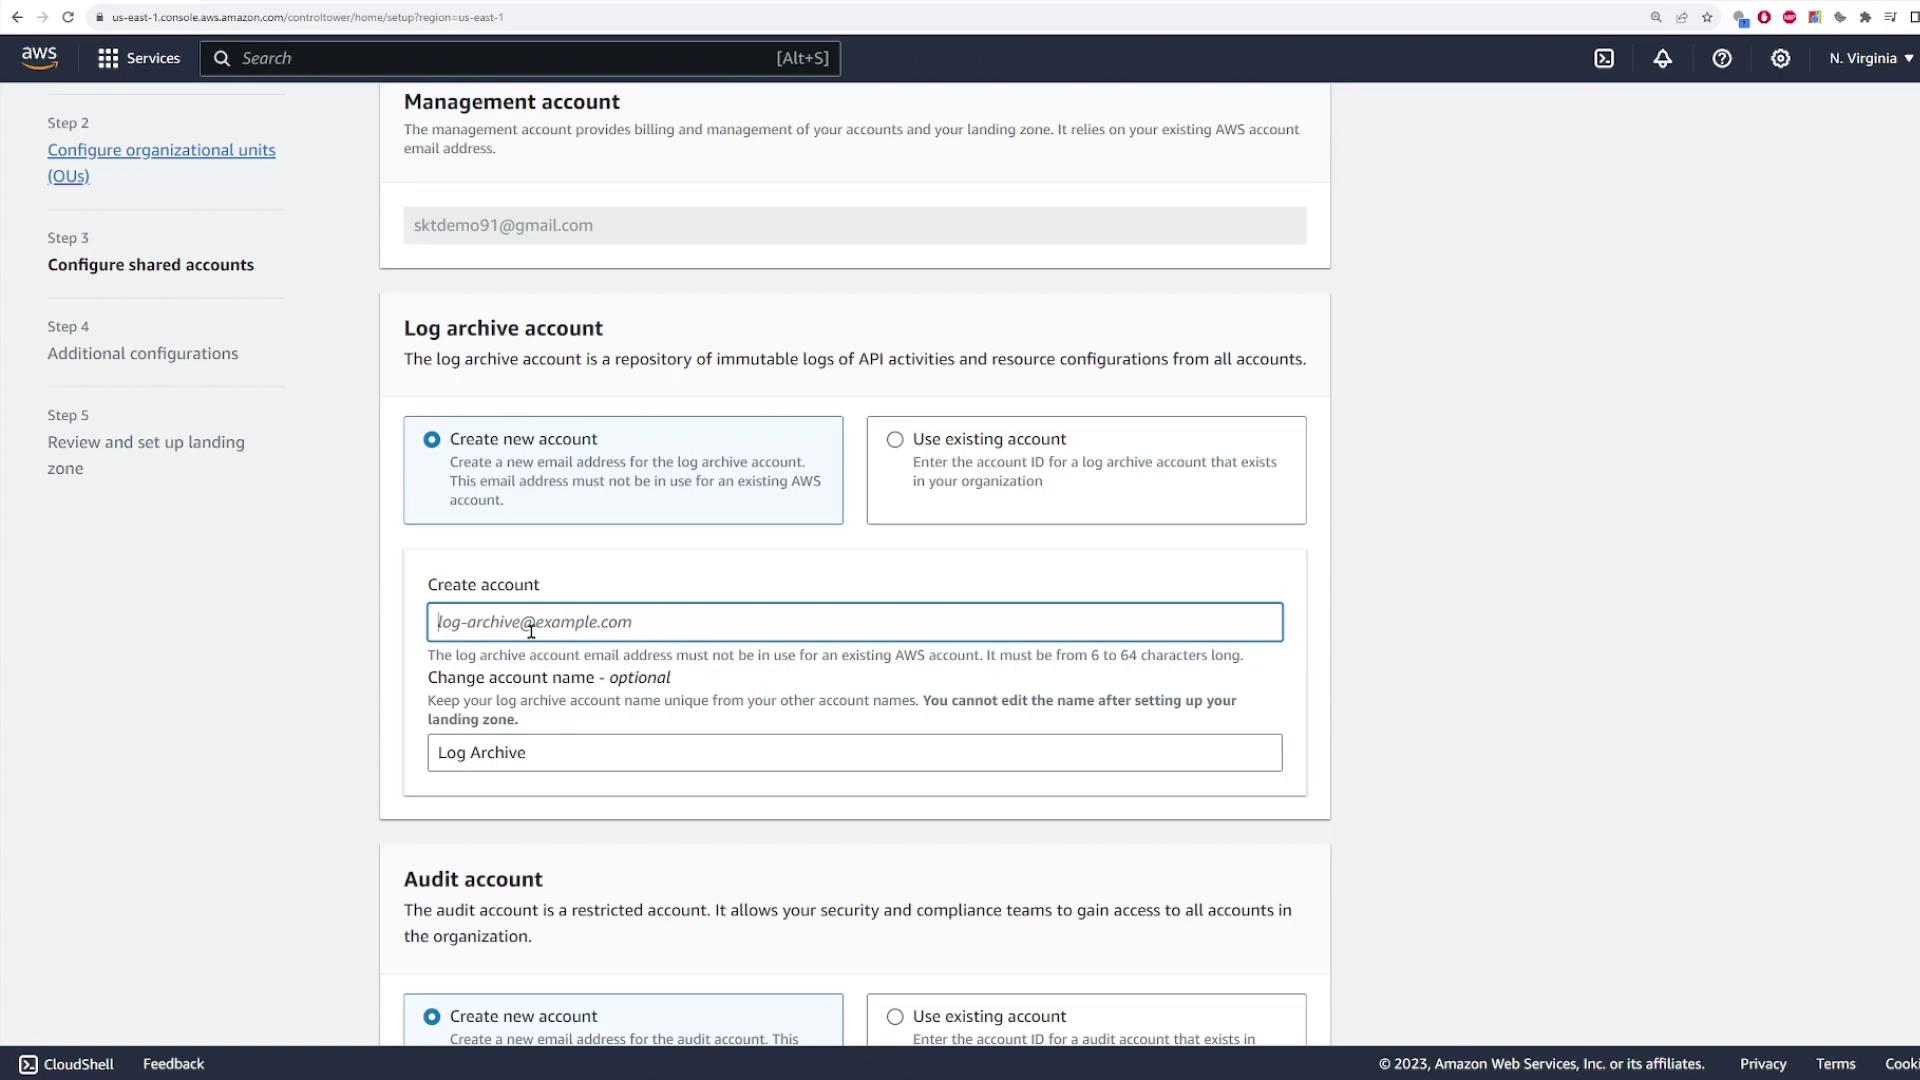
AWS Account Access and Logging Configuration
Configure the AWS account access settings by leaving the default option selected. Next, set up CloudTrail logging and Amazon S3 log configurations. These configurations are optional and can be modified later if needed. When you are ready, click “Next” to review your configuration. Accept the required permissions, then initiate the landing zone setup. Note that resource provisioning in the landing zone may take several minutes.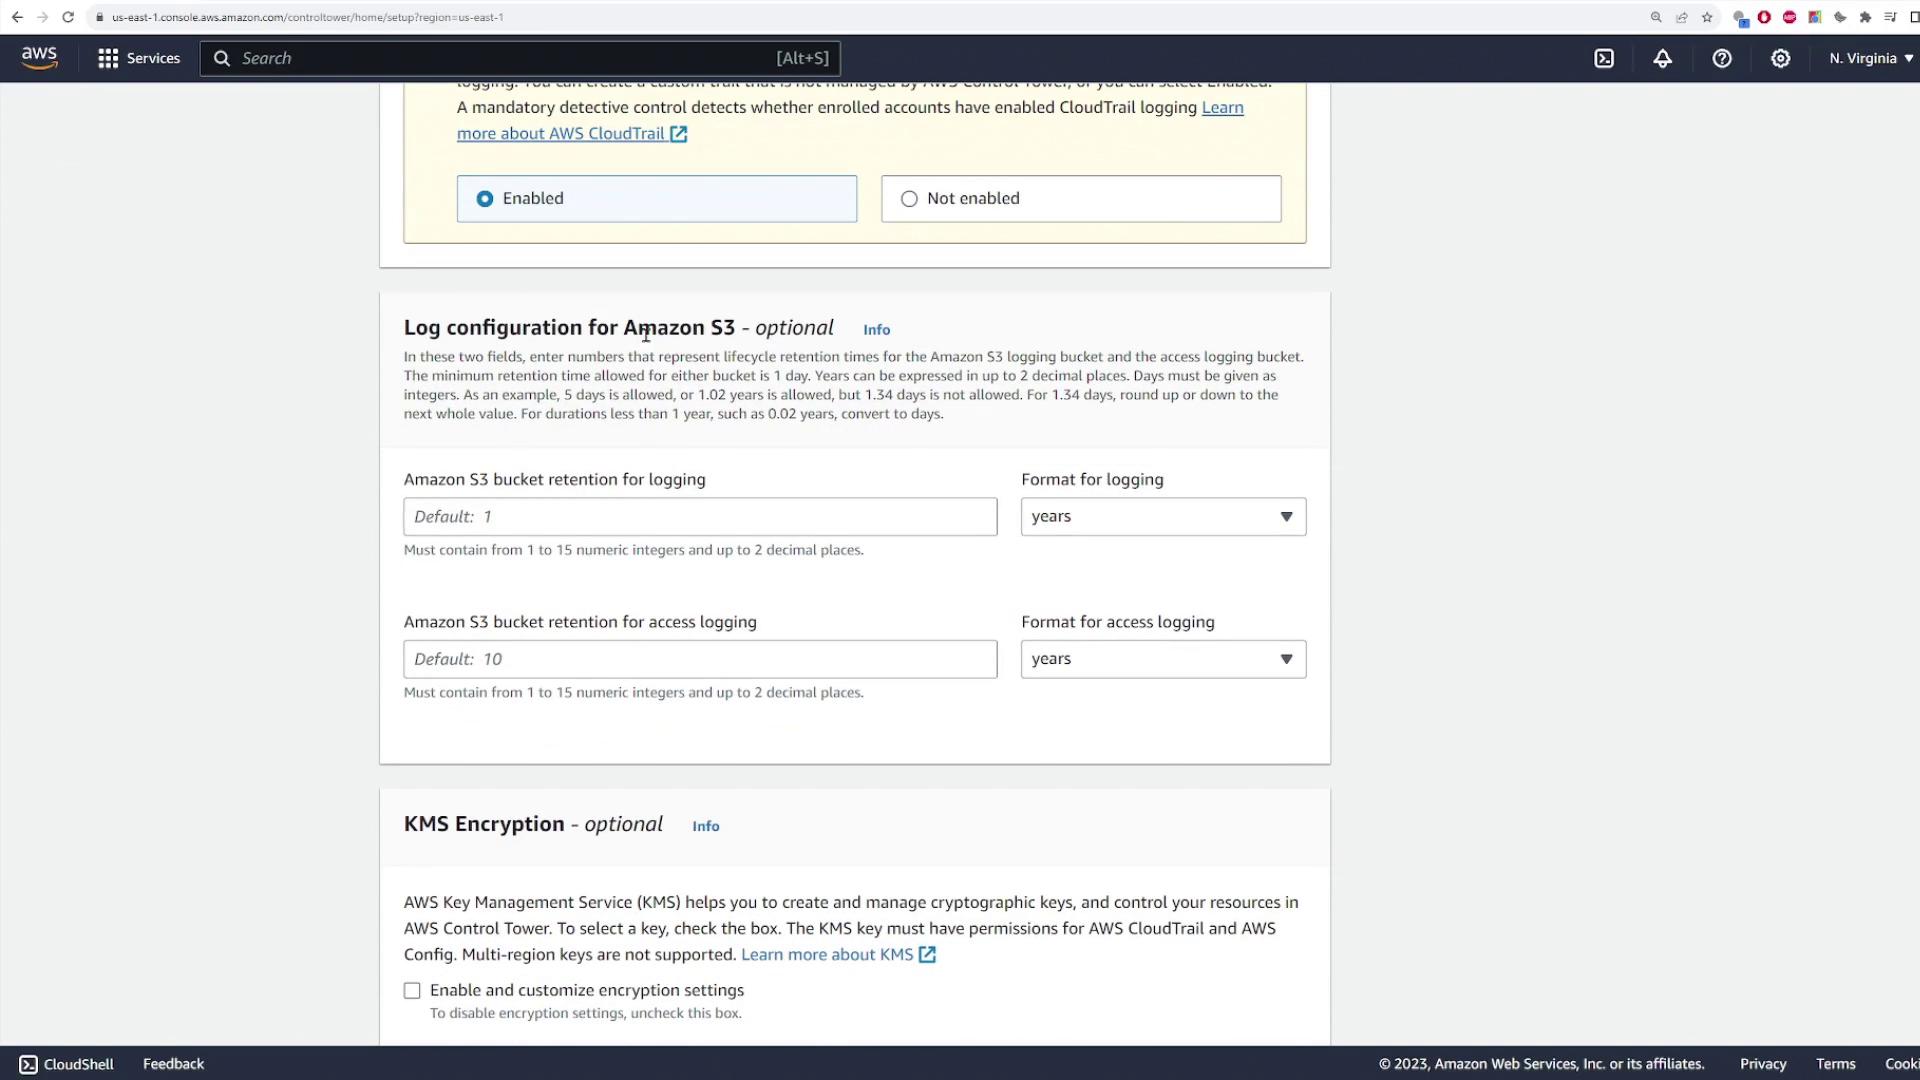
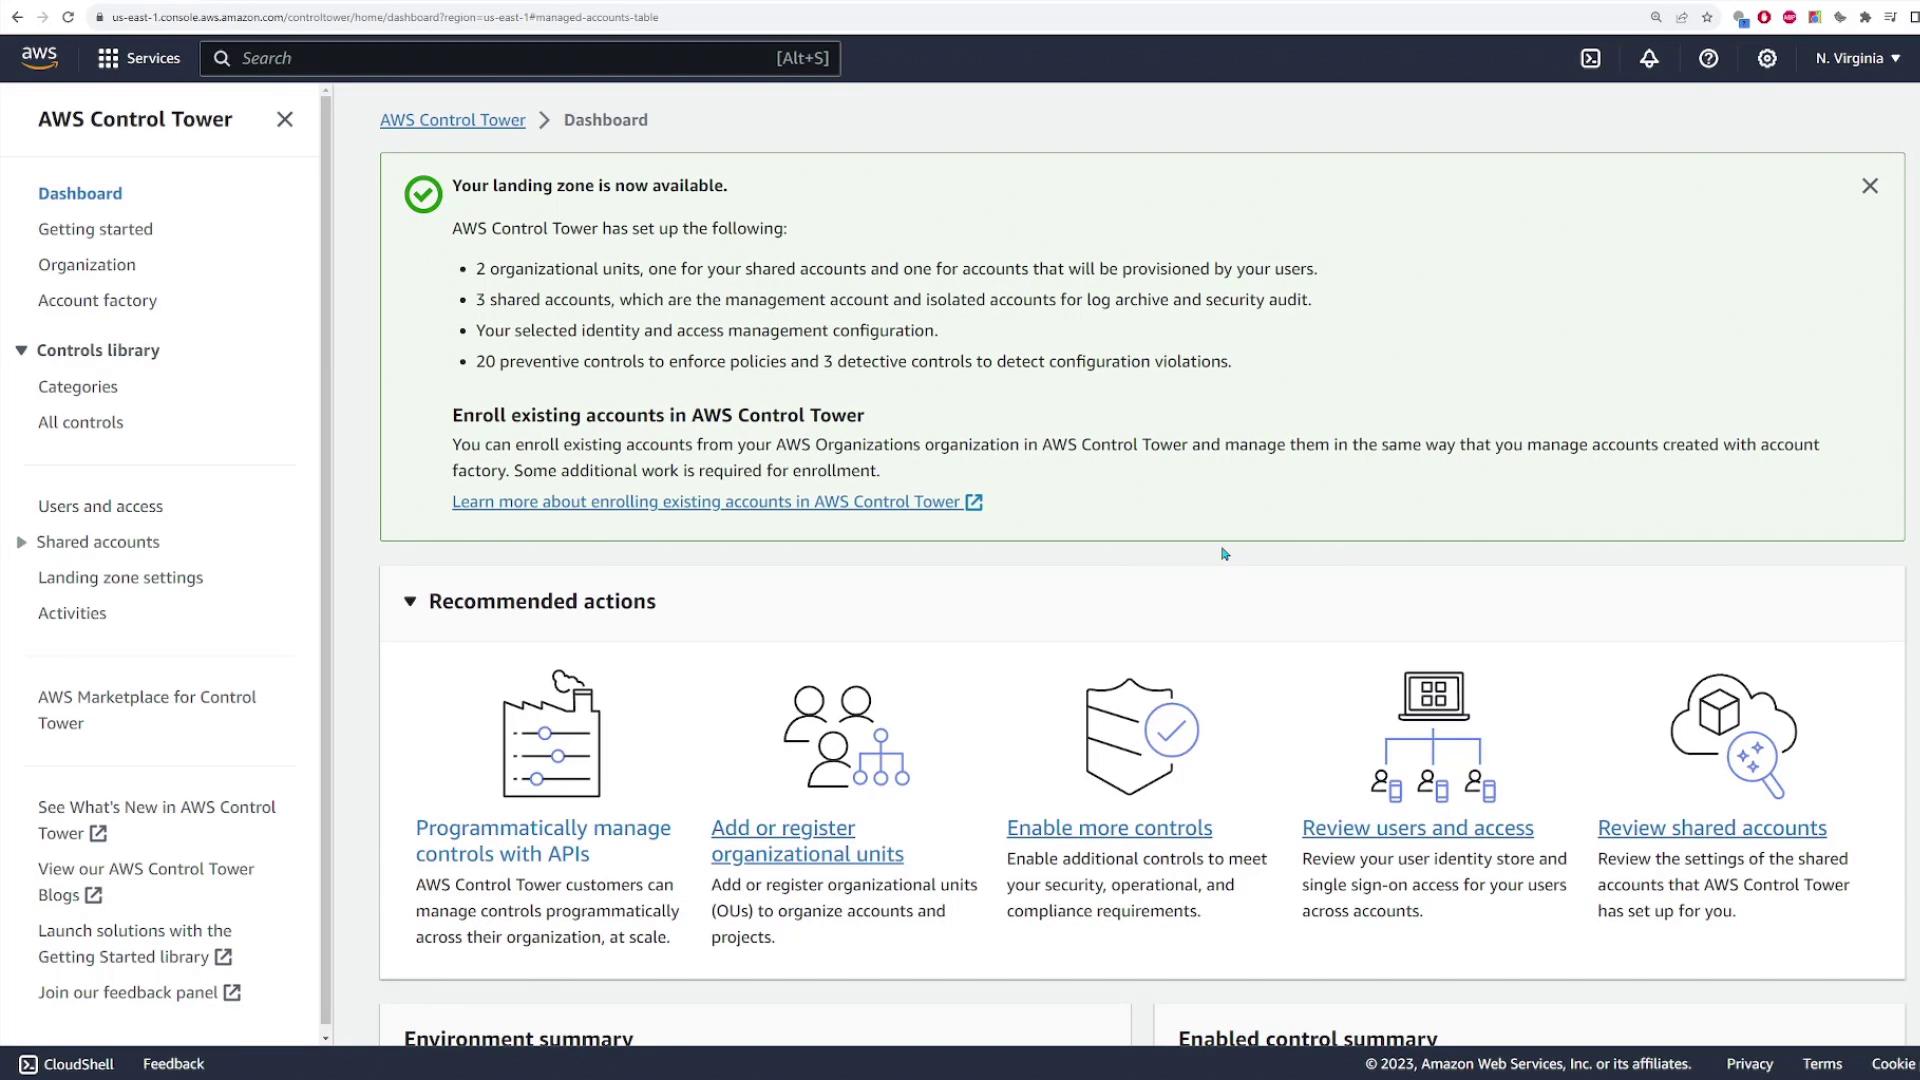
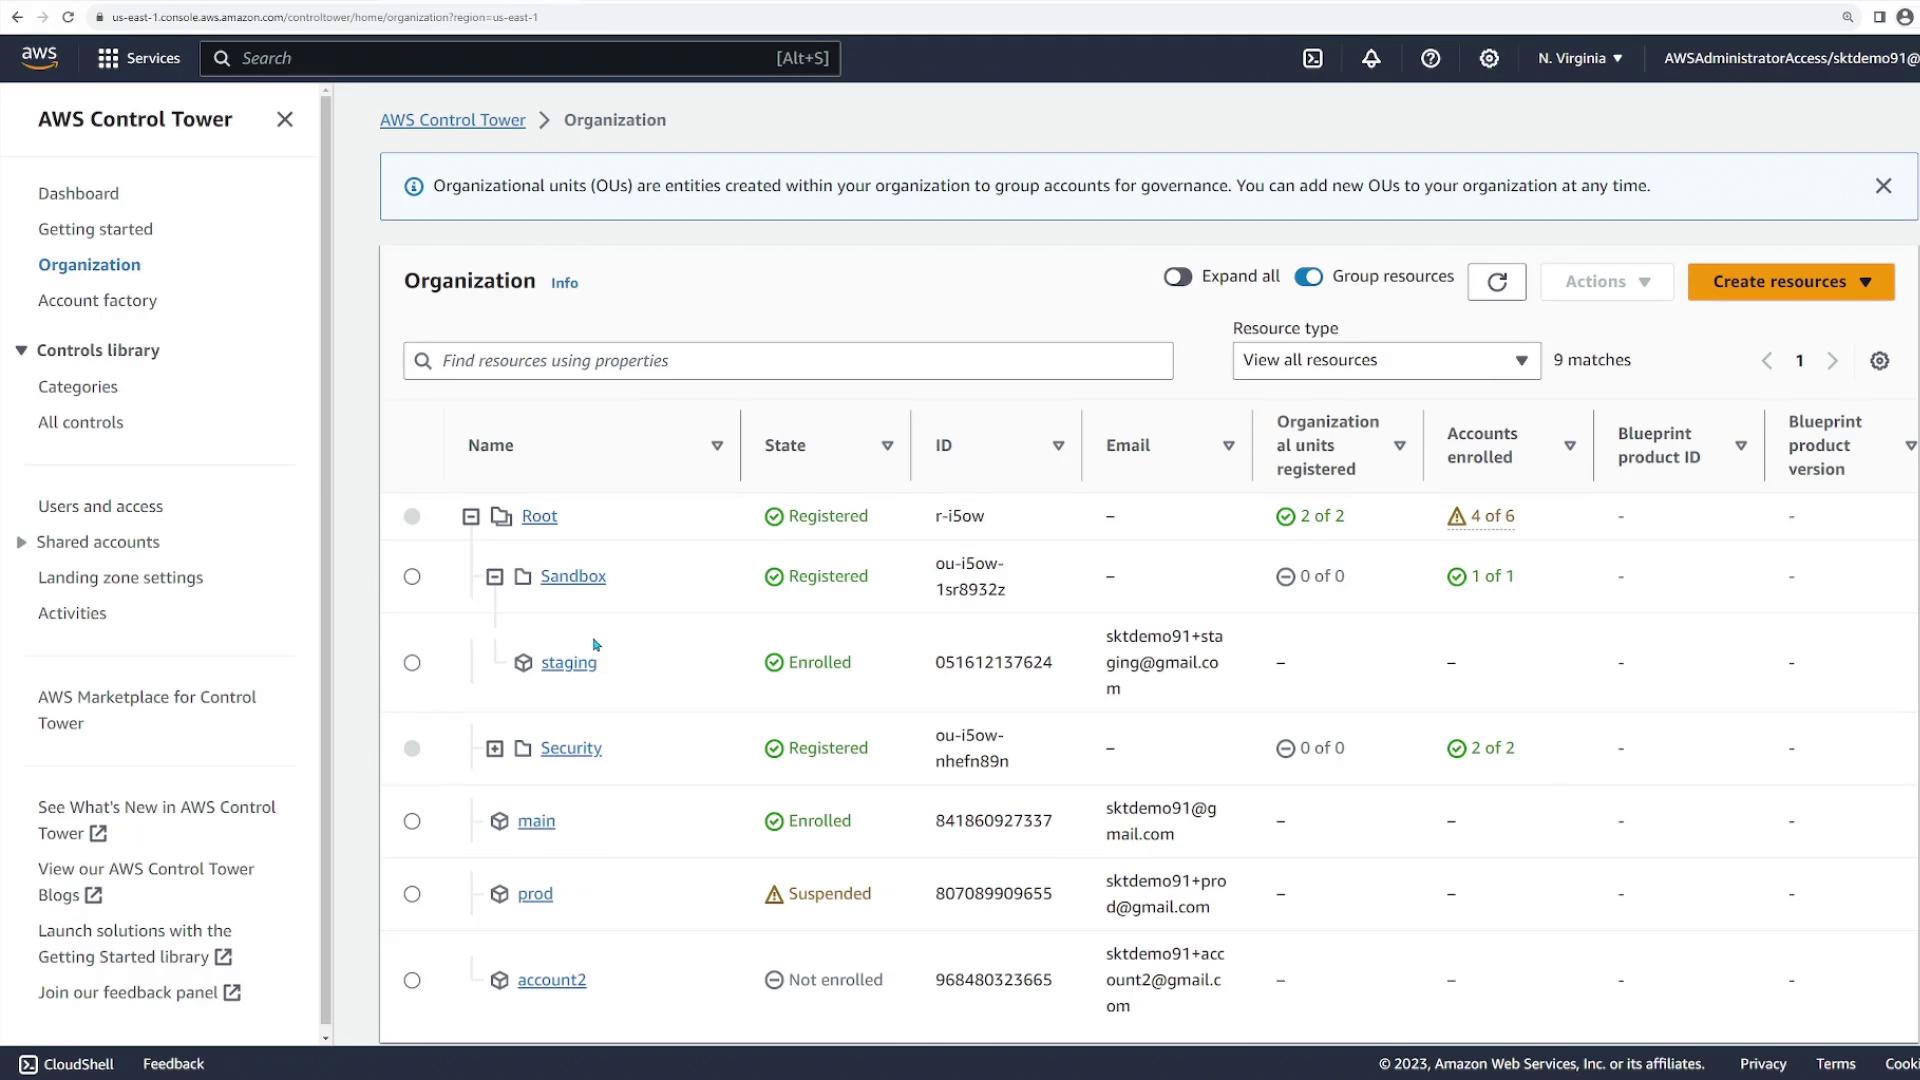
Review of the Landing Zone Configuration
Once AWS Control Tower completes the landing zone setup, it configures organizational units, shared accounts, and provisions accounts for user requests. In this demonstration, AWS Control Tower sets up the following:- Two custom organizational units (Security and Sandbox)
- Three shared accounts (management, log archive, and security audit)
- AWS IAM Identity Center for integrated identity management
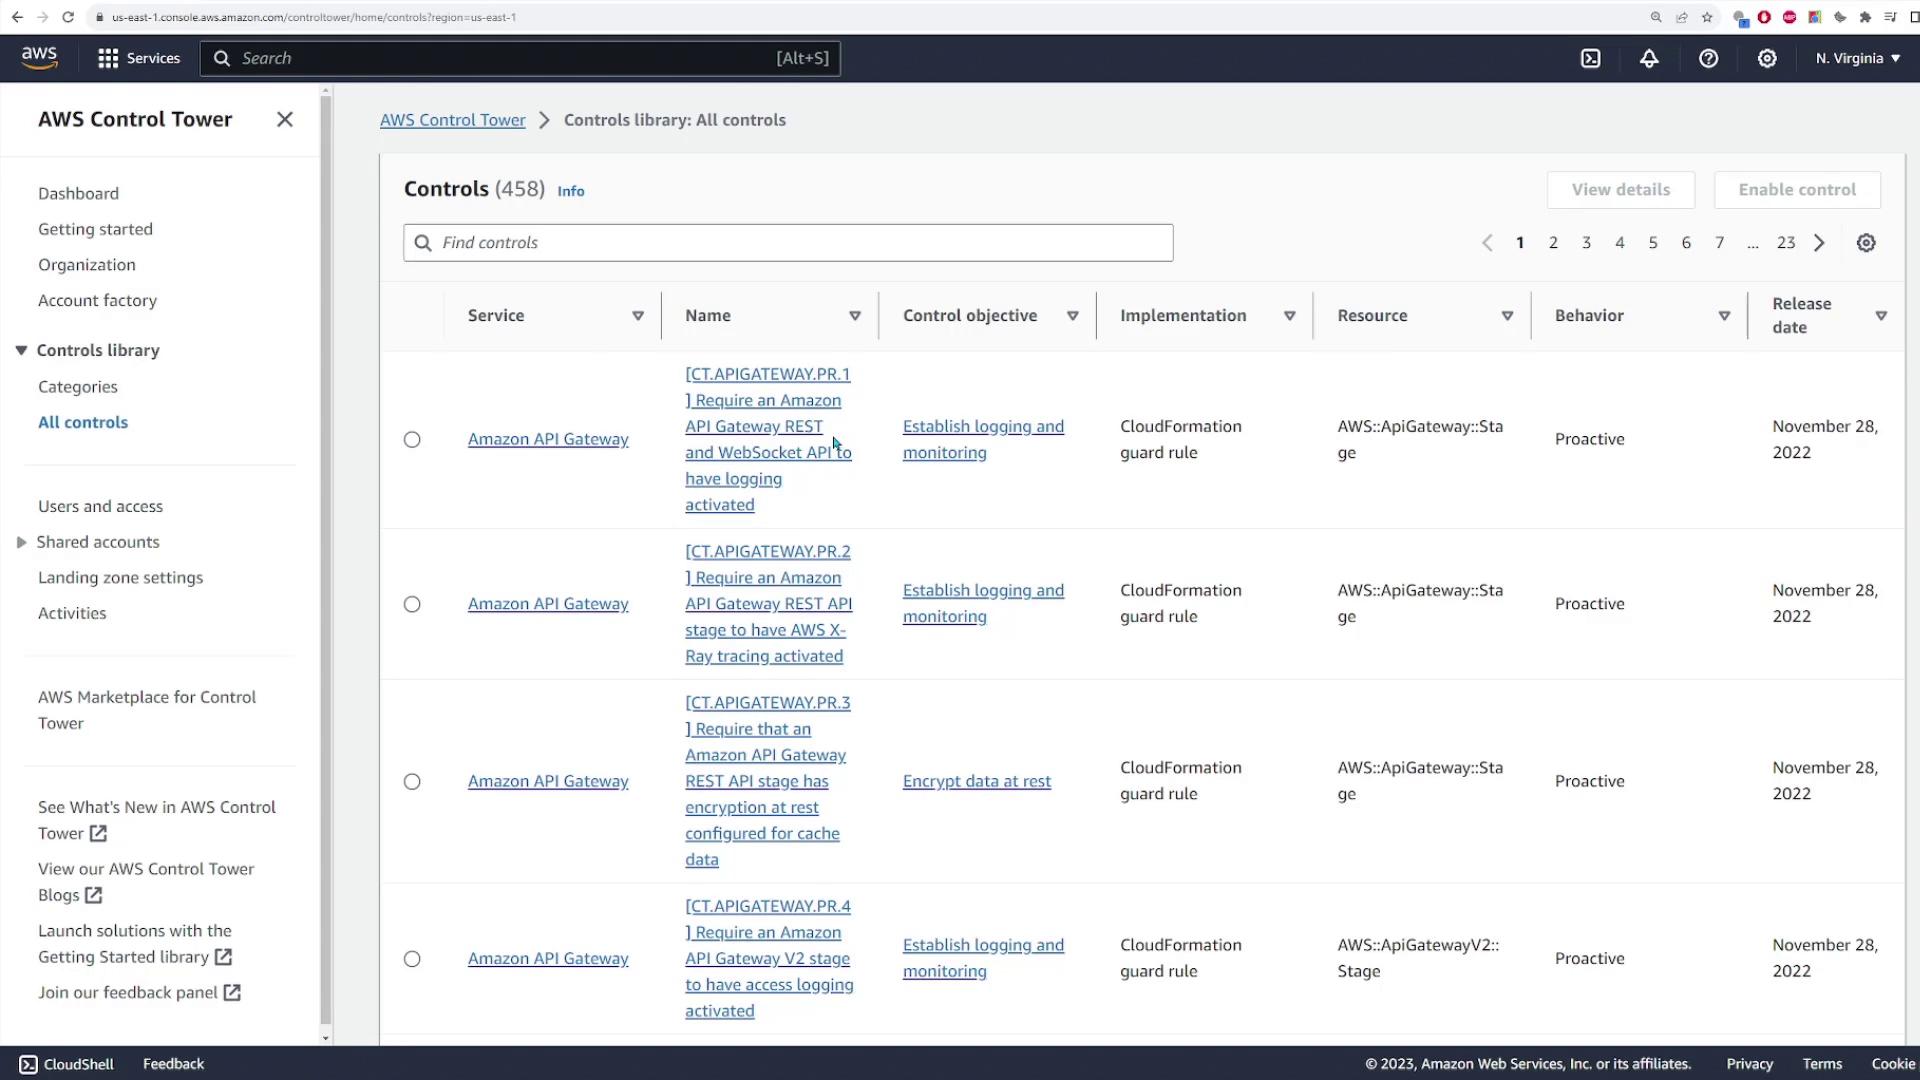
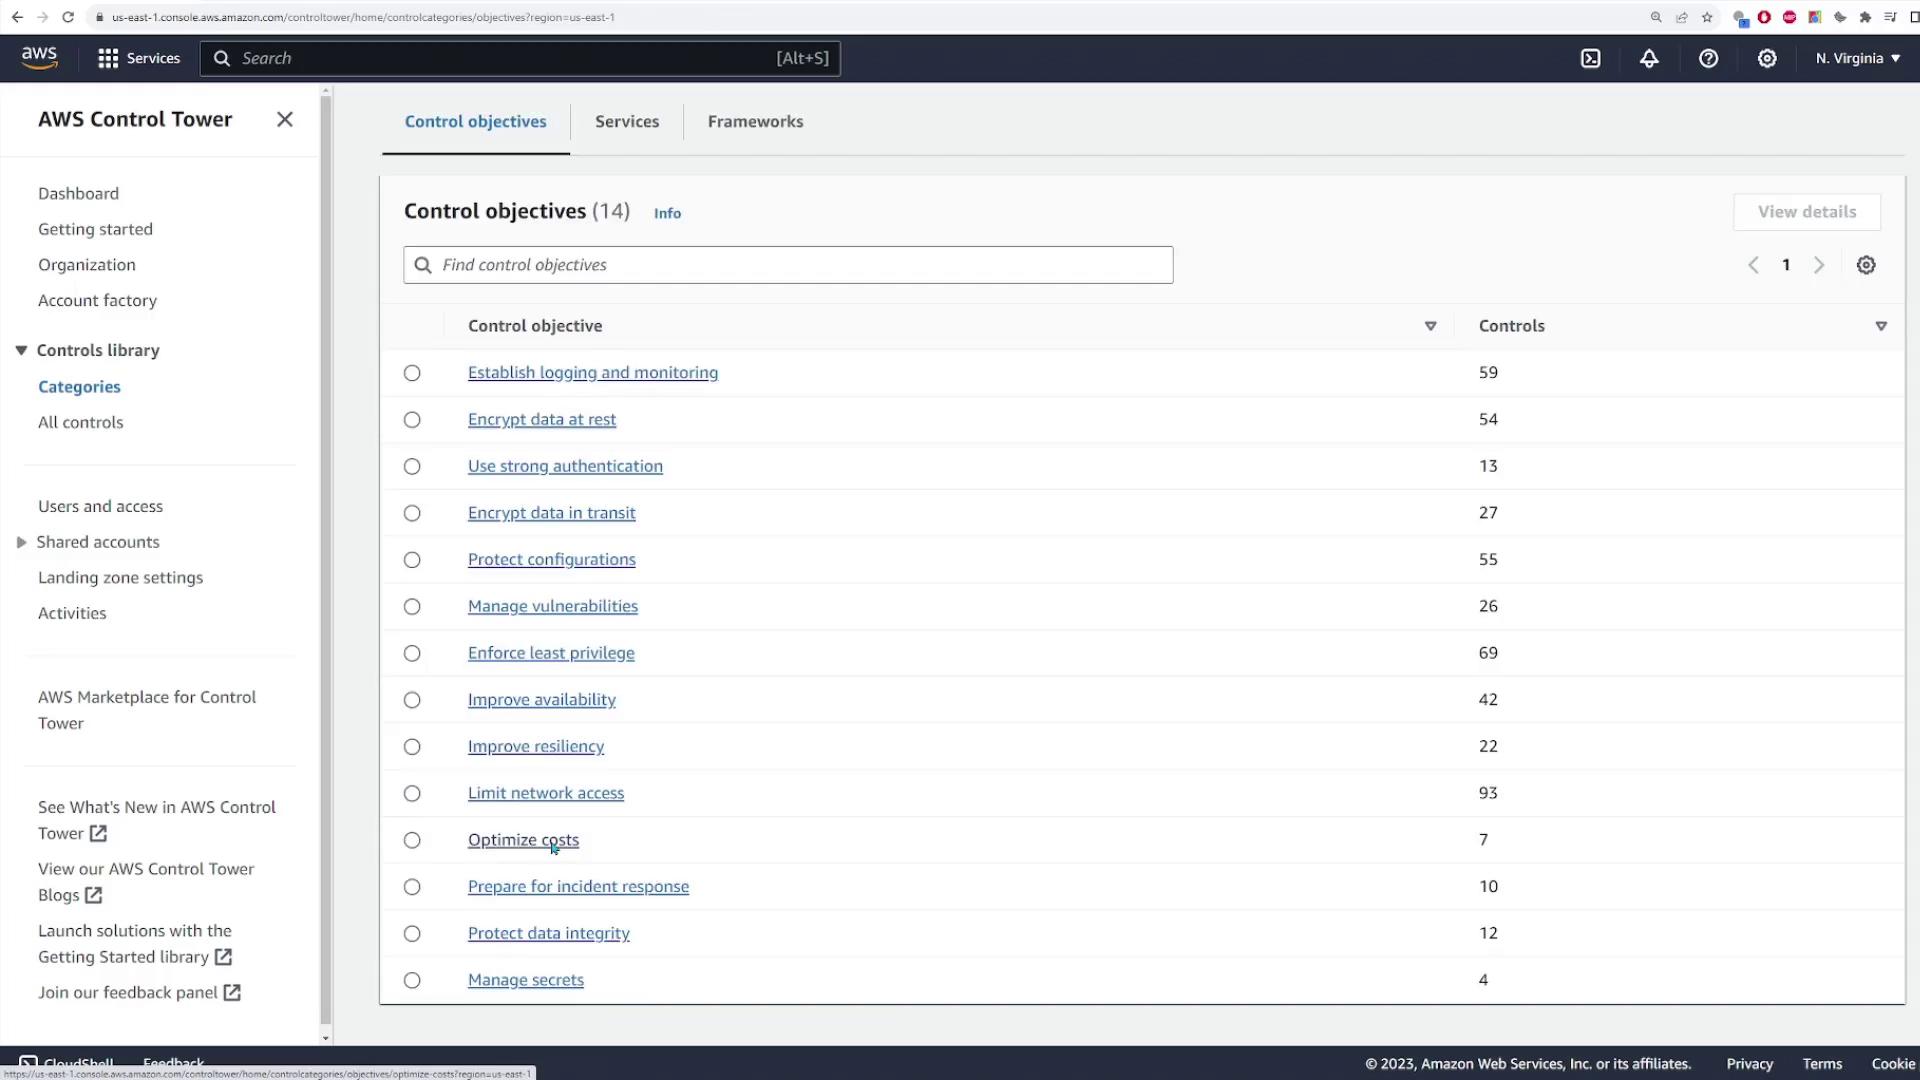
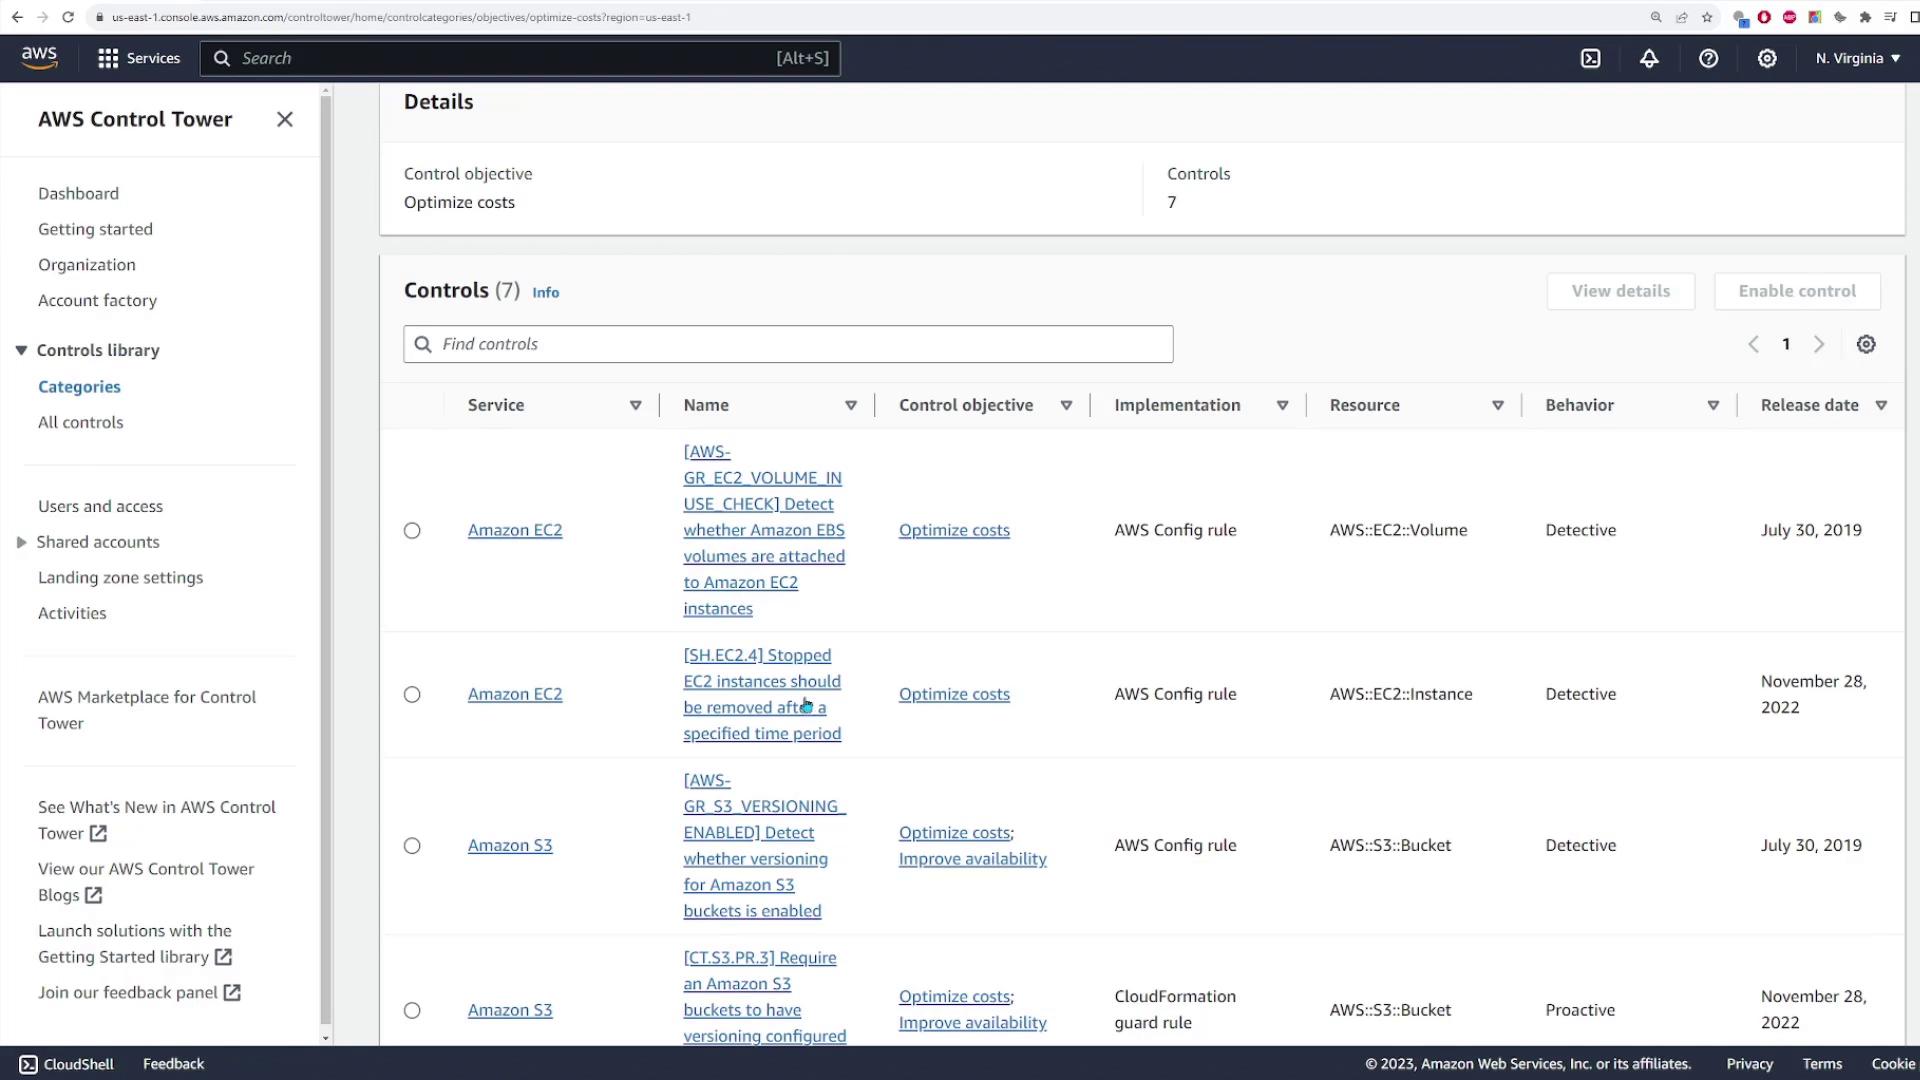
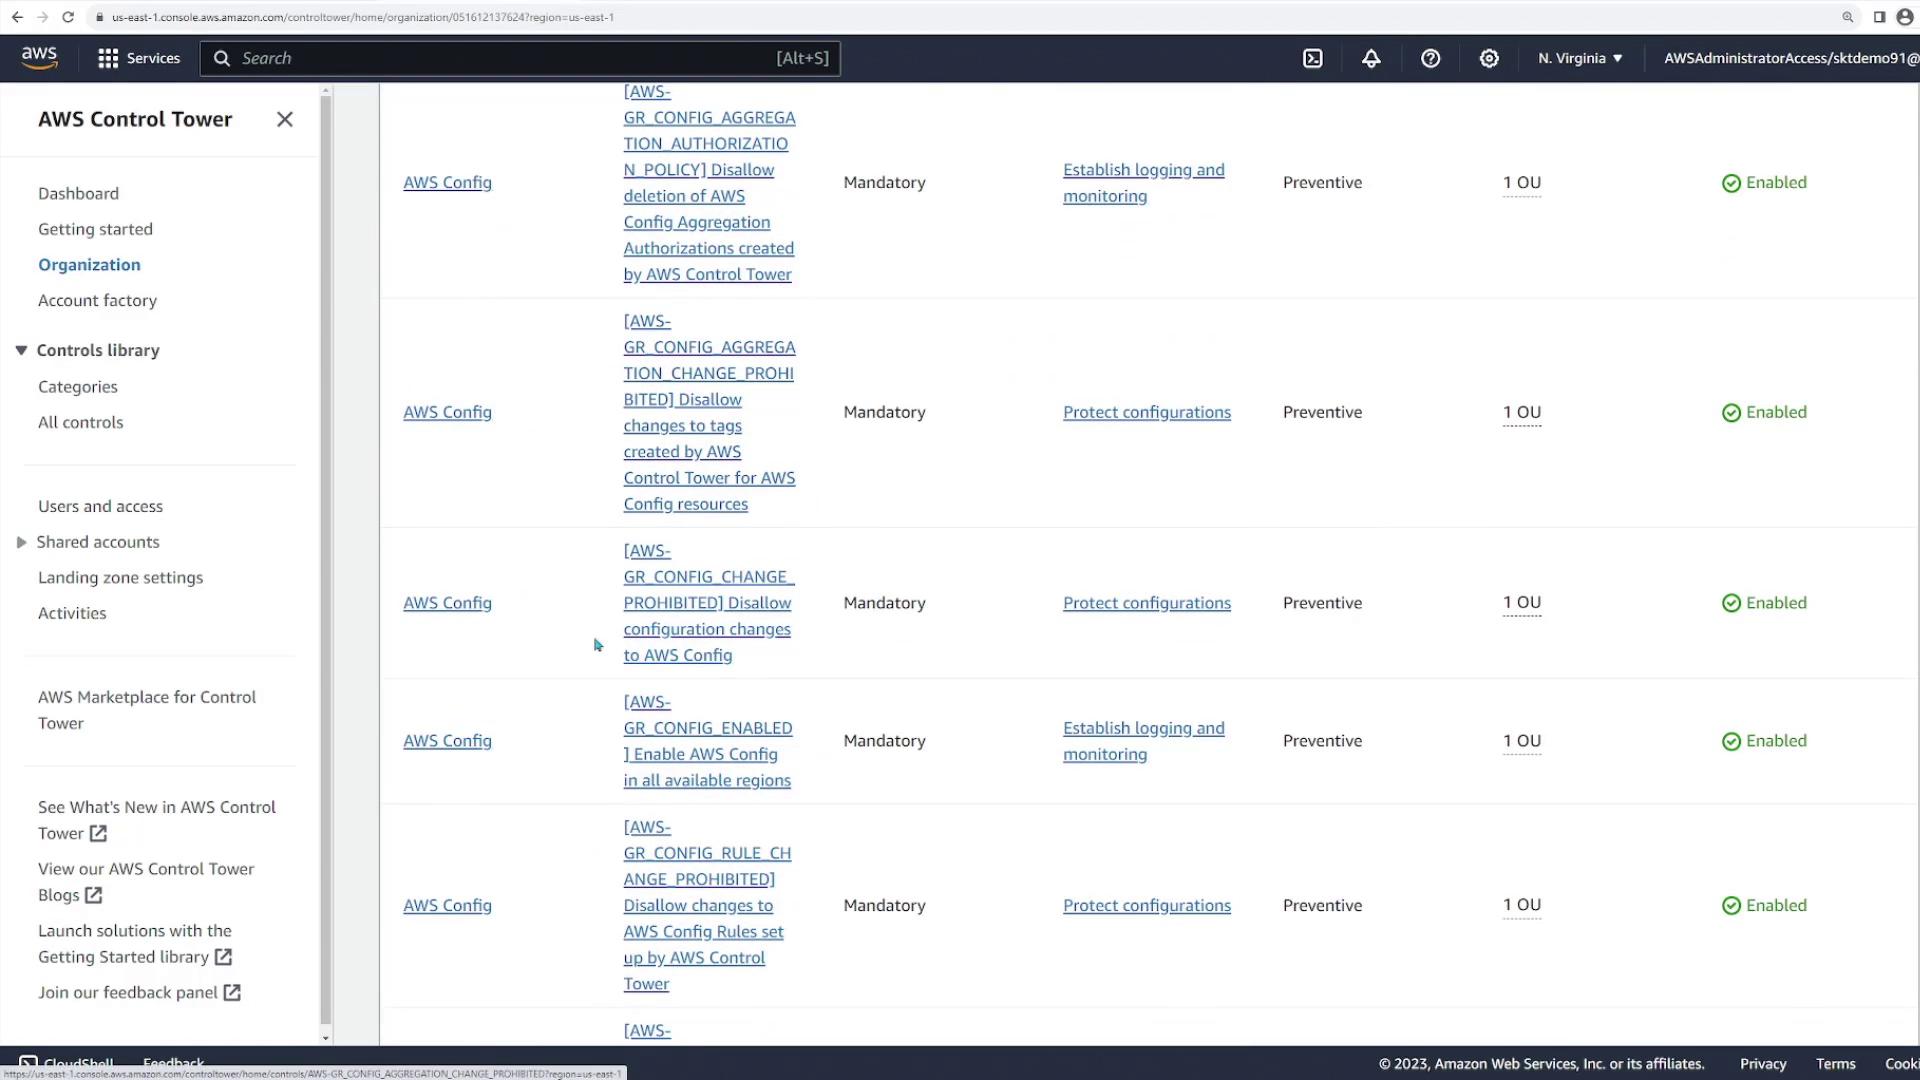
- Preventative controls (20 in total) and detective controls (3 in total) to enforce best practices
Email Notifications and Identity Center Setup
After account registration, AWS sends email notifications for each newly created account. For example, you will receive confirmation emails for the log archive and audit accounts. Additionally, AWS IAM Identity Center issues an invitation email to activate your user account. Follow the instructions in the email to set your password and accept the invitation.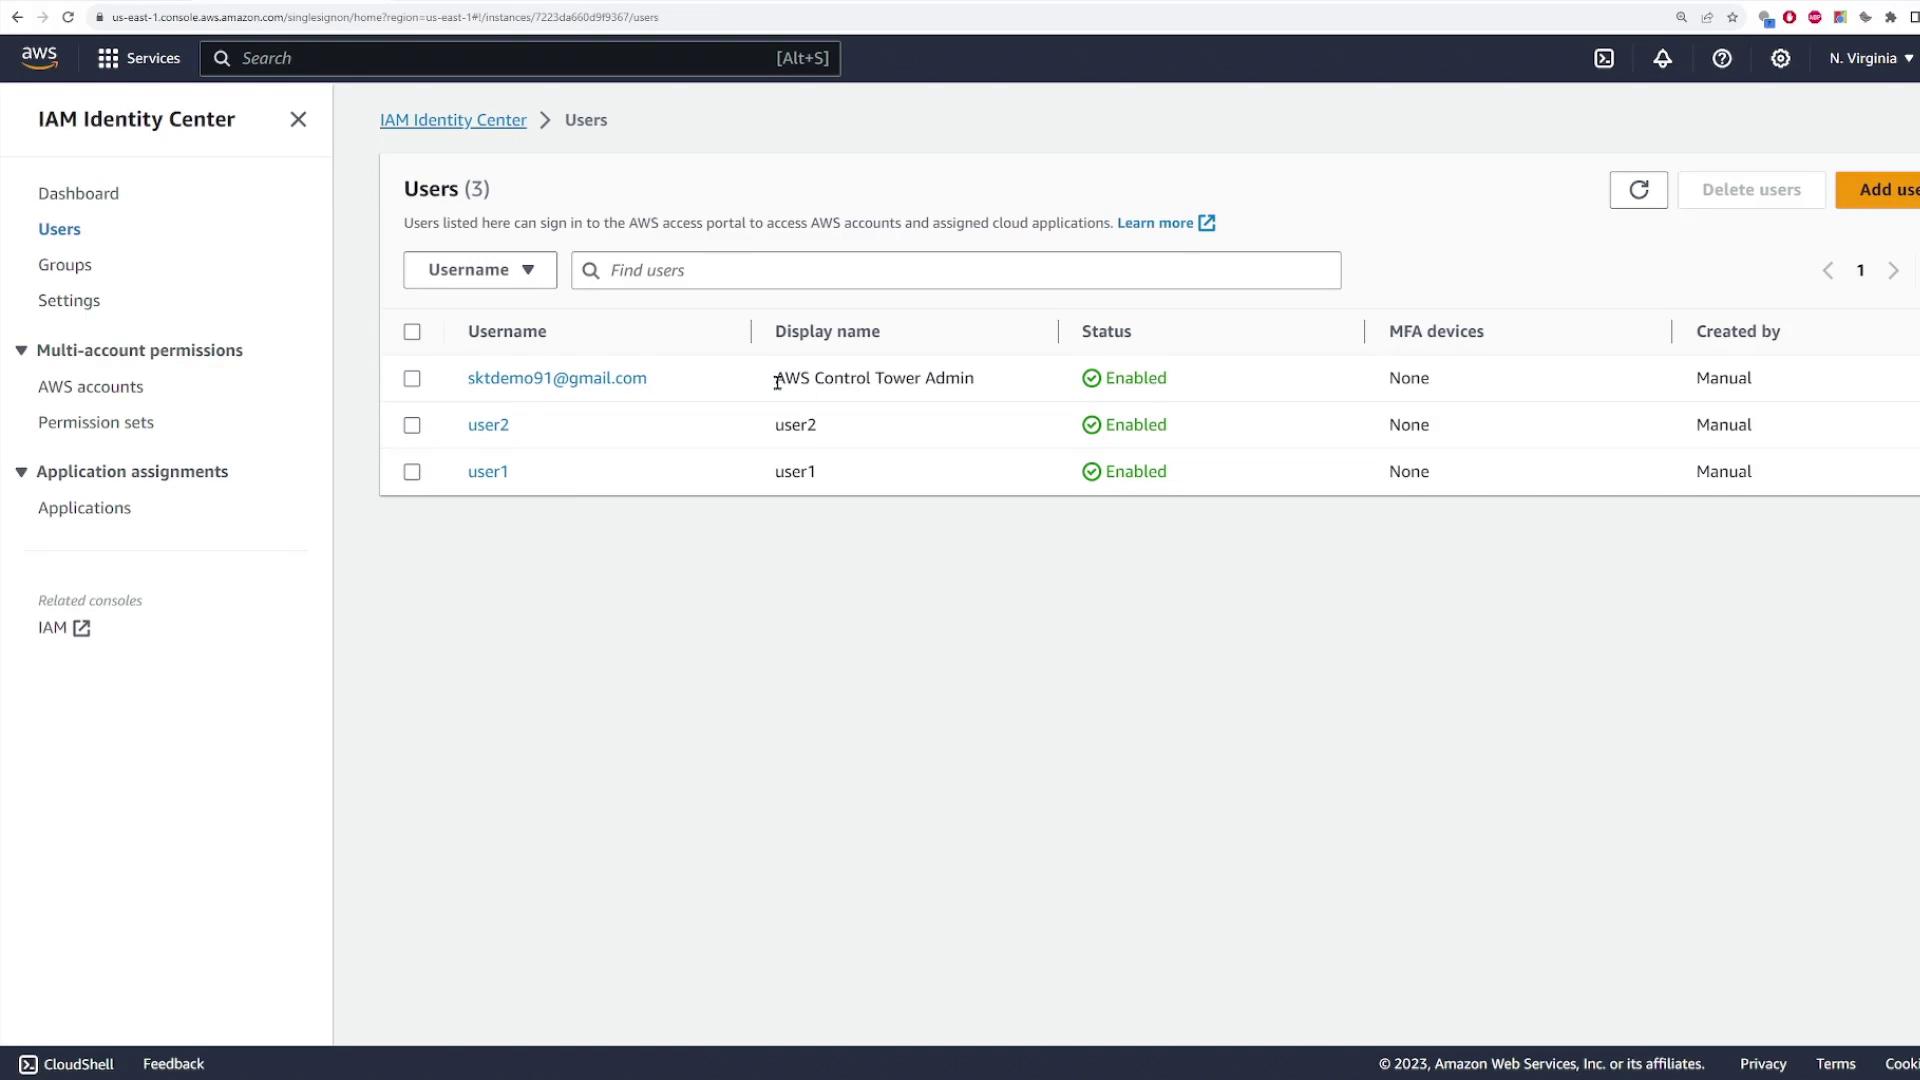
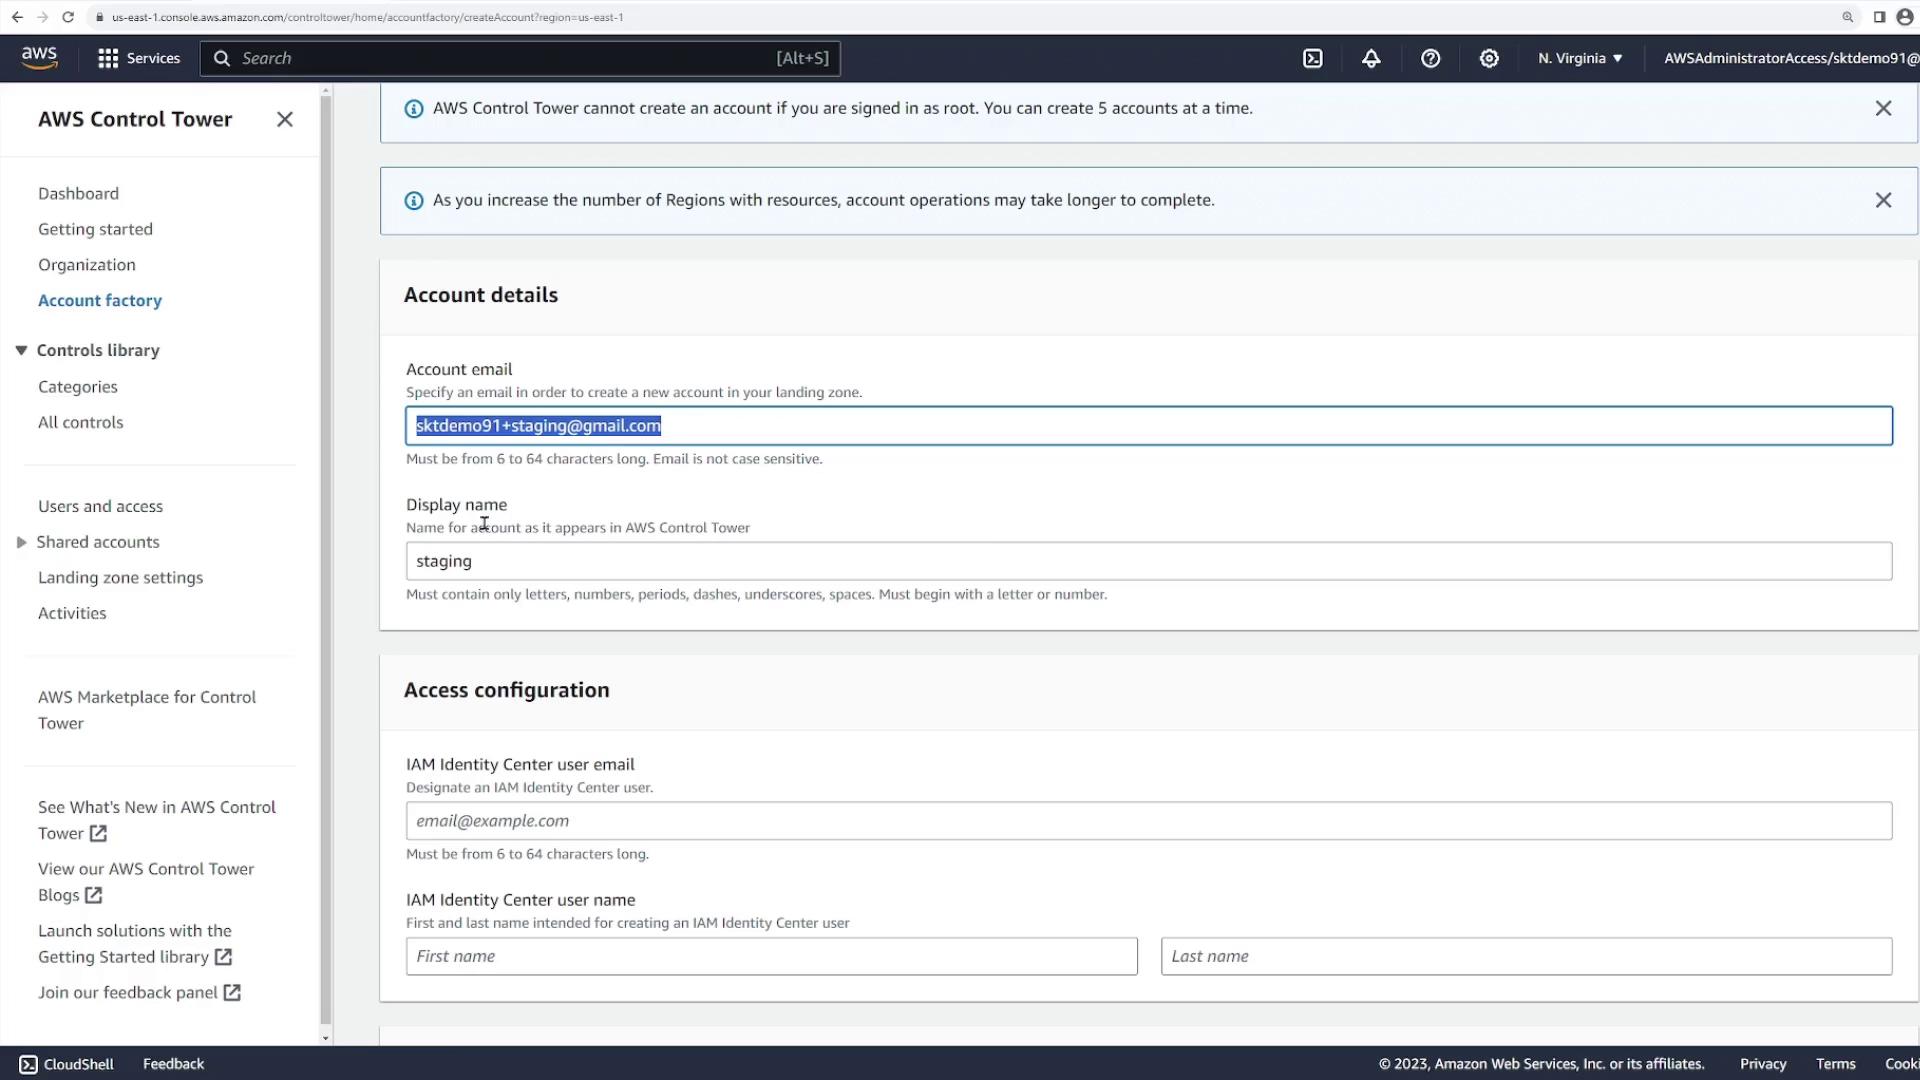
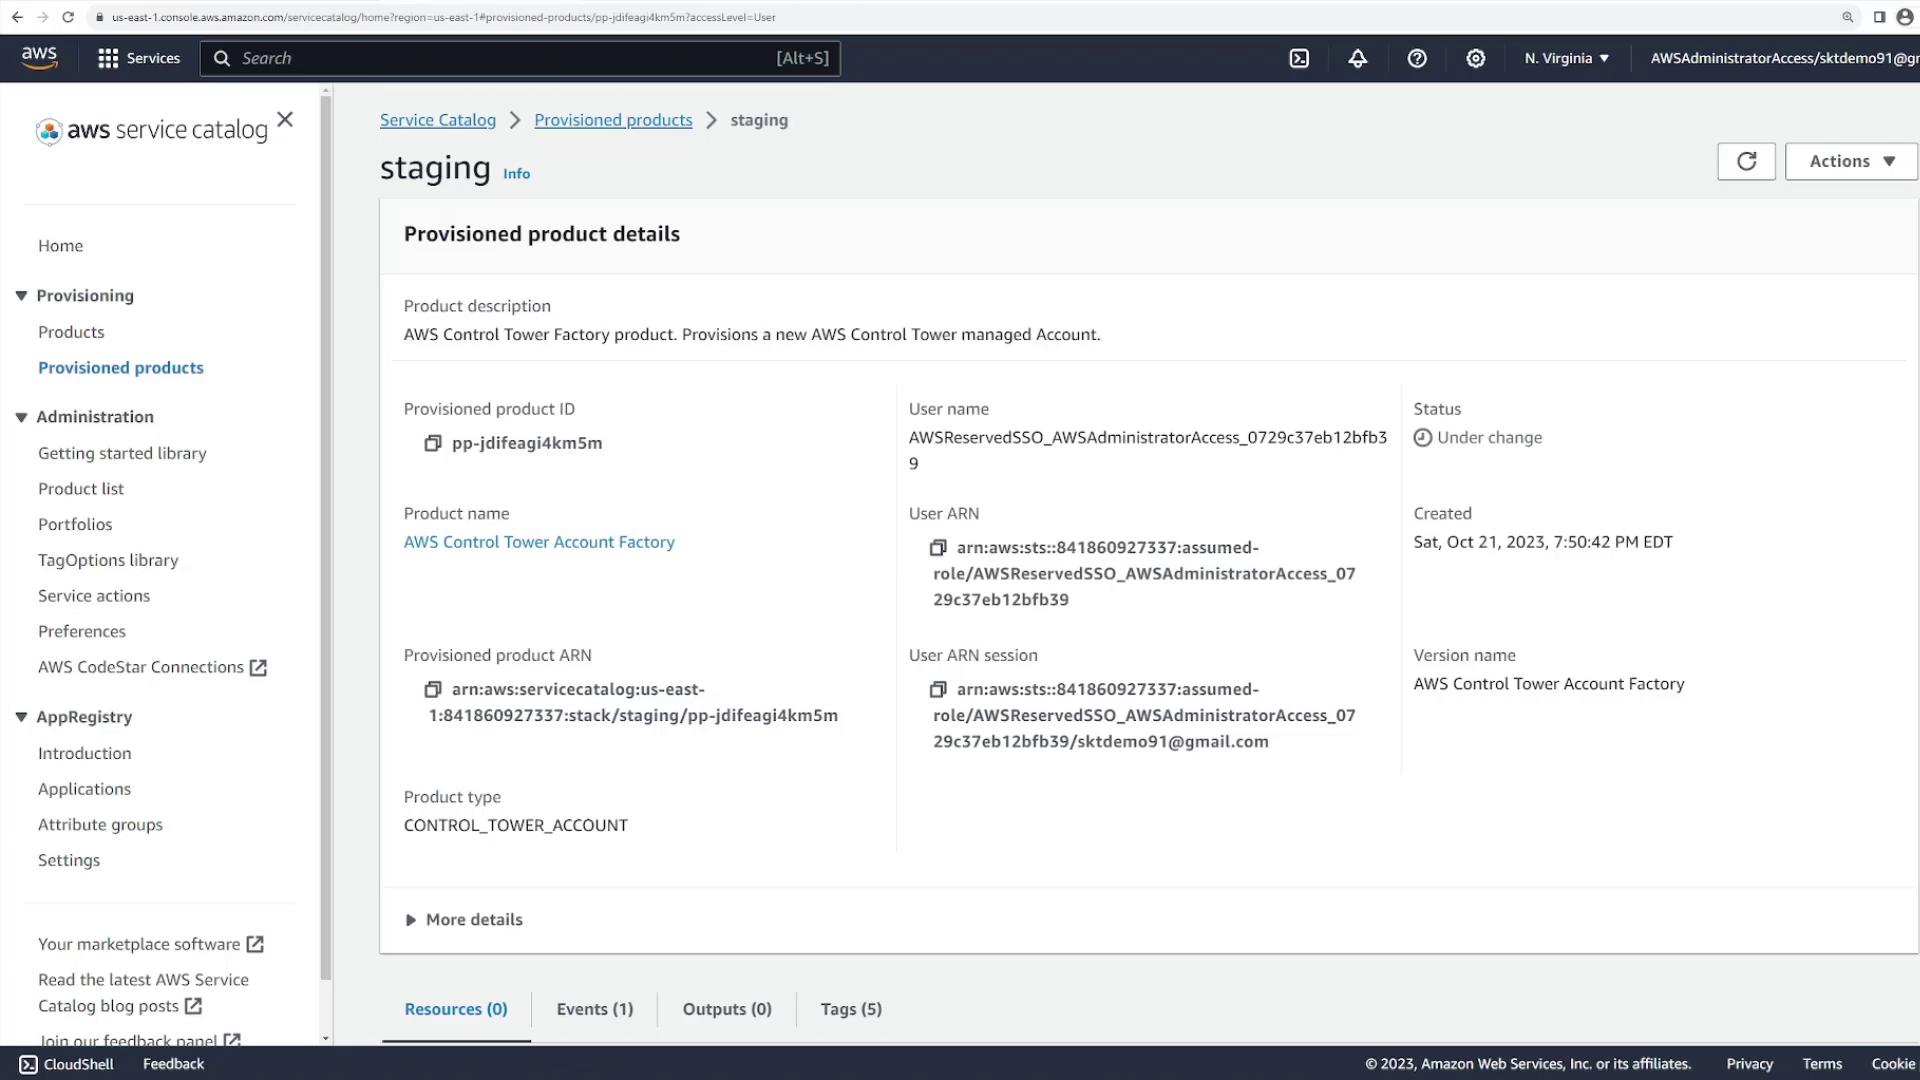
Creating a New AWS Account via Account Factory
Navigate to the Account Factory within the AWS Control Tower dashboard to provision a new AWS account. This feature automatically configures the account with the necessary settings and default security controls.
- Account Email: Provide a unique email address for the new account.
- Display Name: For this demonstration, we name the account “staging.”
- IAM Identity Center Username: Use “staging” for consistency.
- Organizational Unit: Assign the account to the “sandbox” OU.
AWS Control Tower ensures that each new account complies with your organization’s security and governance policies by automatically applying best practice controls.