This article demonstrates managing AWS Identity and Access Management by creating users, groups, roles, and customizing permissions and policies for secure access management.
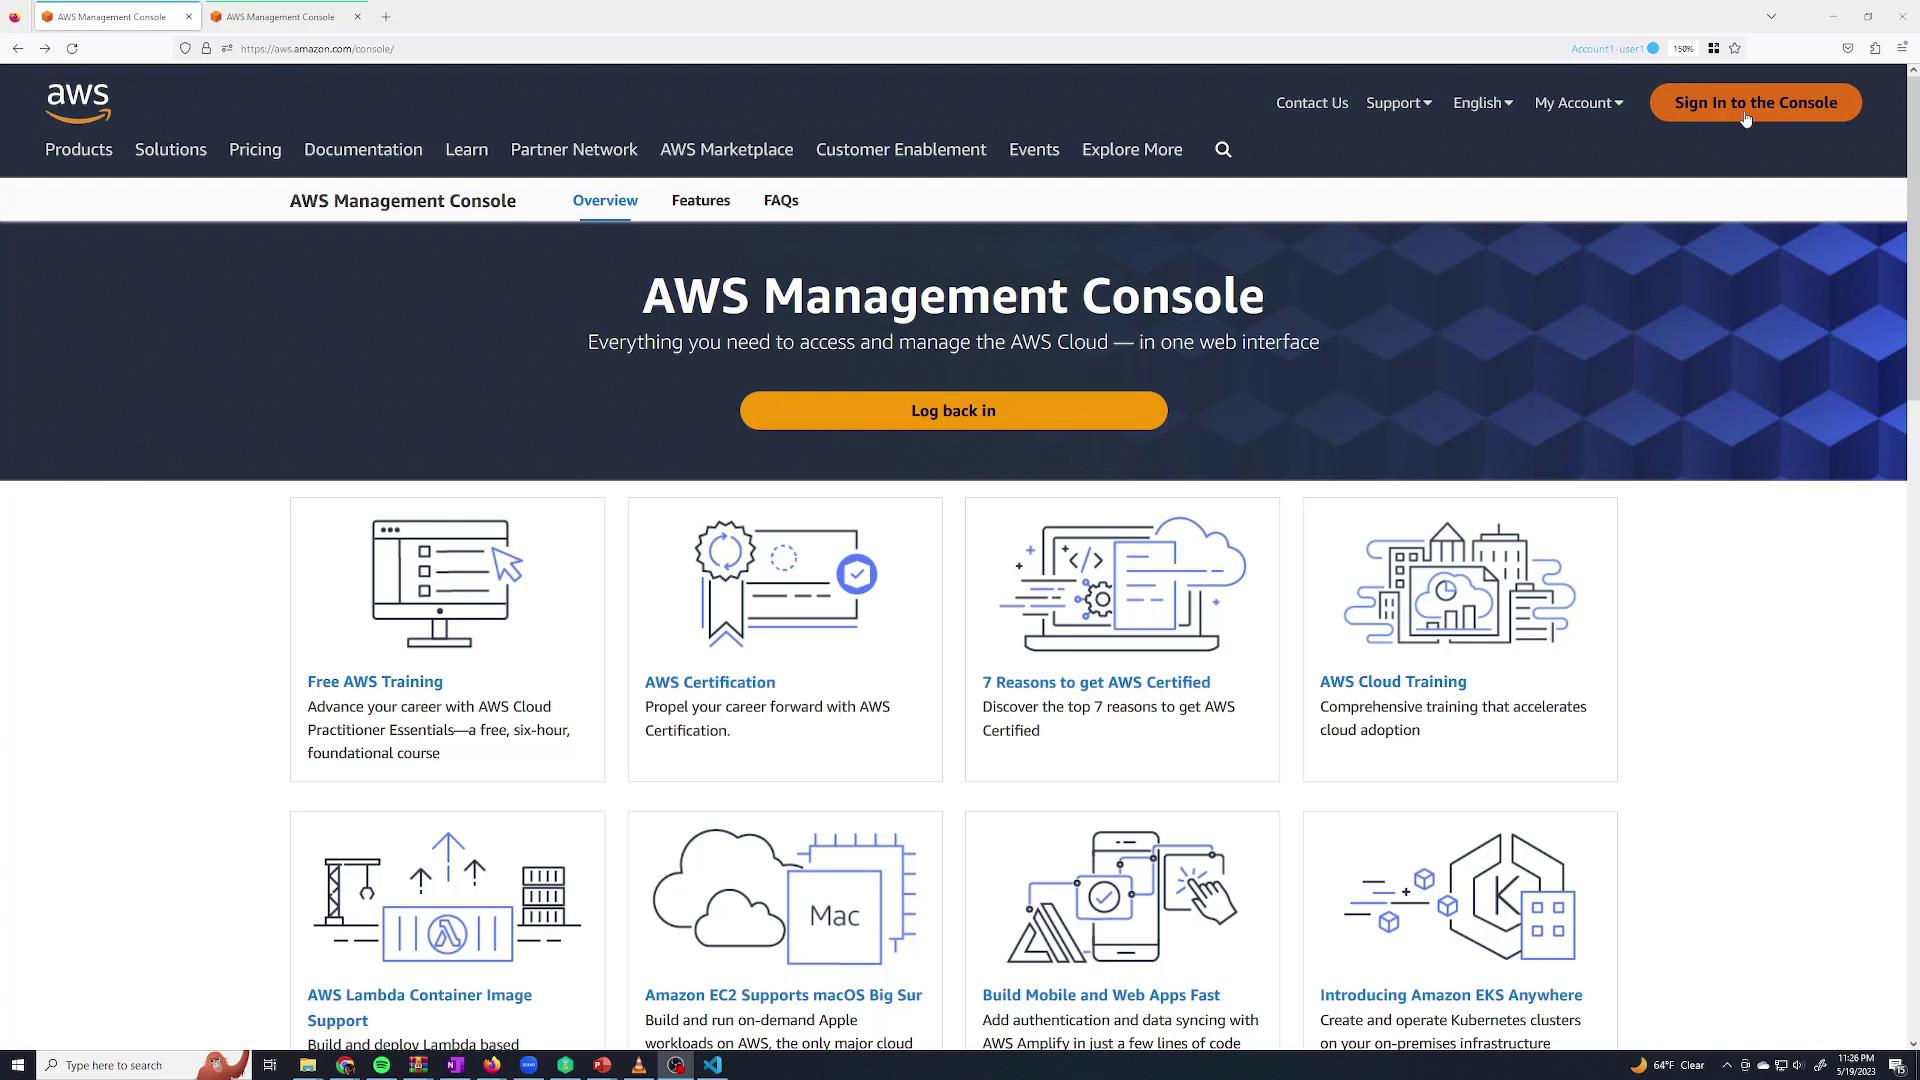
In this lesson, we demonstrate how to manage AWS Identity and Access Management (IAM) by creating users, groups, and roles, as well as by customizing permissions and policies. Using IAM, you can control which users have access to specific AWS services, ensuring secure and organized access management.When you visit the AWS Management Console and click the “Sign in to the console” button at the top right, you’ll be prompted to log in.
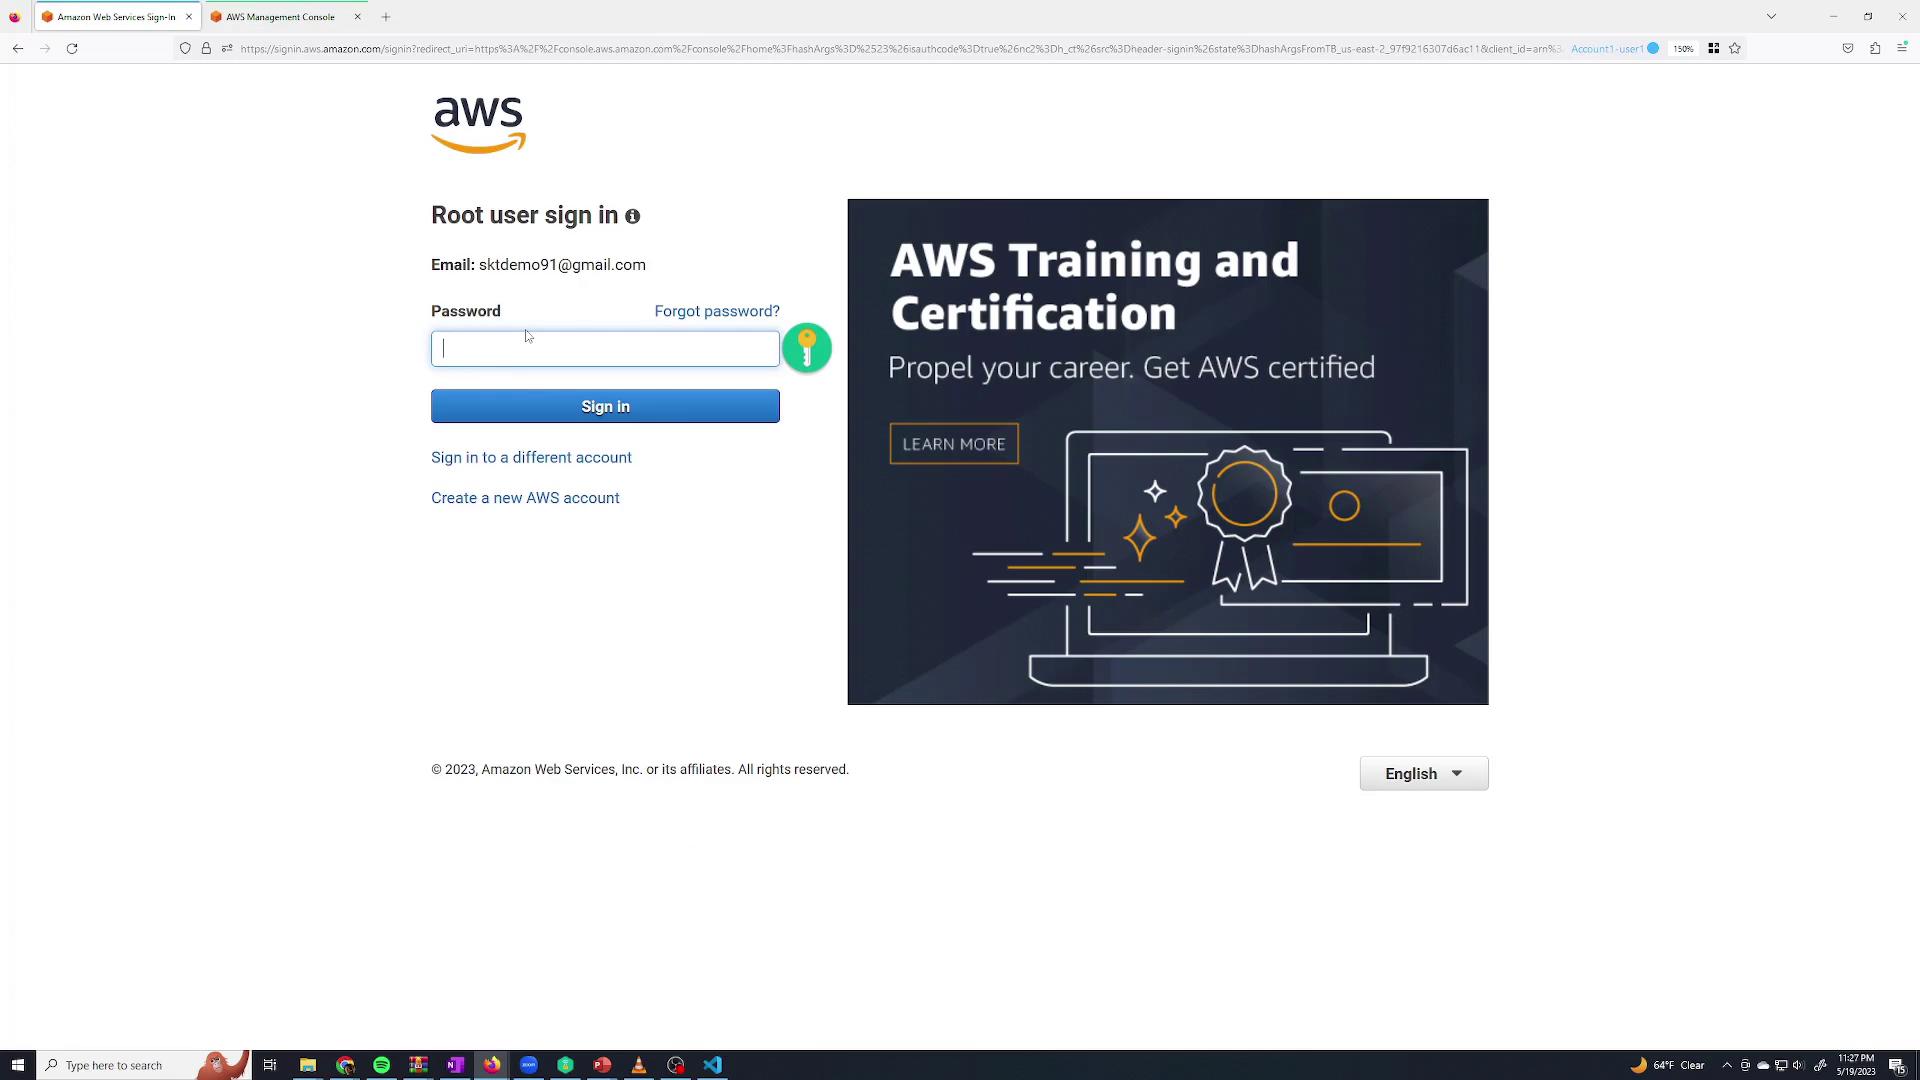
There are two ways to log in: as the root user or as an IAM user. When you create an account, a root user is automatically created with the email address you registered. On the root user sign-in page, enter your email address and password.
If multi-factor authentication (MFA) is enabled, enter the MFA code when prompted. Once logged in as the root user, note that you have full access to all services. Because root credentials have complete privileges, it is best practice to use them sparingly. Instead, create a separate IAM user with specific permissions for everyday tasks.
For enhanced security, avoid daily use of root credentials. Create and use limited-permission IAM users instead.
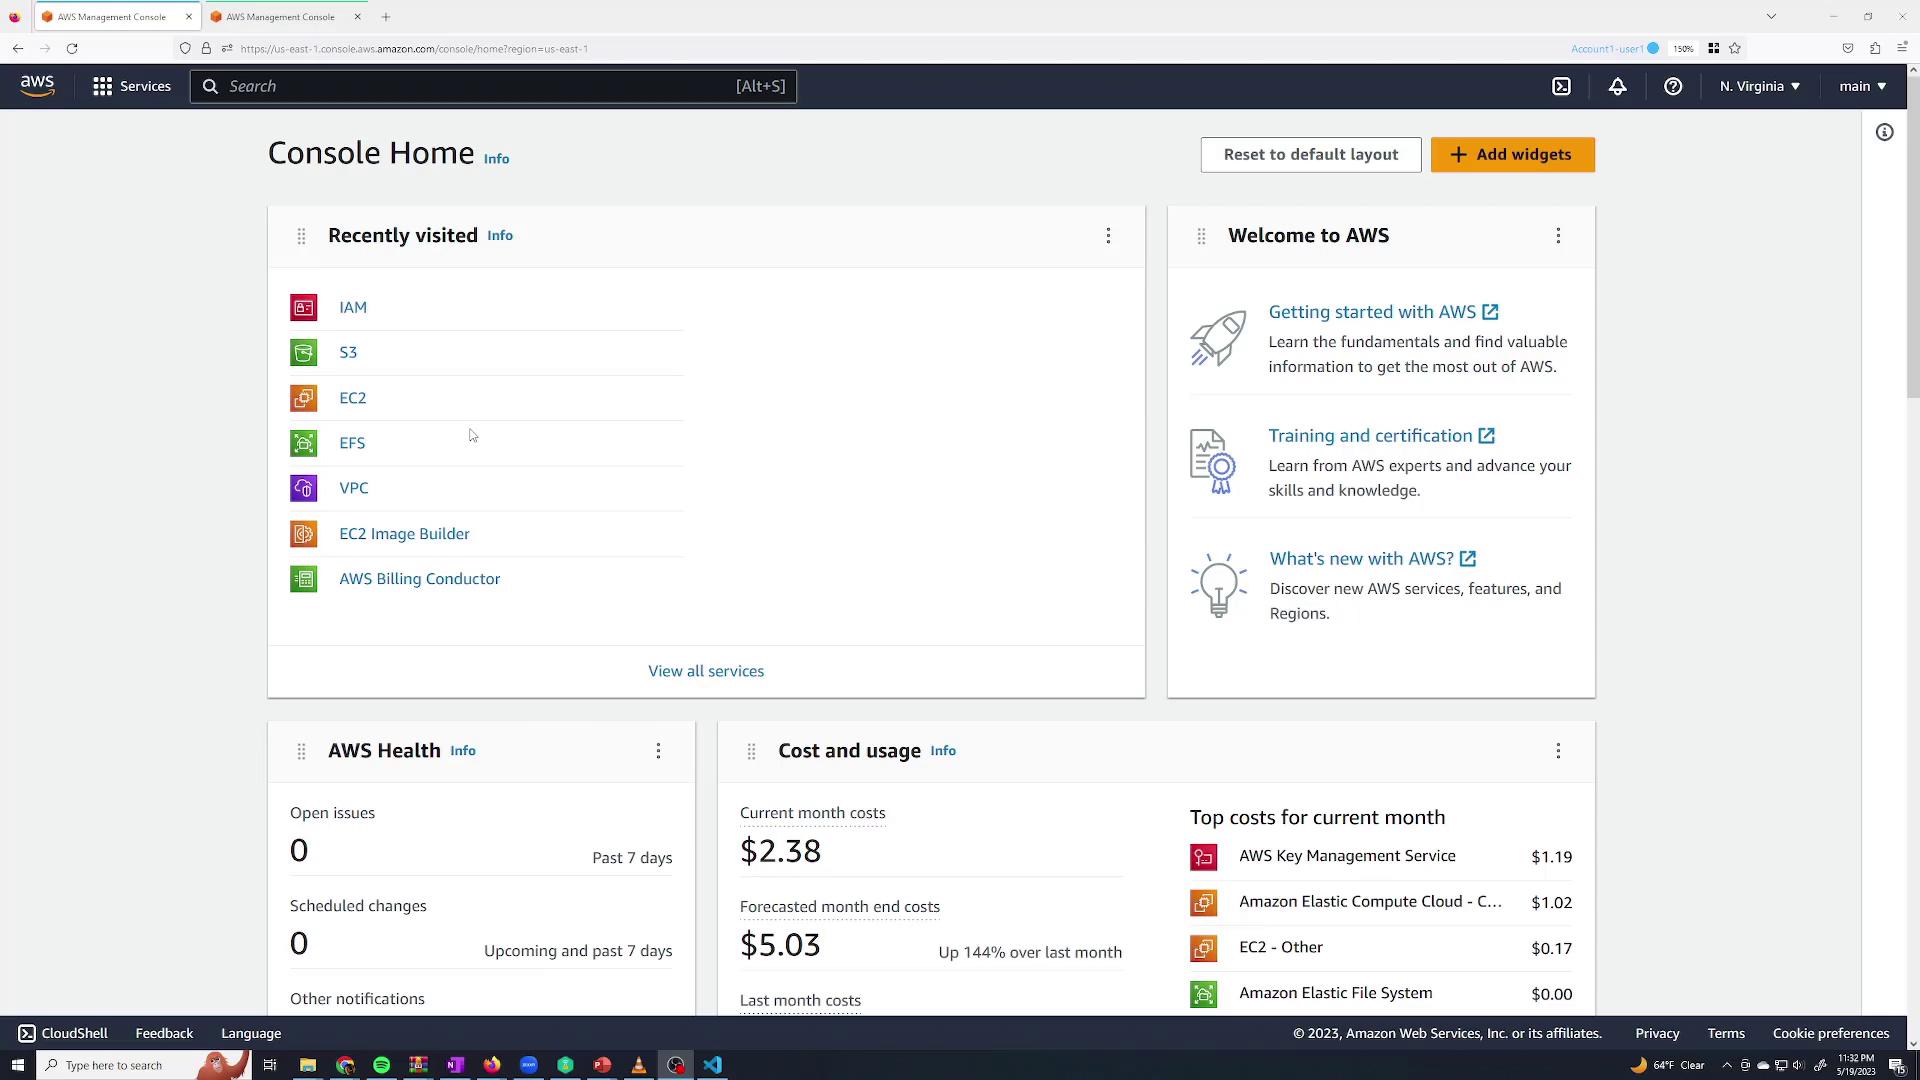
Navigate to IAM from the AWS Management Console (use the search bar or the recent services section).
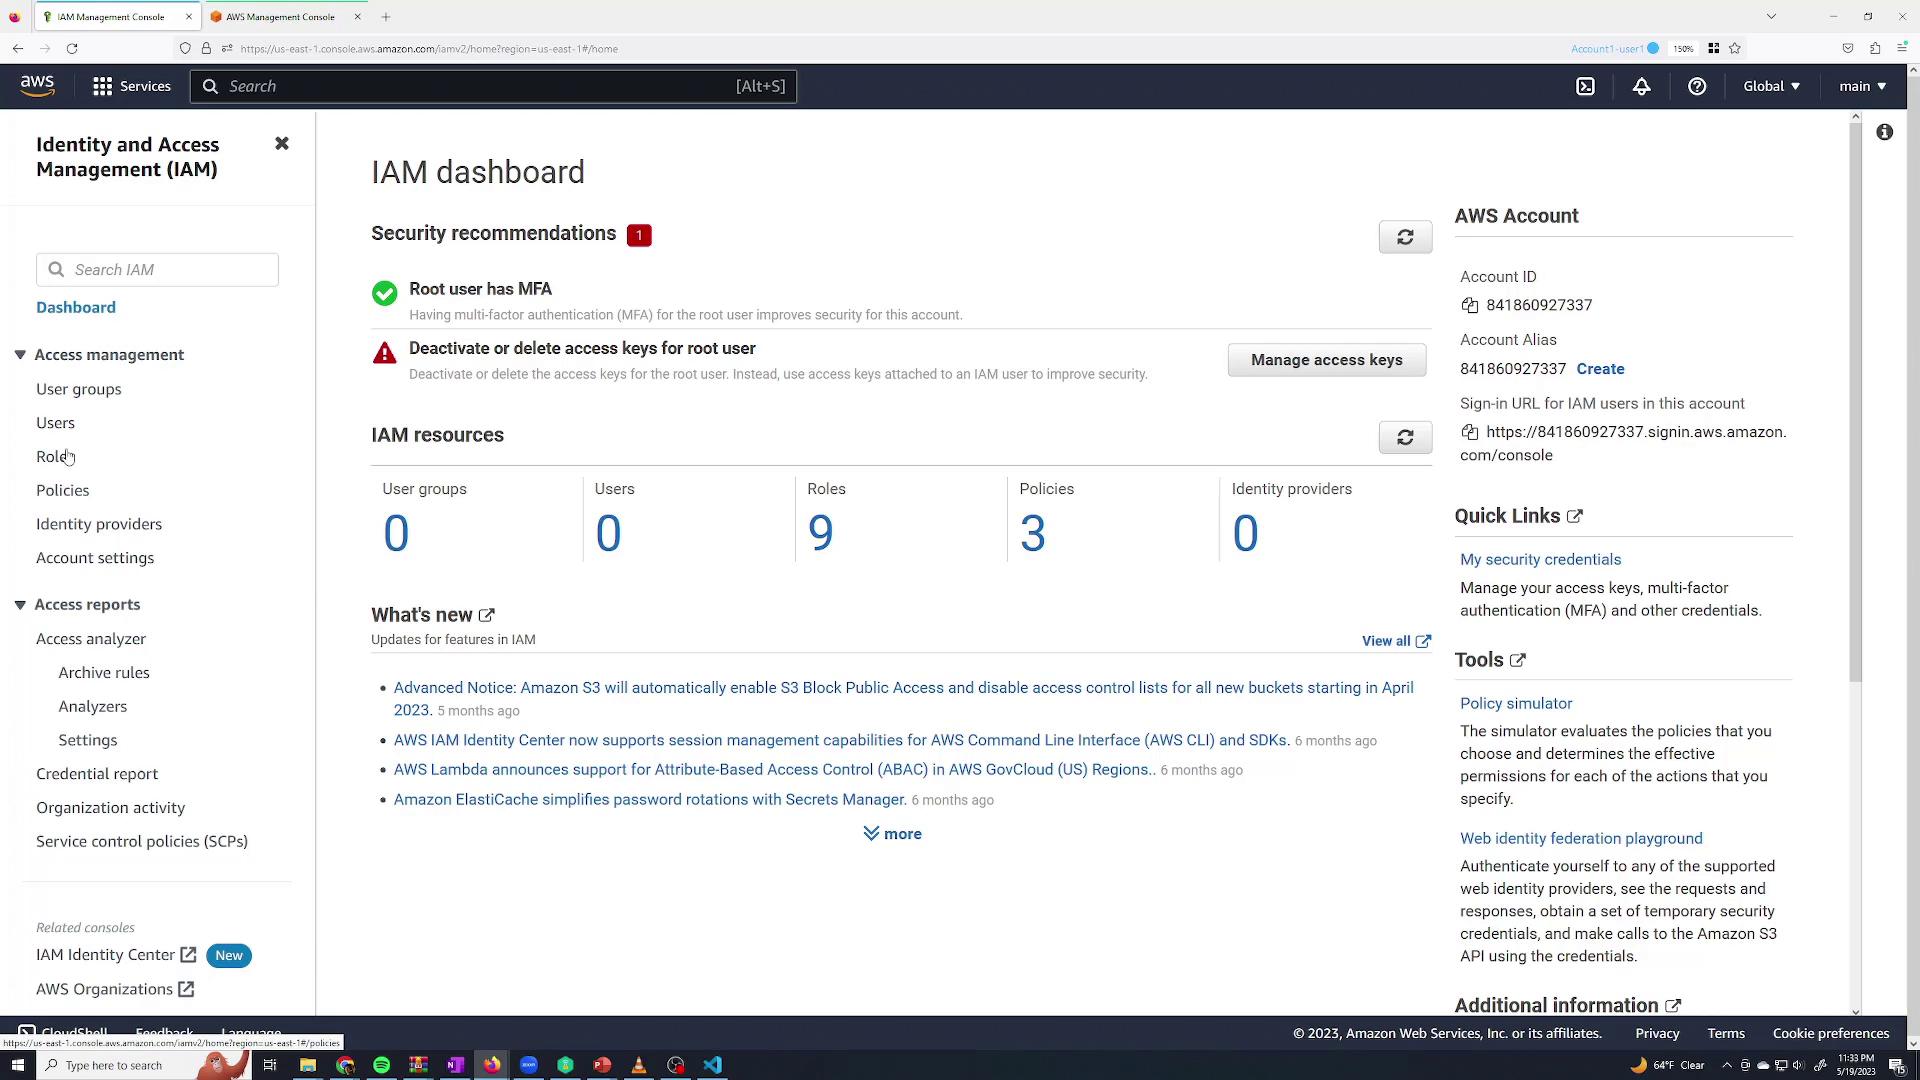
In the IAM dashboard, manage your groups, users, roles, and policies.
To create a user:
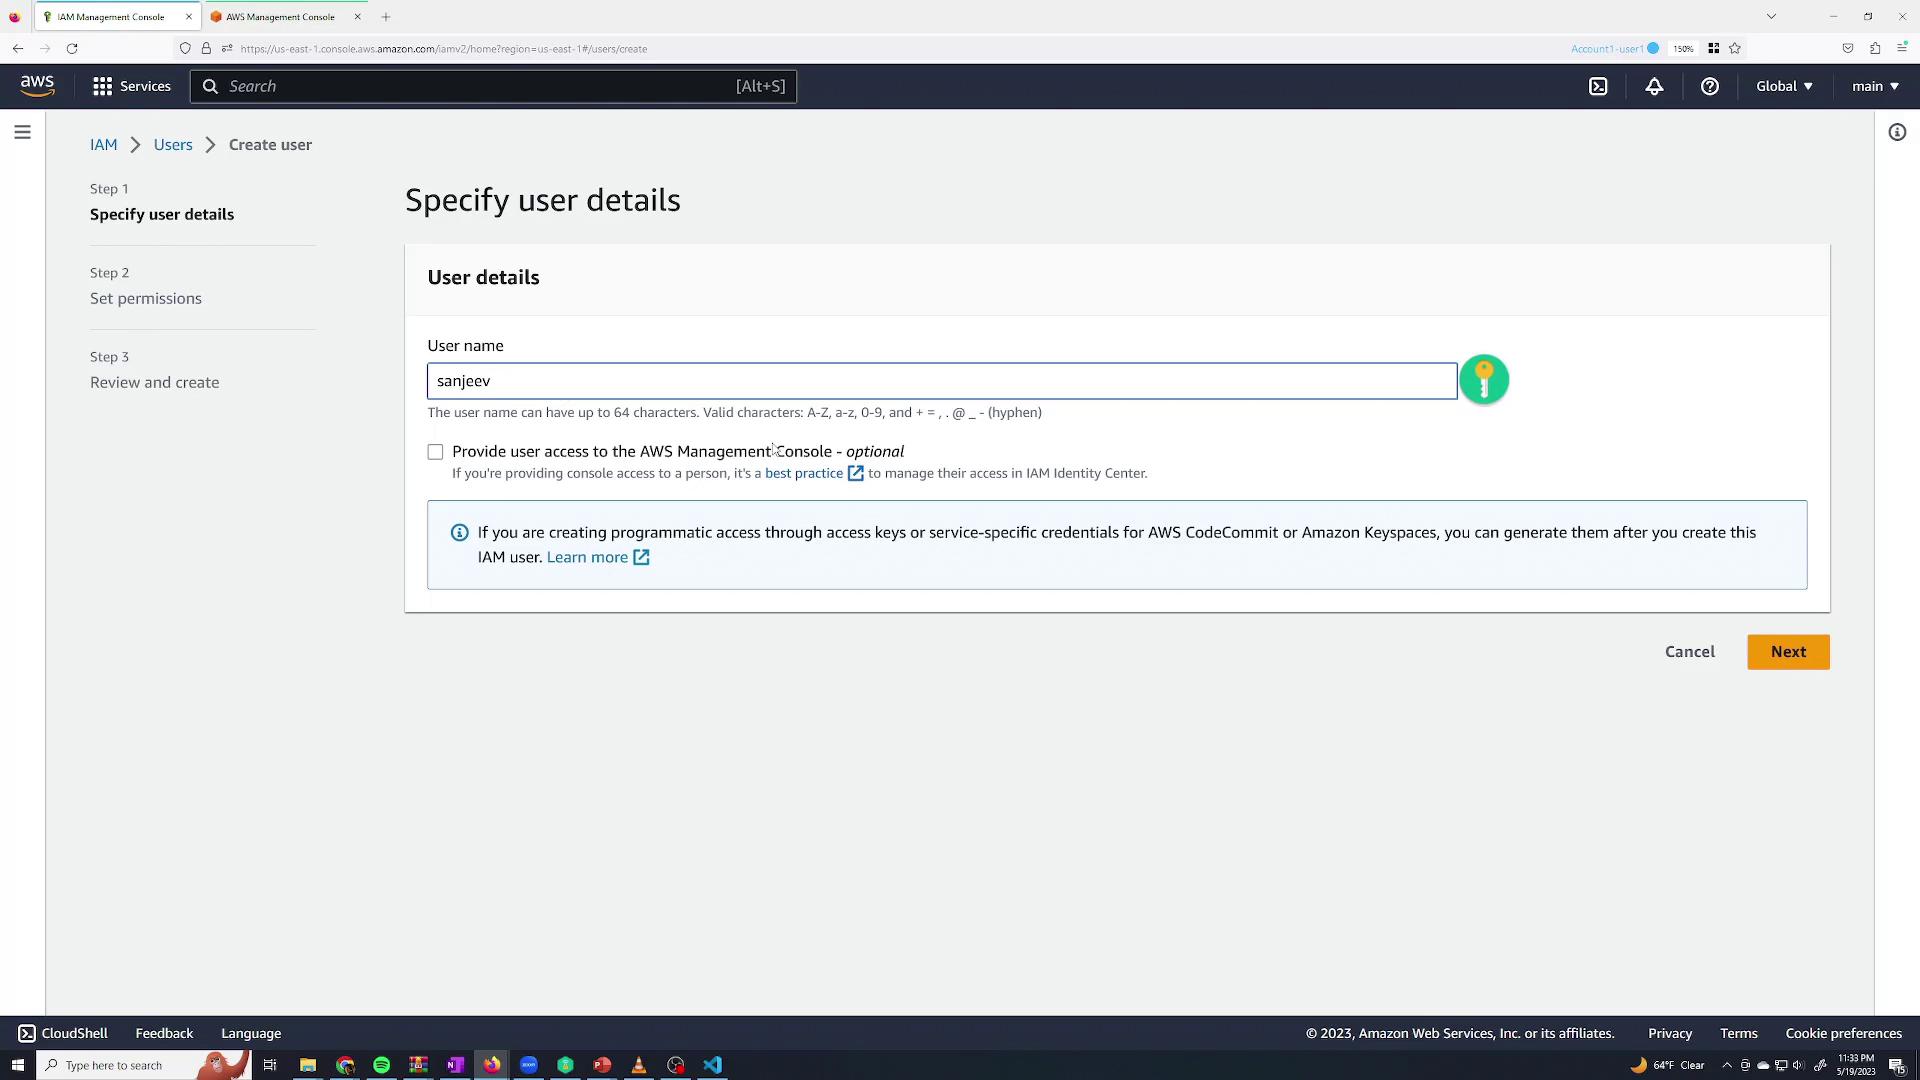
Click the Users section.
Since there are no users yet, click Add users.
Enter a user name (for example, “Sanjeev Thiyagarajan”) and check the option to Provide user access to the AWS Management Console.
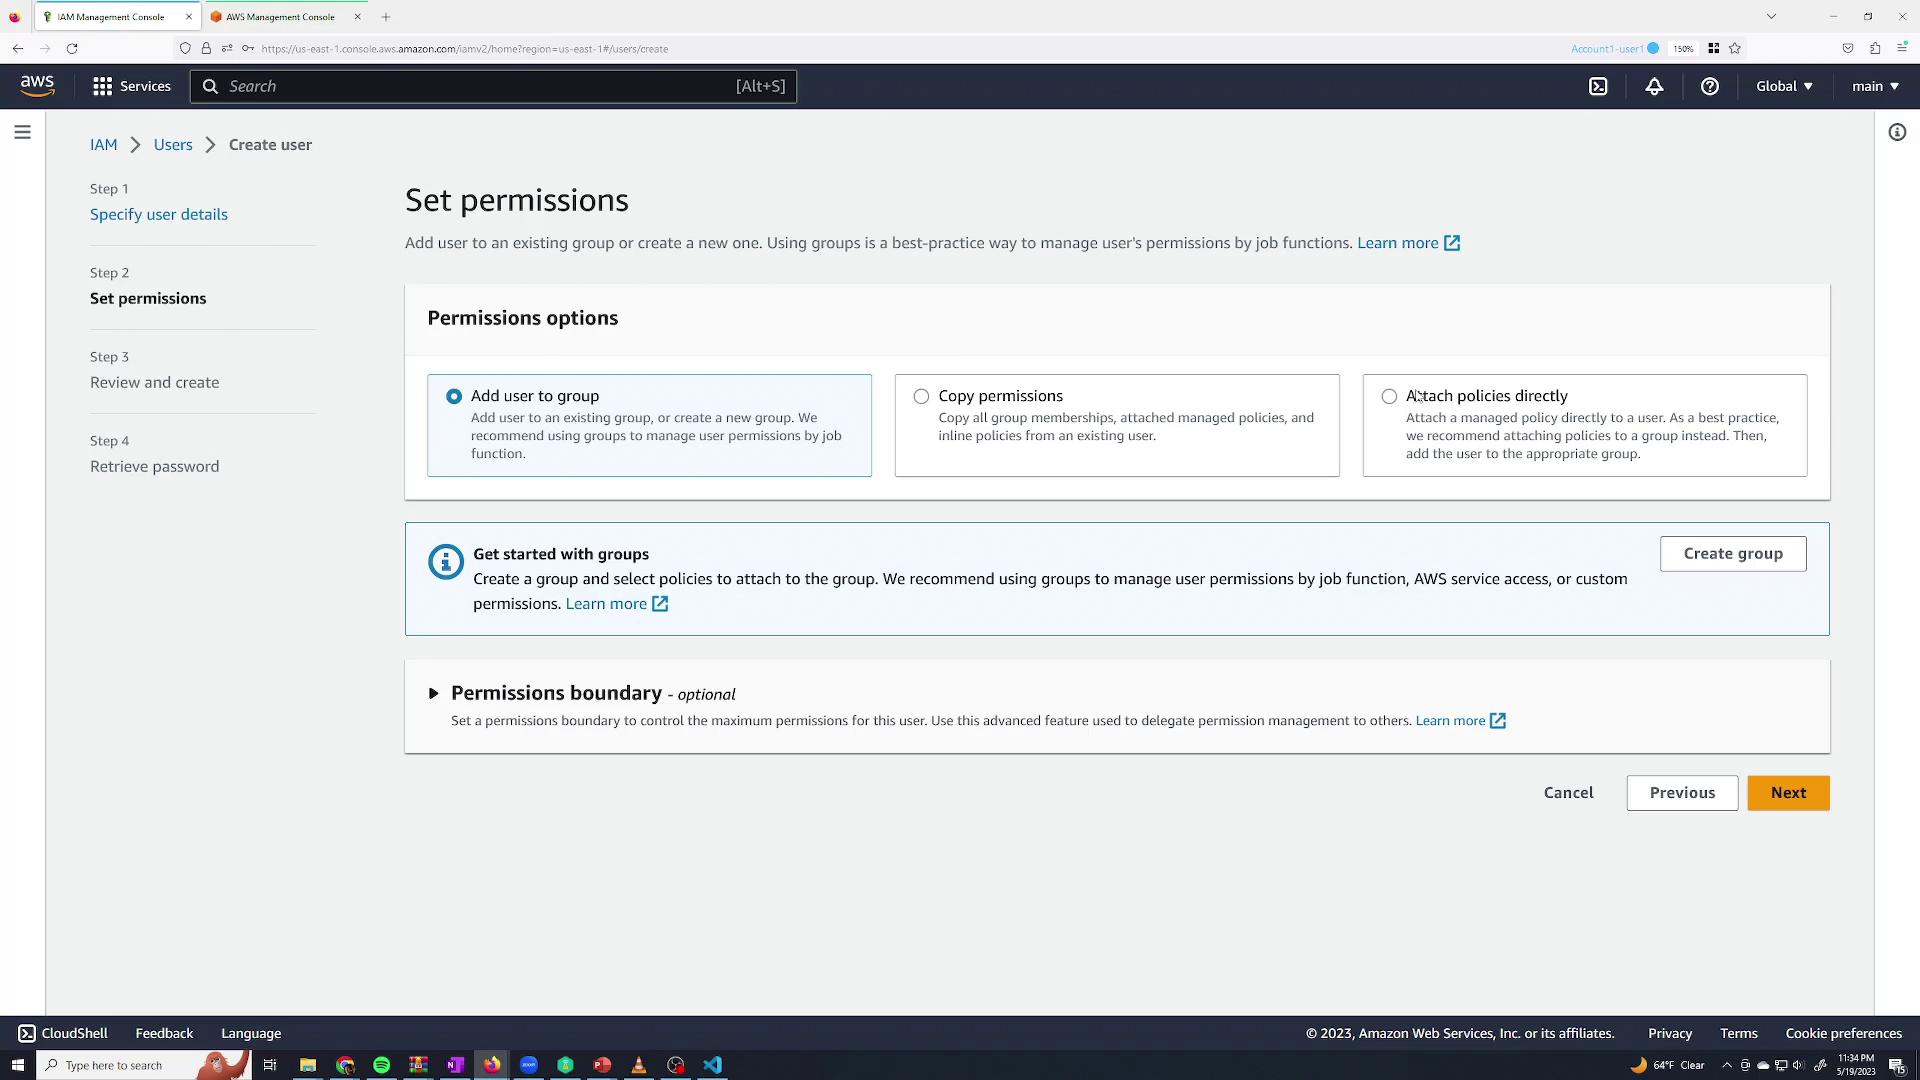
Decide whether AWS should auto-generate a password or if you want to specify one. You can also choose if the user must change the password upon the first sign-in. In this demonstration, uncheck the “Users must create a new password at next sign-in” option as you are creating the account for yourself.On the Set permissions page, you have several options:
Add the user to a group to inherit permissions.
Copy permissions from another user.
Attach policies directly to the user.
For now, create the user without any permissions.
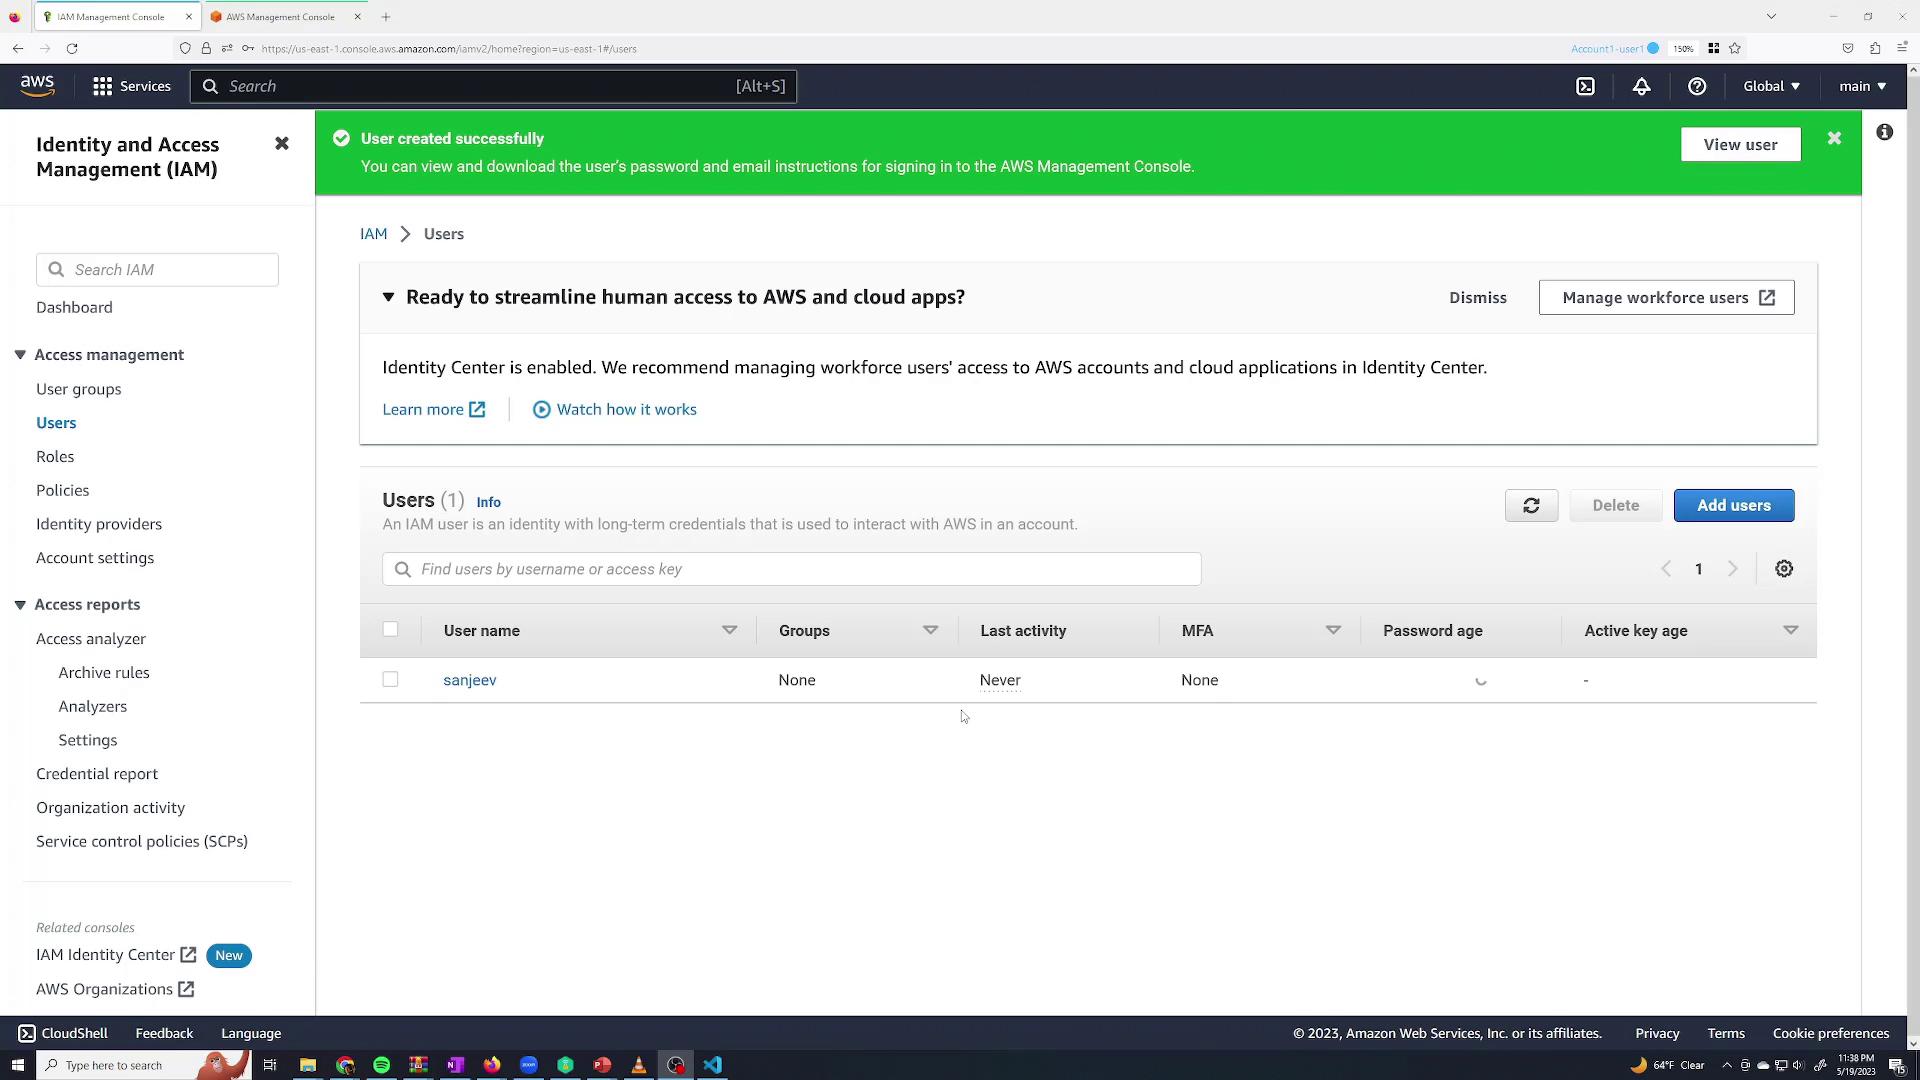
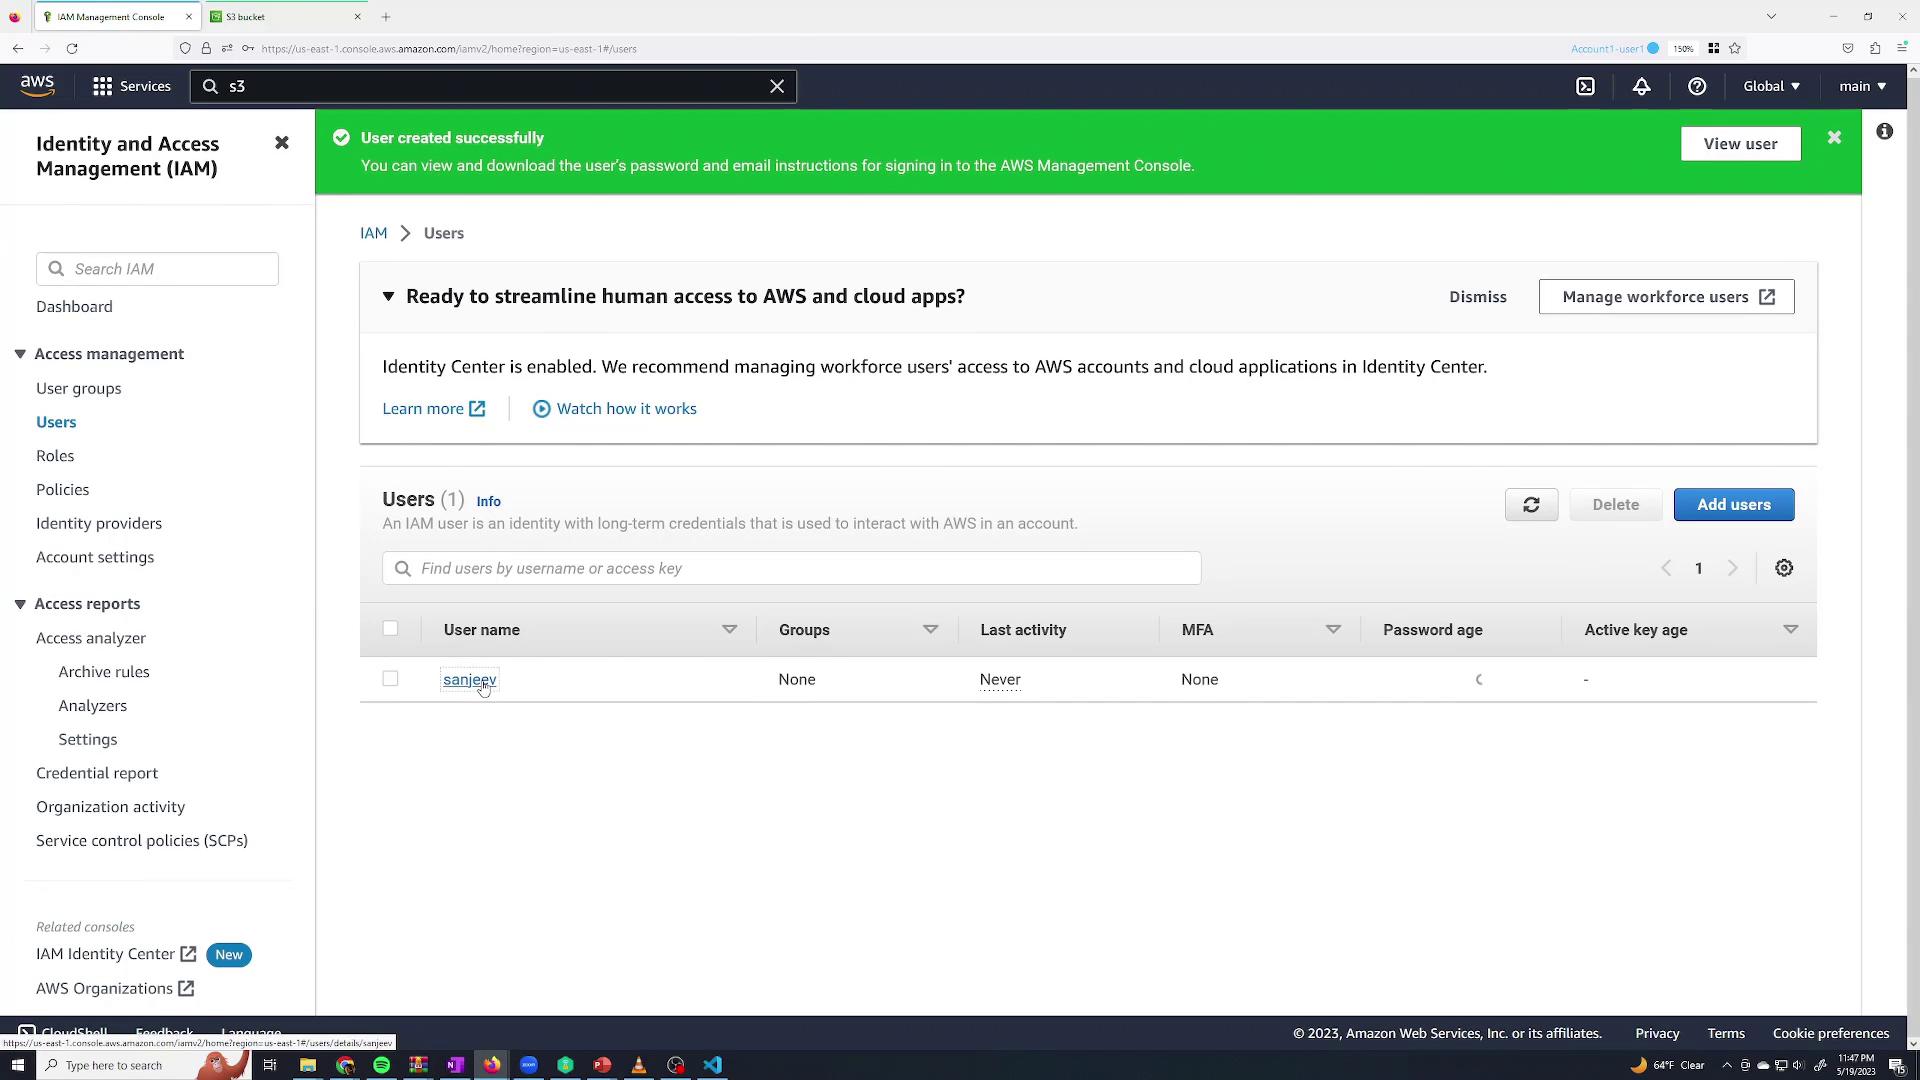
Review your selections and click Create user. After creation, click Continue to return to the users list, where the newly created user “Sanjeev Thiyagarajan” is listed without any group associations and with MFA disabled.
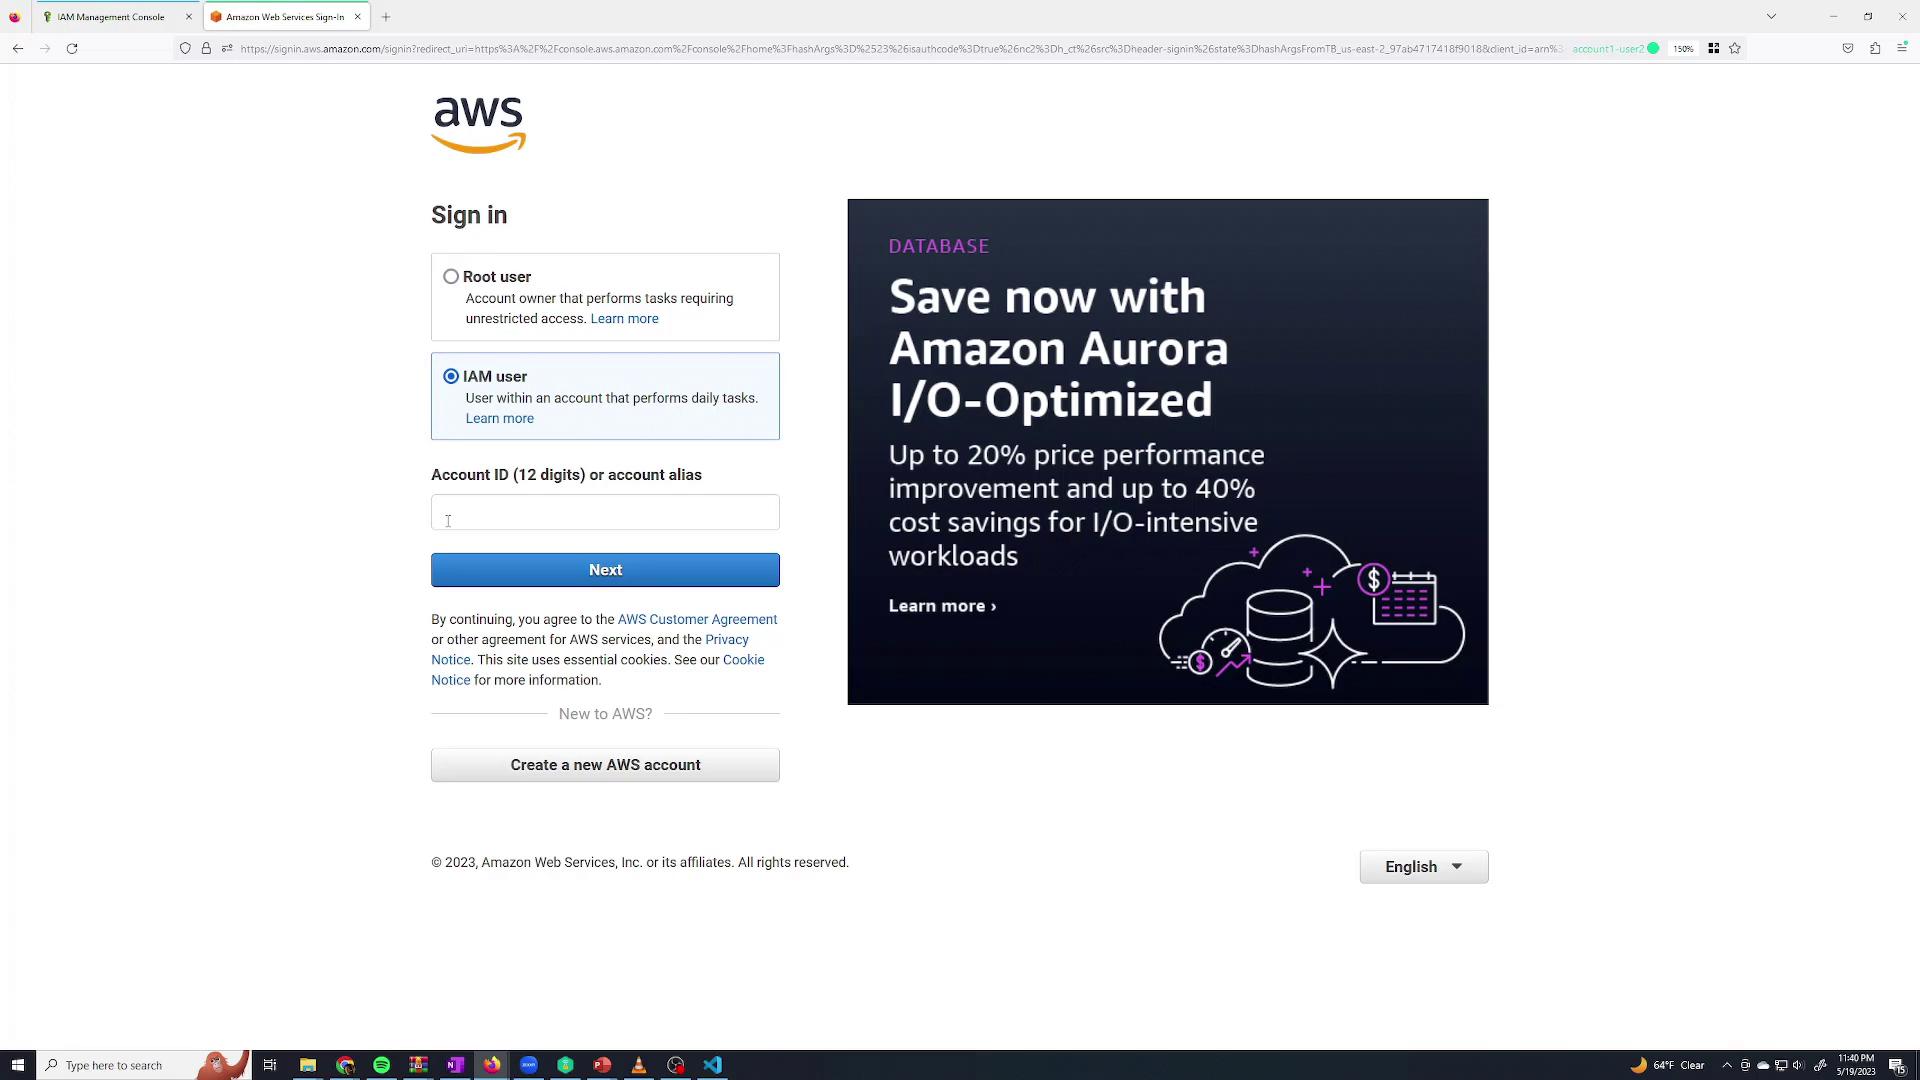
Now, log in as the “Sanjeev Thiyagarajan” IAM user. Since this IAM user currently has no permissions, it will not be able to perform any actions. Open a new browser tab, incognito window, or use a session management extension for this purpose.On the sign-in page, select Sign in as IAM user and enter:
The AWS Account ID (available from the root user’s account dropdown),
The IAM user name, and
The password you specified.
Once logged in as Sanjeev, you’ll notice that the user does not have permissions to create, modify, or delete resources. For example, if you try to create an Amazon S3 bucket:
Click on S3 from the console search.
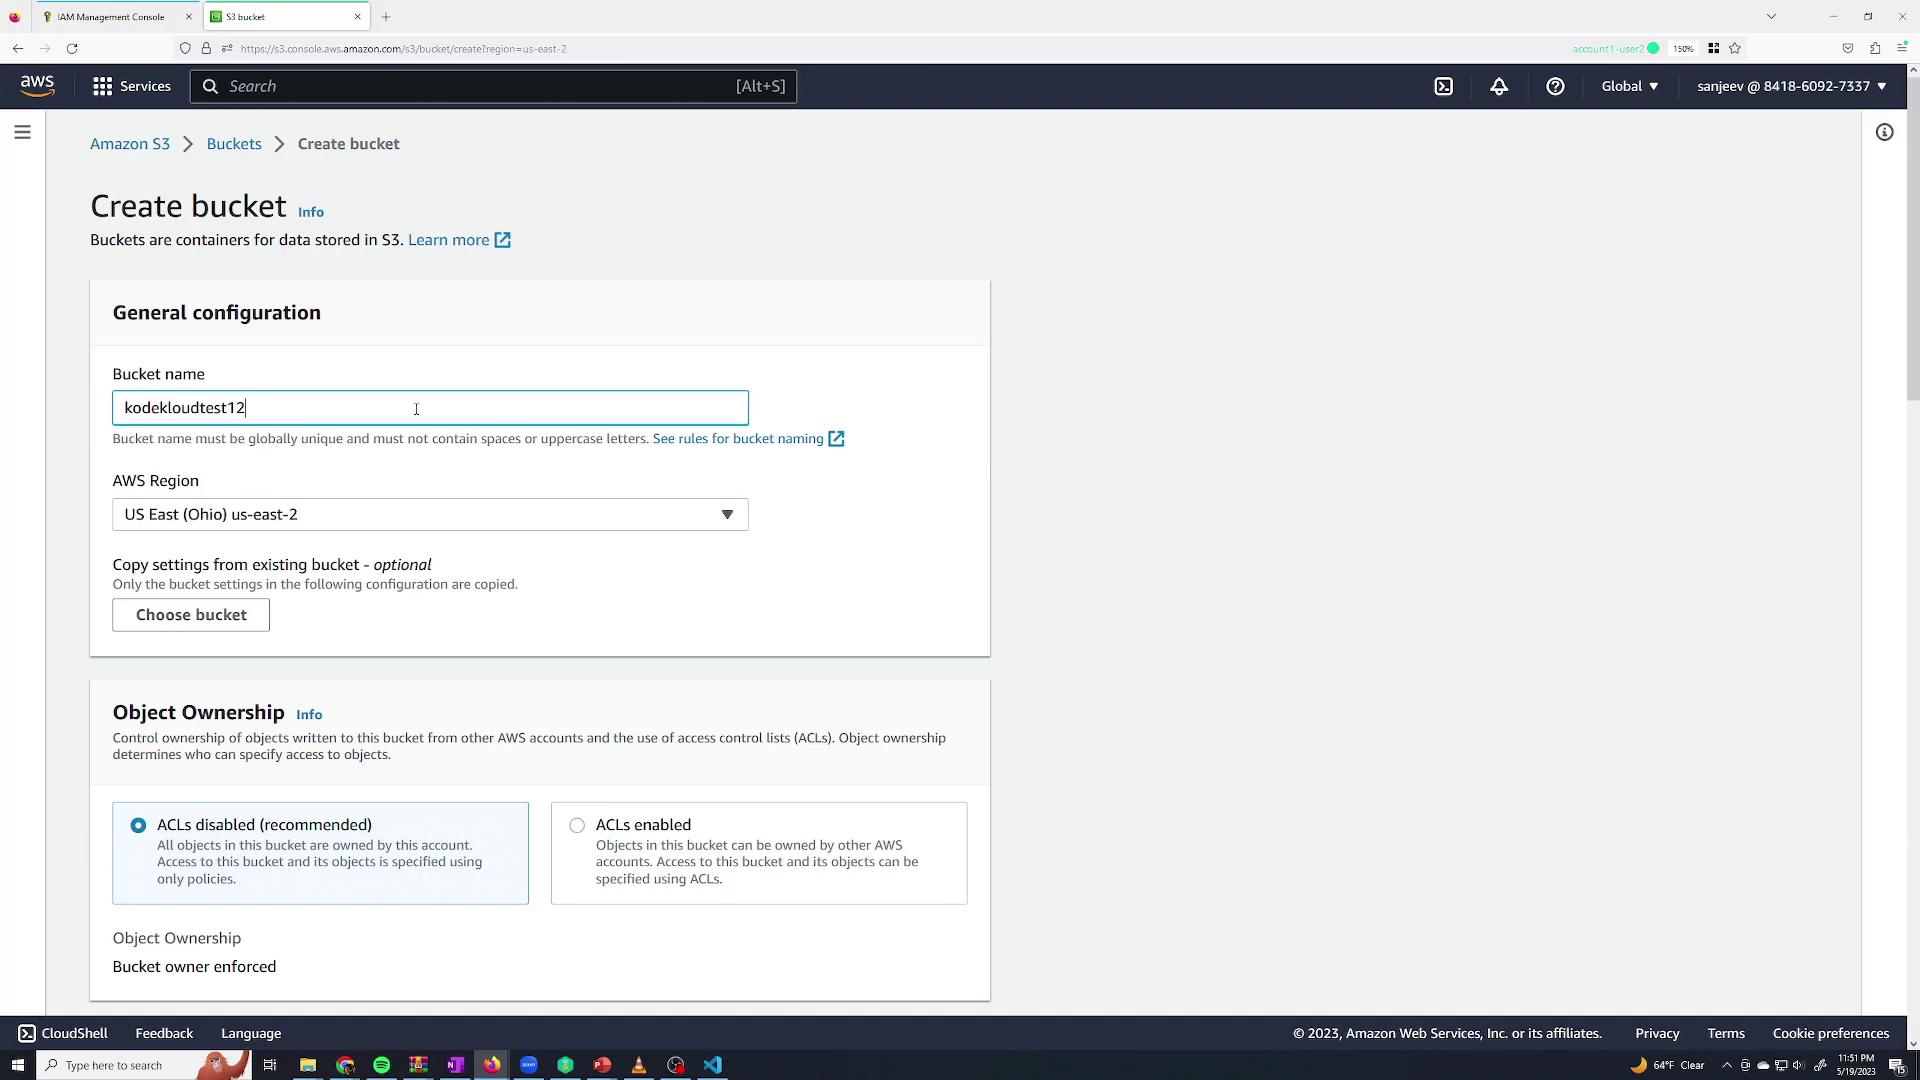
Choose to create a bucket (name it and select a region as needed).
Attempting to create the bucket will fail with an error stating that the “S3 Create Bucket” permission is required.
This confirms that new IAM users have no permissions by default.
Since the Sanjeev user cannot modify any resources, log back in as the root user to grant permissions. Follow these steps:
Navigate to the IAM Users page.
Select the “Sanjeev Thiyagarajan” user.
Go to the Permissions tab and click Add permissions.
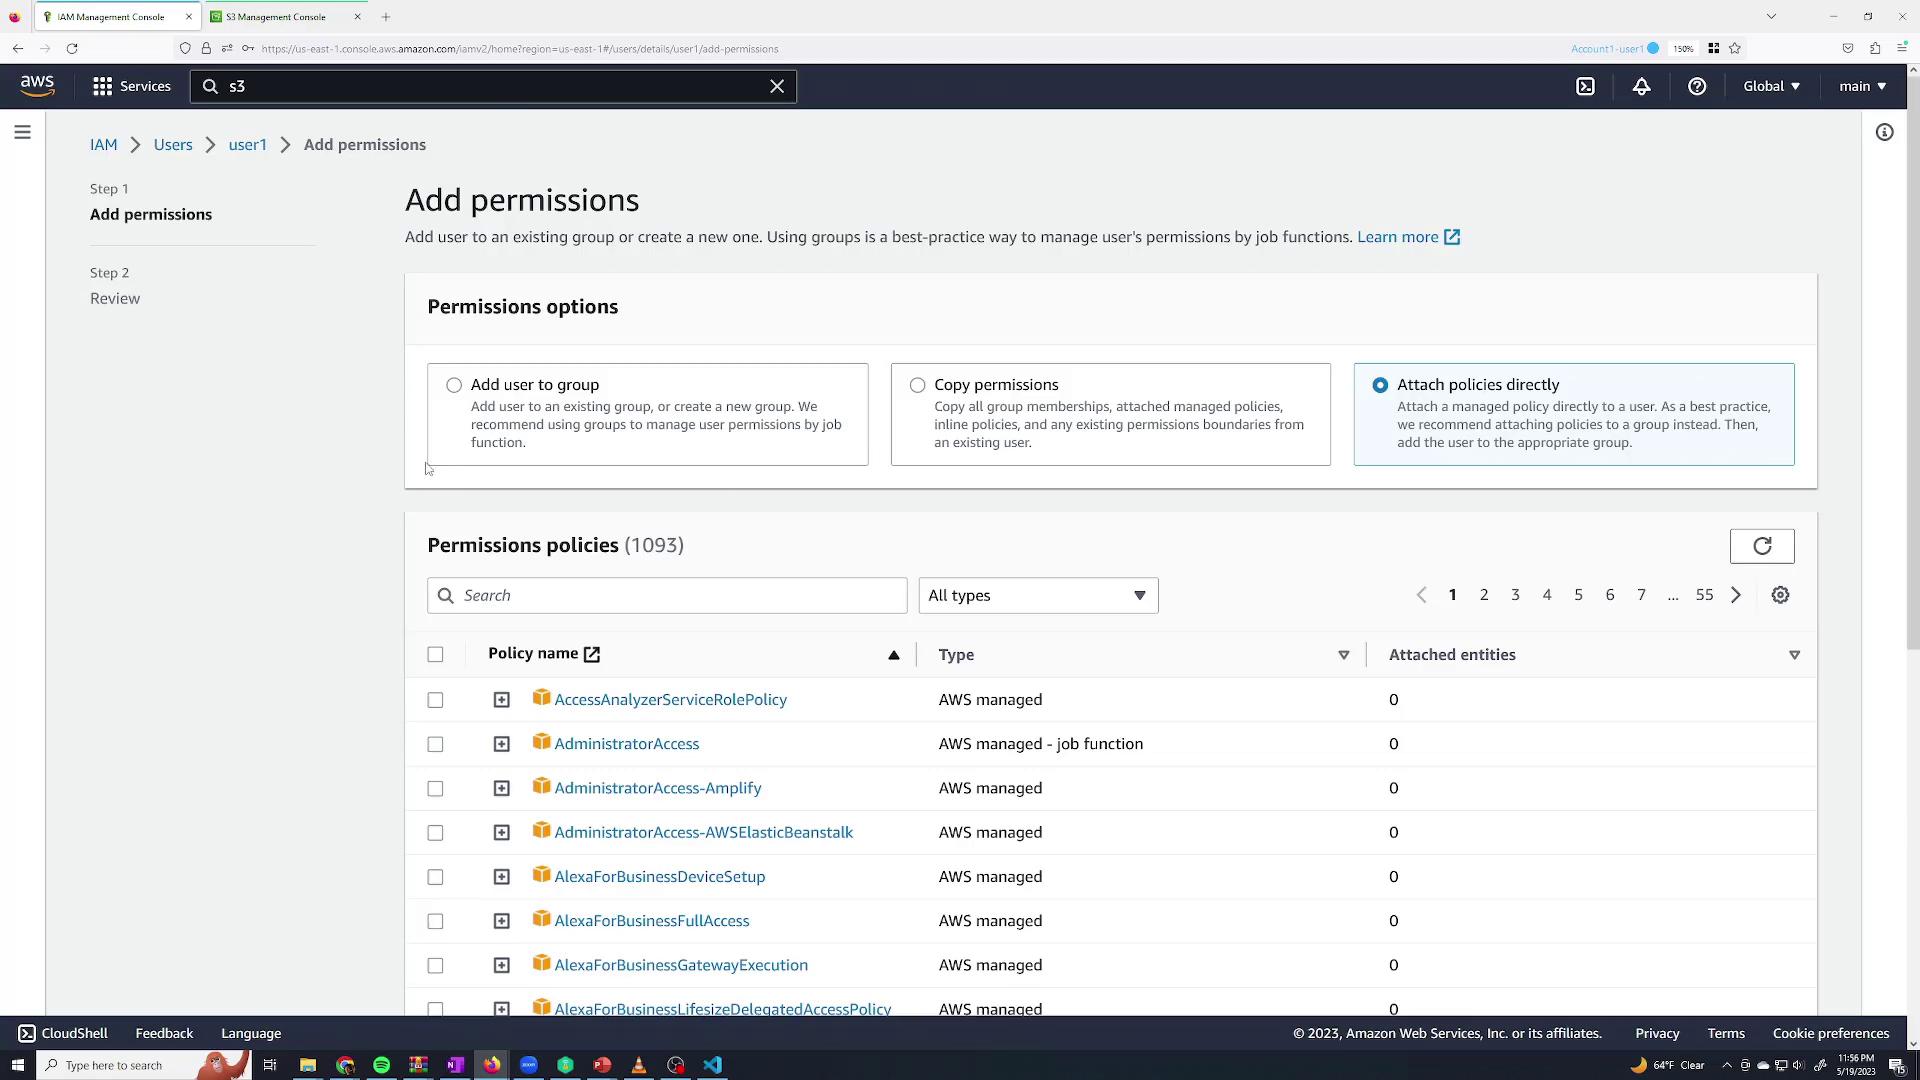
When adding permissions, you have multiple options:
Create an inline policy.
Copy permissions from another user.
Add the user to a group.
Attach AWS managed policies directly.
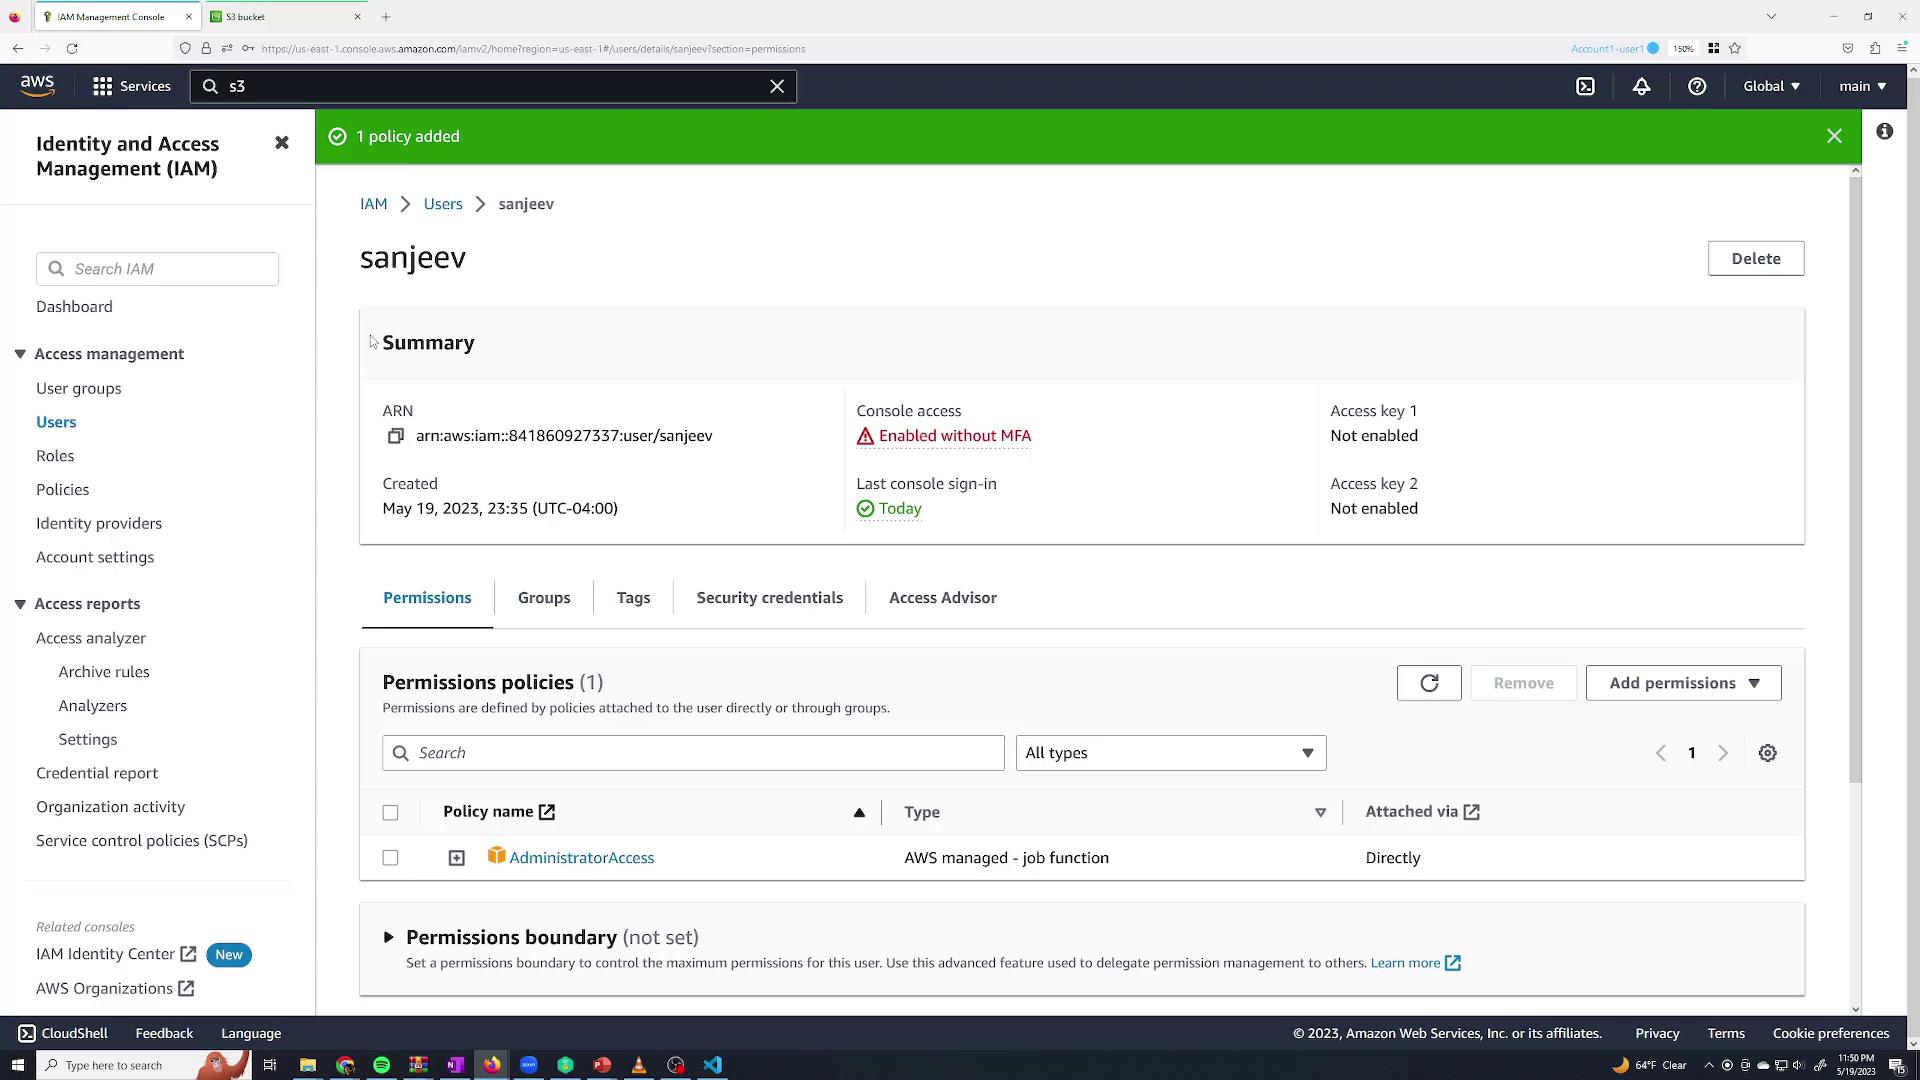
For demonstration purposes, attach the AWS managed policy AdministratorAccess to grant full administrative permissions. You can view the policy contents by clicking its plus icon. The policy is defined as follows:
This policy allows any action ("") on any resource (""). Click Next and then Add permissions. Now, when you check the Sanjeev user details, the AdministratorAccess policy is applied.
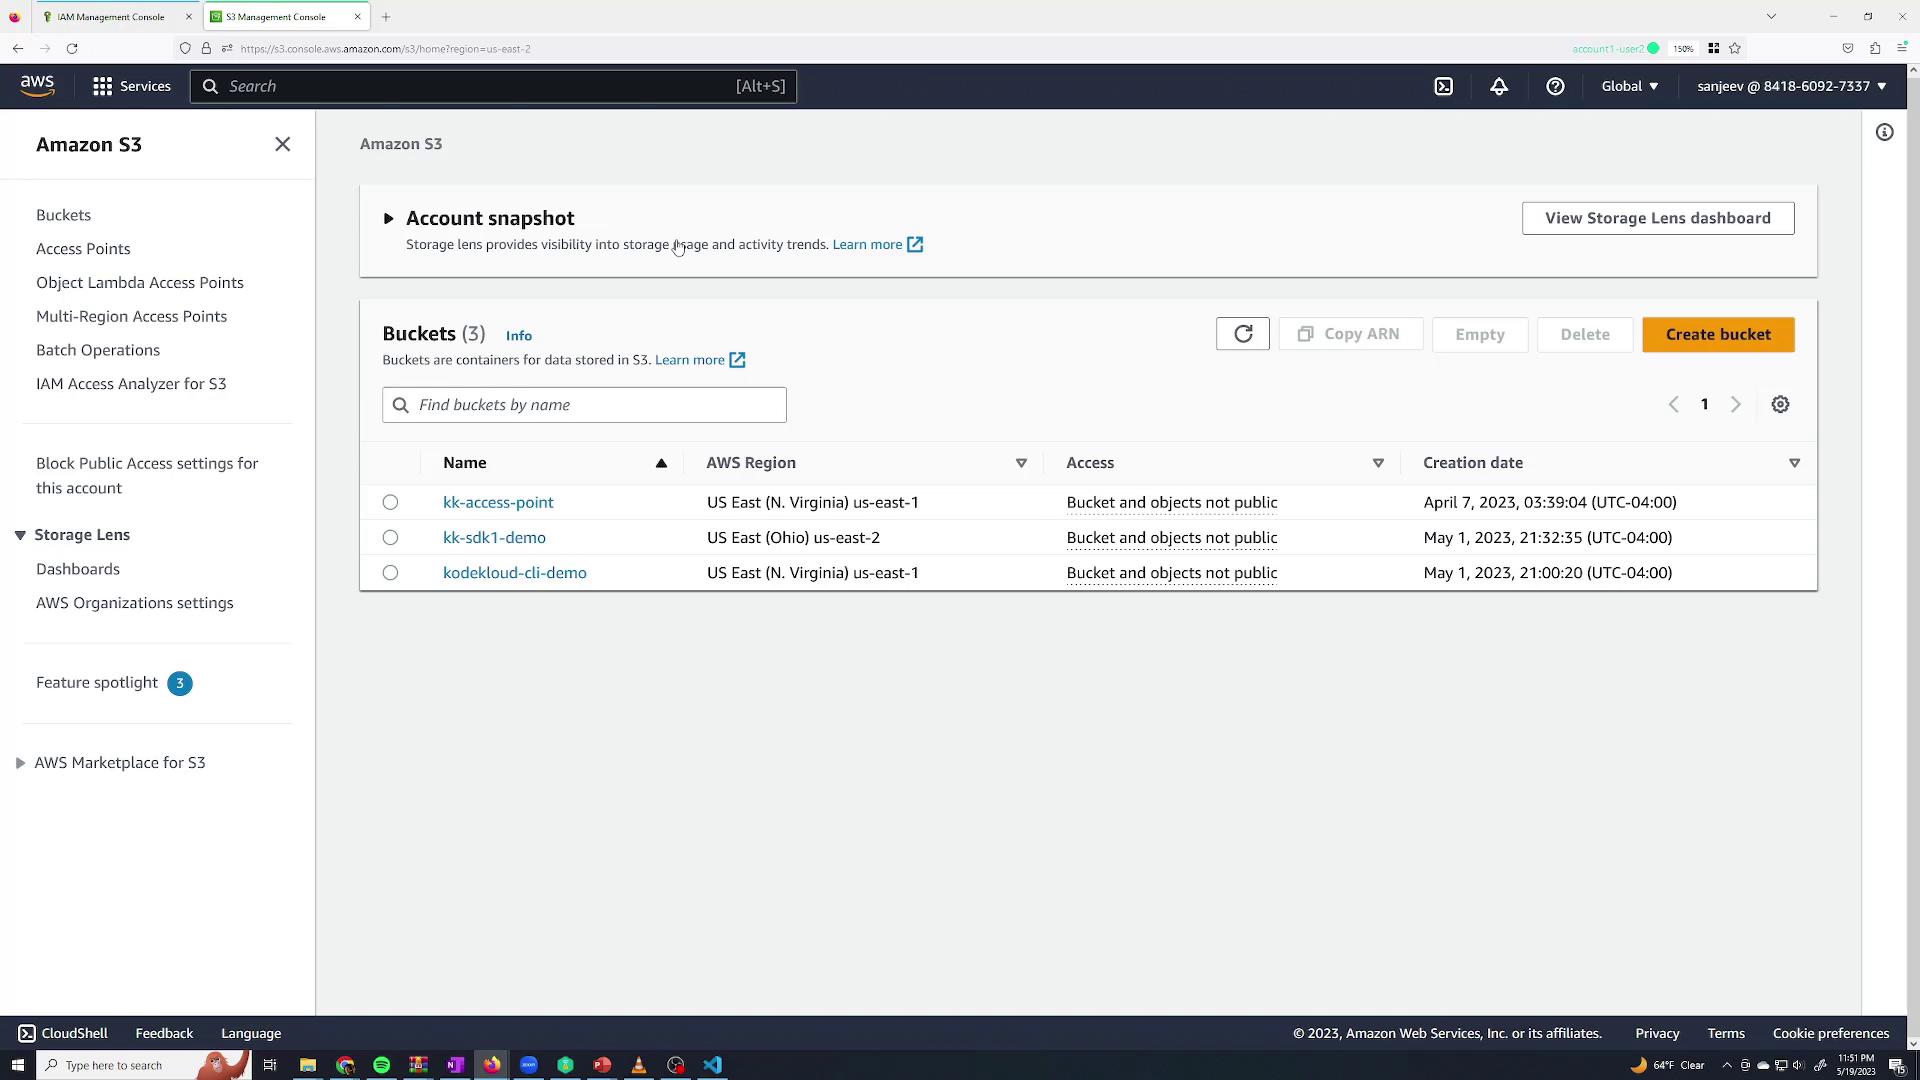
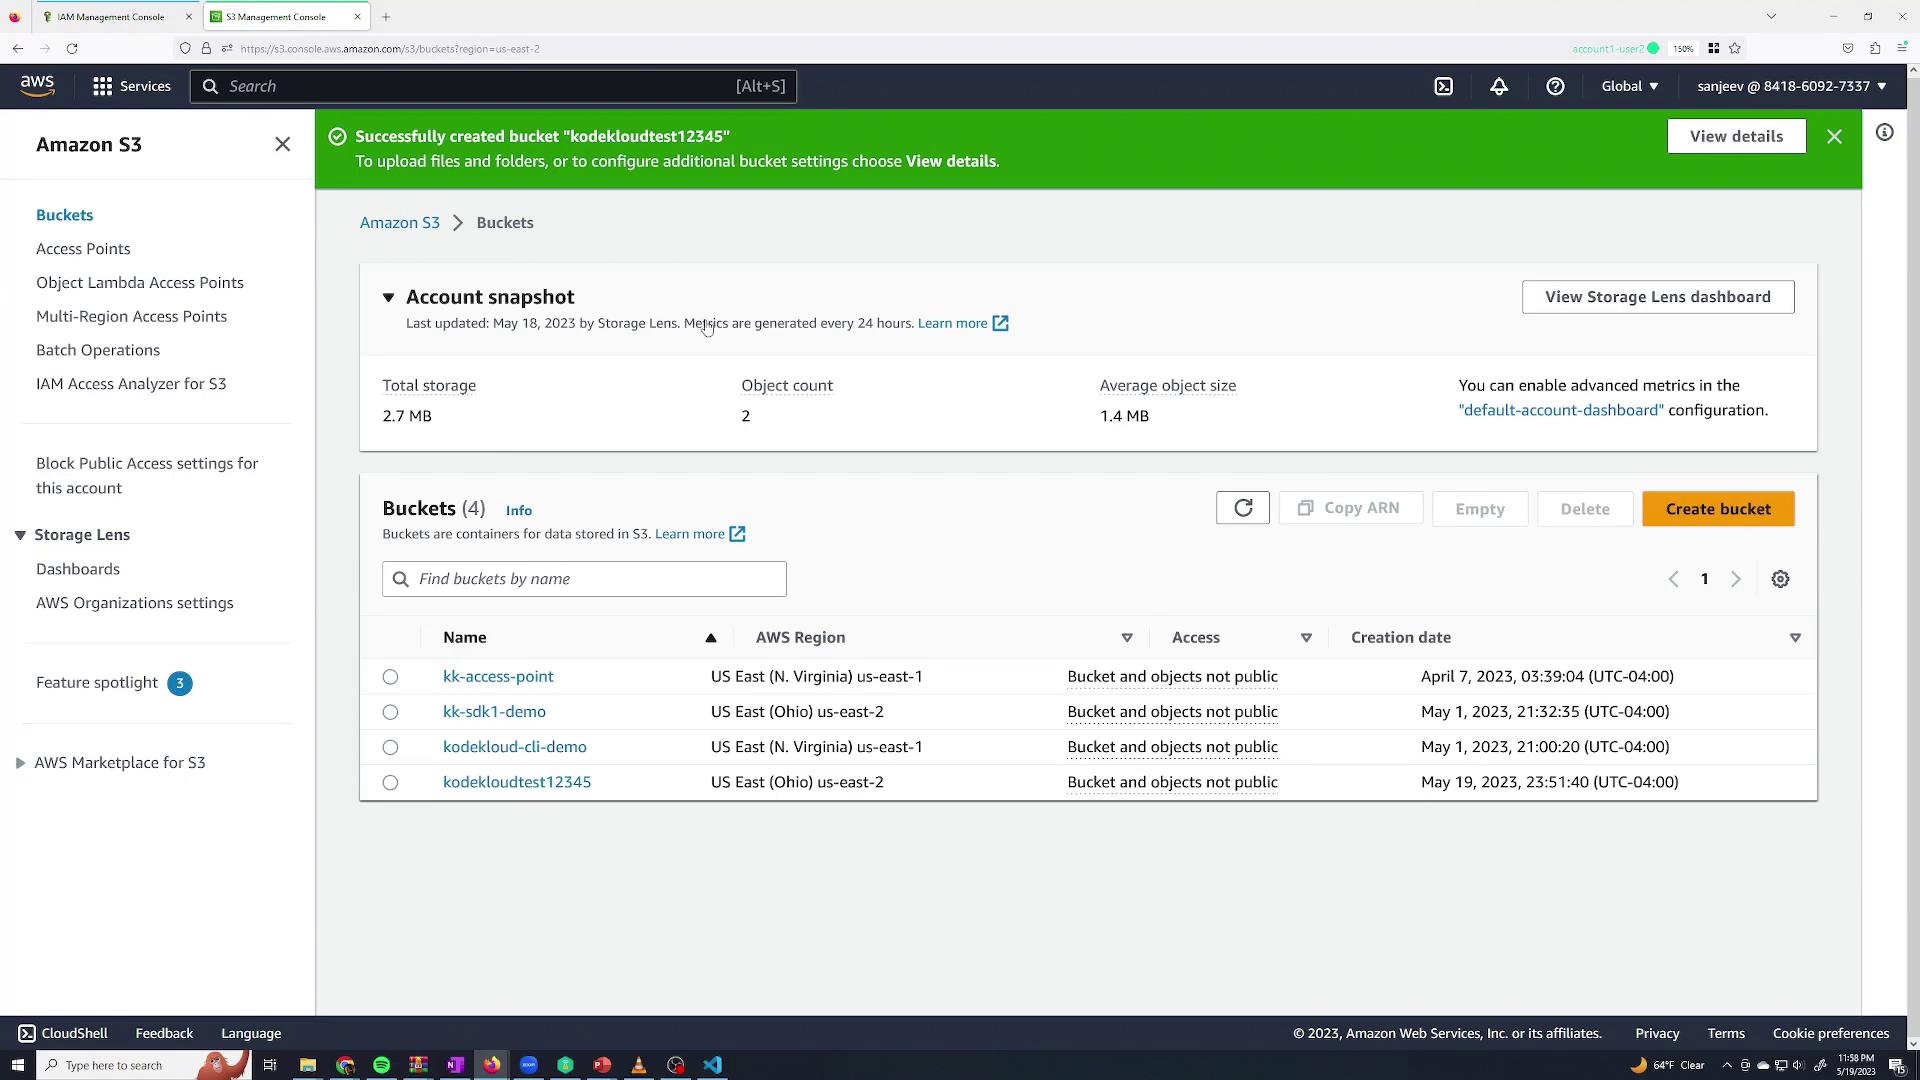
Switch back to your Sanjeev session. You should now see a list of existing S3 buckets and be able to create a new bucket successfully.
To test, try creating a new bucket (for example, “cloudtest12345”). The bucket should be created successfully, confirming that Sanjeev now has full administrative access.
Managing permissions individually can be tedious, especially when onboarding multiple employees. IAM groups simplify this by allowing you to assign a set of policies to multiple users at once.For example, after revoking direct permissions from Sanjeev, you could:
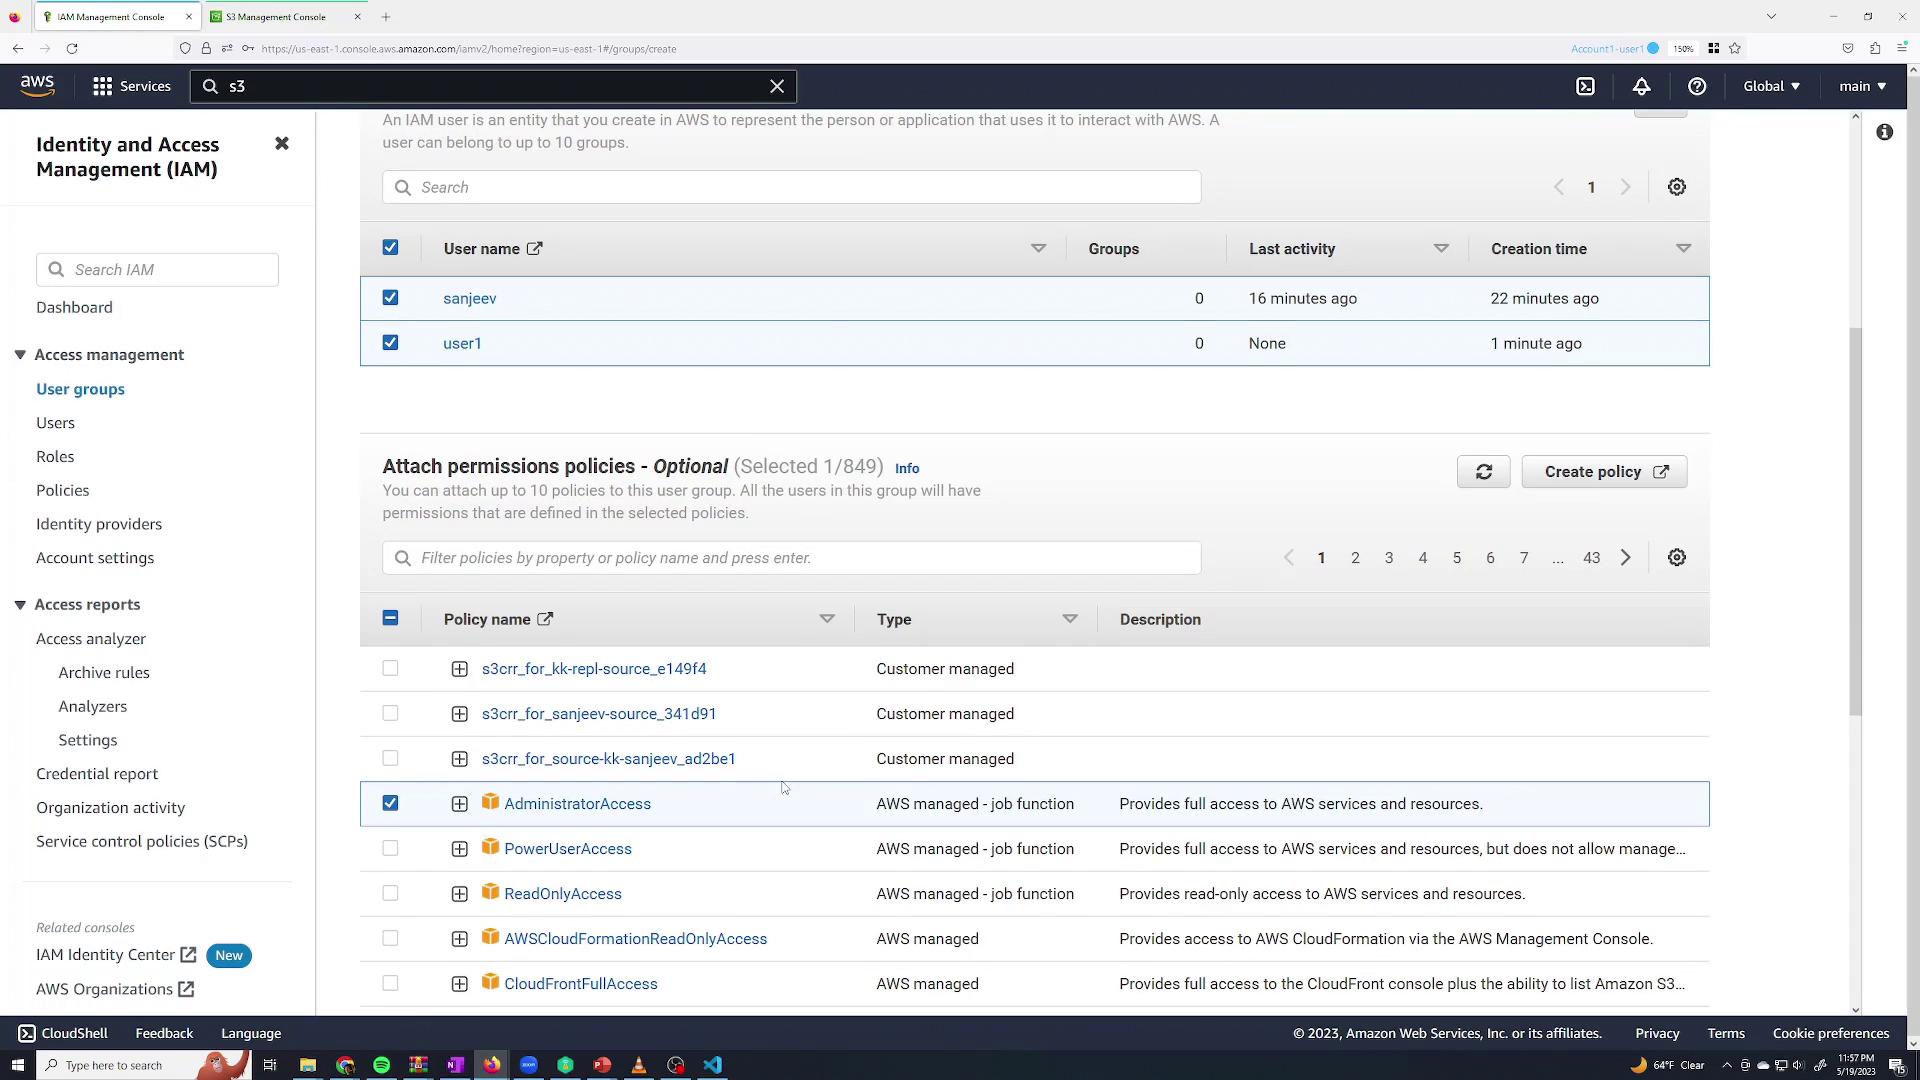
Create a group named admin
Add users (for instance, Sanjeev and a dummy user “user1”) to the group
Attach the AdministratorAccess policy to the group
Users in the group inherit these permissions automatically.
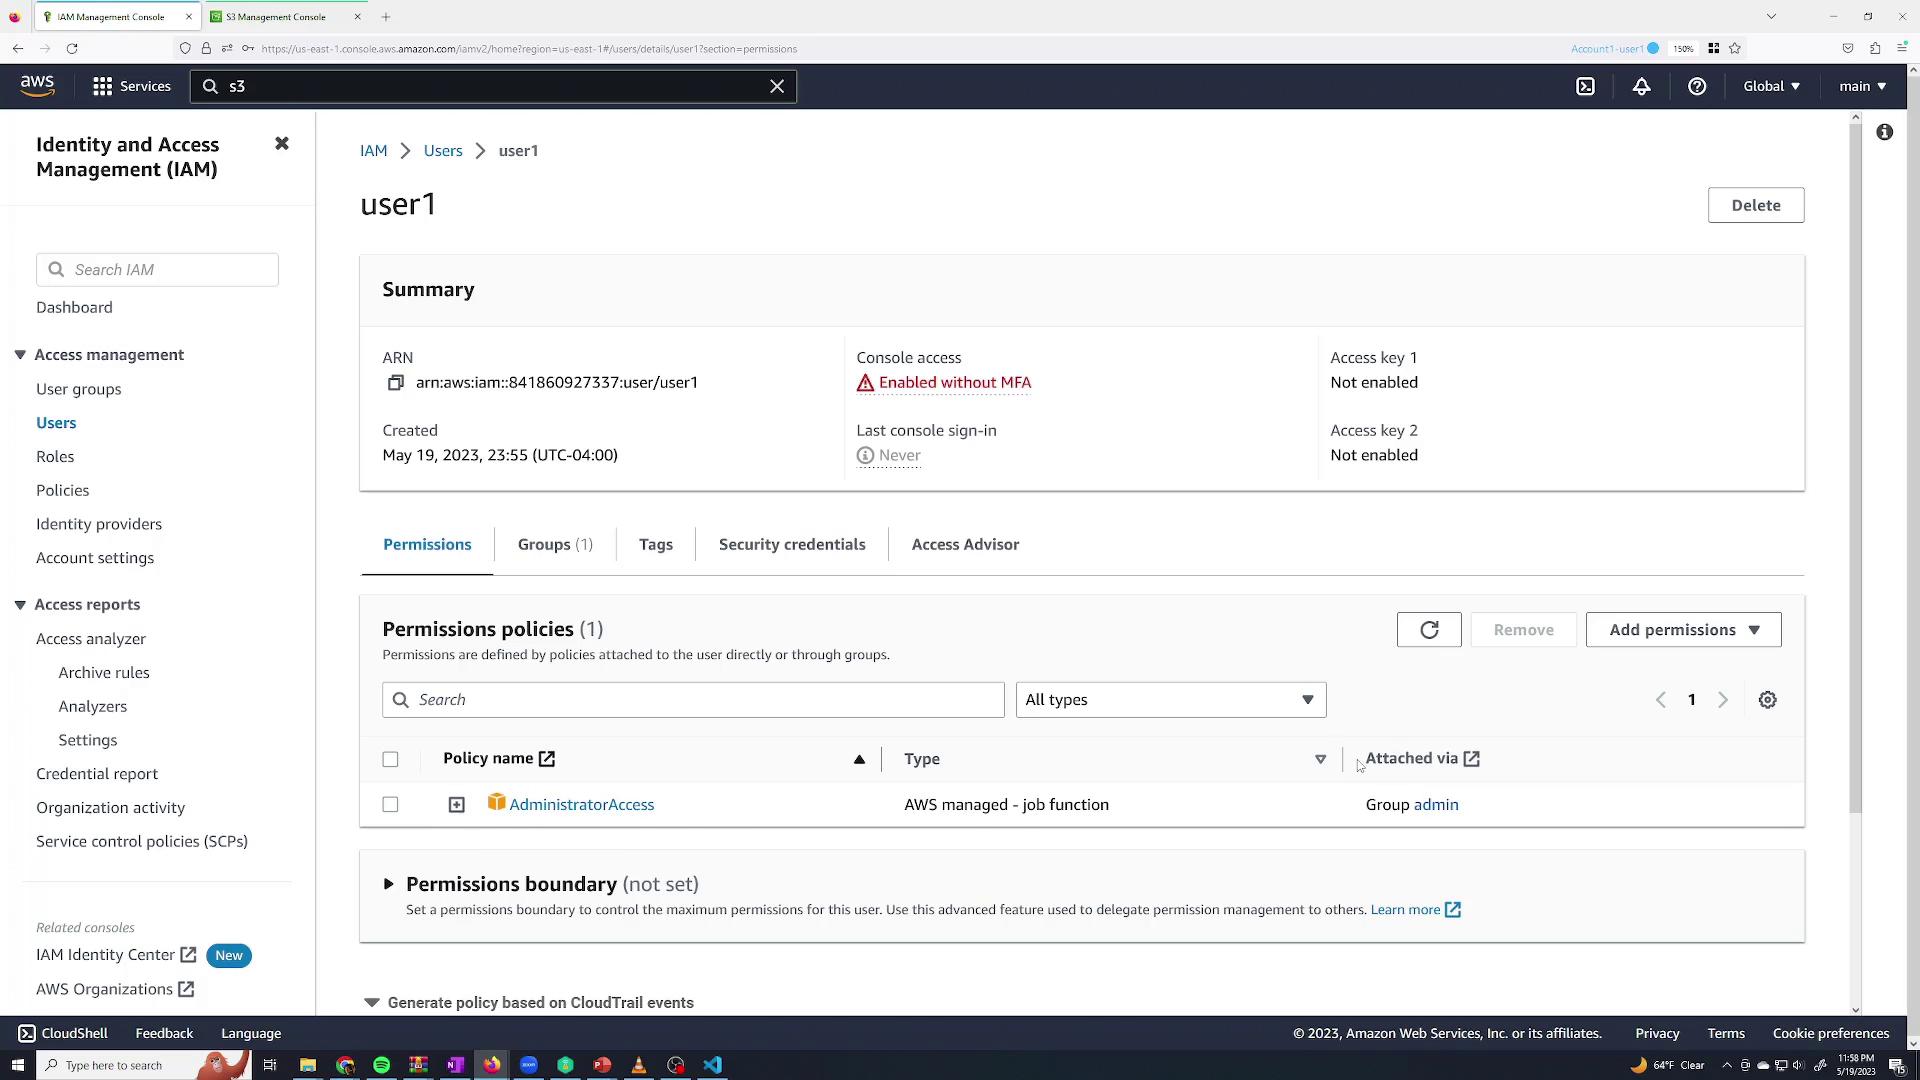
Review the group details to confirm that permissions are correctly inherited:
In the Users section, if you select “user1,” you will see that the AdministratorAccess policy is attached via the group rather than directly.
Back on the Sanjeev session, verify that he can create S3 buckets again:
You can create additional groups for different departments. For instance, create a monitoring group with the AWS managed policy ReadOnlyAccess for users who only need to view resources but not modify them. Add Sanjeev to this group as well so he inherits permissions from both groups. Then, remove him from the admin group to limit his permissions to read-only actions. If an unauthorized action is attempted—such as deleting an S3 bucket—a permission error will be displayed.
Roles in AWS IAM allow users or services to assume temporary permissions that differ from their default permissions. This is useful when a user occasionally needs elevated access—for example, full S3 access.To create a role with temporary S3 permissions:
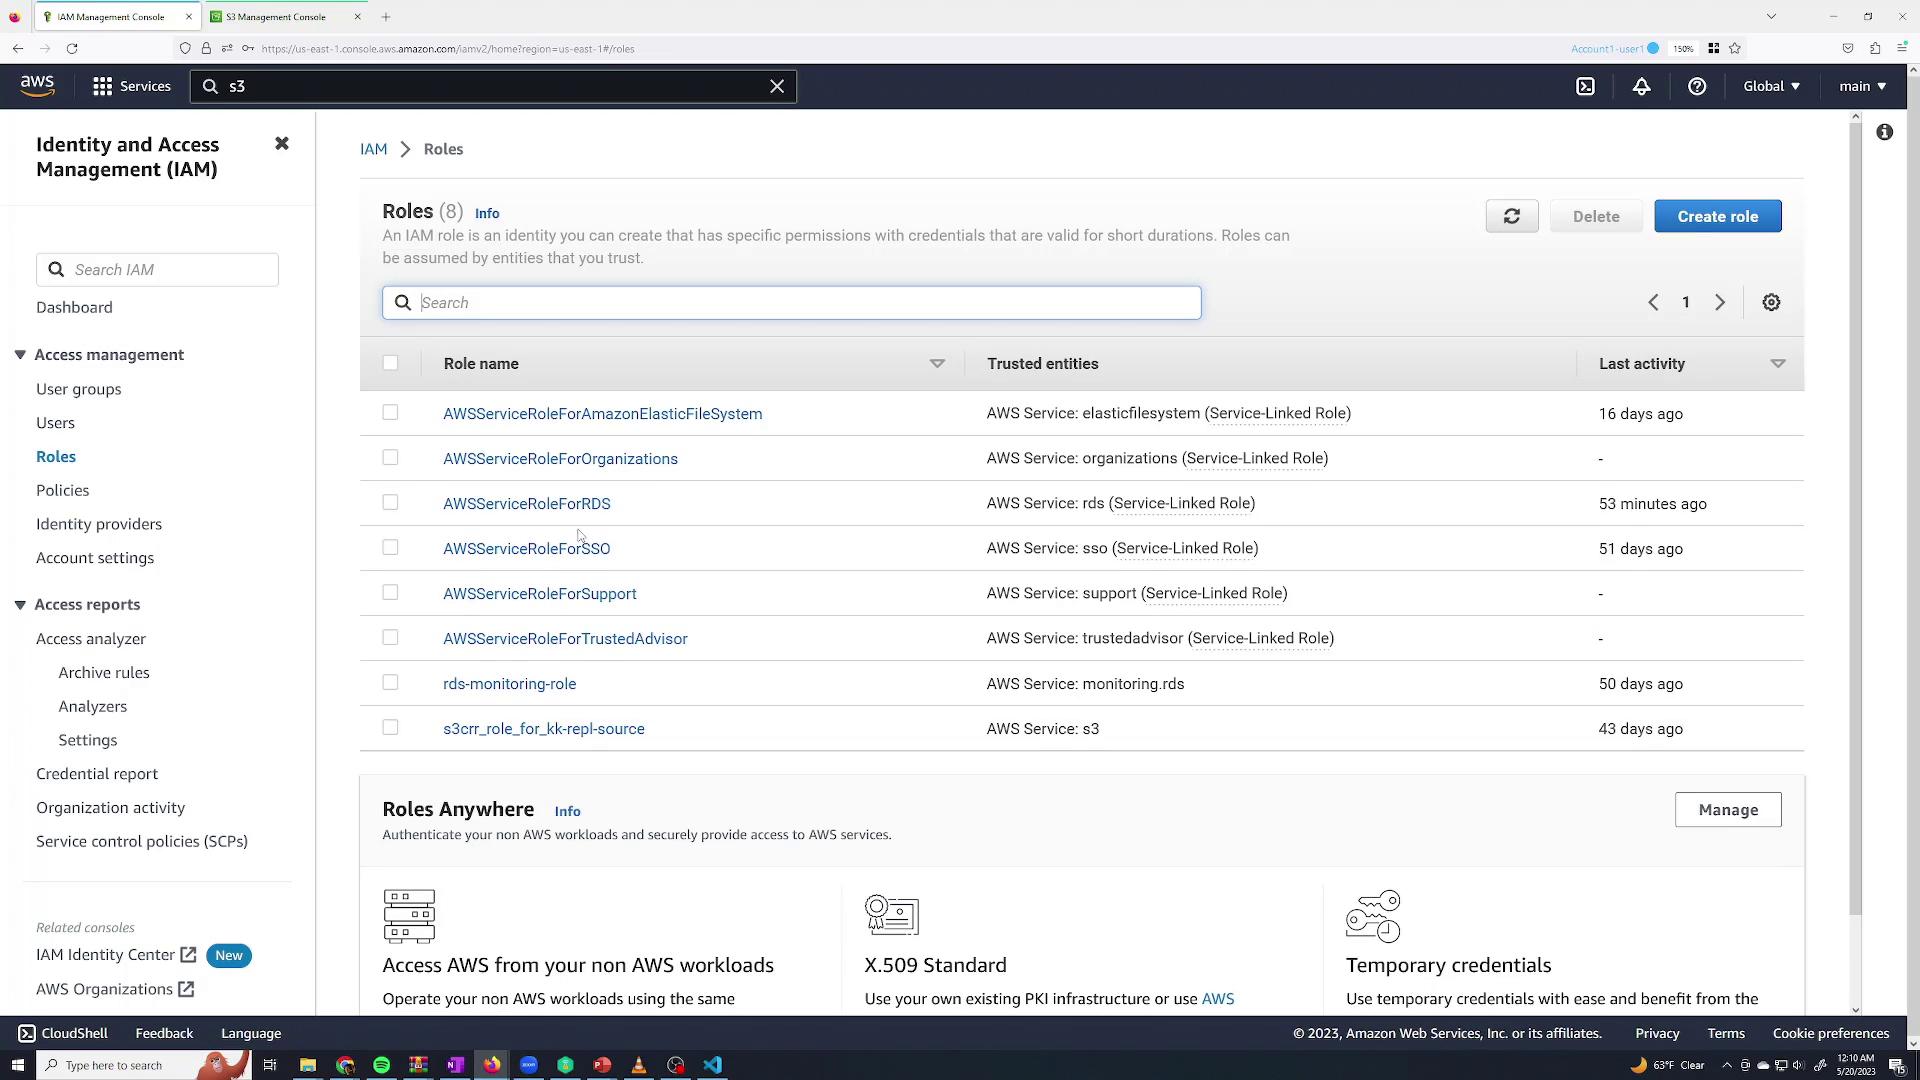
Navigate to the Roles section in IAM and click Create Role.
Select AWS account as the trusted entity if the role is to be assumed by an IAM user within your account.
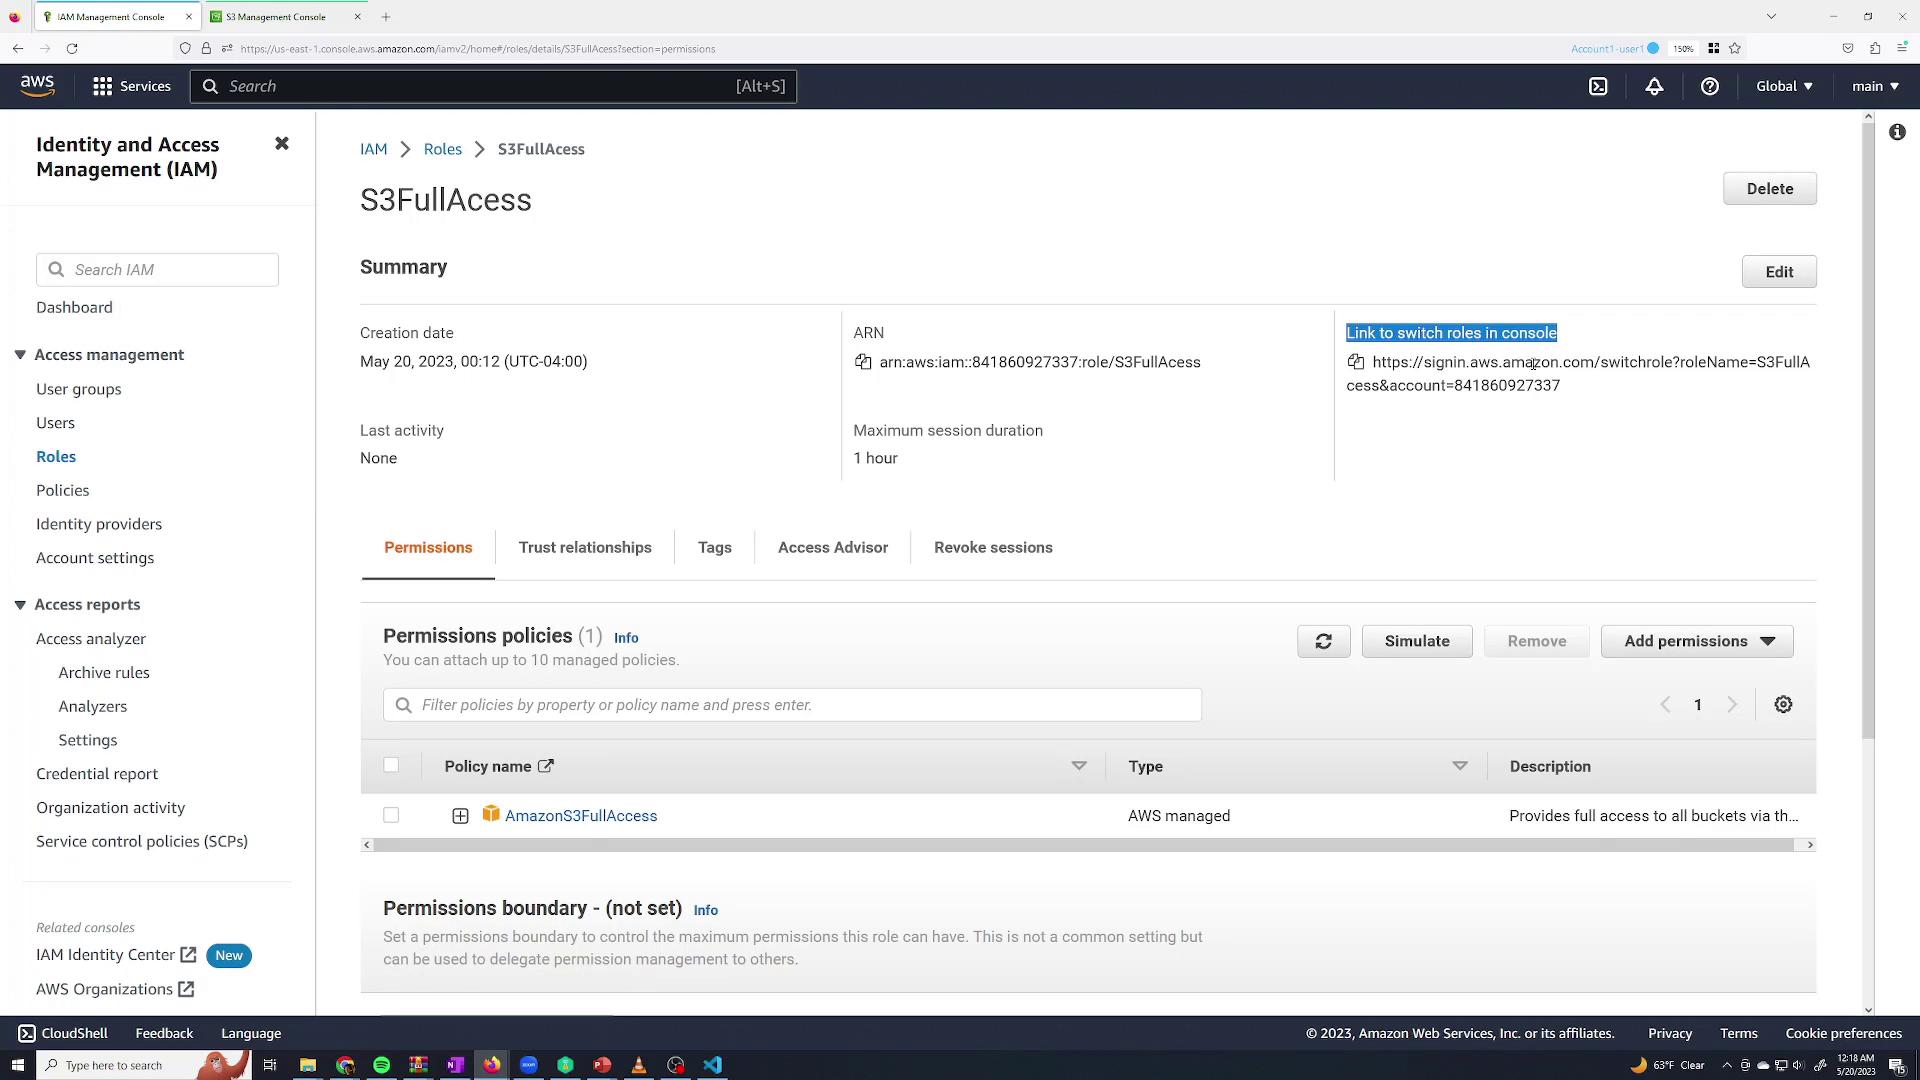
Proceed by clicking Next and select the permission policy S3FullAccess (an AWS managed policy) to grant full Amazon S3 access. Reviewing this policy, you will see it permits S3 actions as shown below:
Name this policy (e.g., AssumeS3Access) and create it. This ensures that only Sanjeev can assume the S3FullAccess role.To test the role:
In the Roles section, click on the S3FullAccess role and copy the Switch Role URL.
In the Sanjeev session, paste the URL. The console will automatically populate the necessary details (account ID and role name), allowing you to specify a display name for the session (e.g., “S3 role”).
Click Switch Role to assume the role.
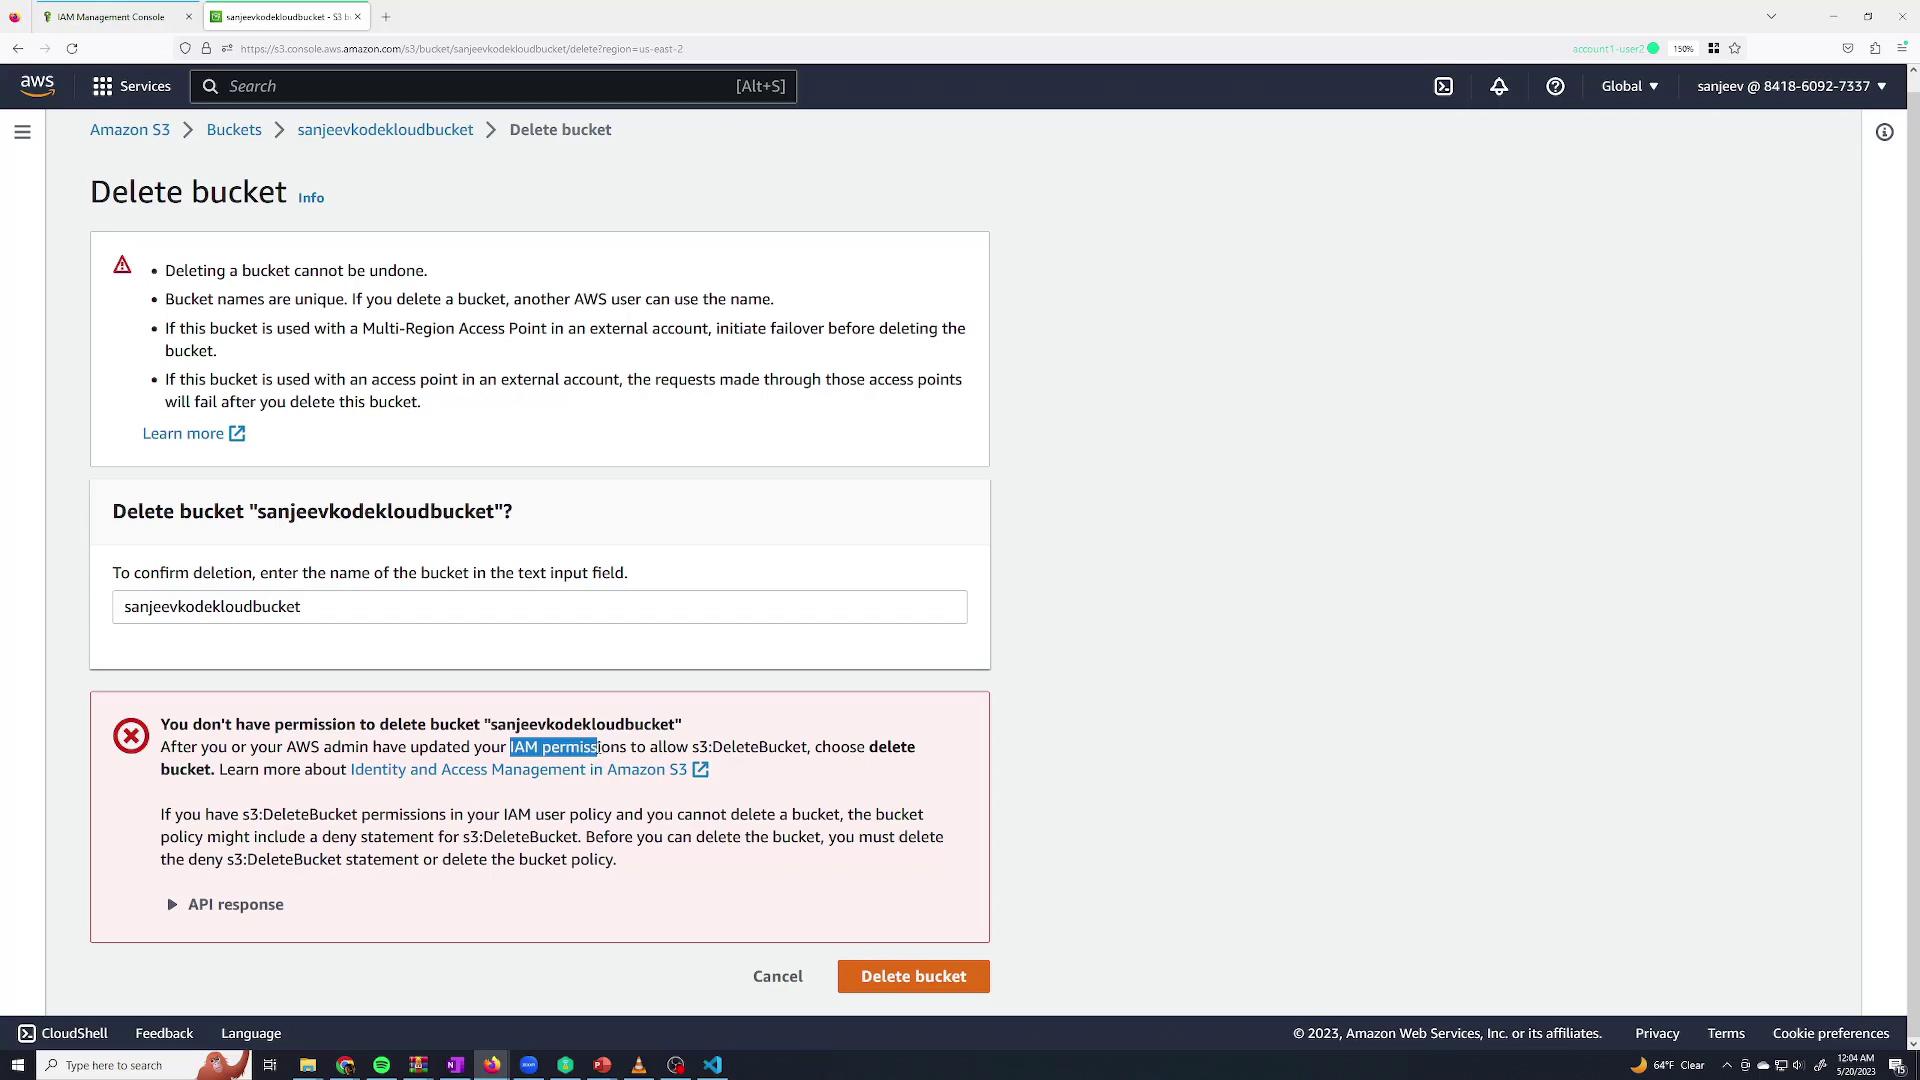
A badge (e.g., “S3 role” in blue) will appear, indicating that the role is active. Test S3 operations, such as deleting a bucket. As the assumed role, you should be able to delete the bucket, confirming that the temporary permissions are in effect. To return to your original session, click Switch Back.
Create IAM users and provide them with console access.
Grant permissions directly via policies.
Use groups to manage permissions efficiently across multiple users.
Create roles for temporary elevated access and control who may assume these roles.
This comprehensive demonstration illustrates how AWS IAM enables you to securely manage access across your AWS environment while ensuring best practices for security and scalability.For further reading: