Learn to deploy, connect to, and manage an Amazon EC2 instance securely using AWS in this detailed tutorial.
In this detailed tutorial, you will learn how to deploy, connect to, and manage an Amazon EC2 instance securely using AWS. We will walk through launching an EC2 instance using a specific Amazon Machine Image (AMI), configuring networking and security, and connecting via SSH with a certificate.
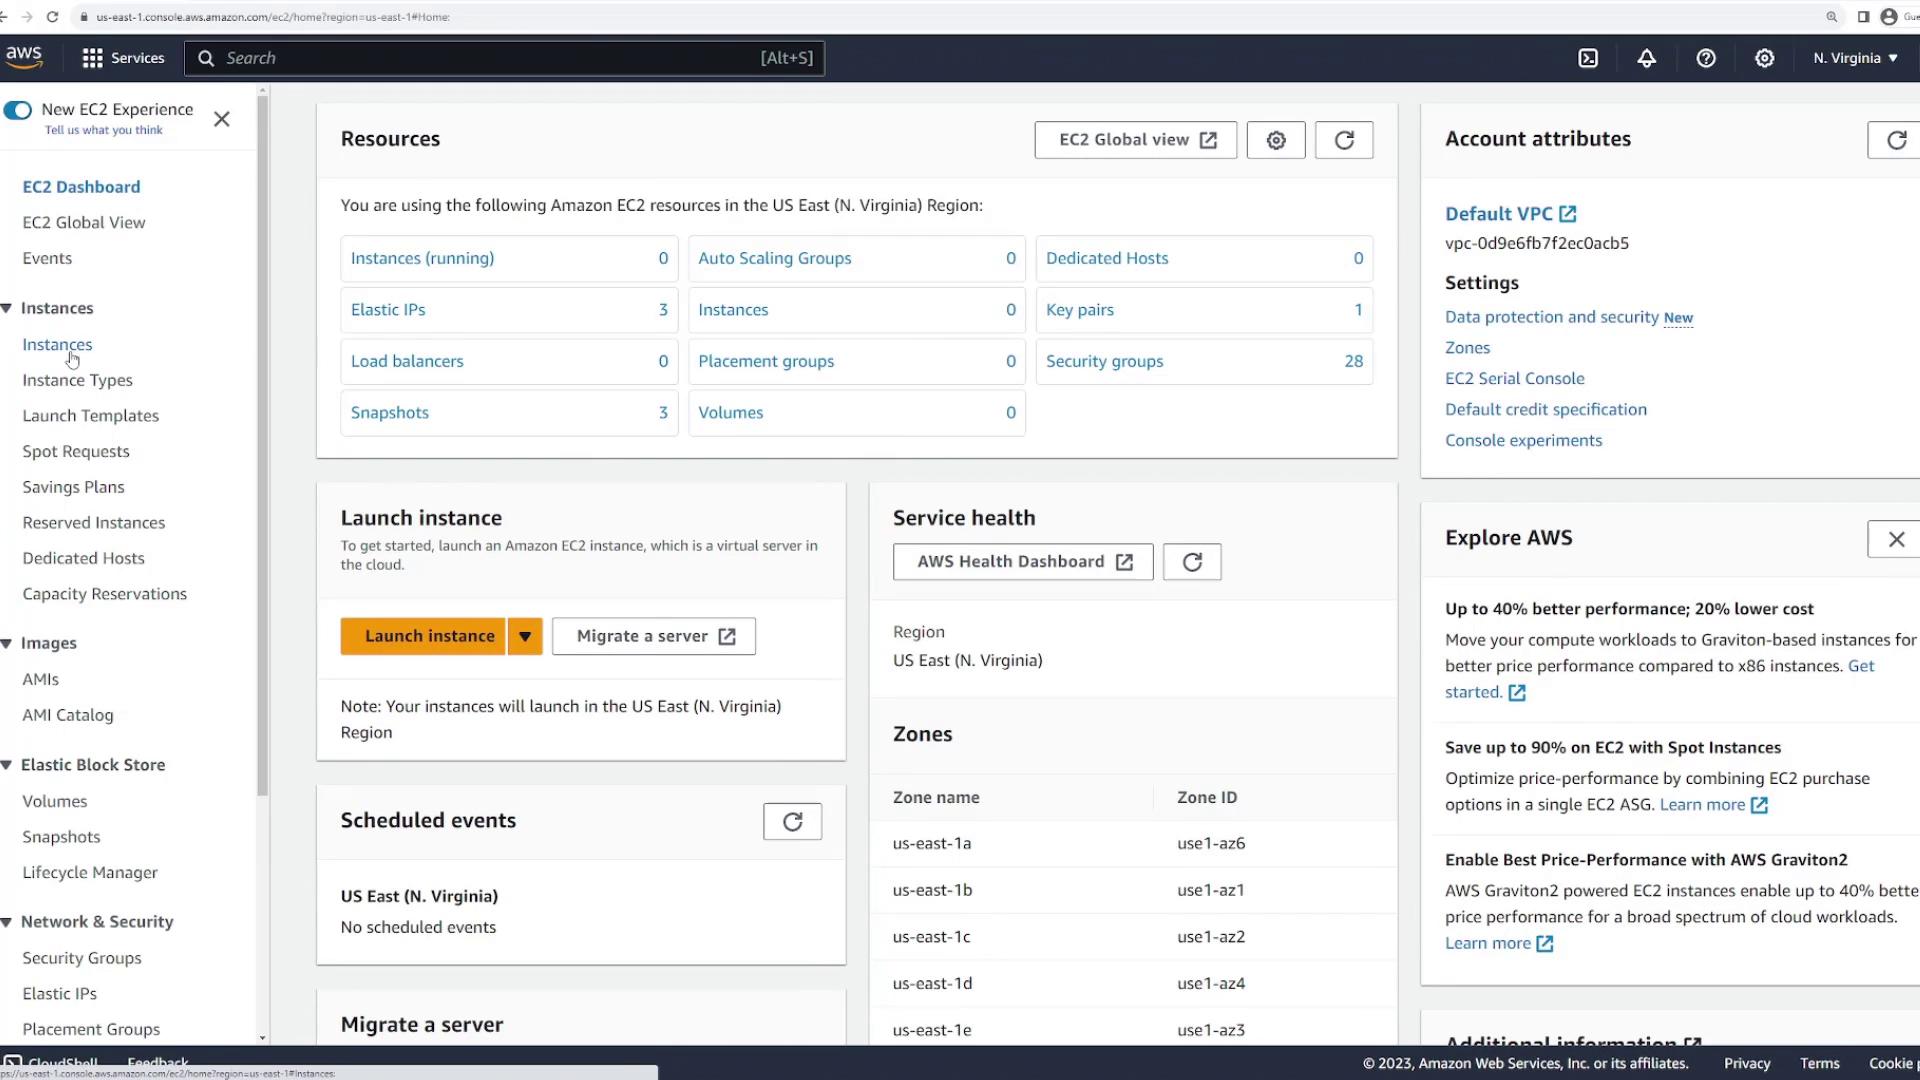
Begin by accessing the AWS console and using the search bar to navigate to the EC2 service. In the EC2 dashboard, click on the “Instances” section. You can either click the direct “Launch instances” button on the dashboard or select the option within the instances page.
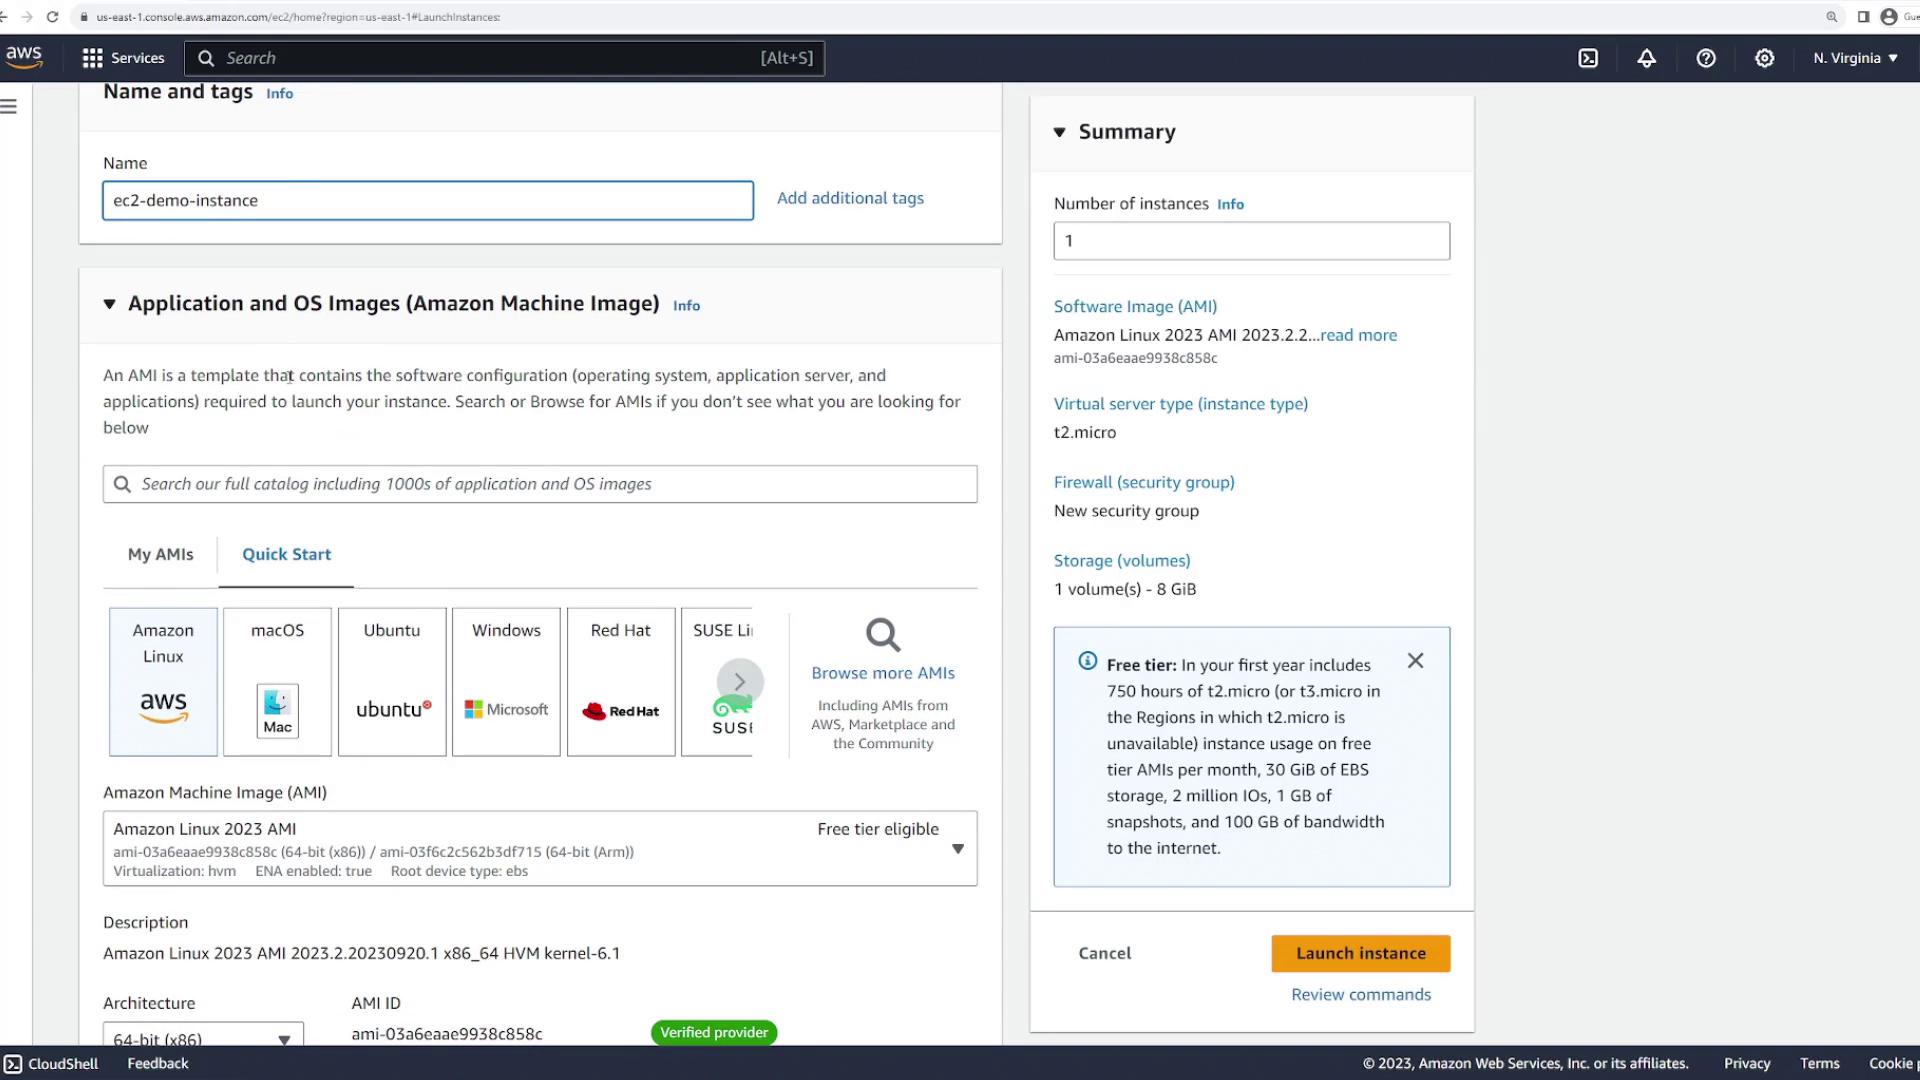
On the instances page, click “Launch instances” to start the configuration process. The first step is to assign a name to your instance – for example, “EC2 demo instance” – and select a specific AMI. The selected AMI acts as a blueprint for your instance by defining the operating system and optionally including pre-installed software or services.
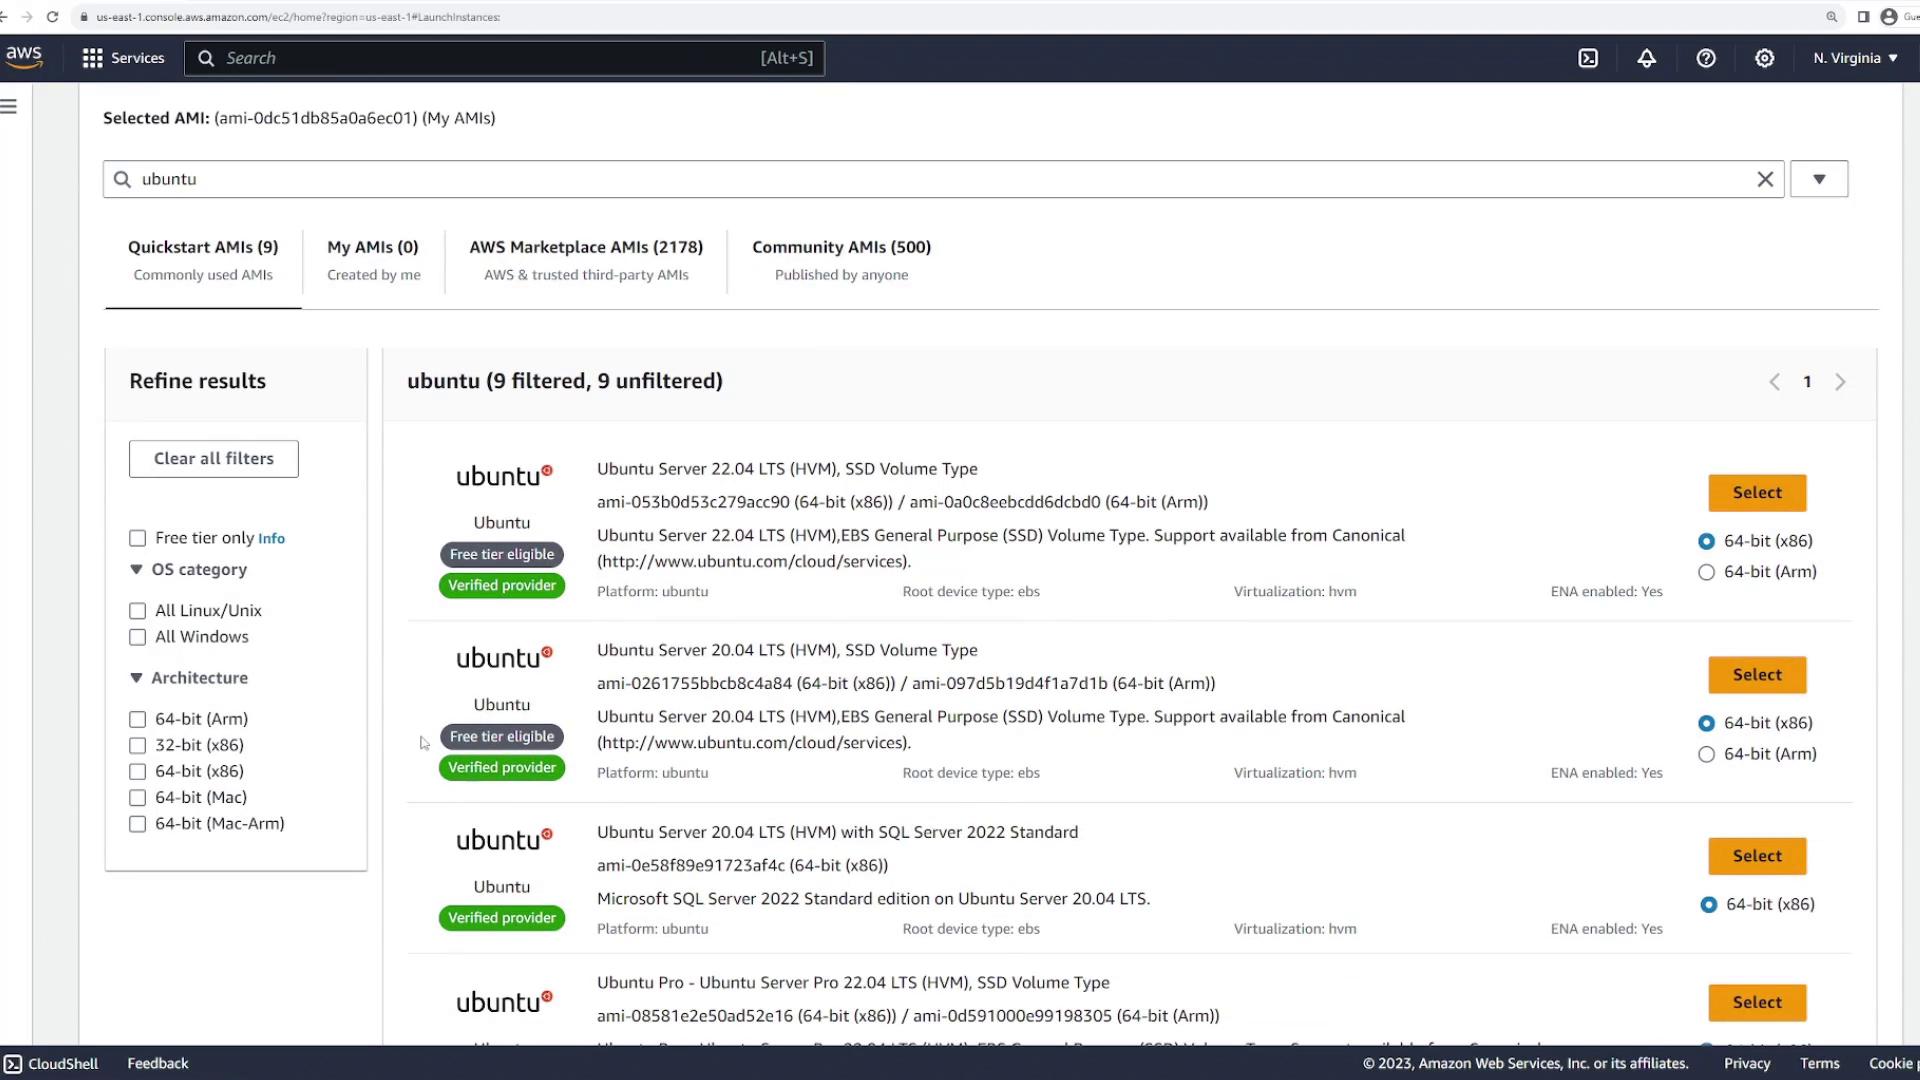
You can choose AMIs from the Quick Start section, which include popular options like Amazon Linux, Ubuntu, and macOS. Custom AMIs will appear under “My AMIs”, or you can use the search bar to find a specific image, such as typing “Ubuntu” to explore different versions and architectures.
If preferred, explore the Amazon Marketplace for pre-configured AMIs provided by software vendors. This can help you deploy applications like a Cisco router with the appropriate license without manual setup of a base OS.
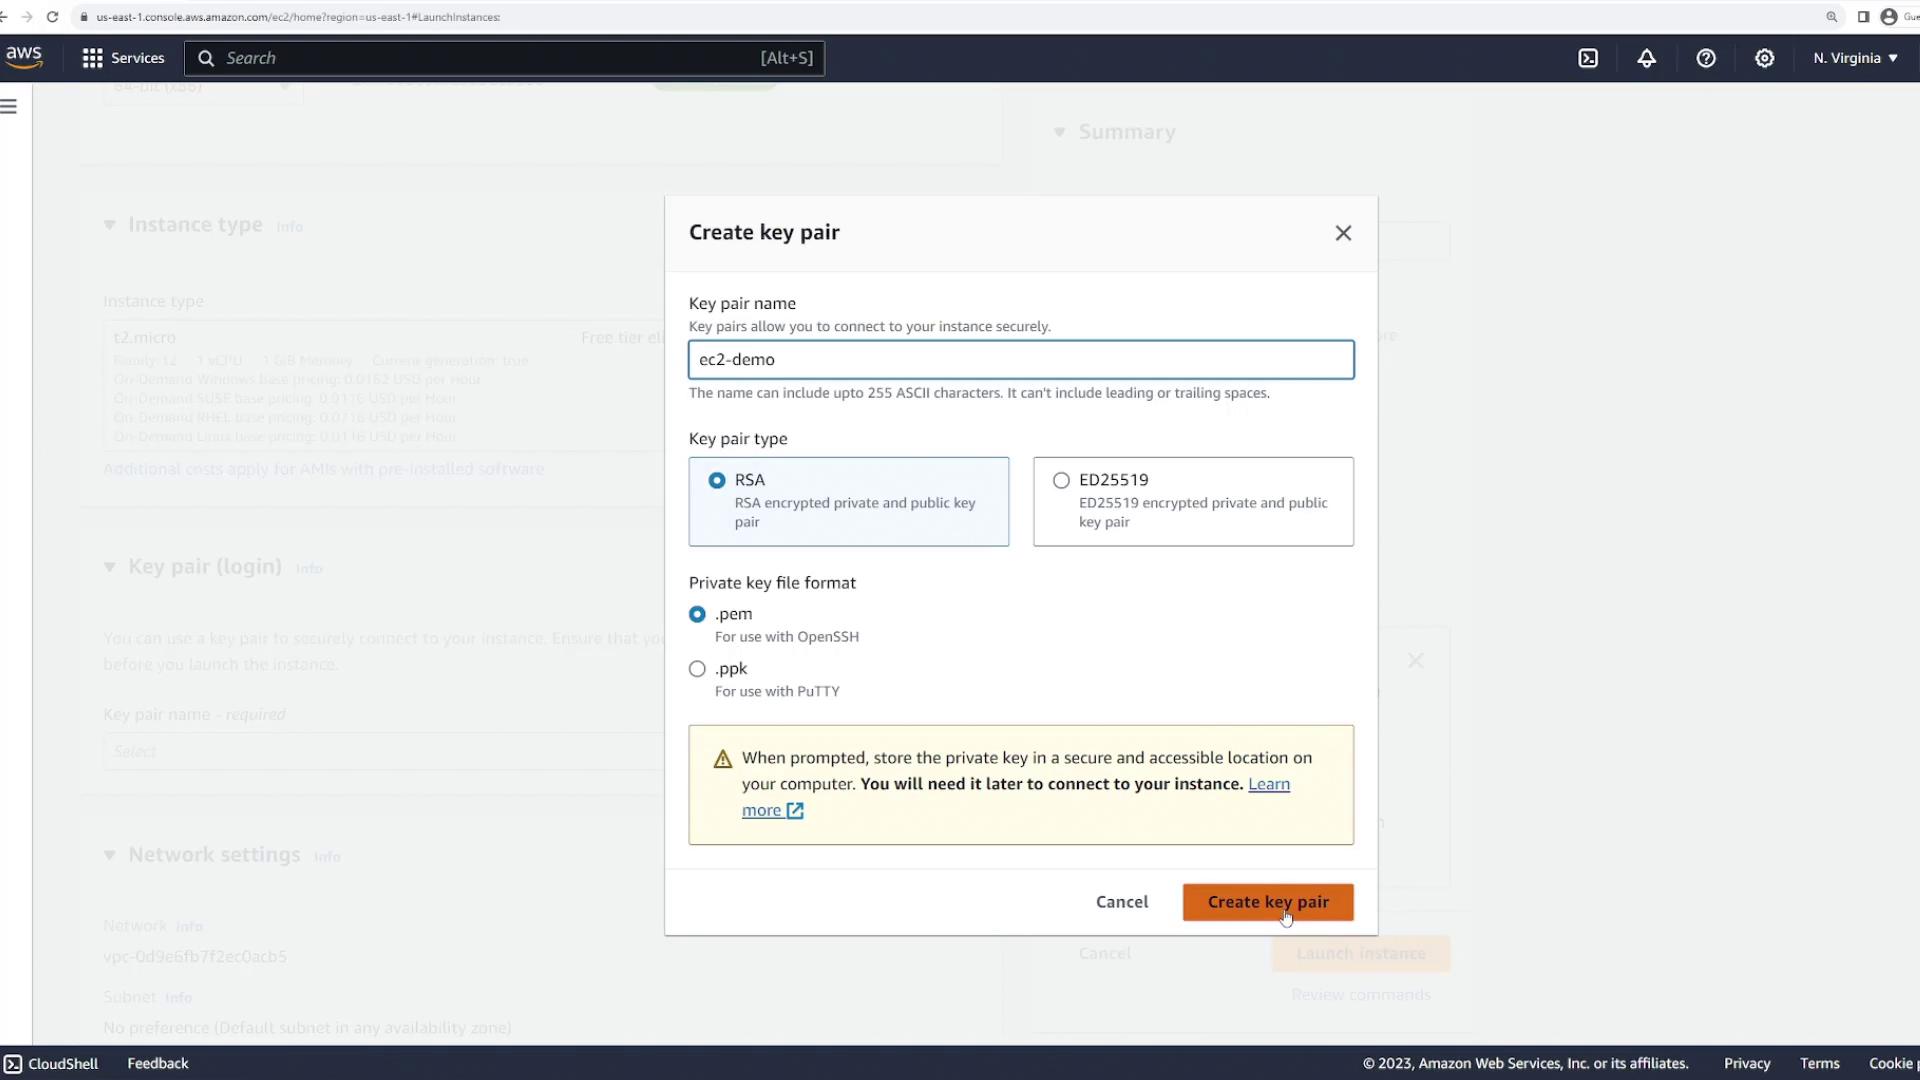
For this demo, we will use the Amazon Linux 2023 AMI from the Quick Start tab. Keep in mind that each AMI includes a unique ID associated with a specific region, so verify the AMI ID for your desired region before proceeding.Next, choose your instance type. For example, the T2 micro is free tier eligible. Then, configure the key pair to securely connect to your instance. You have the option to select an existing key pair or create a new one by following these steps:
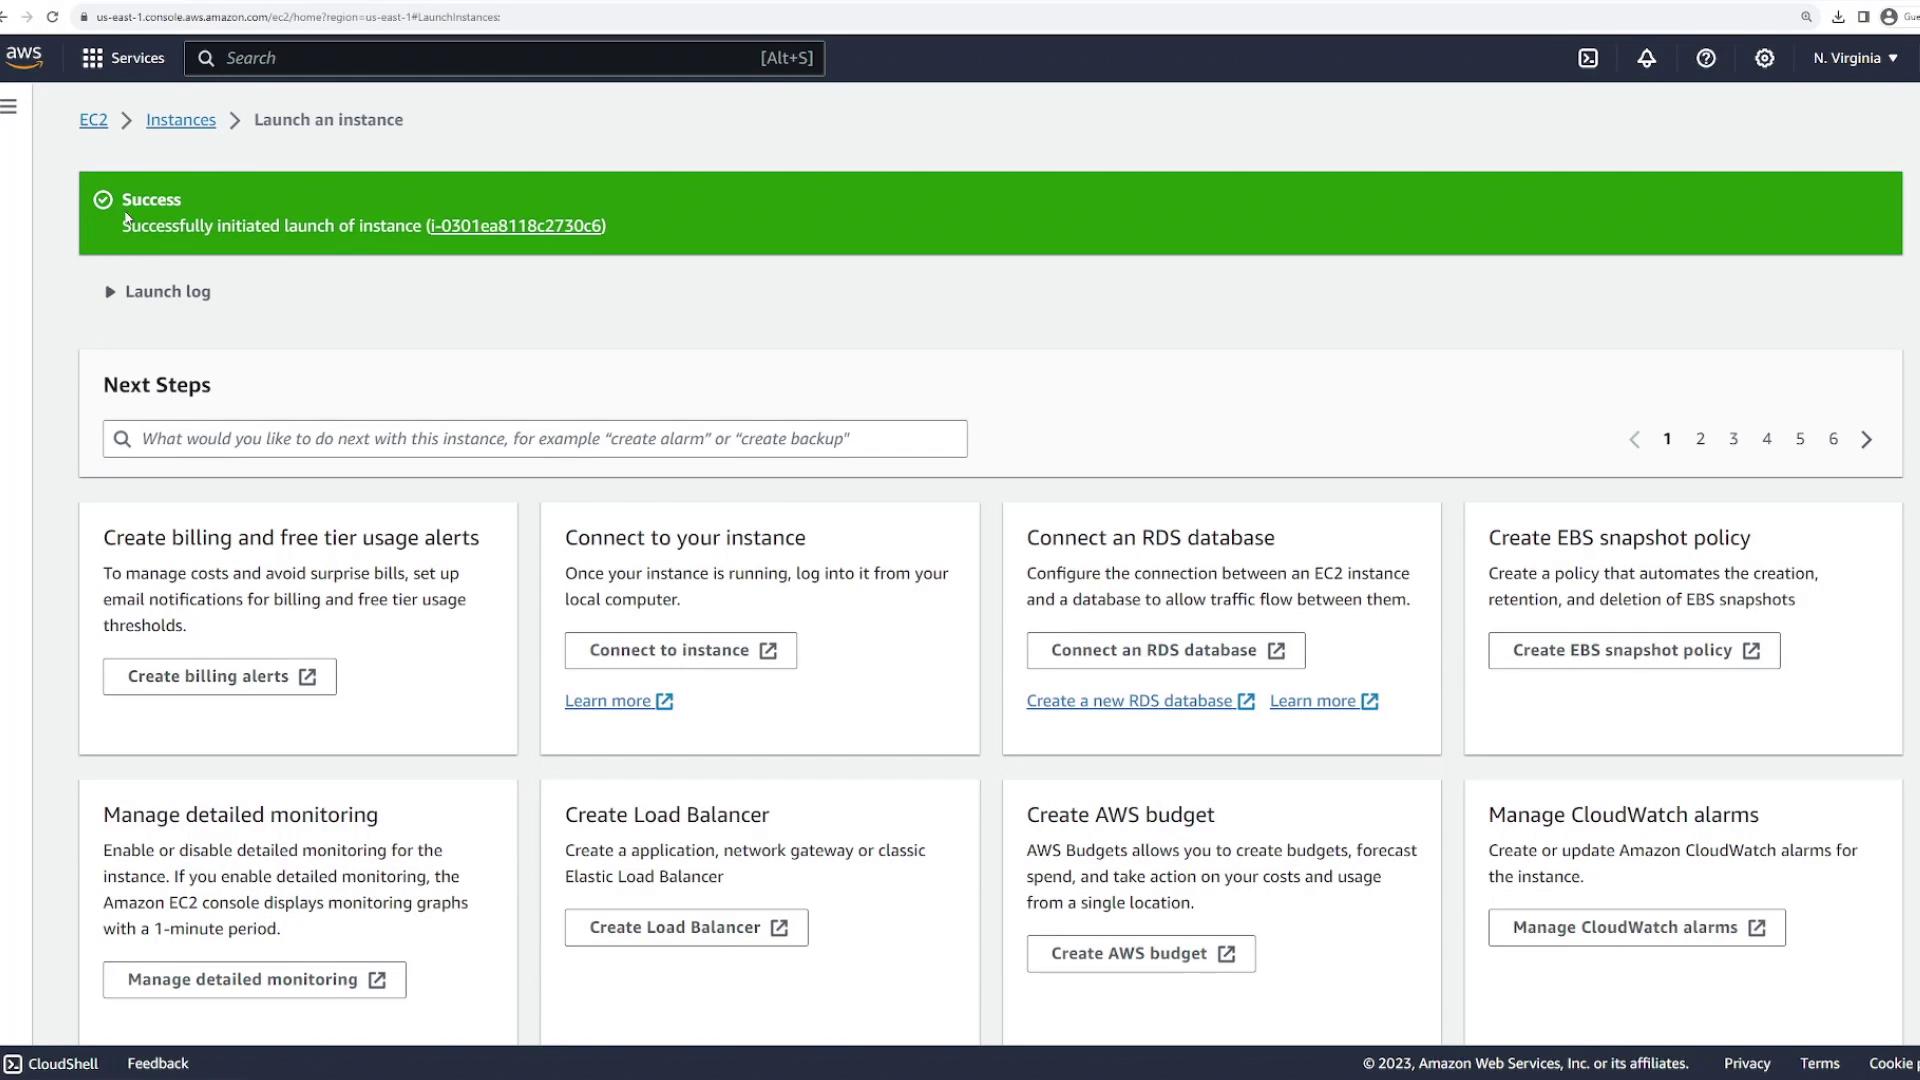
After setting up your key pair, proceed to configure the networking settings including the Virtual Private Cloud (VPC), subnet, and public IP assignment. The default VPC and subnet are usually sufficient, but ensure that you enable a public IP if you need to connect to your instance over the internet.Next, assign an existing security group or create a new one. By default, a new security group includes an inbound rule allowing SSH traffic and outbound rules permitting all traffic. Configure your storage options, such as an 18 GB root volume, and leave advanced options like spot instances or auto recovery settings as default unless your scenario demands a custom setup.Once all settings are applied, click “Launch instance”. Your “EC2 demo instance” will now be deployed.
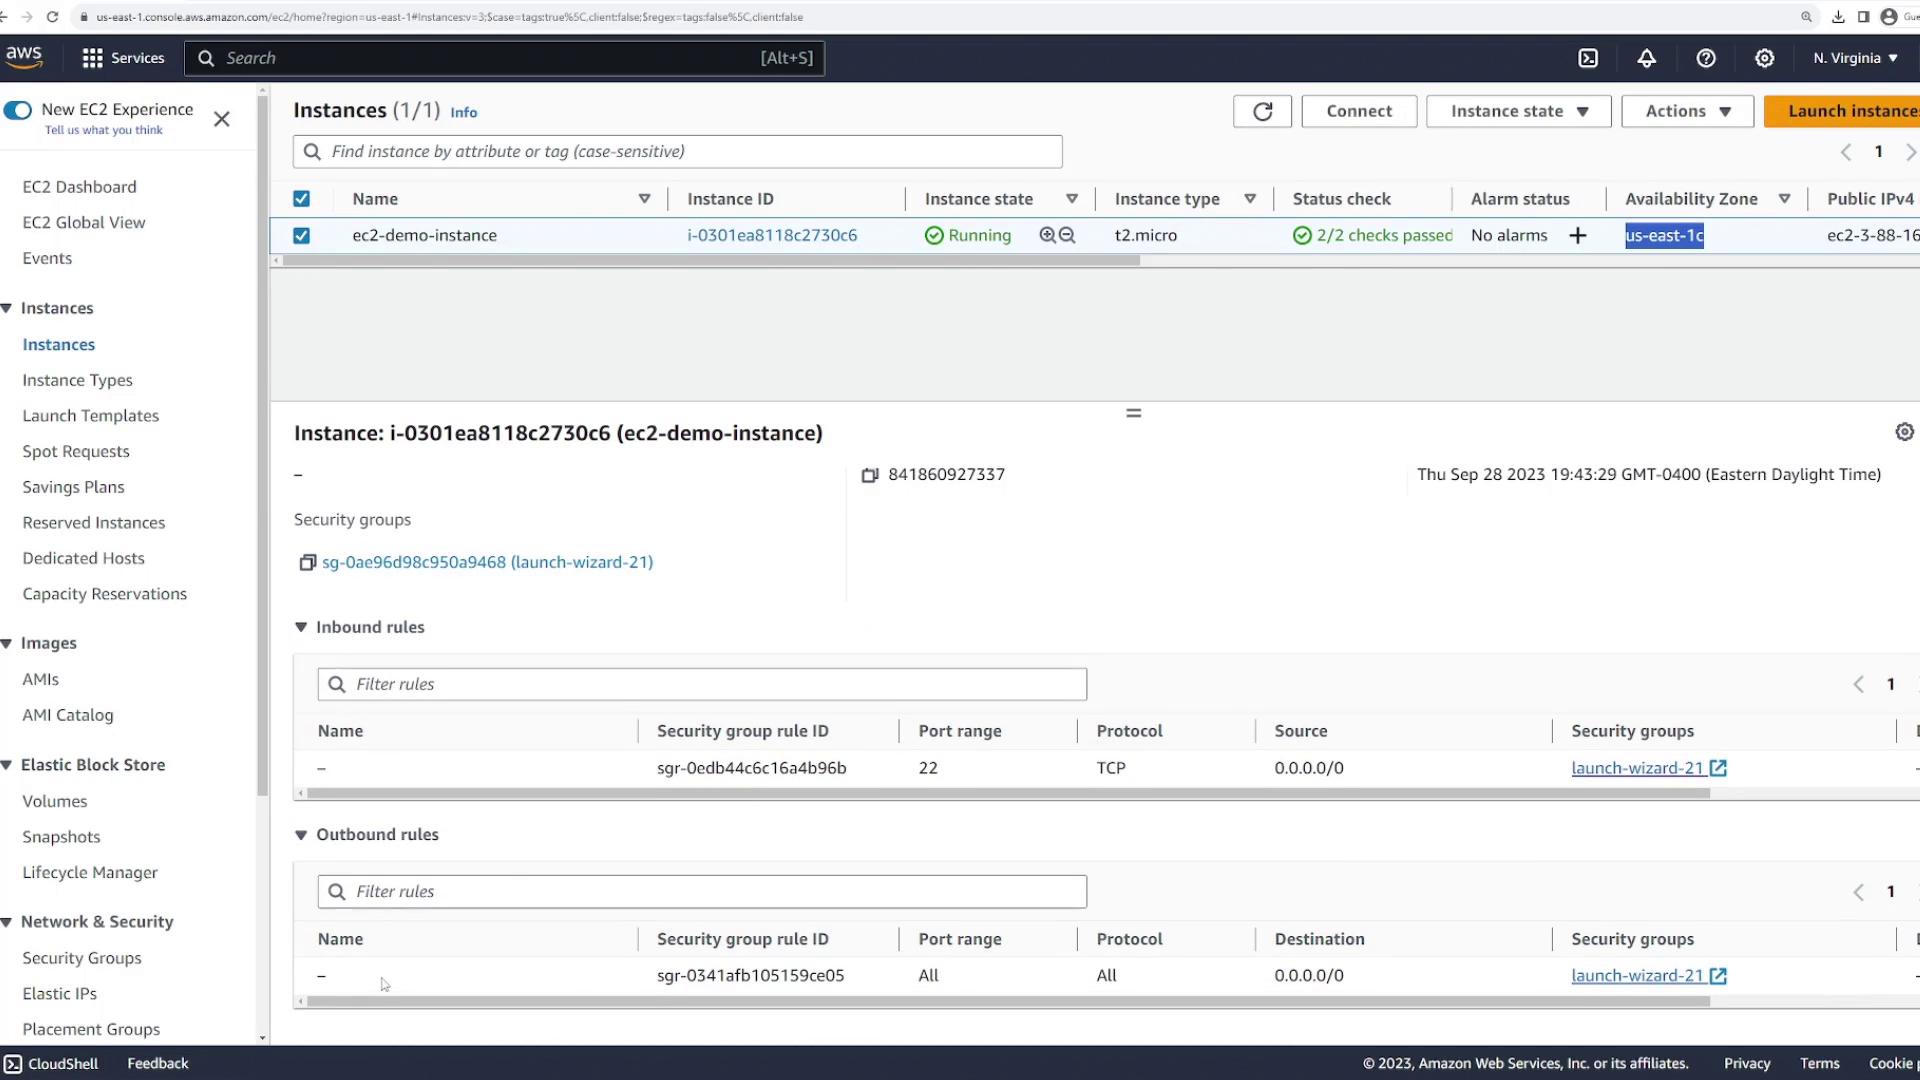
After launching the instance, return to the Instances page to review its details. Here you will find important information such as:
Instance ID
Current state (running)
Instance type
Availability zone
Public and private IP addresses
Public DNS name
Additional details include the security group settings, key pair name, launch time, and monitoring metrics like CPU utilization. You can also review network settings such as inbound/outbound rules, subnet, and network interfaces.
To establish an SSH connection with your instance, copy its public IP or public DNS address from the instance details page. Then, verify that your PEM file (e.g., “EC2.pem”) is available in your terminal directory:
Use the SSH command with the following format to connect to your instance:
ssh -i ec2.pem username@<PUBLIC_IP_OR_DNS>
Refer to the AMI documentation for the correct default username. For an Amazon Linux AMI, the username is typically “ec2-user”. AWS also provides connection instructions when you click the “Connect” button. An example command is:
To avoid unnecessary costs, it is important to stop or terminate your instance after use. To stop the instance, navigate back to the AWS console, select your instance, and choose “Stop instance” from the “Instance State” menu. The state will transition from “running” to “stopping” and finally to “stopped”. You can restart, reboot, or hibernate the instance if needed.
For complete cleanup and to prevent incurring additional charges, terminate the instance by selecting “Terminate” from the instance state options and confirming the action. After termination, the instance state will be updated to “terminated”, and you will no longer be billed.
Always terminate instances that are no longer in use to prevent unexpected billing charges.
This concludes our comprehensive guide on deploying, connecting to, and managing an Amazon EC2 instance. Enjoy your journey in cloud computing and explore more advanced AWS features to scale your infrastructure!